
Introduction
If we have a non-ridden horse because we prefer not to ride, our horse is retired or recovering from injury, or we love small ponies, donkeys, or mules, it can be tricky to ensure regular adequate continuous movement in a way that is not boring.
Walking out in-hand is ideal if we have safe places to go. But lack of time or weather might not make this a regular option. Or the handler may not be able to walk long distances due to injury, infirmity, or age.
Horses in the wild move a lot, especially during the seasons when fodder is scarce and water sources are limited. Grazing horses continually move along one step at a time as they search out the nicest grass.
When we have to restrict grass, feed hay, and keep our horse in a relatively small space, we obviously also severely restrict the natural continuous gentle movement that accompanies grazing and life unrestricted by fences.
In a natural situation, most horse movement is walking. Occasionally they trot. Gallop is generally in response to a perceived threat. The play drive of younger horses may initiate occasional energetic movement. Some horses are by nature more energetic than others. As with people, daily sustained movement is a cornerstone of good health.
If we can’t do sustained walking out and about, we can organize novel walking patterns at home in a limited space.
Wanting horses to move consistently at faster gaits is a human construct. While brisk trotting and a good canter or gallop are great to occasionally increase the heart rate and clear out the lungs, we can easily maintain or improve our horse’s welfare with regular sustained walking and a bit of trotting.
Sustained walking means twenty or thirty minutes of continuous movement. Steady walking increases circulation and helps the horse ‘blow out’ to clear his breathing system. Horses living in a peaceful group in a paddock will do some walking, but it is not usually sustained.
Aim
To create interesting walking and movement routines for our horse in a relatively small area.
Prerequisites
- Confident with walking shoulder-to-shoulder. Number 16 in my Blog Contents List: Smooth ‘walk on’ and ‘halt’ transitions. Click here.
- Handler has developed a clear ‘Zero Intent’ signal so the horse knows when standing quietly is what is wanted. Number 10 in my Blog Contents List: ‘Zero Intent’ and ‘Intent’. Click here.
- Horse is comfortable standing across and walking across solid rails. Number 18 in my Blog Contents List: Placing the Feet Accurately Using a Rail. Click here.
- While walking shoulder-to-shoulder, the horse follows the movement of the handler’s body axis away from the horse to navigate turns. Number 31 in my Blog Contents List: Smooth 90-Degree Turns. Click here.
- Established clear signals for weaving obstacles. #170 HorseGym with Boots: Body Axis Orientation Signals. Click here. There are more clips about weaving in my YouTube playlist called: Weave and Tight Turns.
- If you want to add in the ‘wait’ game for variety, ensure the horse understands a ‘wait’ signal to stay parked while we move away. This clip is in my playlist called Obstacle Challenges for Clicker Trainers: October 2017 Challenge Park & Wait. Click here.
- If you want to walk or trot together at liberty: see Number 68 in my Blog Contents List: 20 Steps Exercise: Click here.
Videos
#169 HorseGym with Boots: Walk and Hock Gym with Obstacles is found as Number 21 in my Blog Contents List. It is a simple circuit around the perimeter of a defined area.
The next two video clips divide a defined area into four quarters and describe a pattern of movement that makes exercising our horse more interesting. We can add moves our horse knows into the pattern and change our obstacles and objects around to create a variety of novel situations.
This clip demonstrates the pattern of movement through the ‘four corners’ arrangement. #232 HorseGym with Boots.
This clip shows the pattern walking with a horse. #233 HorseGym with Boots.
Materials and Environment
- A venue with good or reasonable footing. If it’s dry, the corner of a grazed paddock can work well. An arena is excellent. A round pen can also be cut into quarters. Once the handler has the pattern in memory, it can be carried out anywhere and include natural features of the landscape.
- Ideally the horse can see his buddies but they can’t or don’t interfere.
- Horse is not hungry.
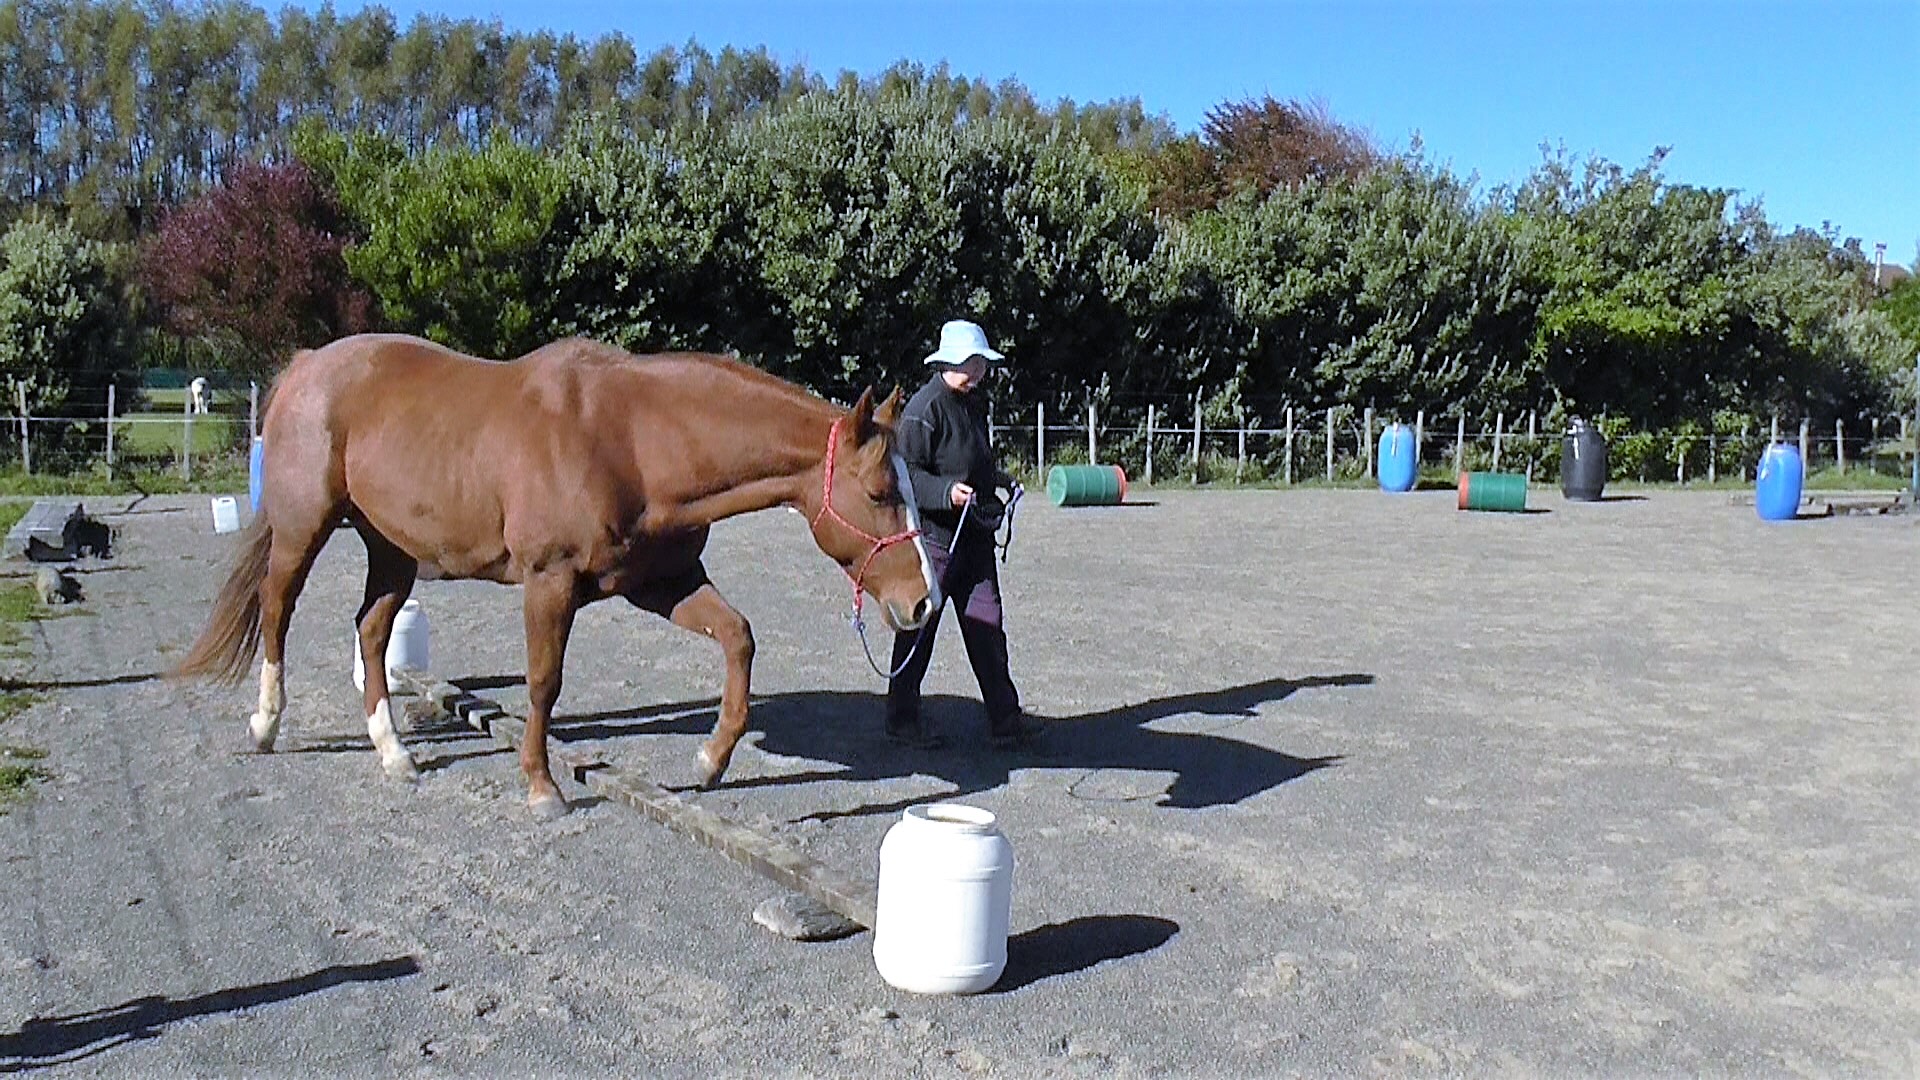
- An assortment of safe objects and obstacles. The only limit is our imagination.
- Halter and lead, with the lead kept draped unless used momentarily to give the horse directional information.
Notes
- The prerequisites above cover the basics. We can, of course, add other tasks our horse knows. Or we can use one part of the pattern to work on something new.
- The idea is to use voice, gesture, body language, breathing and energy changes to signal the horse, not halter pressure via the rope. However, we can use rope pressure to give the horse momentary guidance so that he can more quickly figure out what will result in the click&treat.
- Each pattern contains 12 right angle turns. When we’ve mastered the basic pattern we can factor in halts, back-ups, sidestepping and a variety of other movements.
- To begin with, have the horse on the outside of the turns. Eventually you may want to do the pattern with counter-turns at each corner.
- The pattern is done once on the left side of the horse and again on the right side of the horse. It’s easiest to start in the center each time.
- When you begin to do the pattern with counter-turns, start again at the beginning with click&treat for each elegant turn.
- The arena in the video clips is 30 meters long and 20 meters wide. Therefore walking this pattern once is about 200 meters. Walking it on either side of the horse gives us 400 meters. If we walk the pattern first with no stops for special tasks (400 meters) and again on right and left sides adding special tasks, we’ve walked 800 meters. If you have a larger area, it will be easy to walk over a kilometer within your restricted space.
- To first learn the pattern, it’s helpful if the handler walks the basic pattern on their own or with another person (or dog) standing in for the horse. There are 12 corners in the pattern. We don’t stop in the center again until we’ve walked the whole pattern. We can add variation by facing any one of the four directions to begin the pattern.

The pattern starts and finishes in the middle of the area. The 12 turns are numbered. We don’t stop in the middle until we’ve completed the whole pattern. We can add variety by facing a different direction to begin the pattern.
Slices
- You may want to begin by asking the horse to walk the basic pattern with you for several days, before introducing objects and obstacles. It can be helpful to have markers at the four turning points which are not in the four corners, as well as a center marker.
- Stand in the center with zero intent. Click&treat for standing quietly. If you are on the horse’s left side, you will be turning left 12 times. If you want to teach a ‘turn left’ voice signal, use it just before your body language shifts into the turn. At first, exaggerate the shift of your body axis into the turn. We want the horse to shadow our movement so that touch on the halter via the lead rope is seldom needed. Click&treat each smooth turn. The stop for delivering the treat and walking on again add another dimension of flexibility. Eventually click&treat only for especially crisp turns.
- As the horse becomes familiar with the pattern and all the turns are nice and clean, I tend to click&treat only for the specific tasks I’ve added into the pattern.
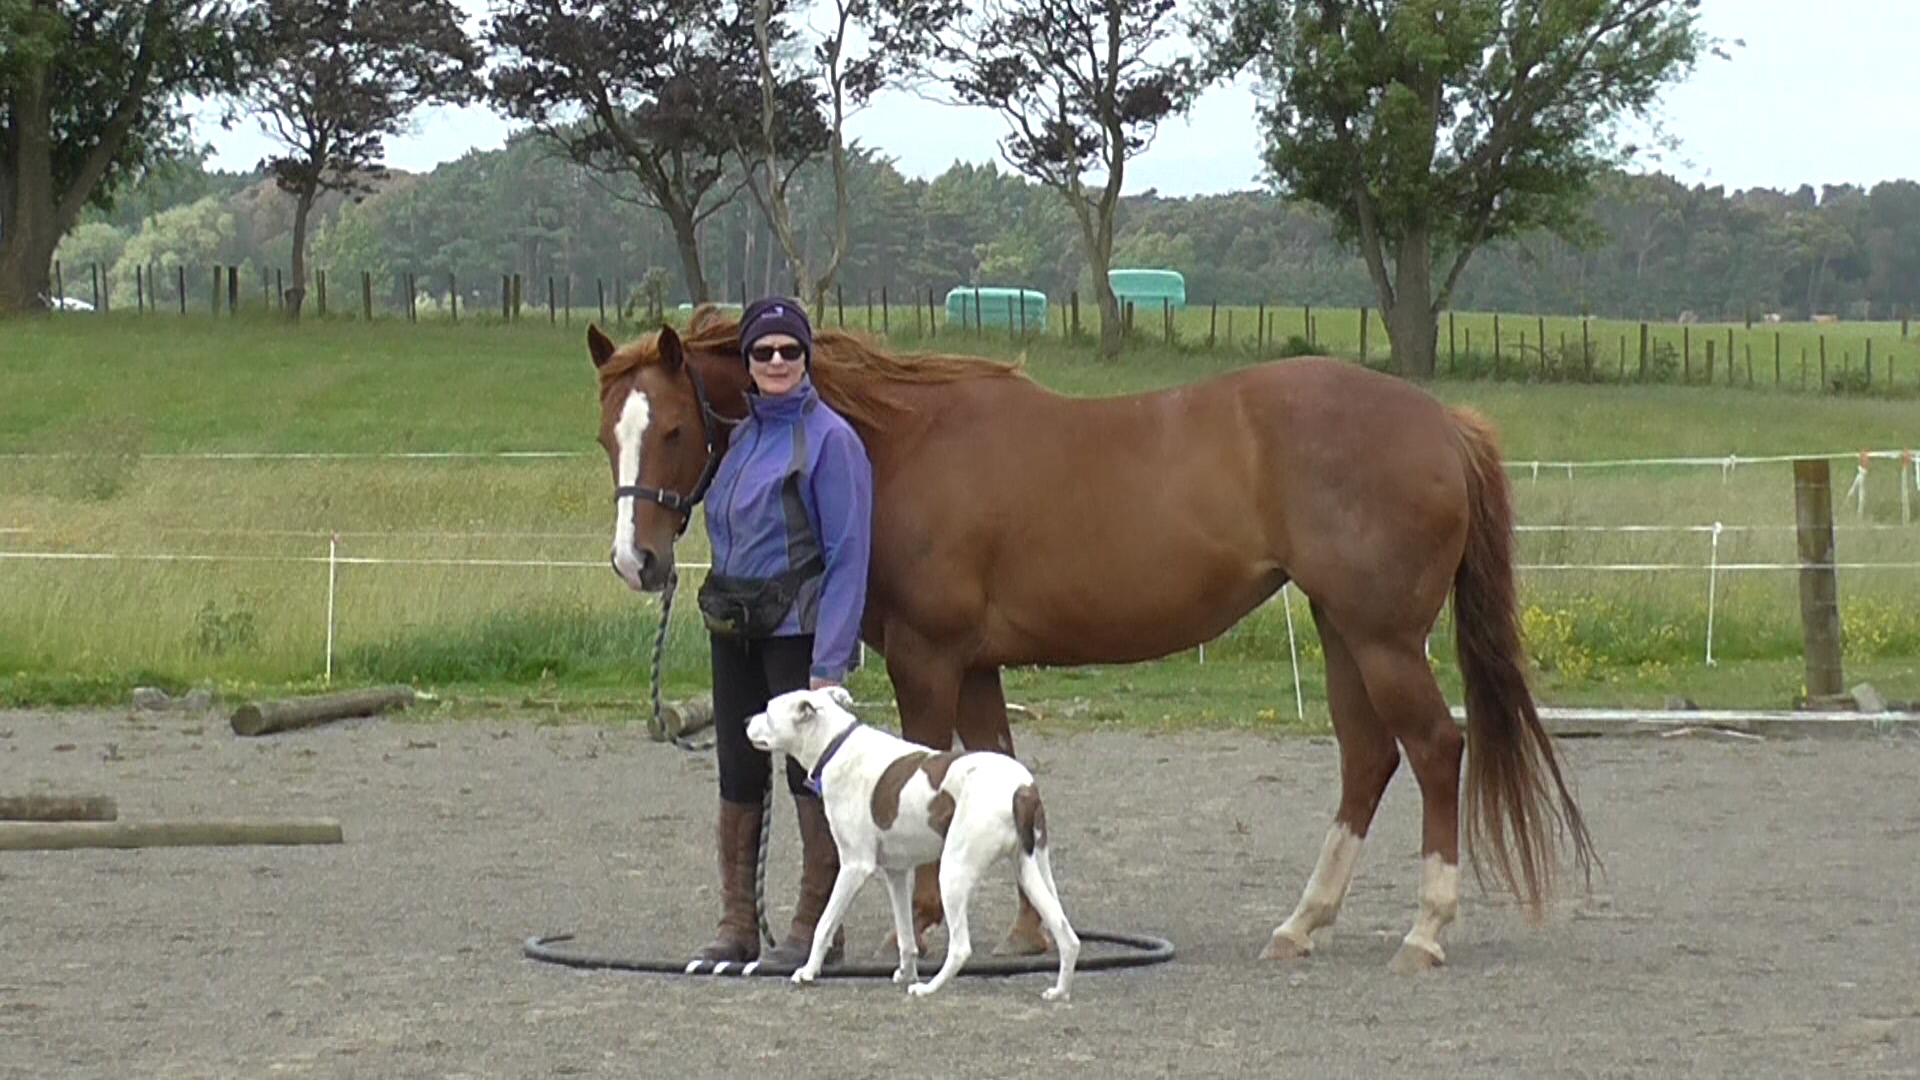
Standing in the middle of our work area, ready to start. Bridget is on the horse’s left side and they will turn left 12 times. The open hoop is our center marker.
- Match your walk to the horse’s natural walk. Boots’ natural walk is 5km/h. Smoky’s natural walk is about 7km/h. It was always interesting when leading both of them at the same time.
- Once you know the pattern, set up the obstacles you want to begin with. Start with items your horse knows well. To maintain interest over time, add new things and/or change where they are in the circuit.
- Click&treat often enough to keep the horse walking with you in a willing manner. To begin with, I click&treat each brisk right-angle turn as well as successful negotiation of every obstacle. Once the pattern is well-known, I tend to click&treat for the more challenging obstacles or any new ones I’ve added since last time.
- Once it is smooth walking on the horse’s left side, repeat on his right side. That will include 12 turns to the right. We can add a ‘turn right’ voice signal.
Generalizations
- Once the horse understands the pattern we can use it at liberty (Prerequisite 7). Some people may like to teach the whole thing at liberty.
- Add objects to weave along the center lines.
- Teach again asking for counter-turns at each corner.
- Add trotting if you are fit to run with your horse or are riding the exercise. Begin with trotting the straight lines through the center. That will give you four upward and four downward transitions within each circuit.
- Add challenge with sloping ground.
- If you’ve taught your horse to lead smoothly when you ride a bike, the pattern can be adapted.
- We can use one or two of the corners in the pattern to ask the horse for any behaviors we have in our repertoire. They could be stationary behaviors or movement we can do in a smallish space. This video clip illustrates some of the things Boots and I sometimes practice in the corners (#235 HorseGym with Boots: 4 Square Generalizations.)
