Generalizations
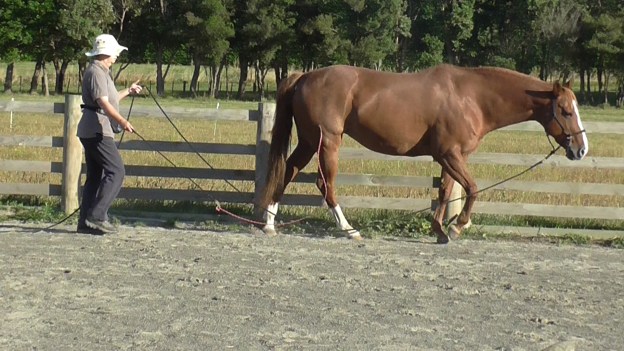
Once the horse understands the basic principles of long-reining, we can play with refining the following:
- Walk-on’ signals from behind moving between foot or nose targets.
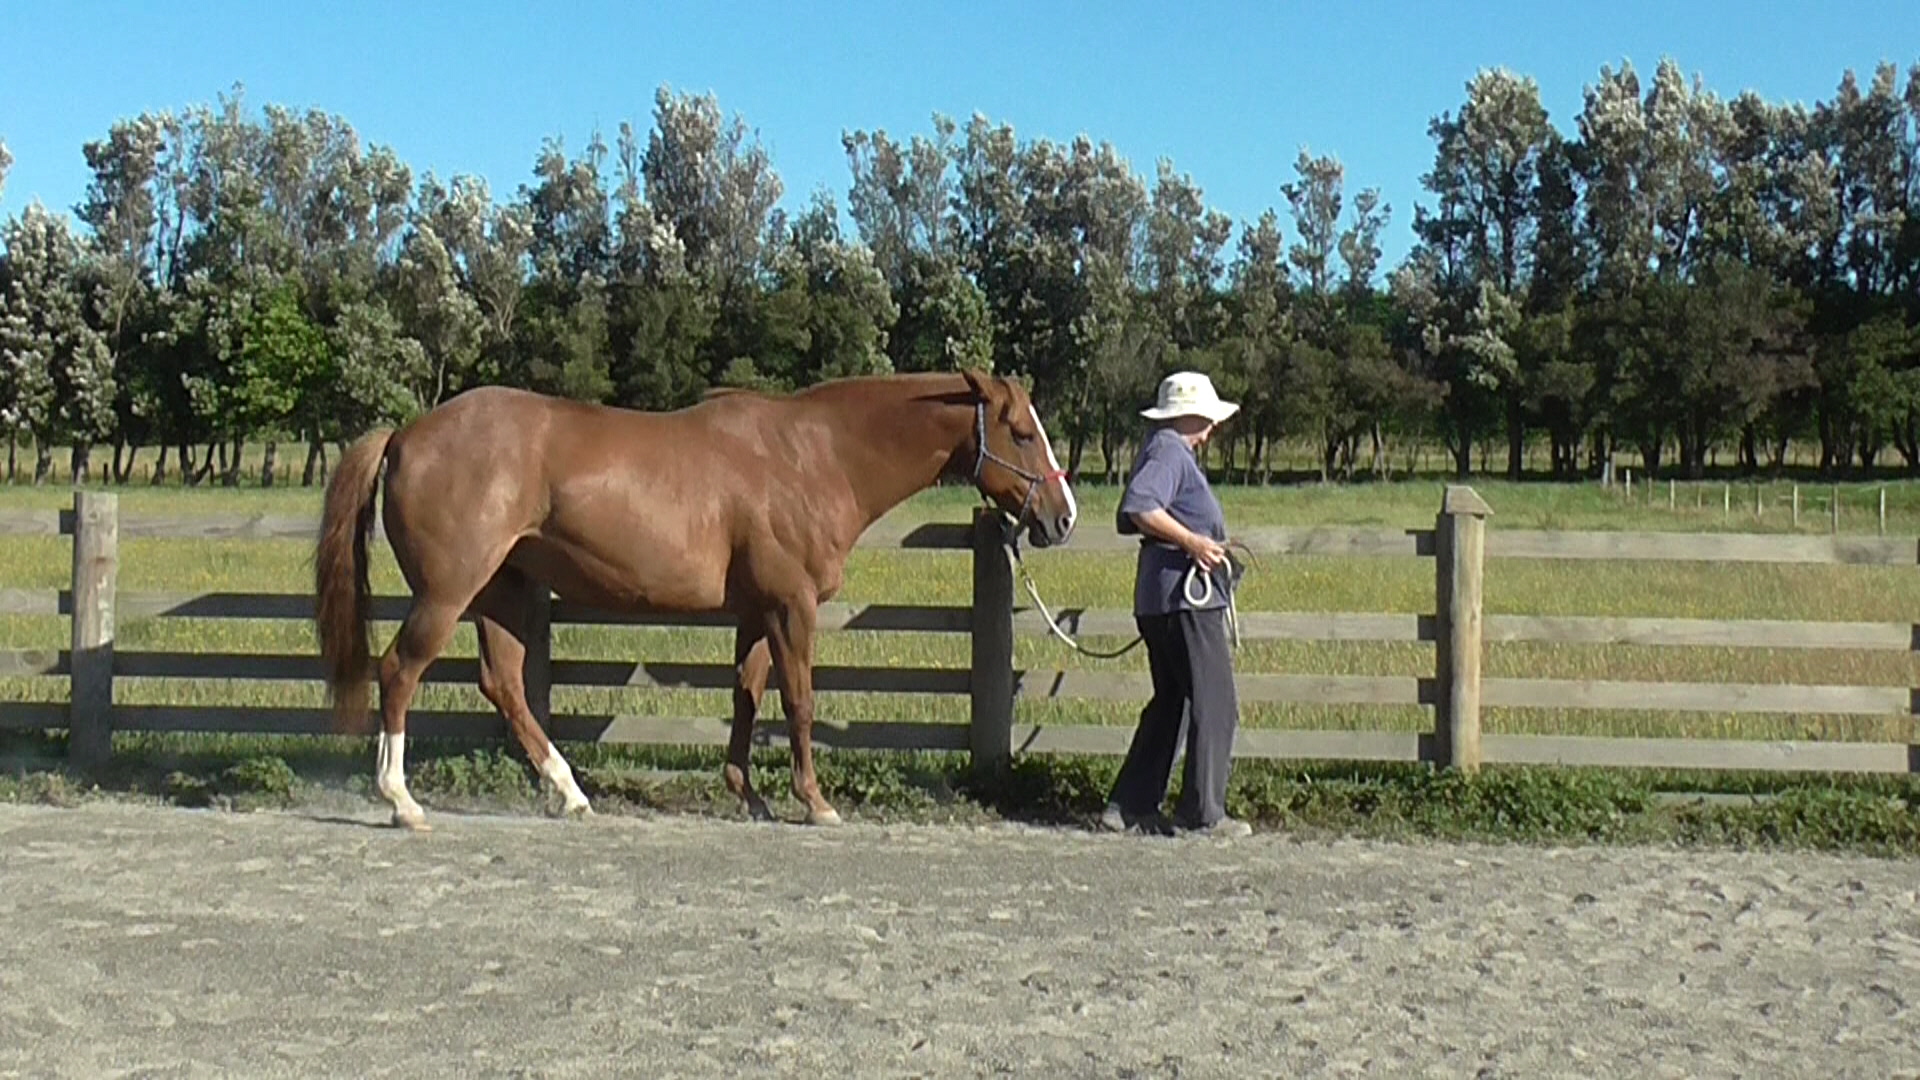
- Walking forward willingly following a fence-line.
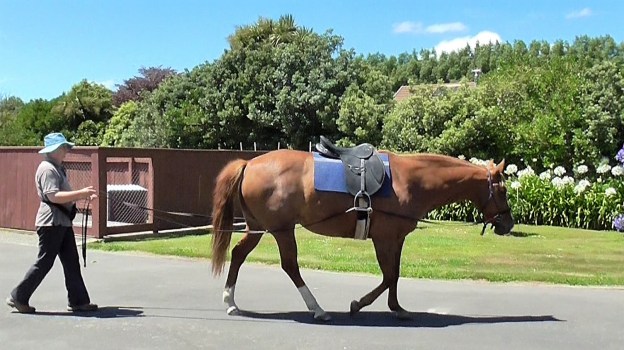
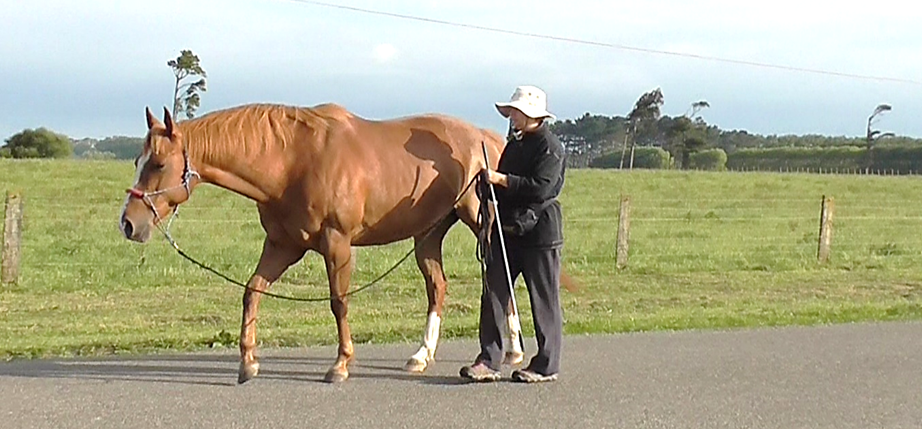
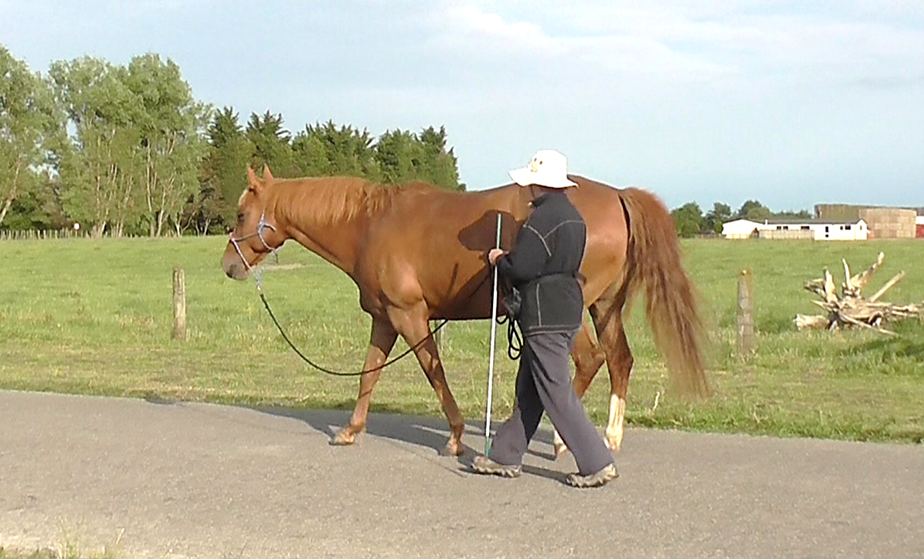
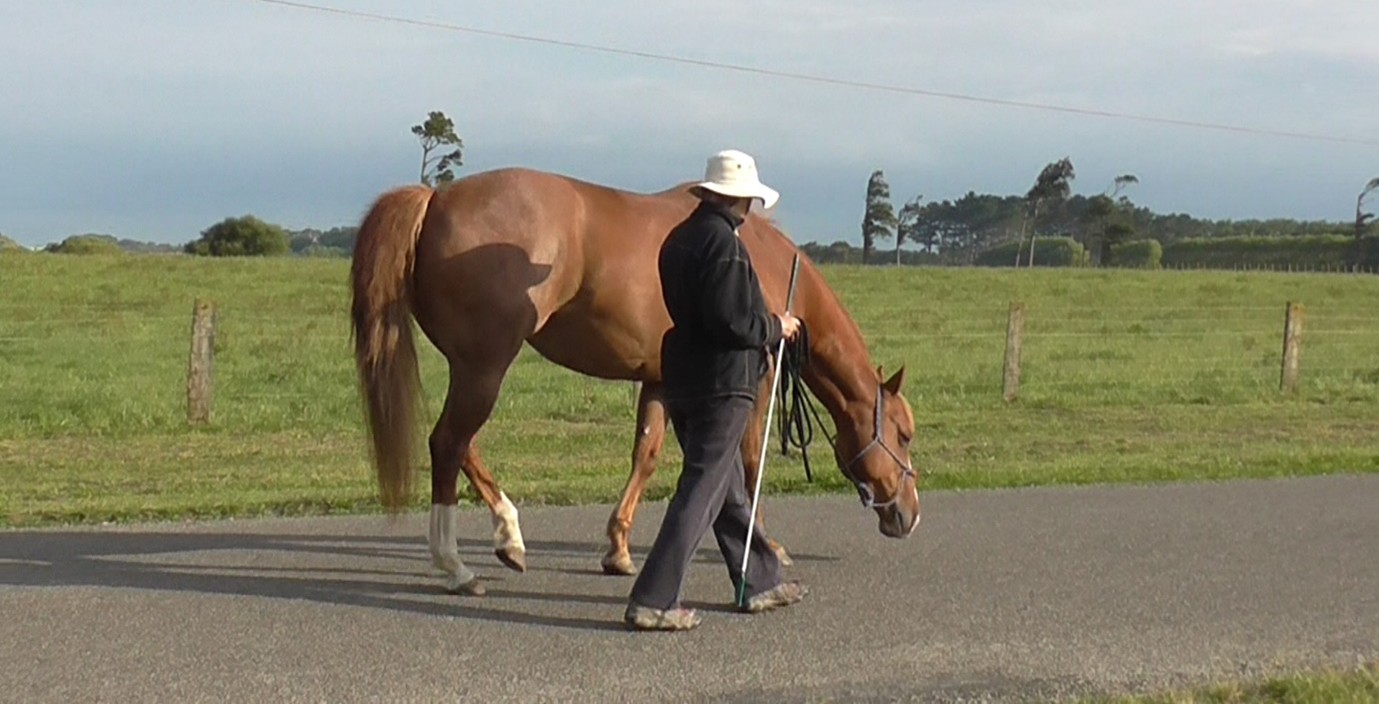
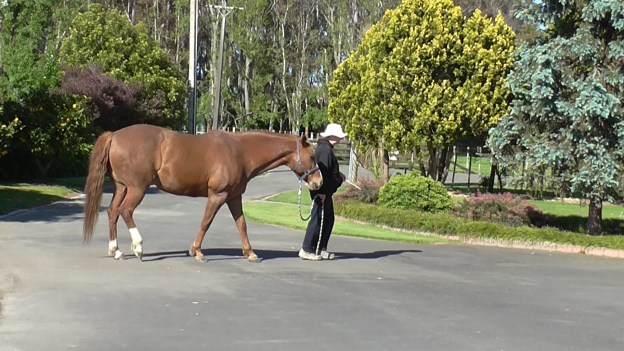
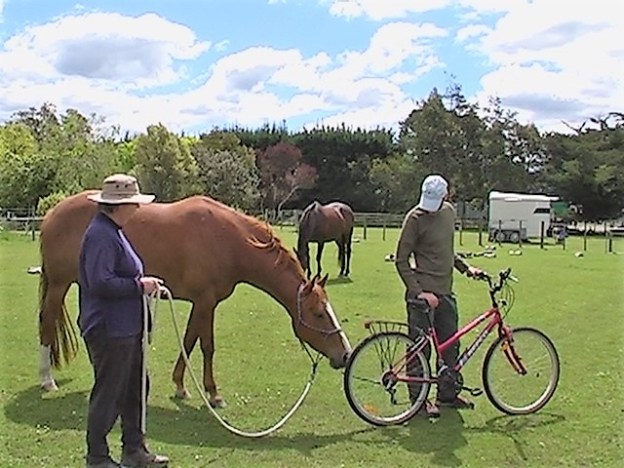
- Walk out willingly following a safe track a road.
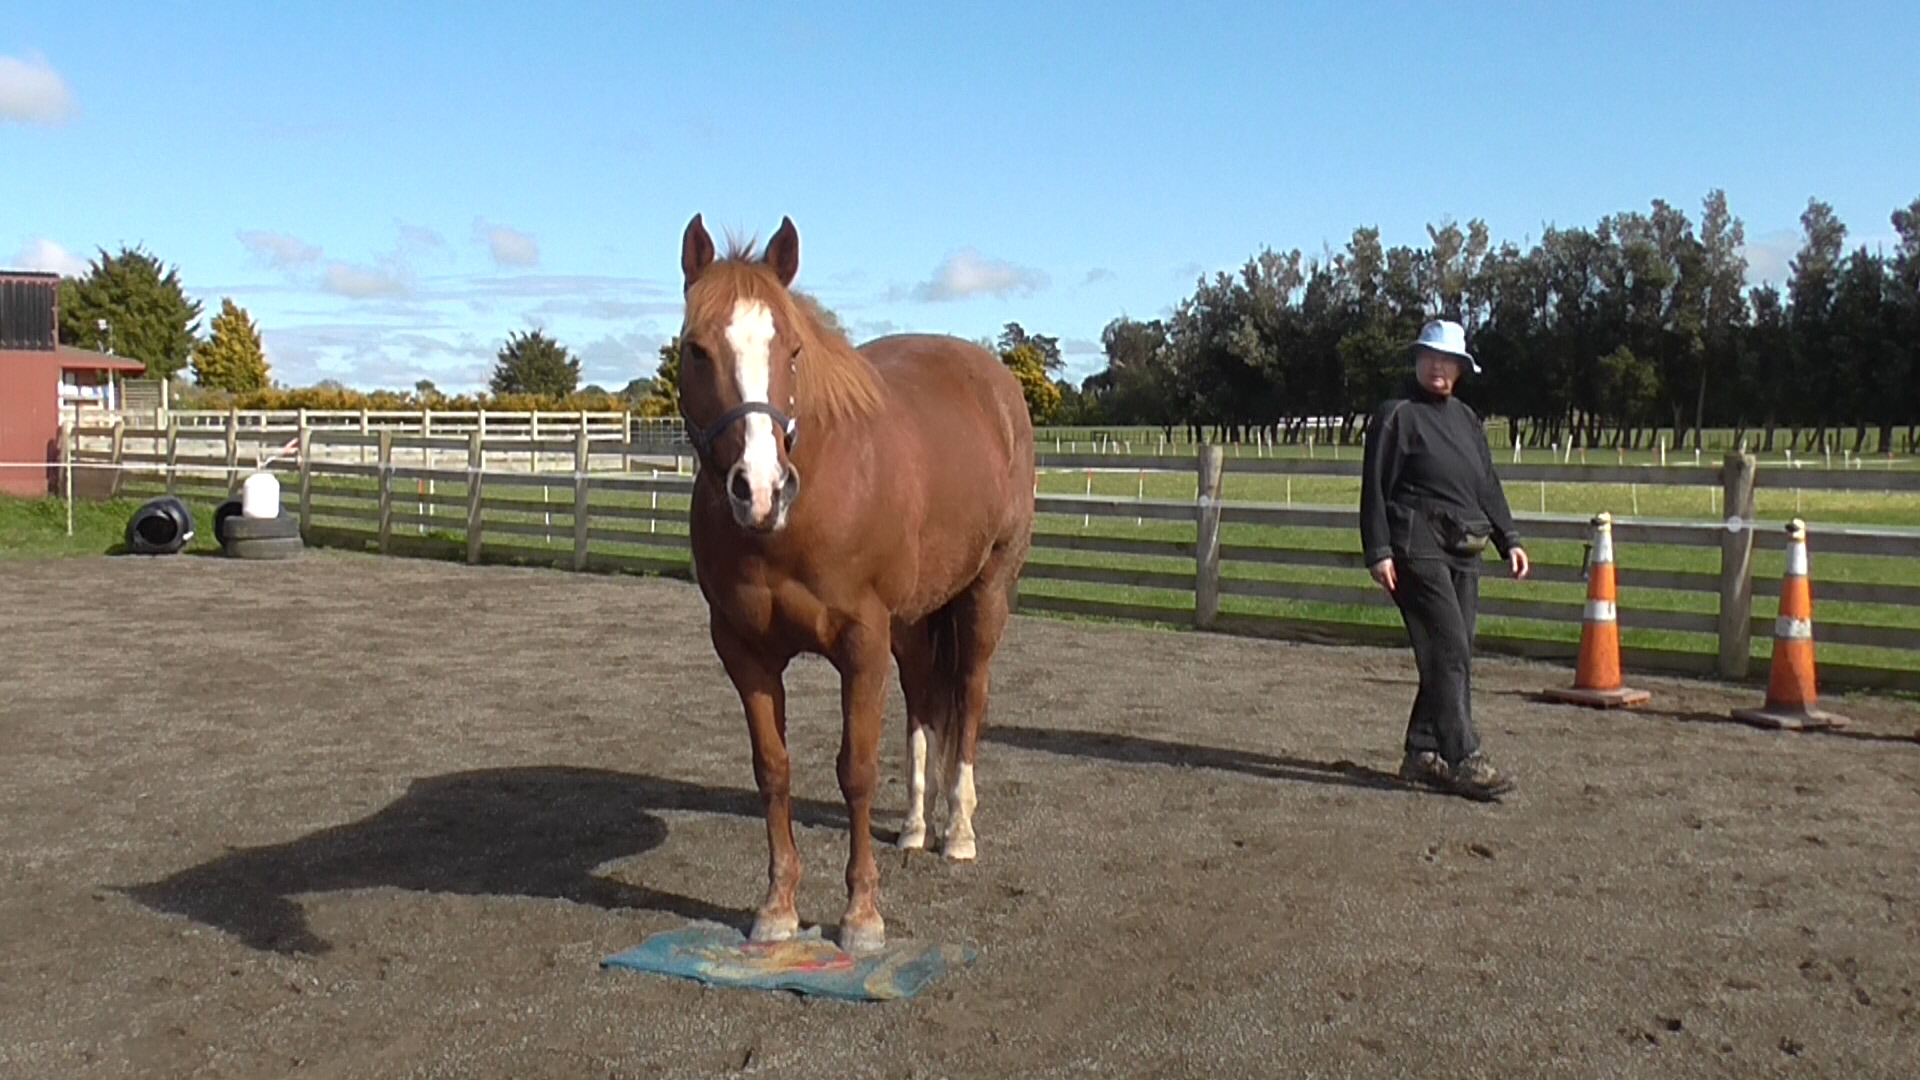
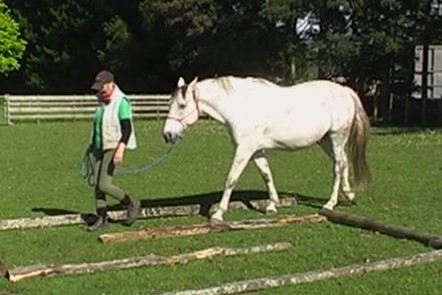
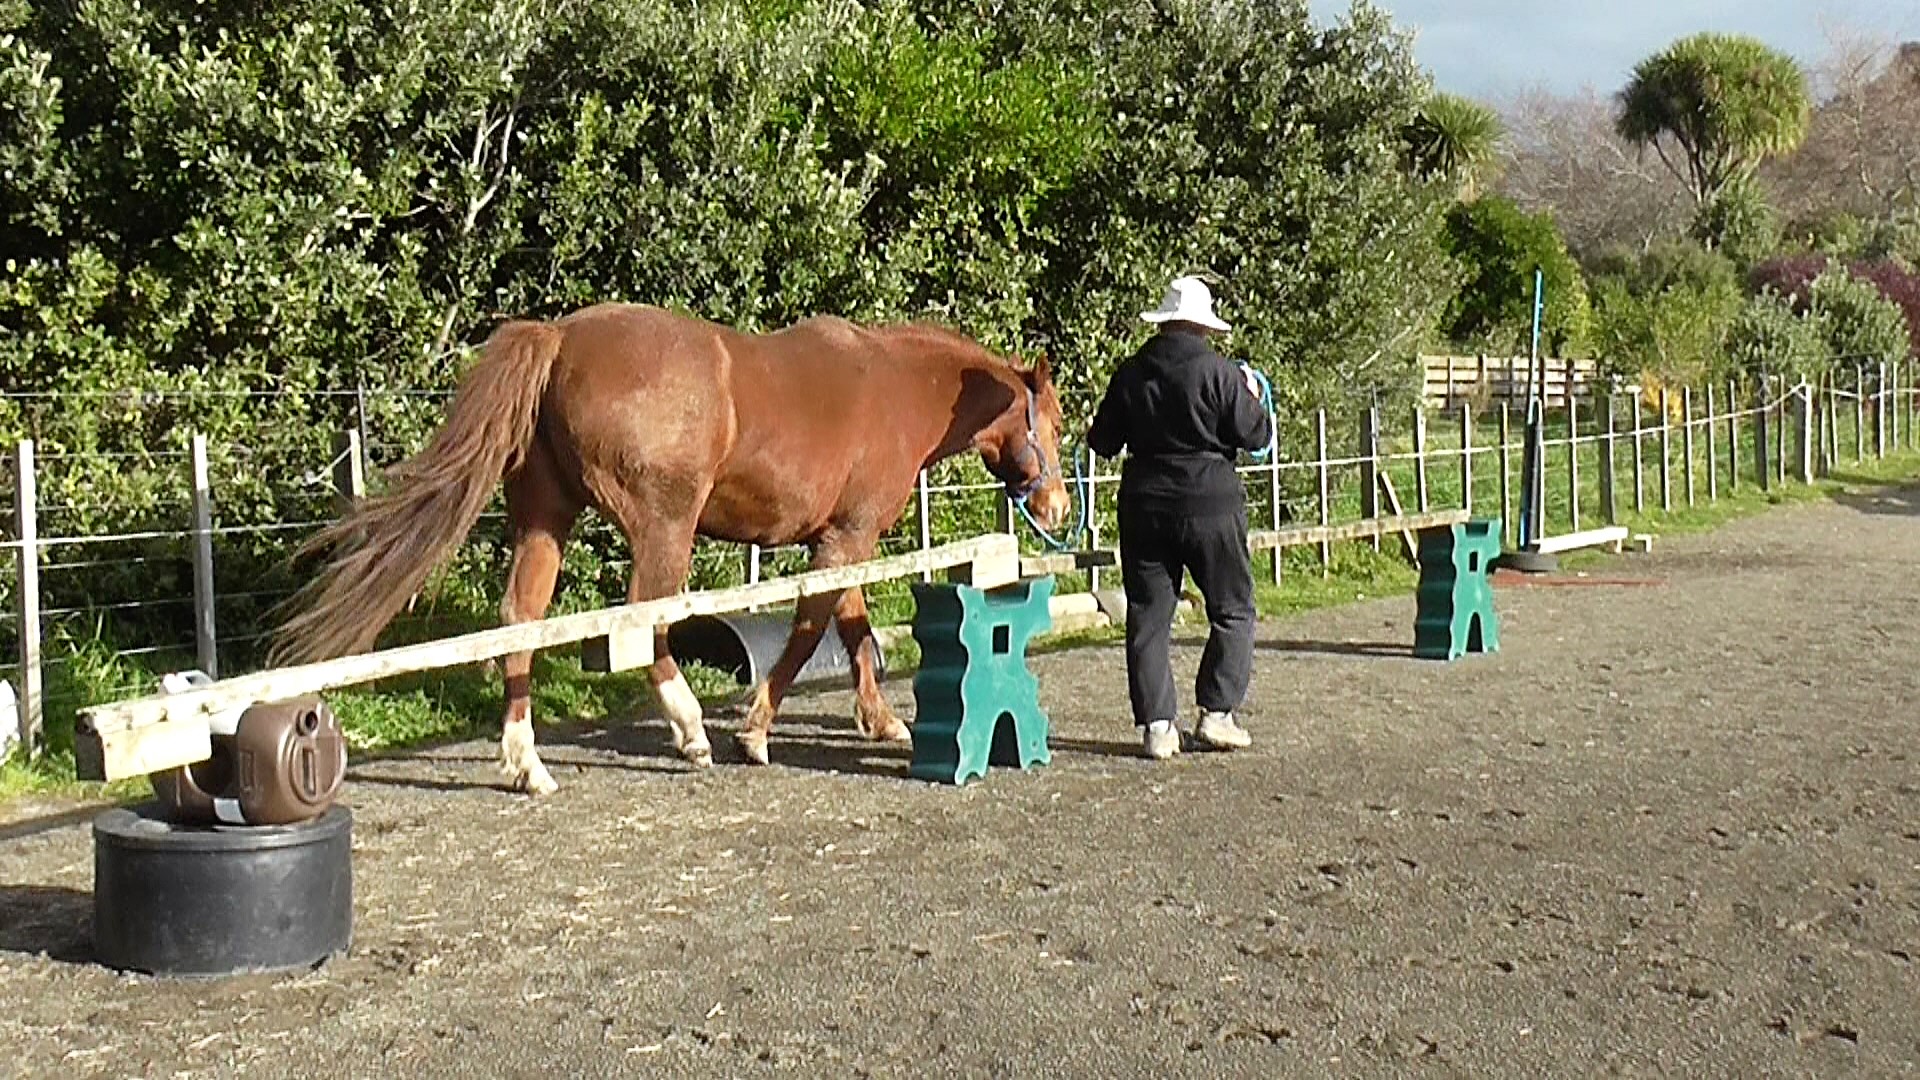
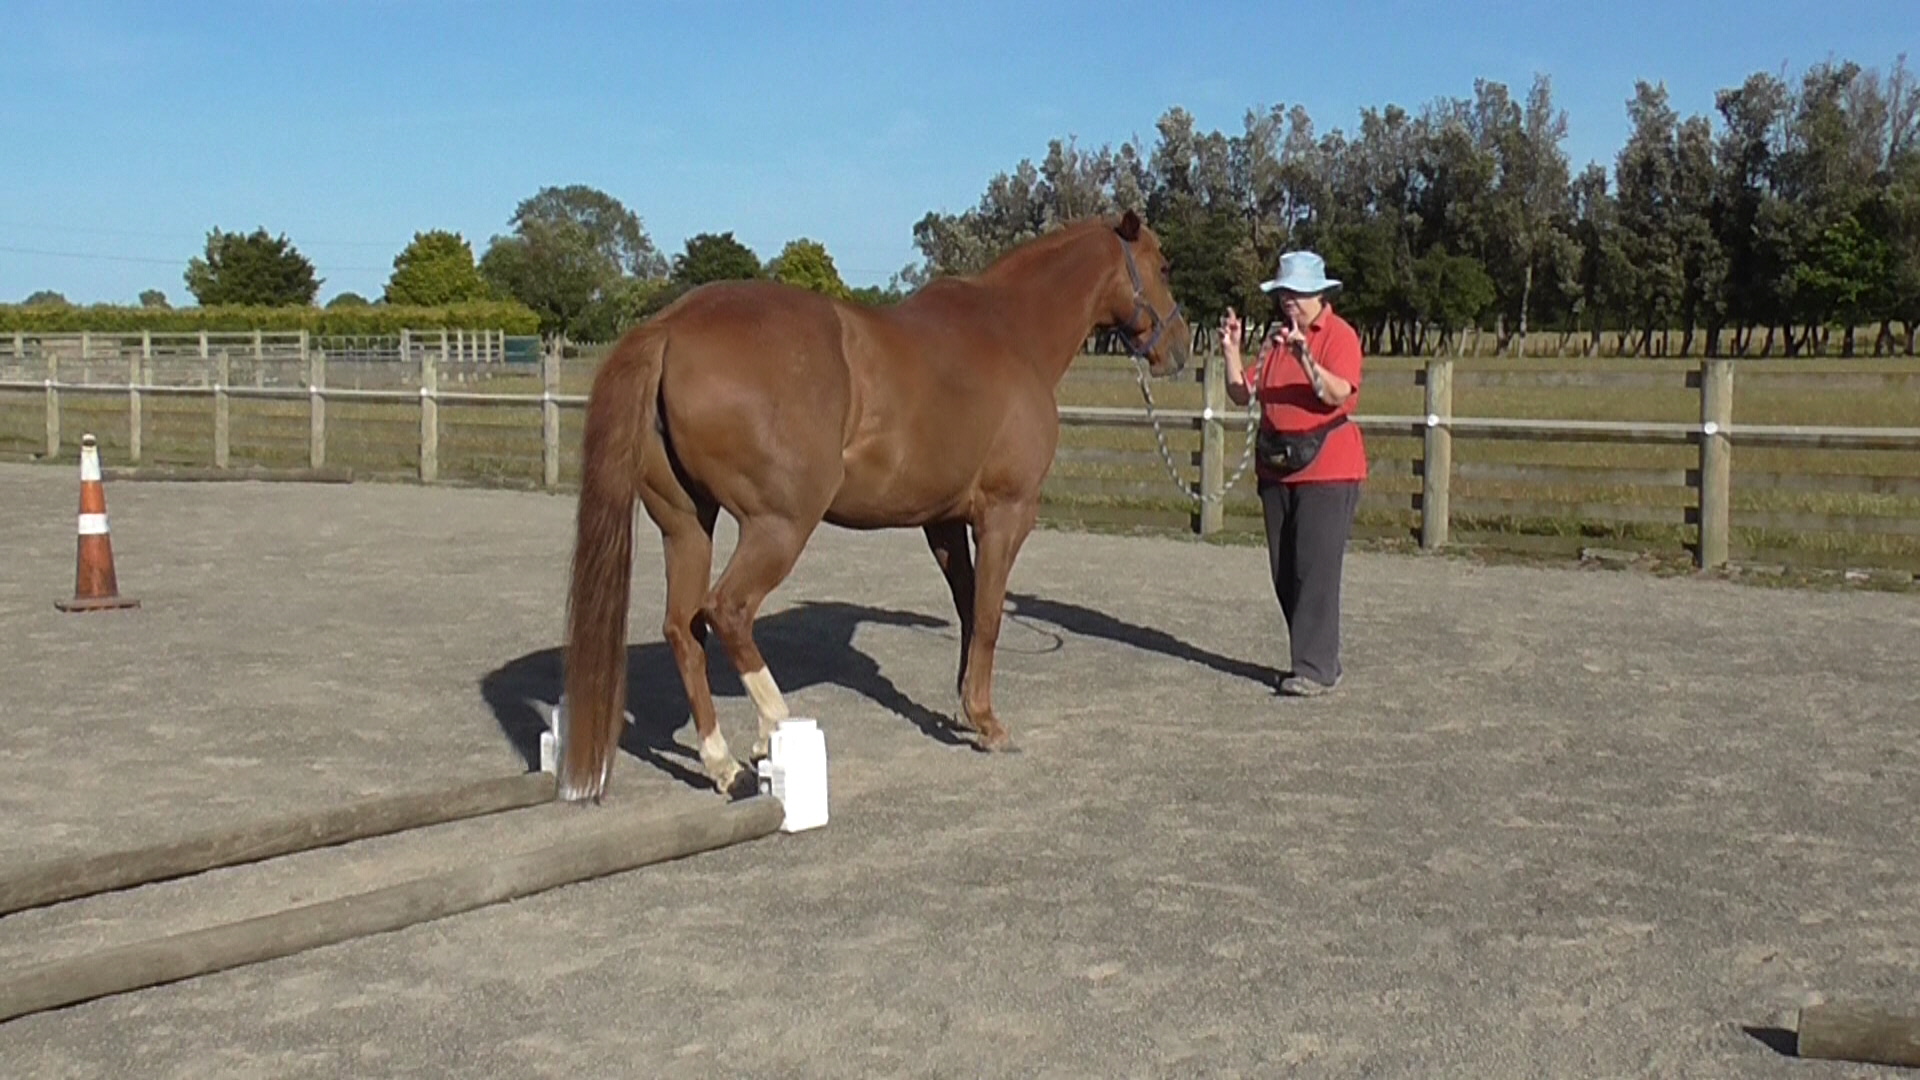
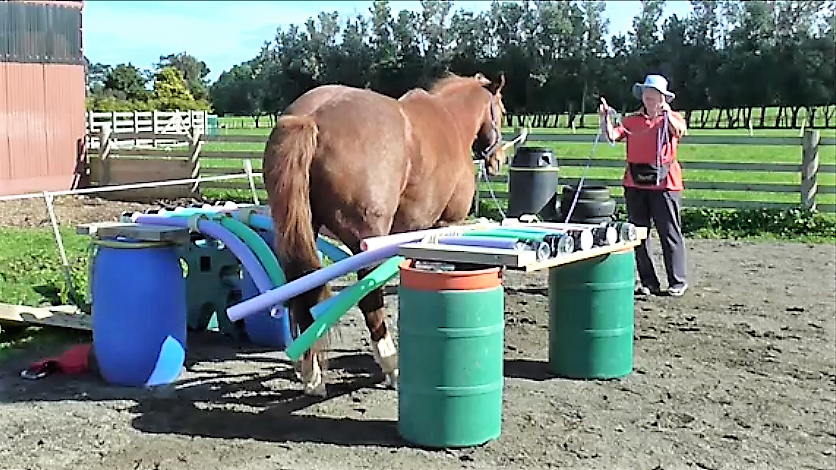
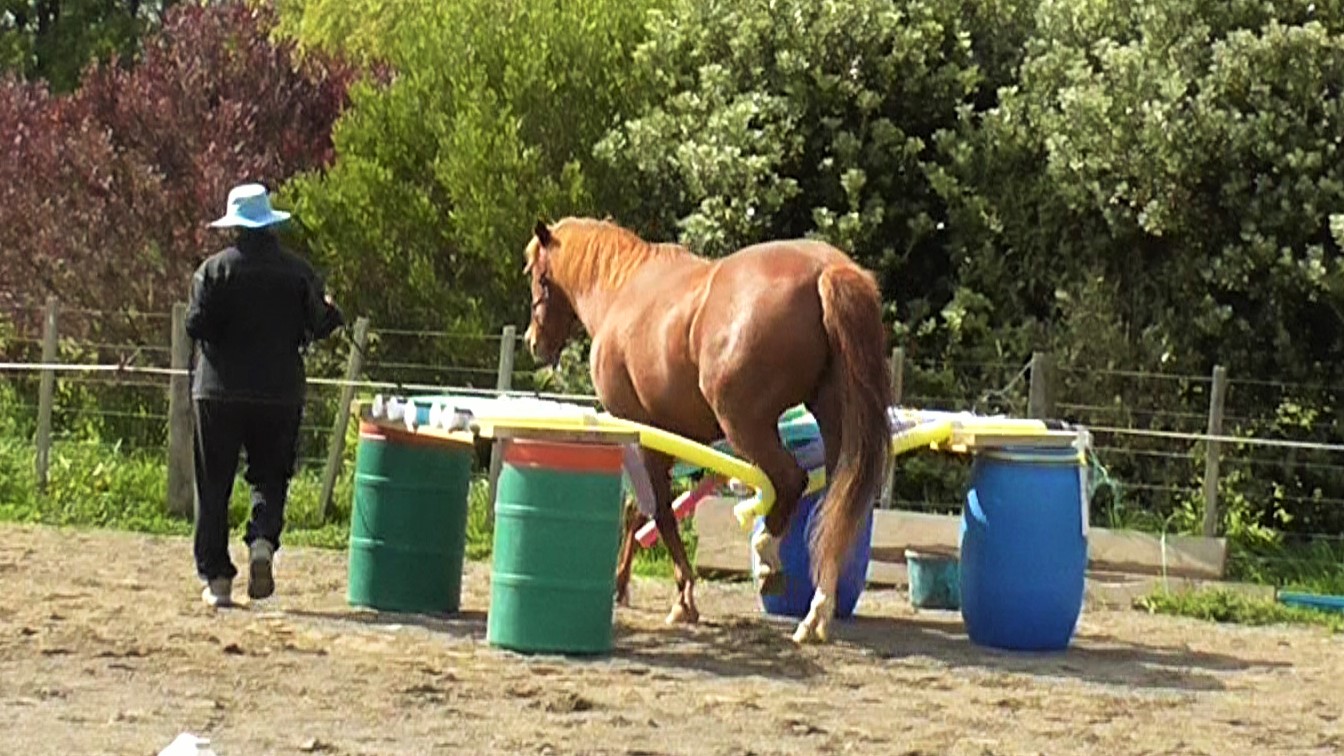
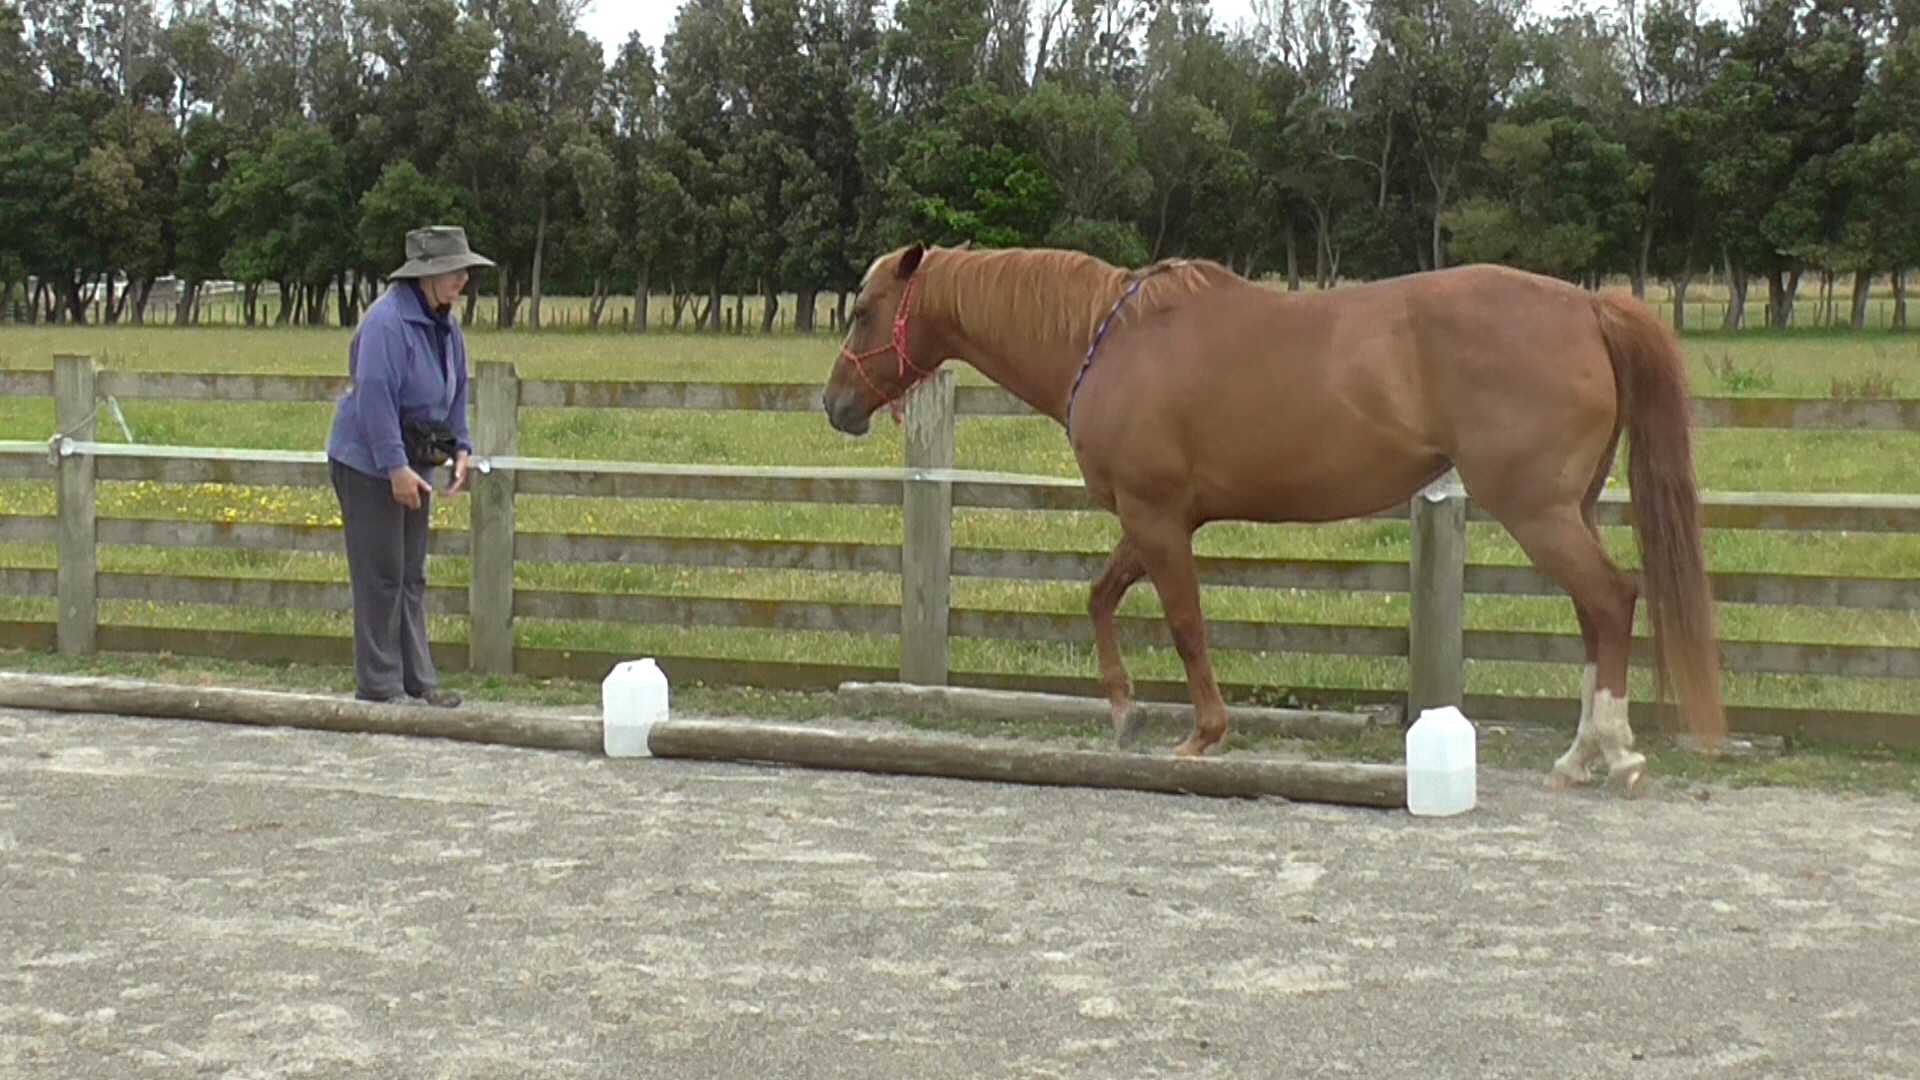
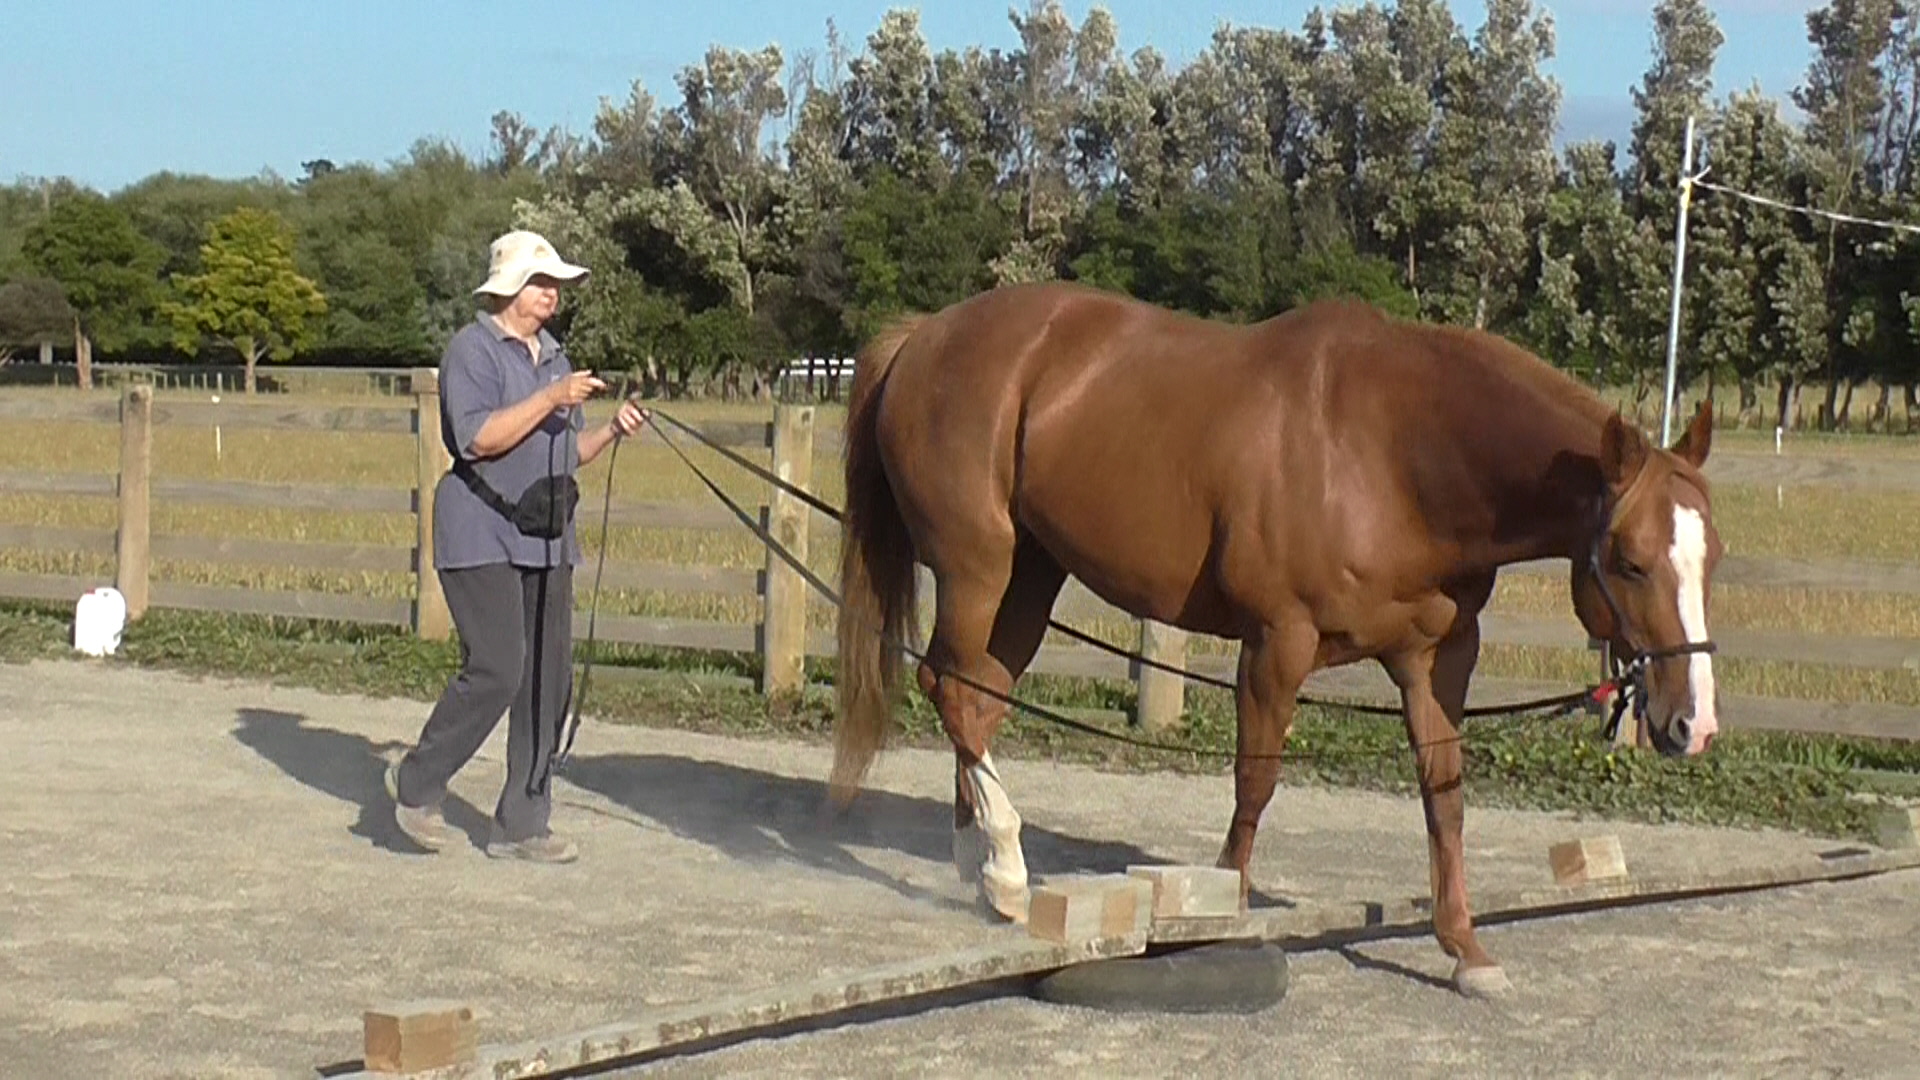
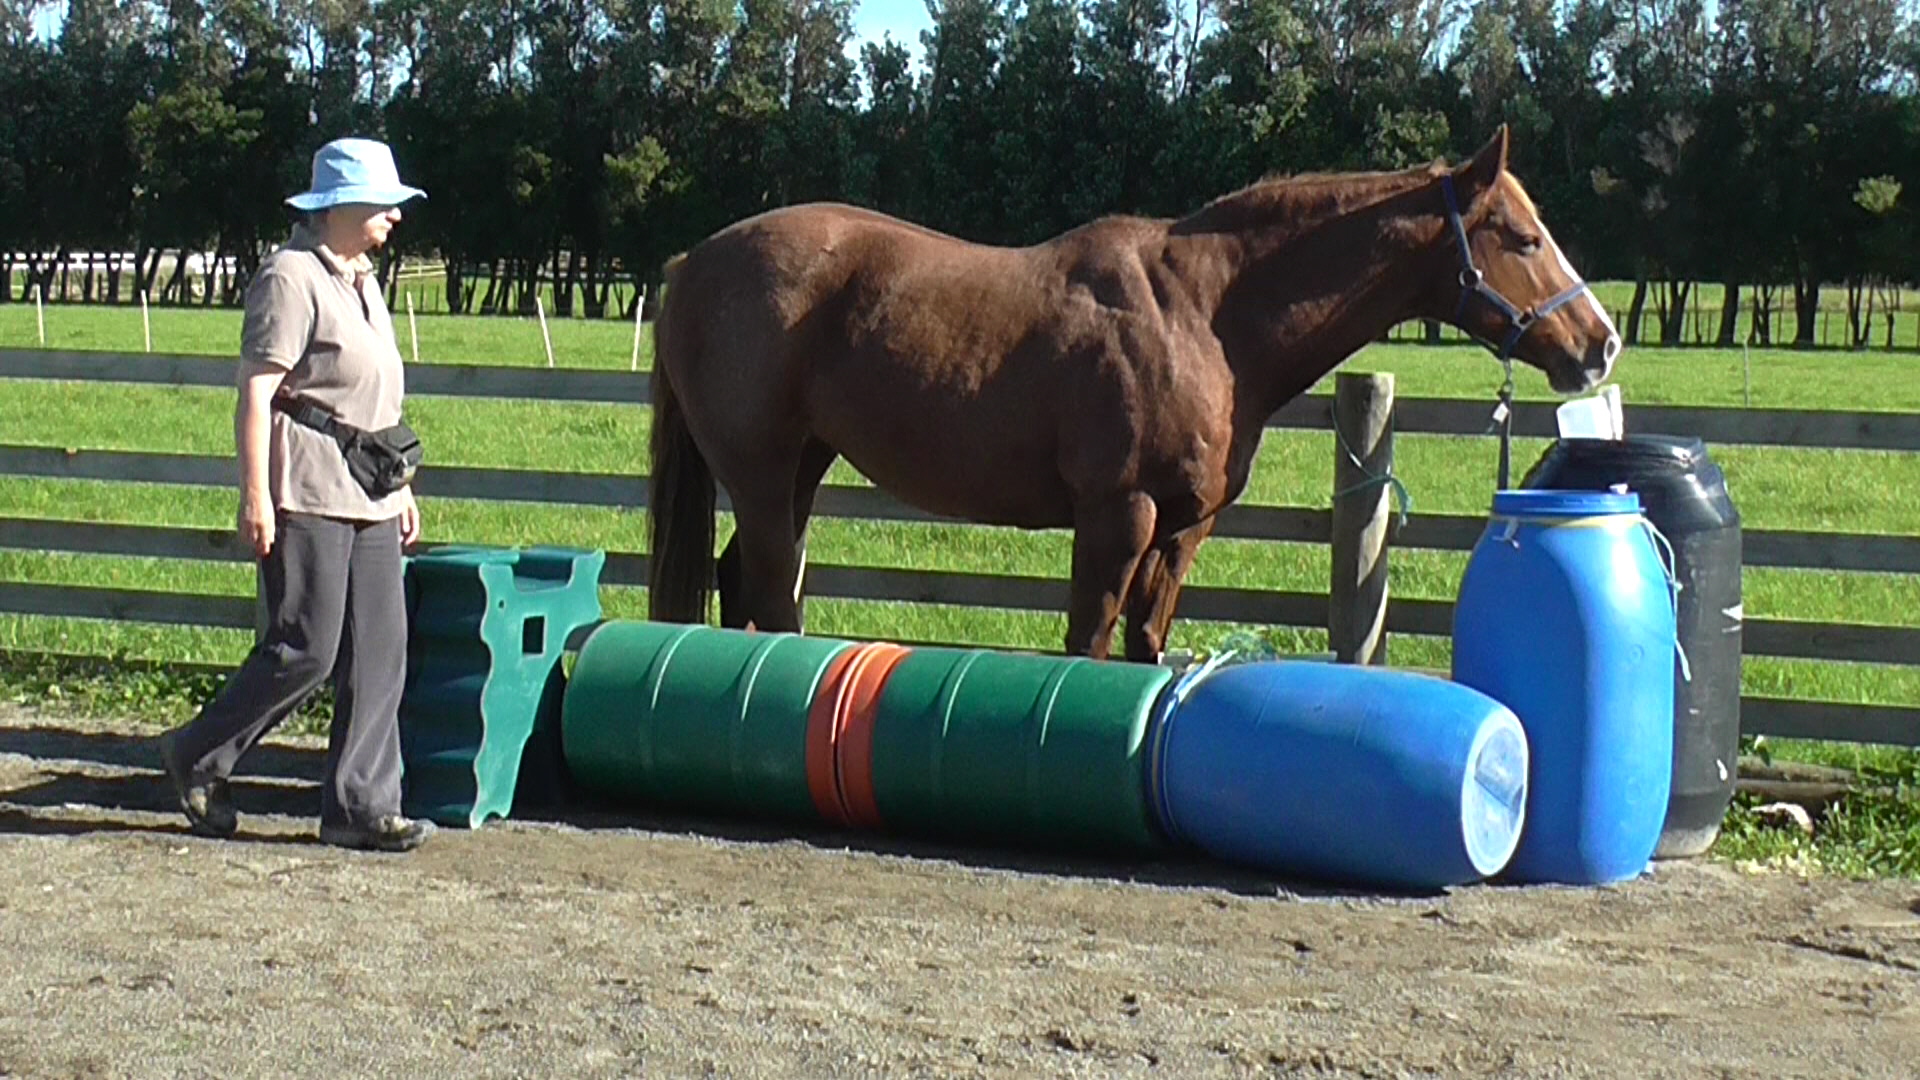
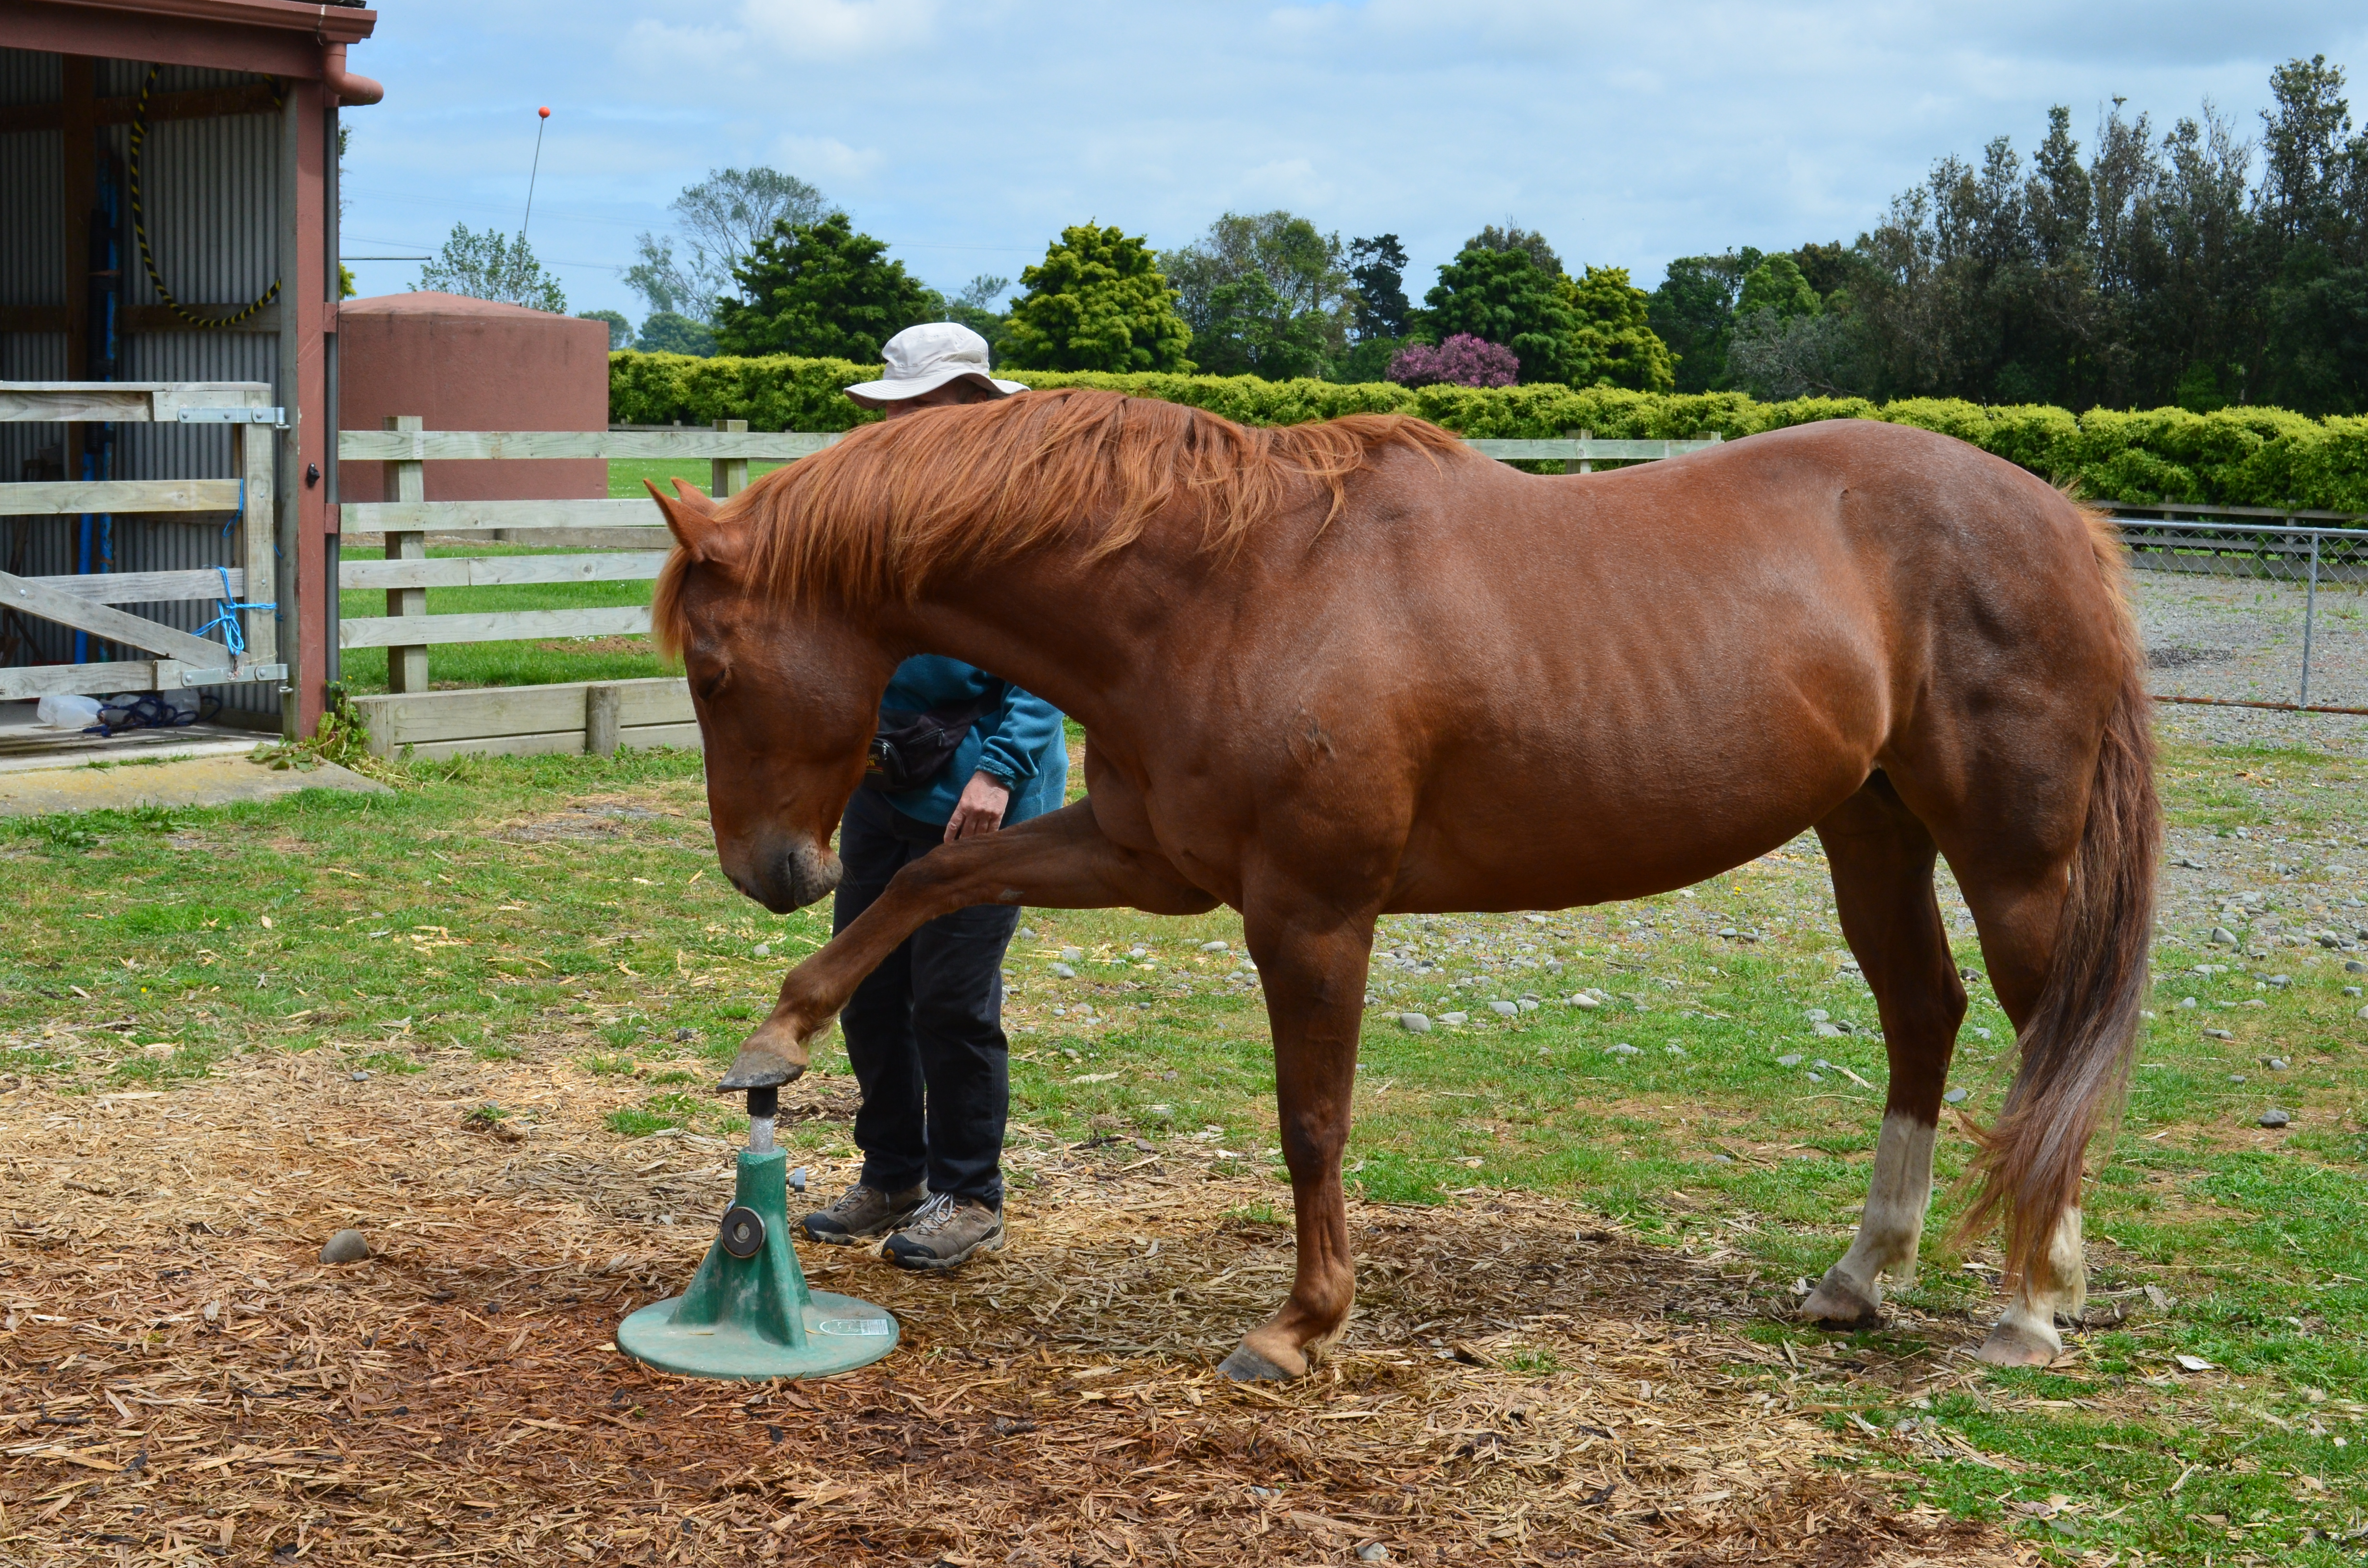
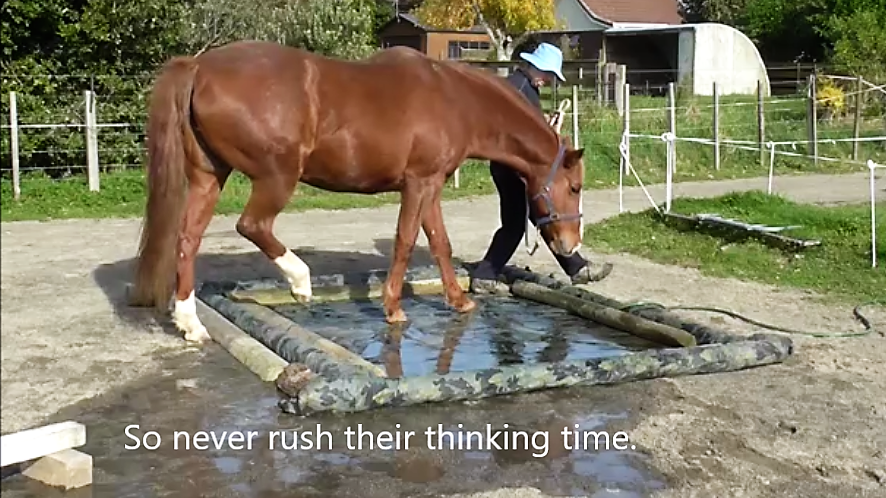
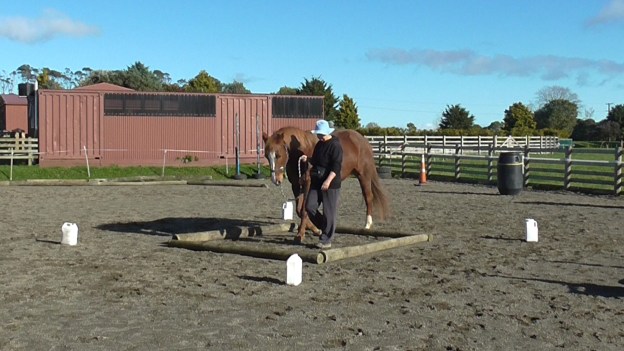
- Walk on over obstacles – rails, water.
- Halt and back up signals from behind – start with a dead-end space, including moving into and backing out of spaces such as small pens, stalls and trailers.
- Turn right — 90°, U-turns, arcs and circles (various sizes) to the right.
- Turn left — 90°, U-turns, arcs and circles (various sizes) to the left.
- Figure 8’s.
- Weaving markers – straight line and in a circle.
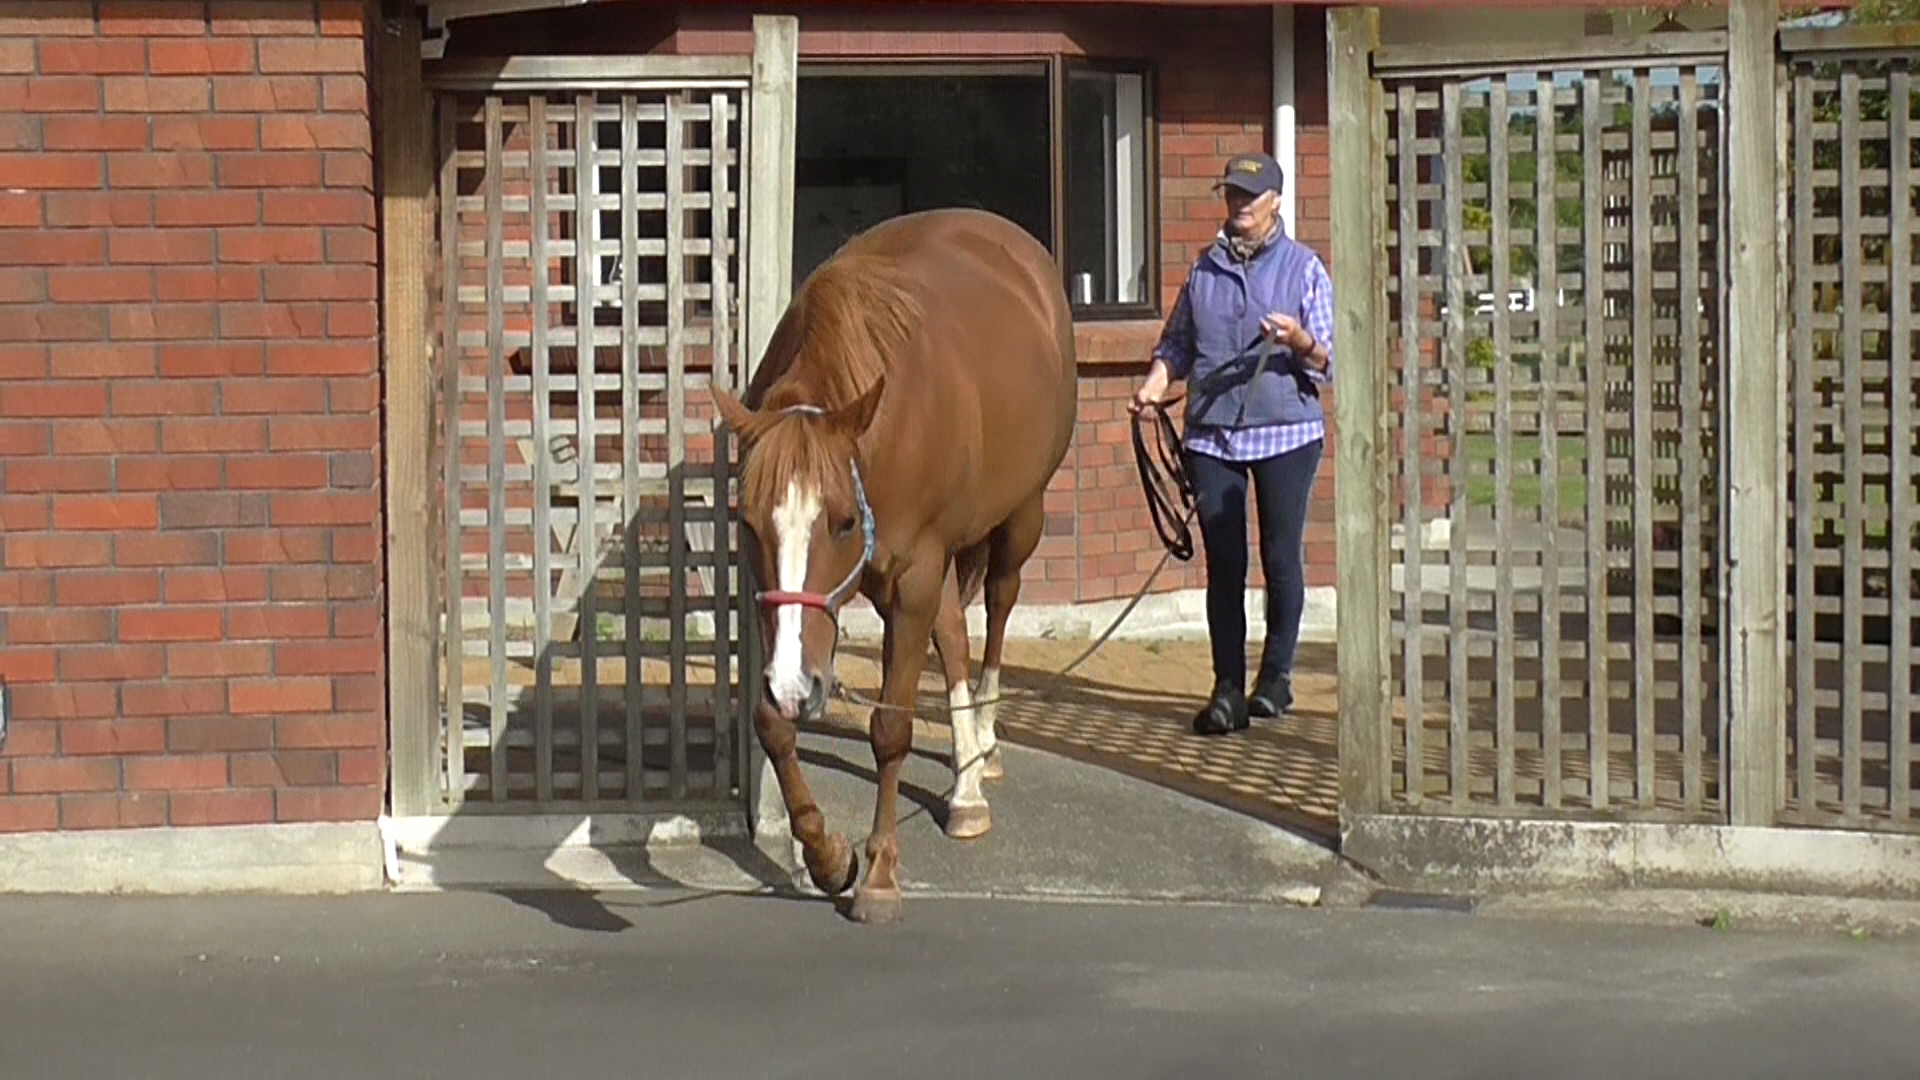
- Movement through narrow spaces.
- Decreasing spirals and increasing spirals.
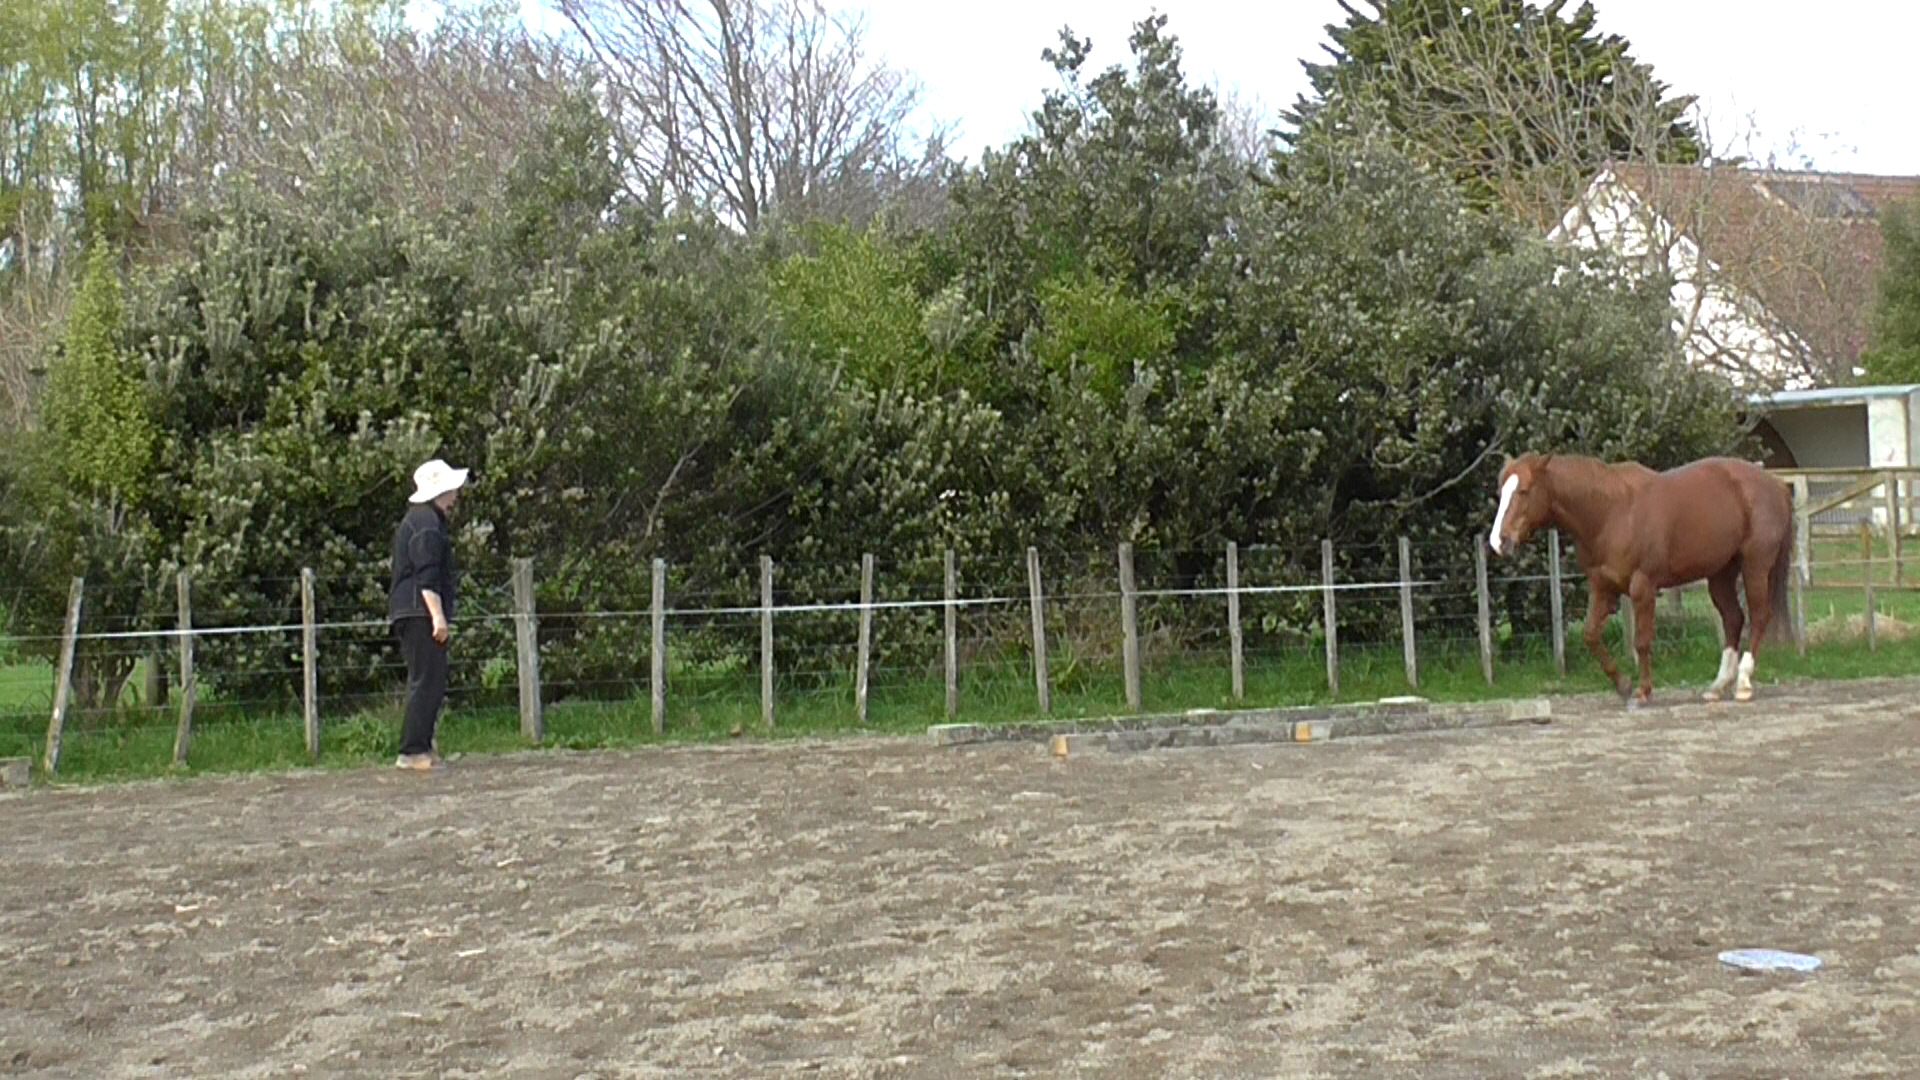
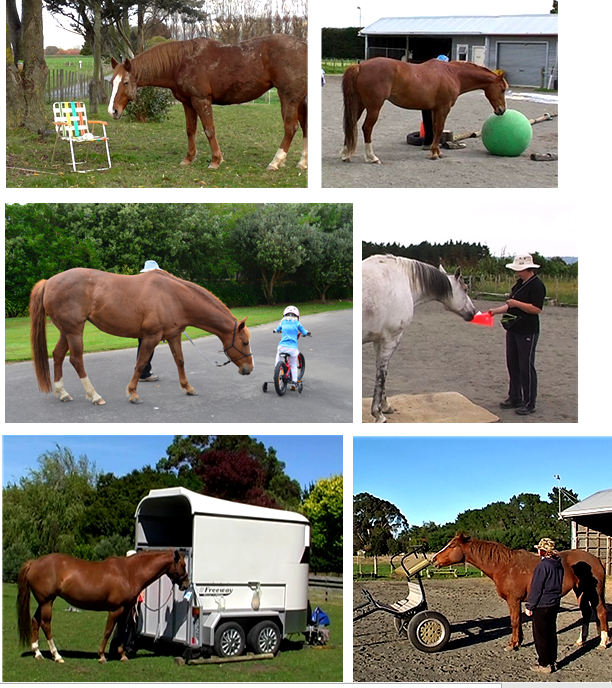
- Walk out in new places.
- Walk-jog and jog-walk transitions (if your fitness allows).
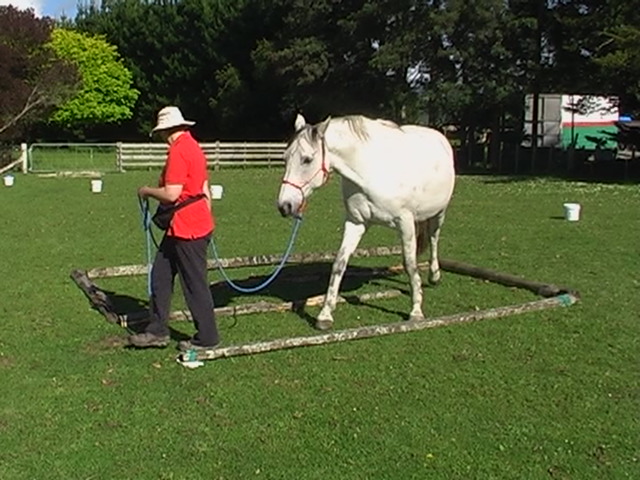
Move through unusual or narrow spaces.
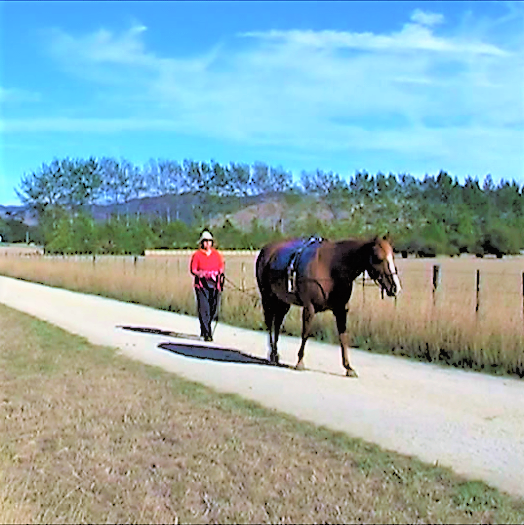
Lots of walking out and about in different safe places builds confidence.
f. Some Examples of Patterns
Your skills will gradually develop by setting up as many interesting patterns as you can think of. Here are a few examples.
Weave a straight line of markers and a circle of markers
Line of Markers: To start with, 8 objects is a good number. Have them far apart to start with. As you weave, the horse has to change the bend in his body each time, so make sure, as you learn the pattern, that the space is enough to allow you sufficient time to give the signal for the new bend with one rein before you get to it.
As soon as you are past one marker, prepare for the new bend to get around the next marker. The horse has to have sufficient time to adjust his body and balance. As you both get better, put the markers closer and closer together.
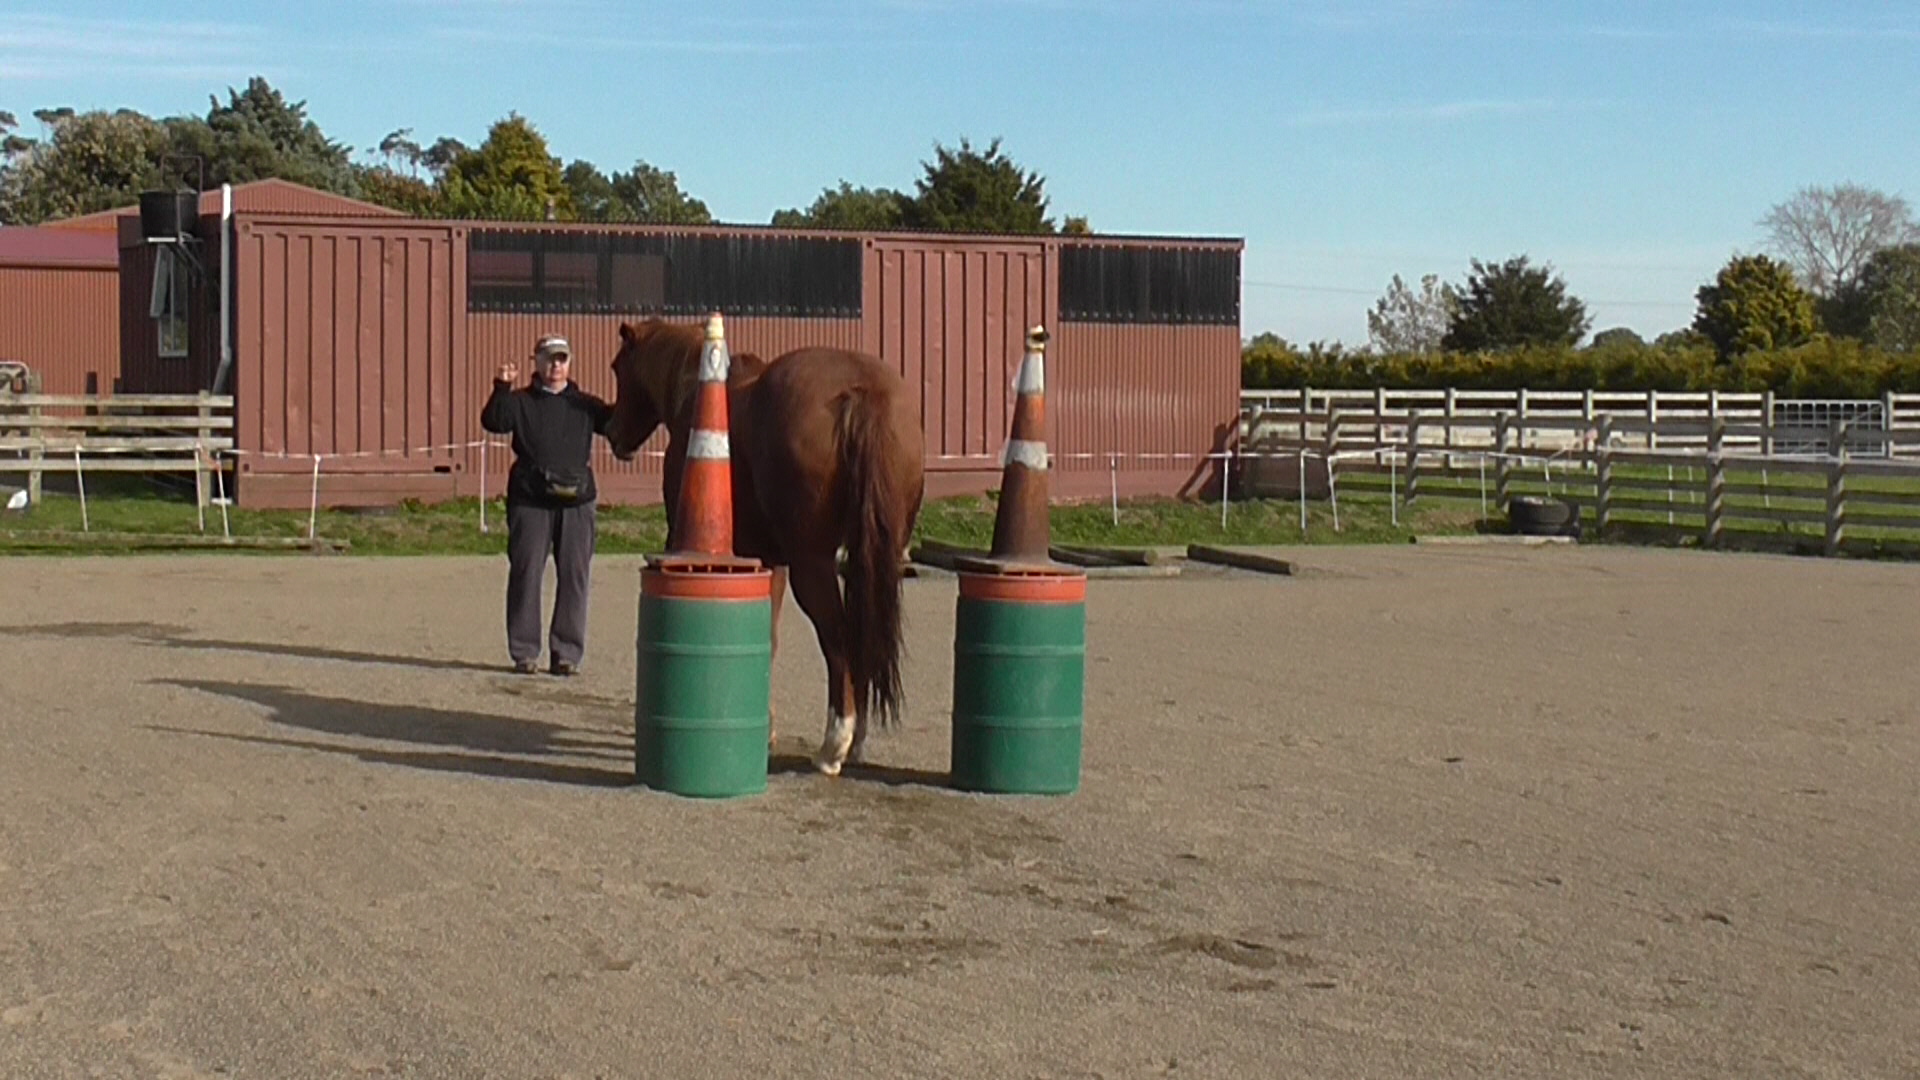
Circle of markers 1:
Lay out a circle of regularly-spaced markers (size of the circle depends on how flexible the horse is — start large and get smaller. Start with large or tall markers (e.g., tread-in posts) if you can, because a horse sees more sense in walking around or weaving such objects. Or use anything bulky.
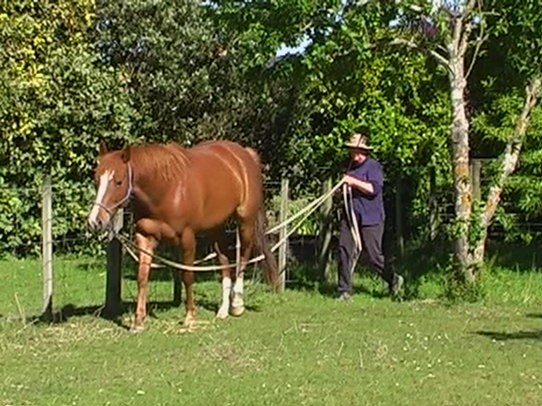
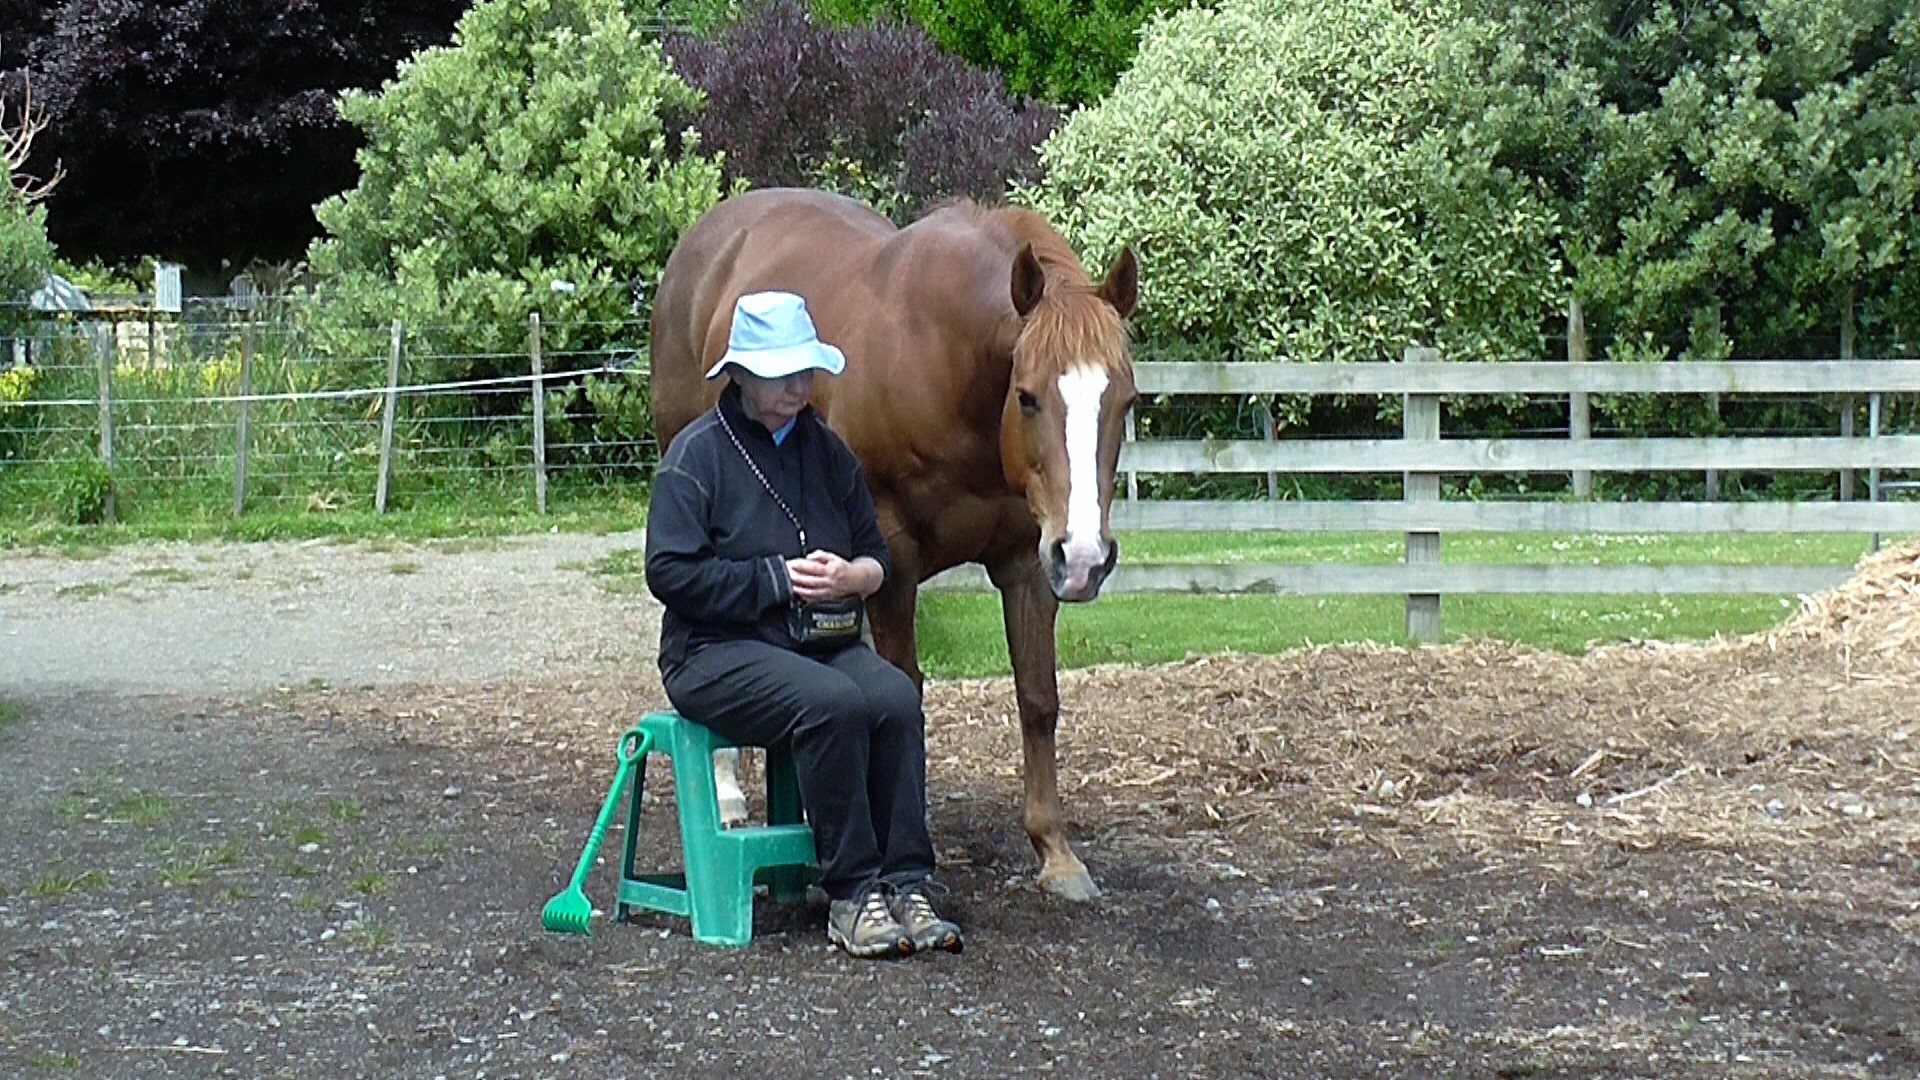
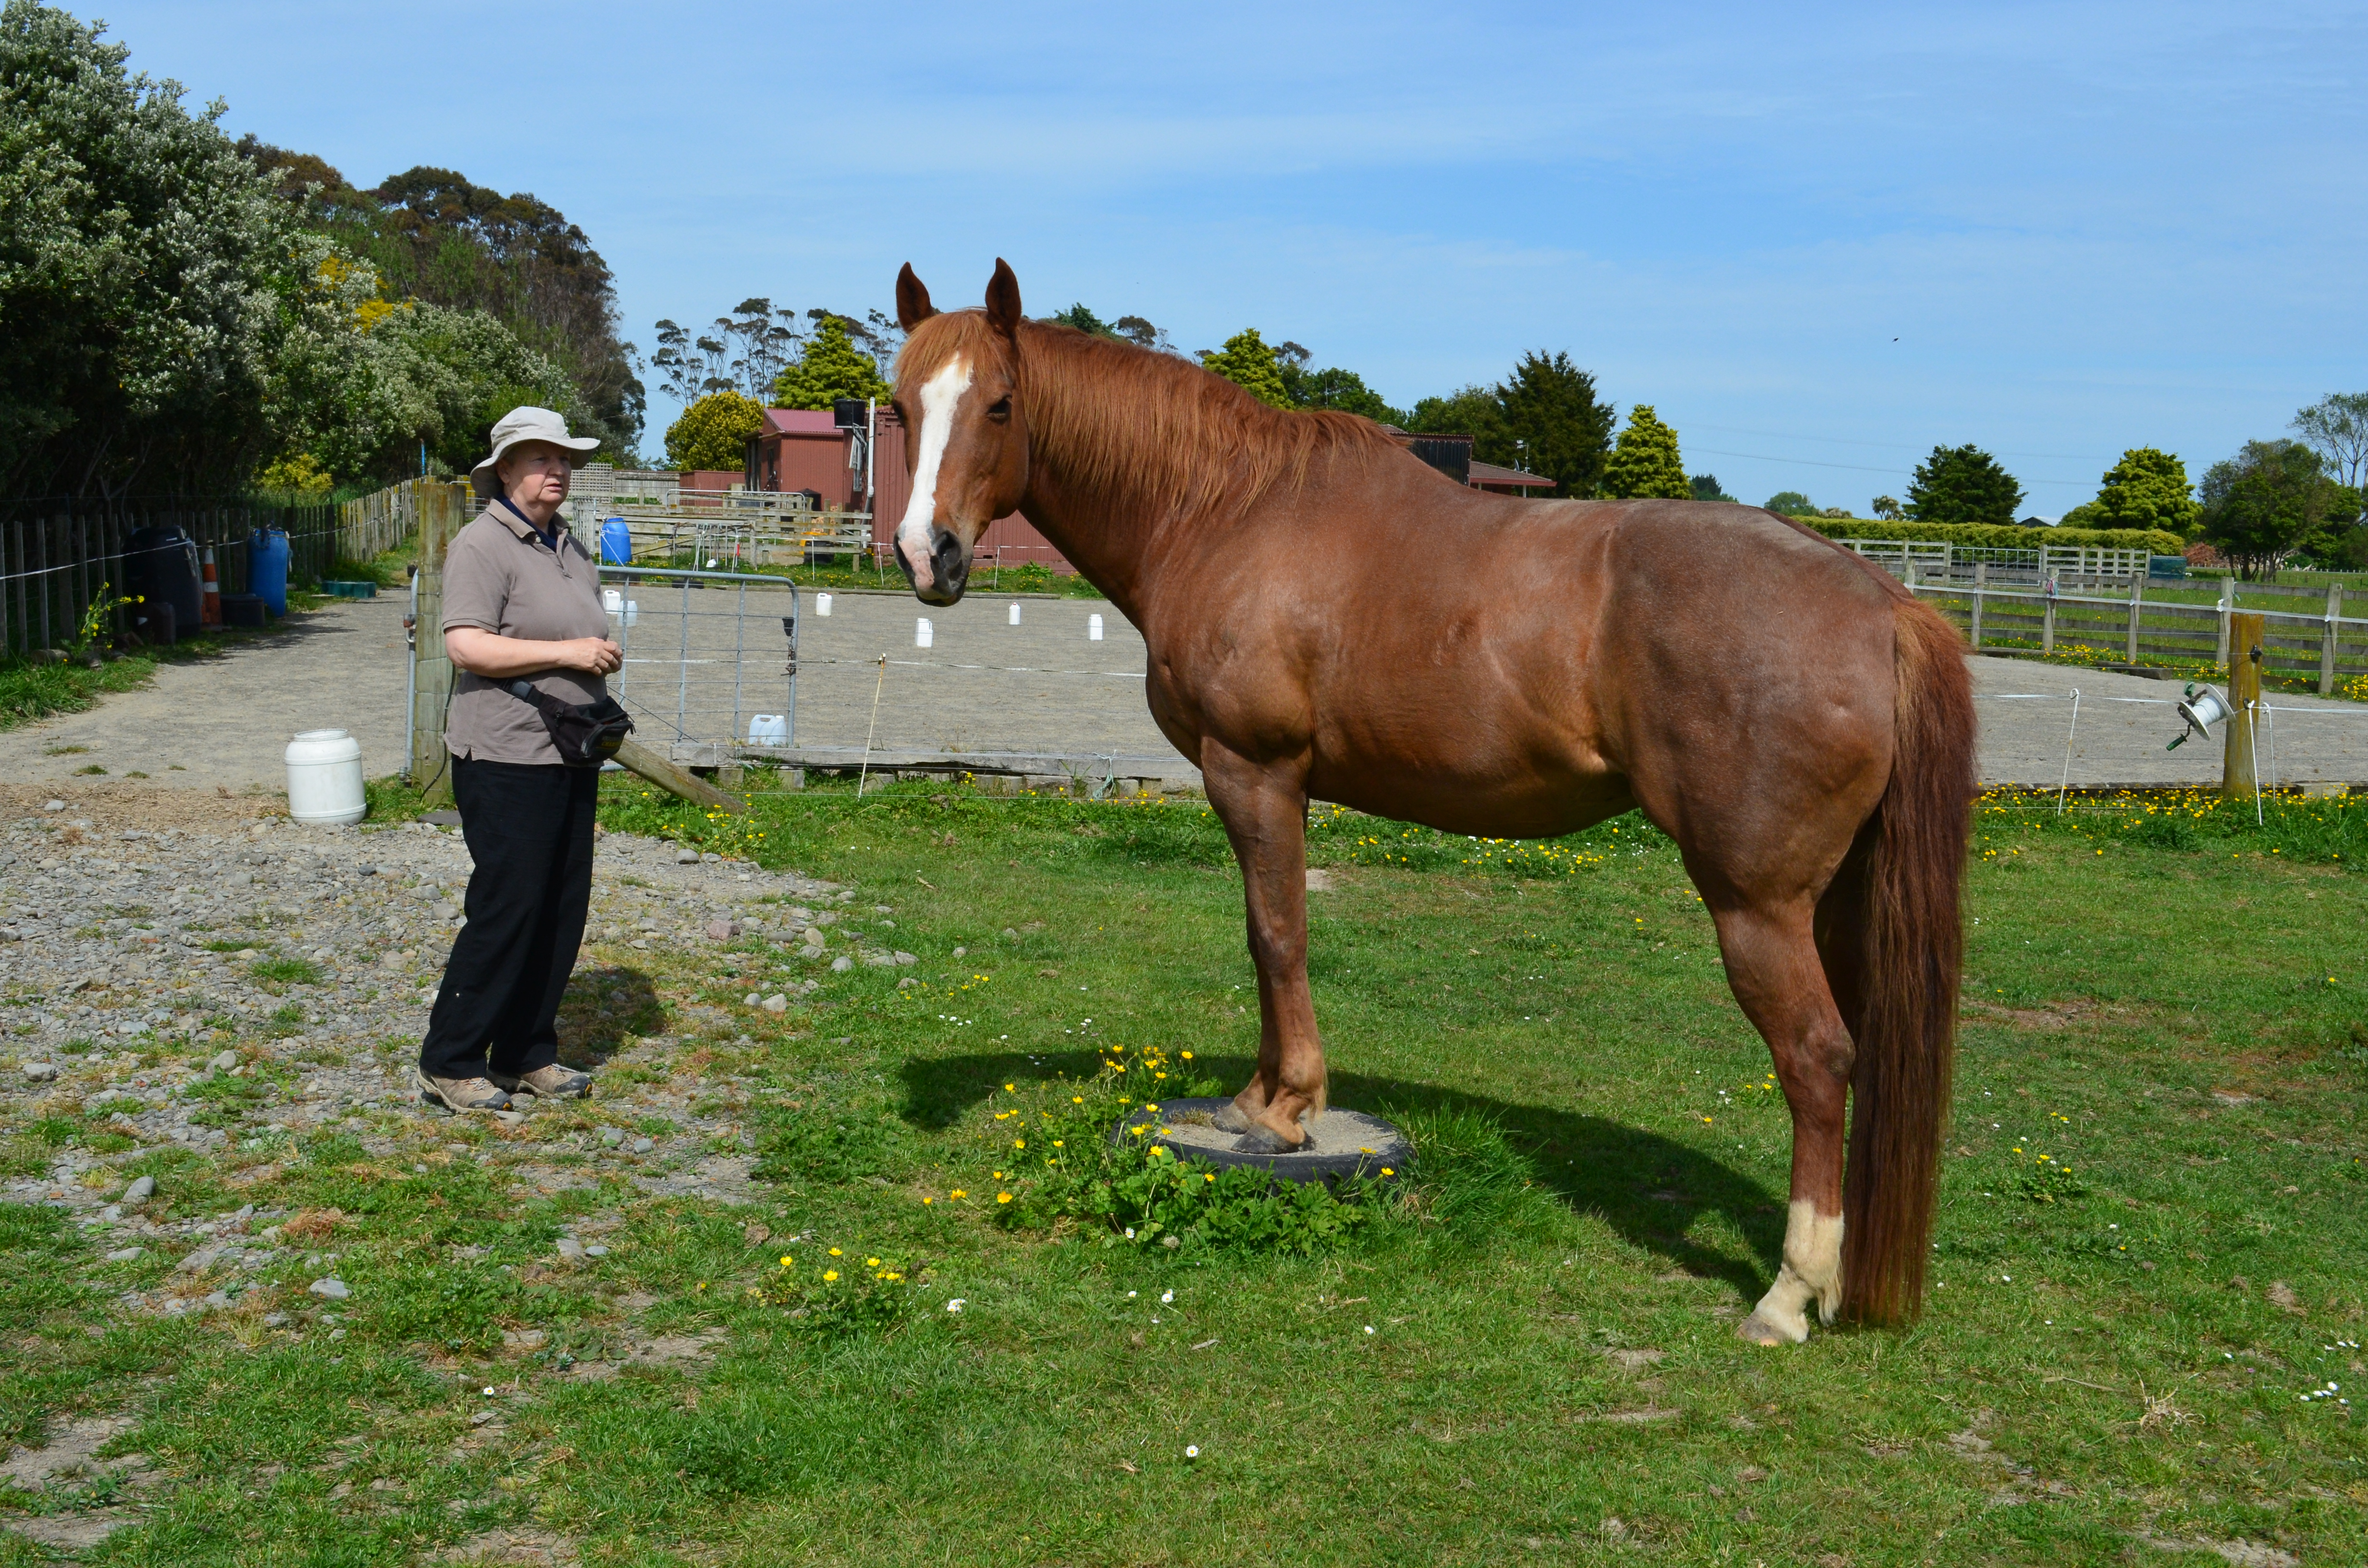
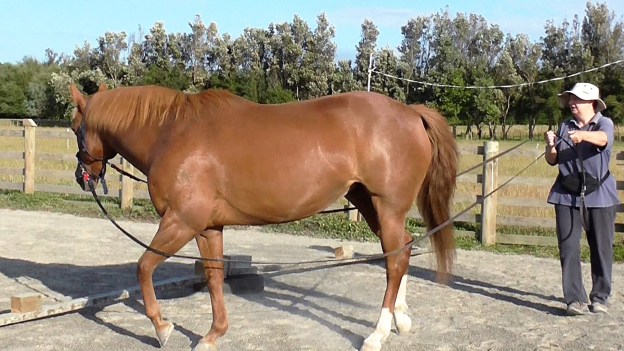
Start by long-reining around the outside of the markers and the inside of the markers in a tidy circle. Have a destination mat in the center of the circle as a release (click&treat) spot. Before you start, decide on how many circles you will do before heading to the mat. Having a definite number increases your focus.Be sure to work equally in both directions; maybe a bit more in the direction the horse (or handler, or both) finds harder.
As you get experienced with this game, you can remove the mat to a place well away from the circle, where you visit every now and then for a spot of relaxation.
When the horse understands the pattern, you can gradually reduce the marker size to something like rags or small plastic lids.
Figure 8
The weave pattern will have built up the horse’s lateral muscles so that he should be able to work on the figure 8, which is more demanding. At first, have two objects (big ones like barrels or big cardboard boxes are best to begin with) quite far apart.
Gradually reduce the space between them as the horse becomes more supple. The figure 8 pattern is a big test of how subtle and clear your signals can be, and how willingly your horse responds.
video?
U-Turns
Once you no longer have a mat in the center of the circle, you can ask for a continuous series of U-turns. As you complete one U-turn, choose another marker on the circle and repeat.
Before starting, decide how many of these you will do before you do something else or head to the mat for a spell of relaxation.
Clover Leaf Exercise for smoorh turns
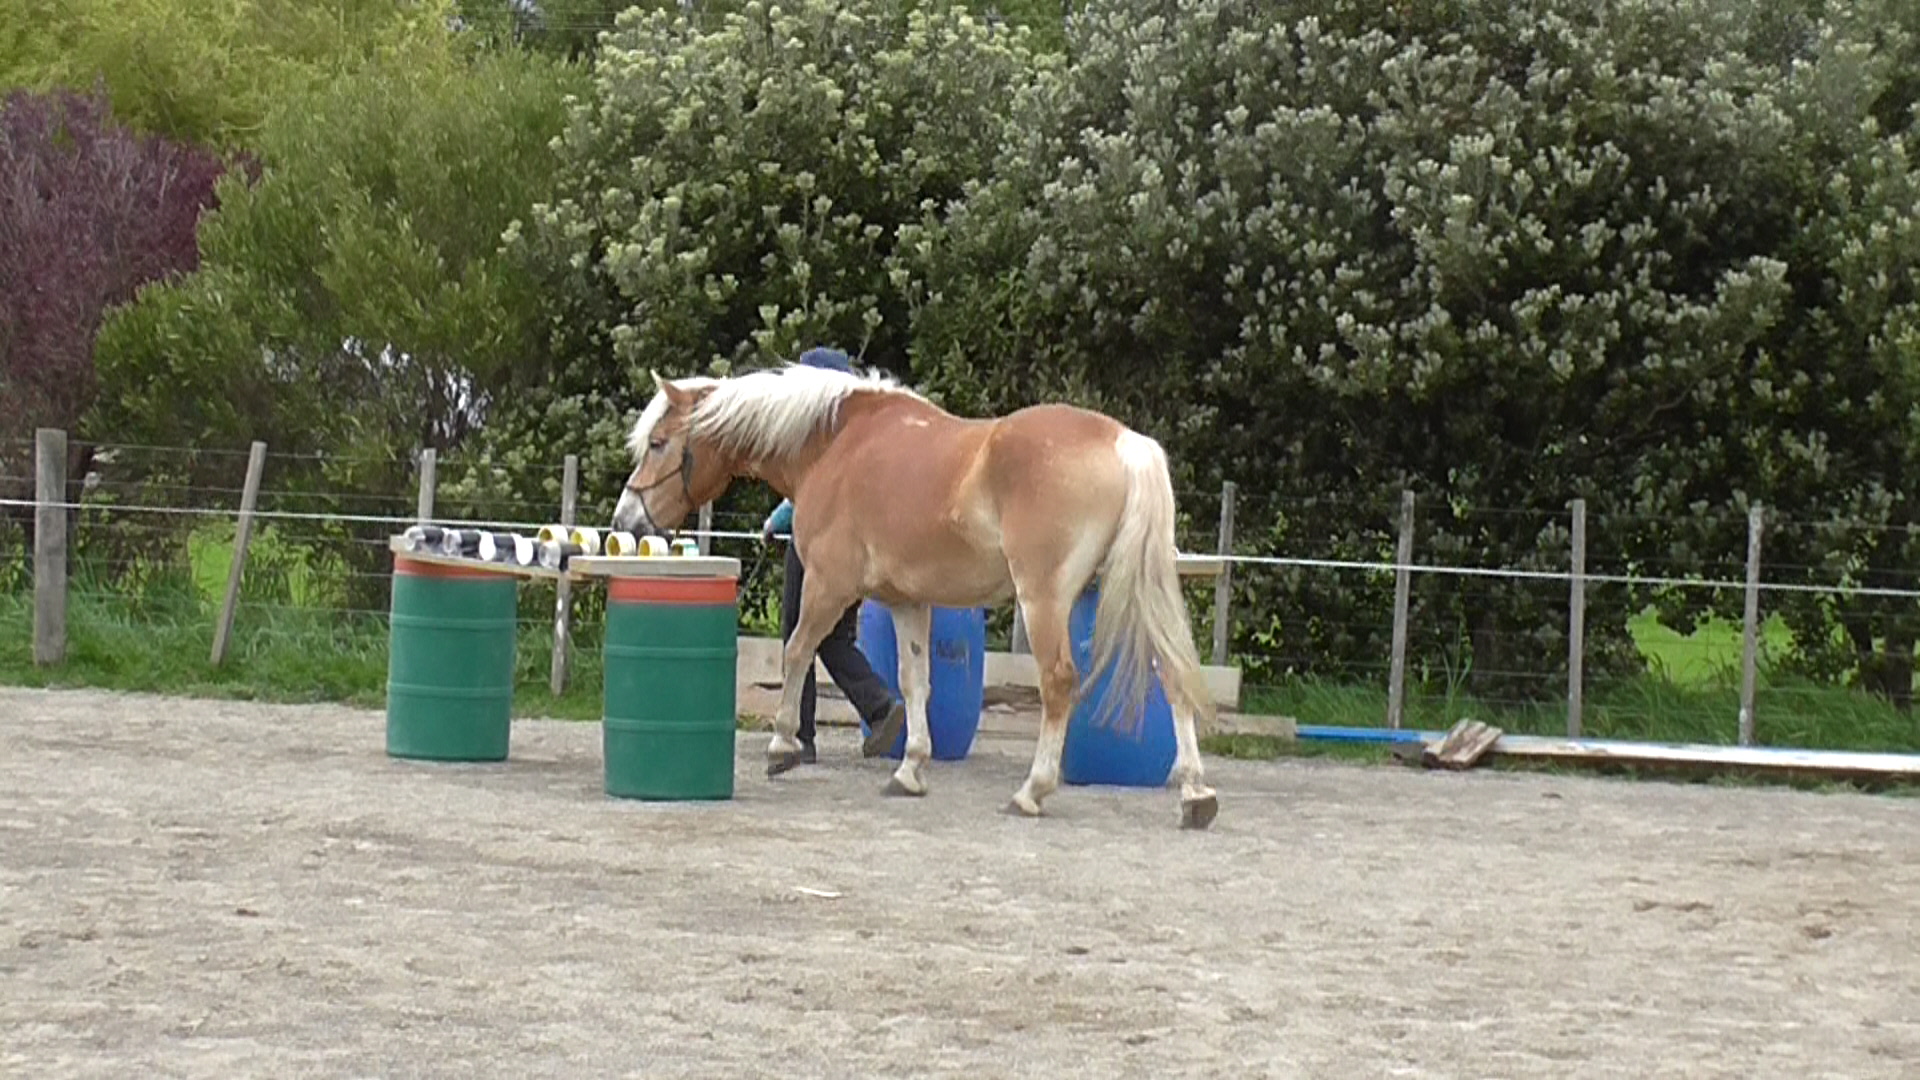
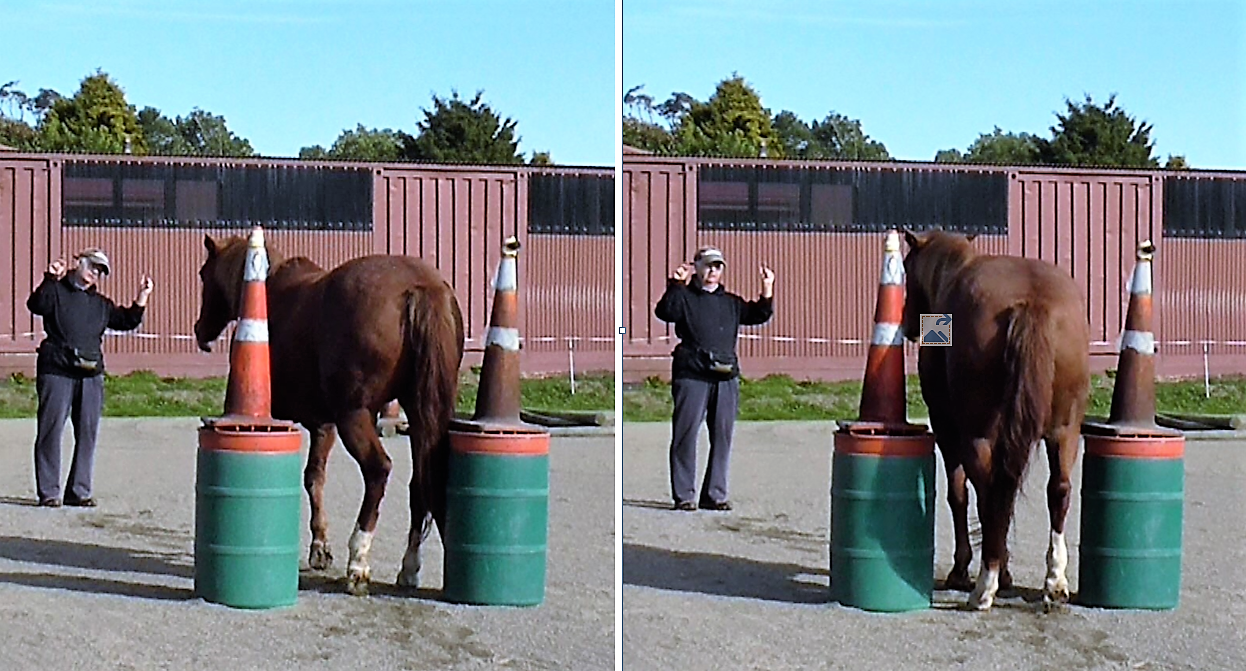
Narrow lanes: Use safe objects to set up narrow lanesand drive the horse through. Start with the lane relatively wide, then narrow it to one meter or less (depending on the size of your horse).
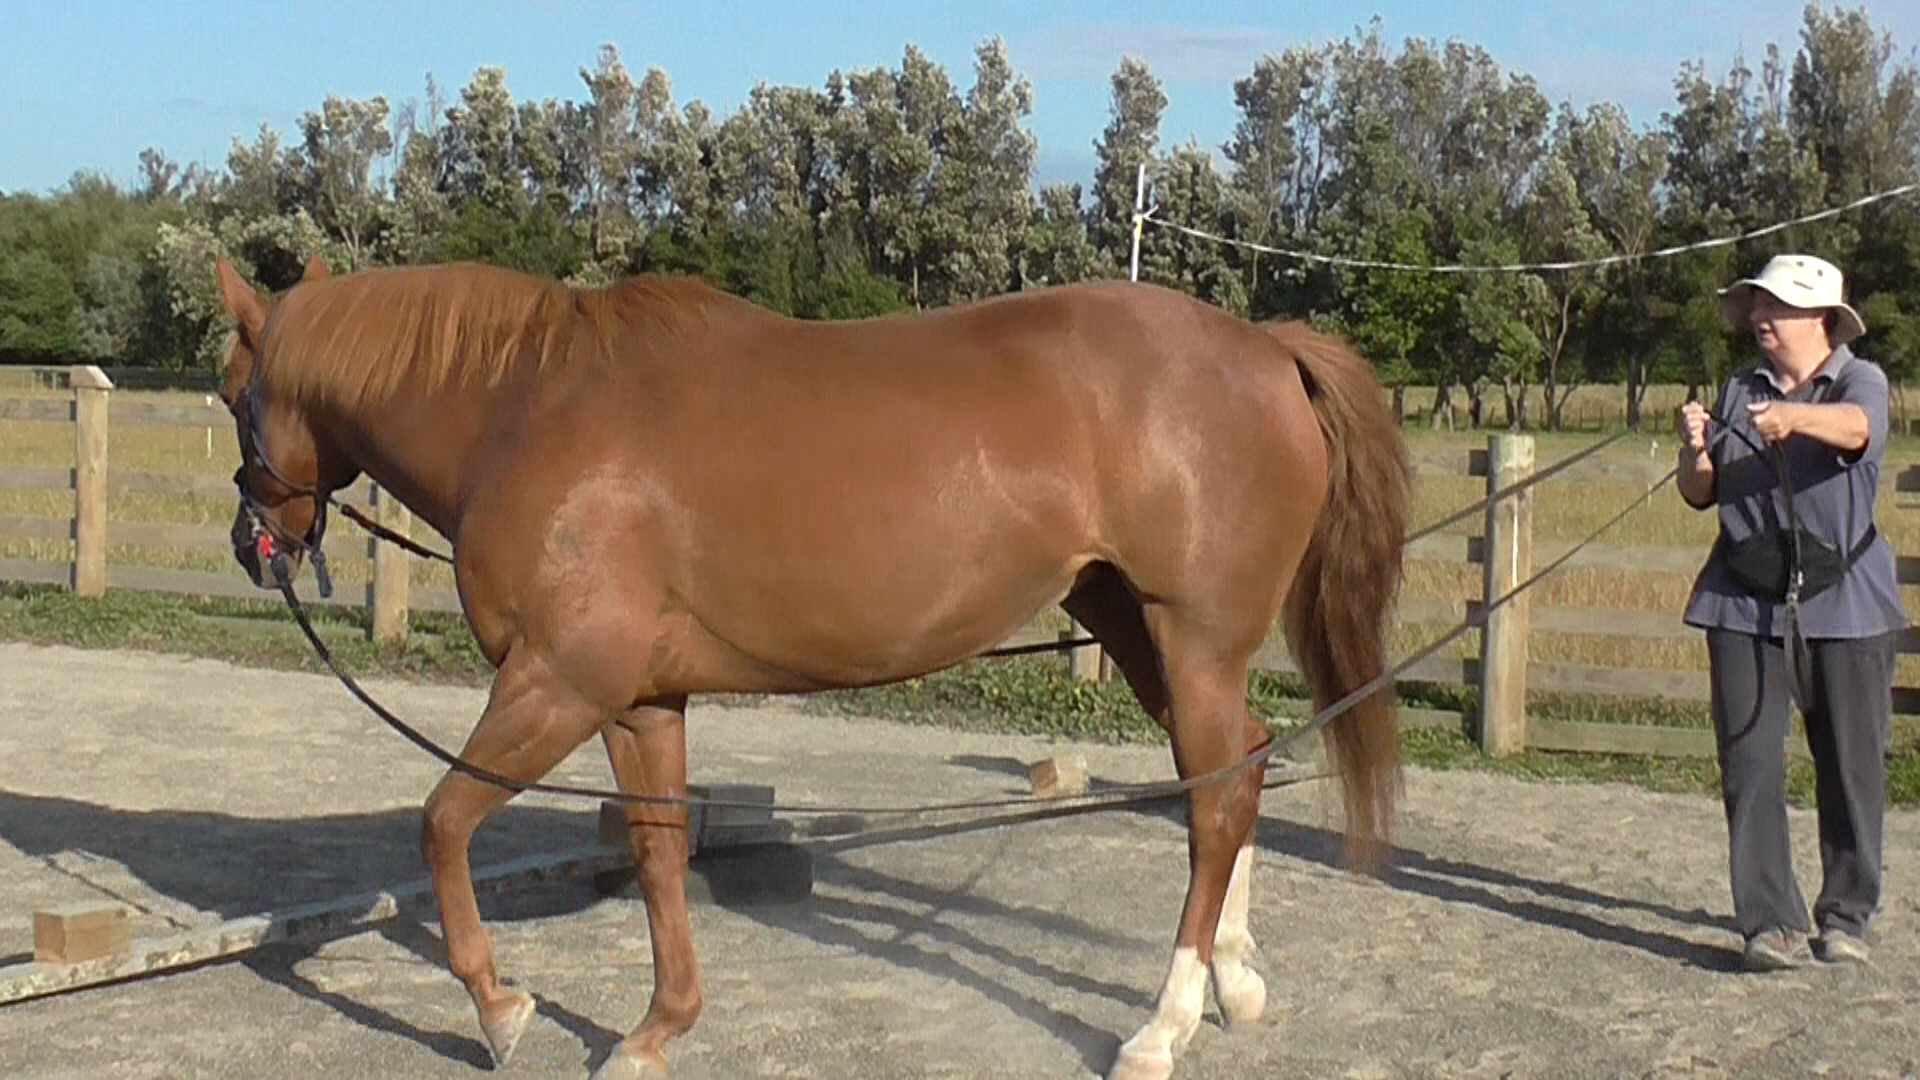
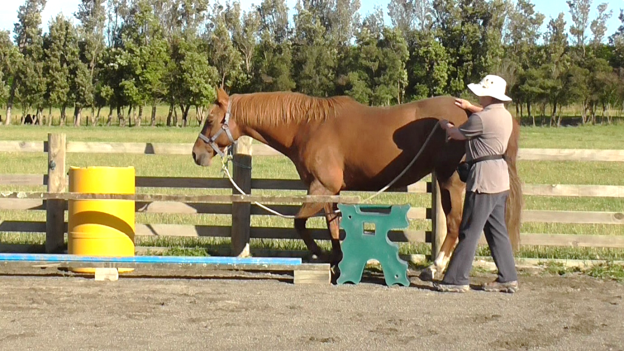
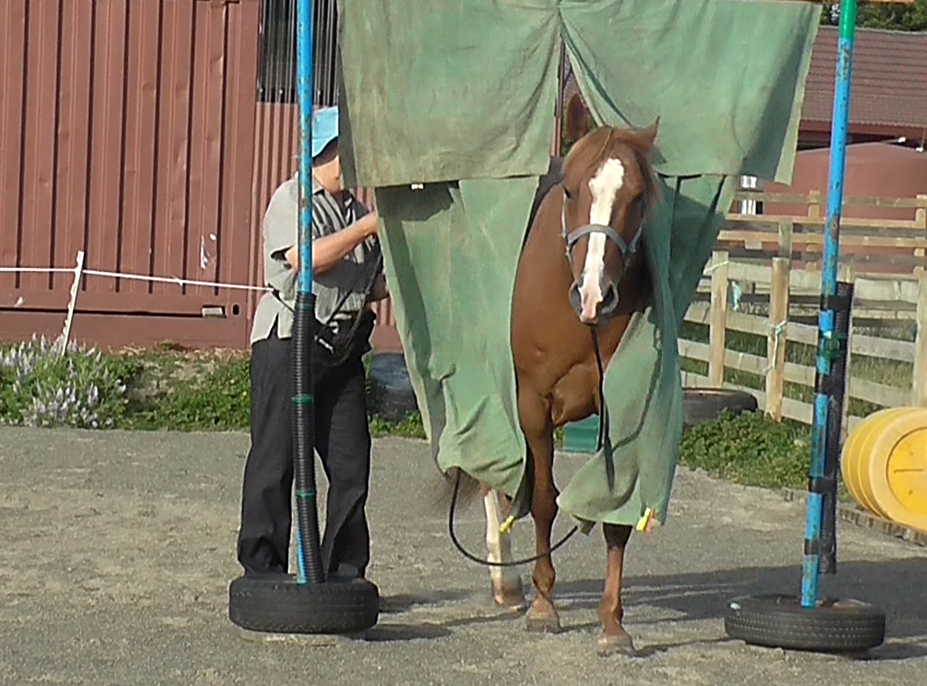
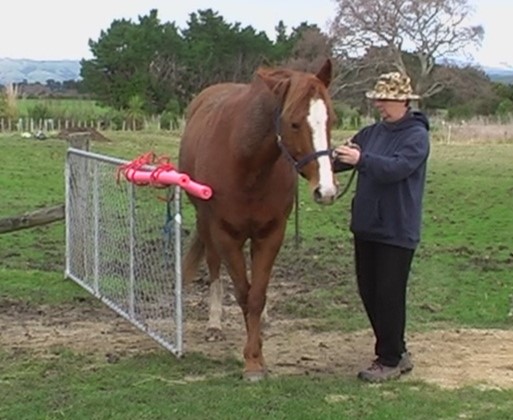
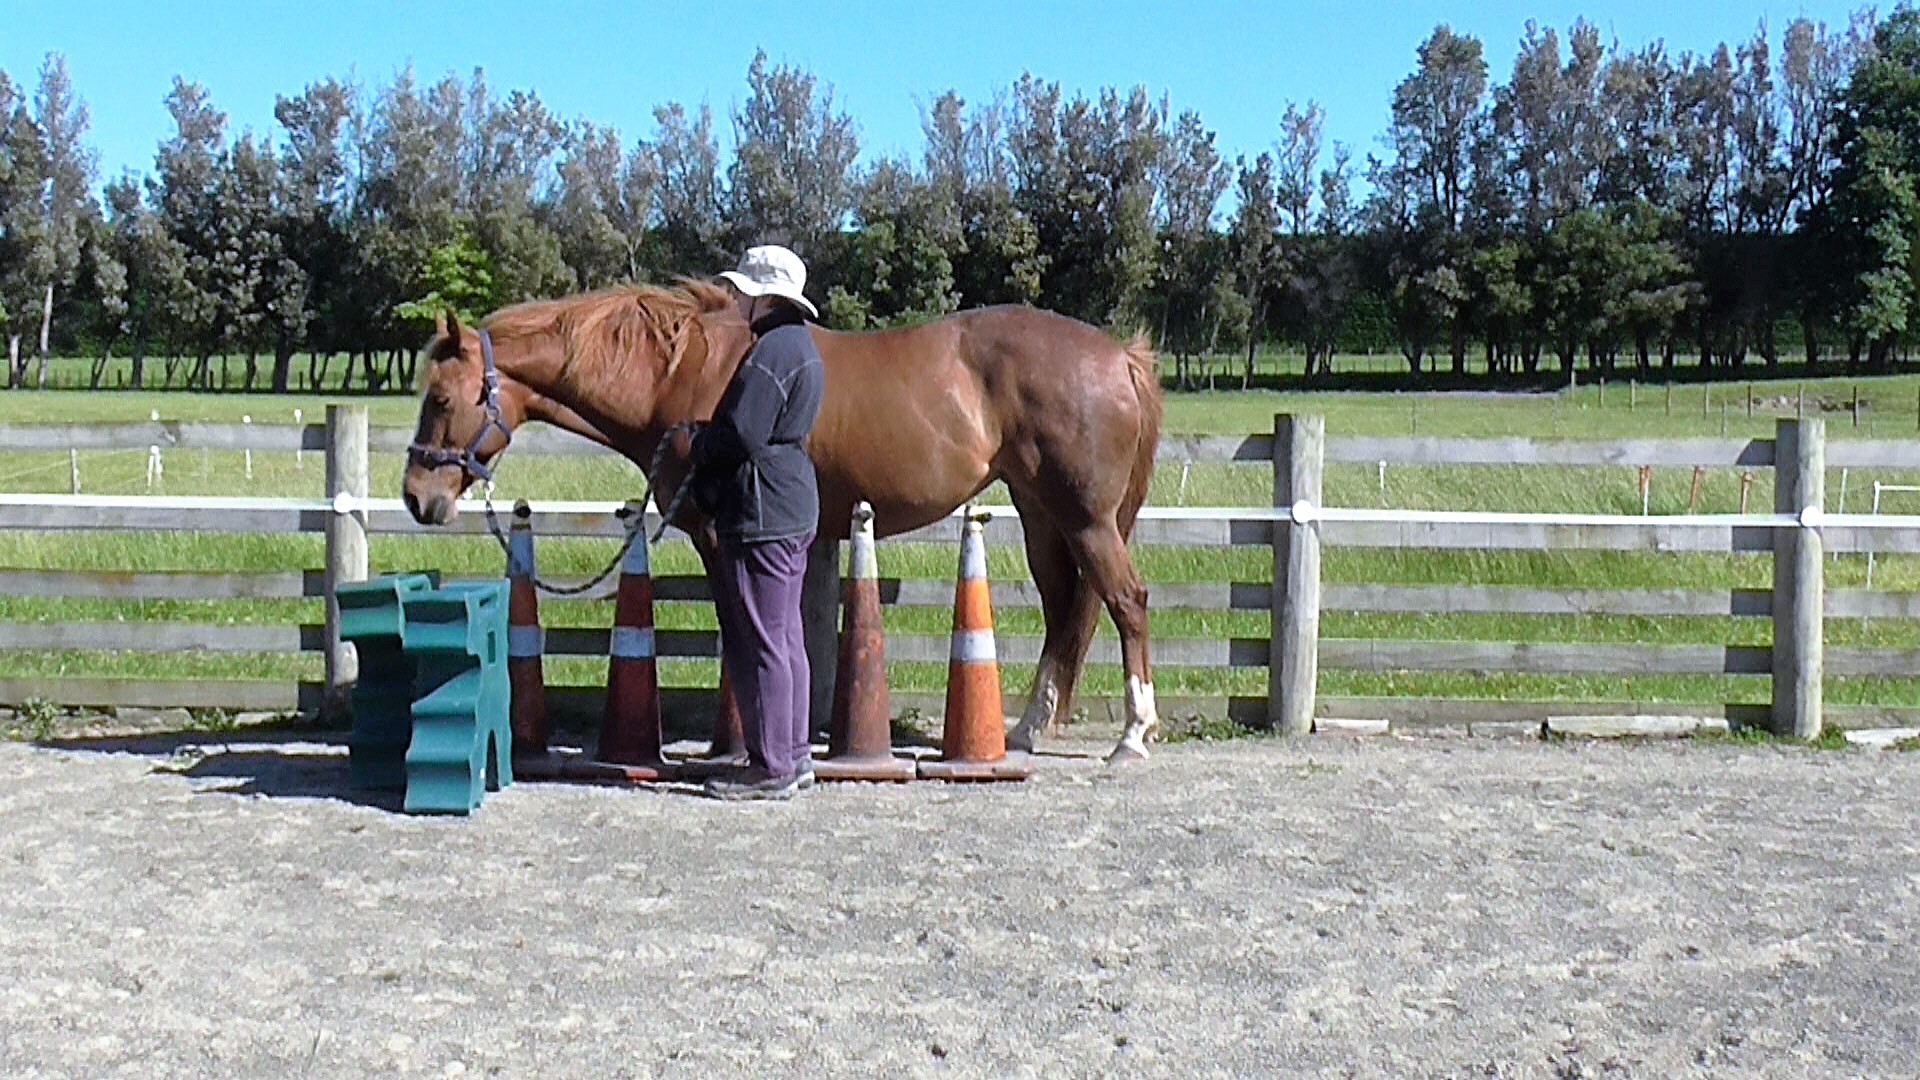
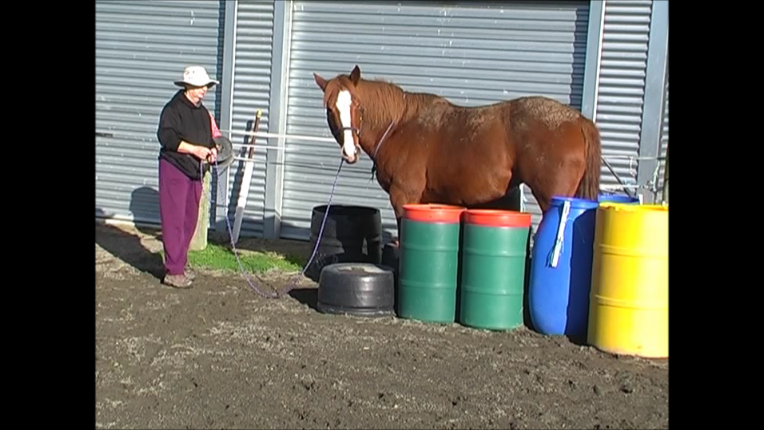
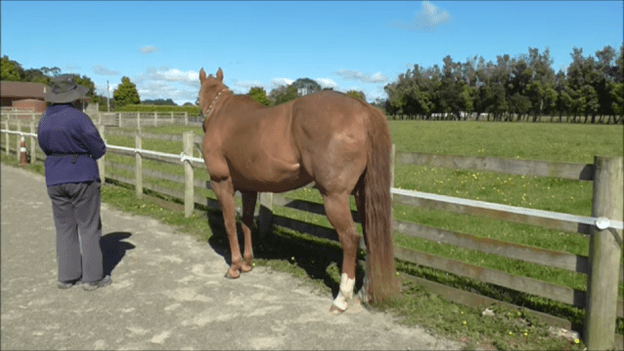
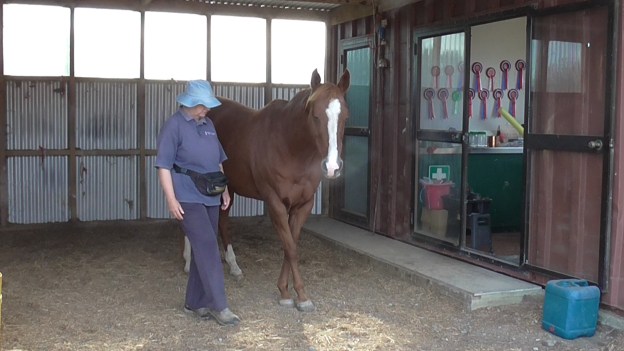
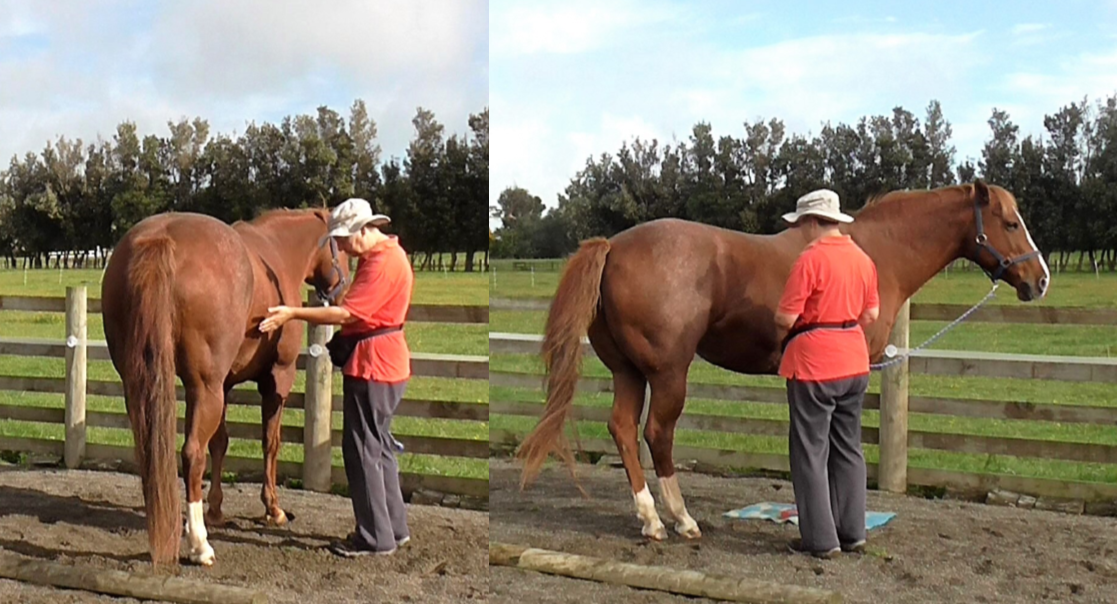
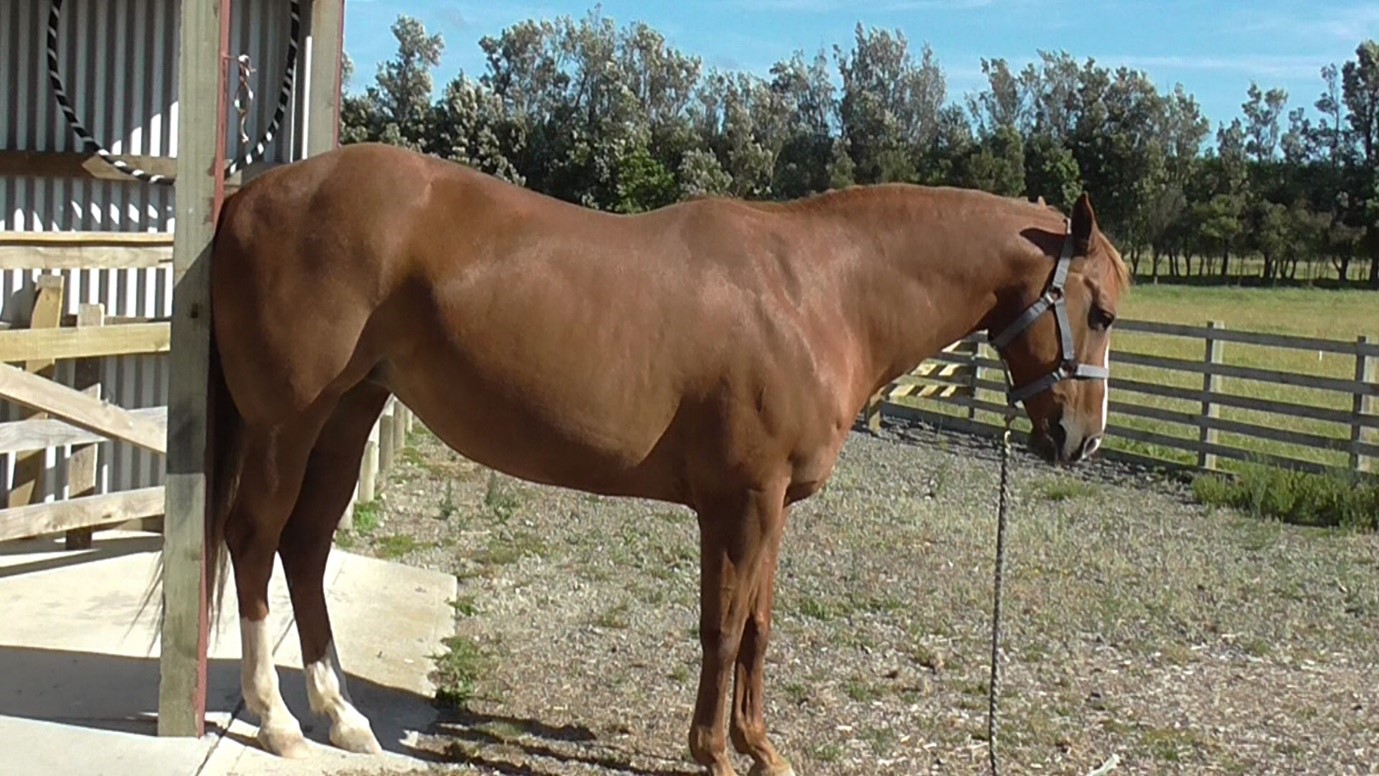
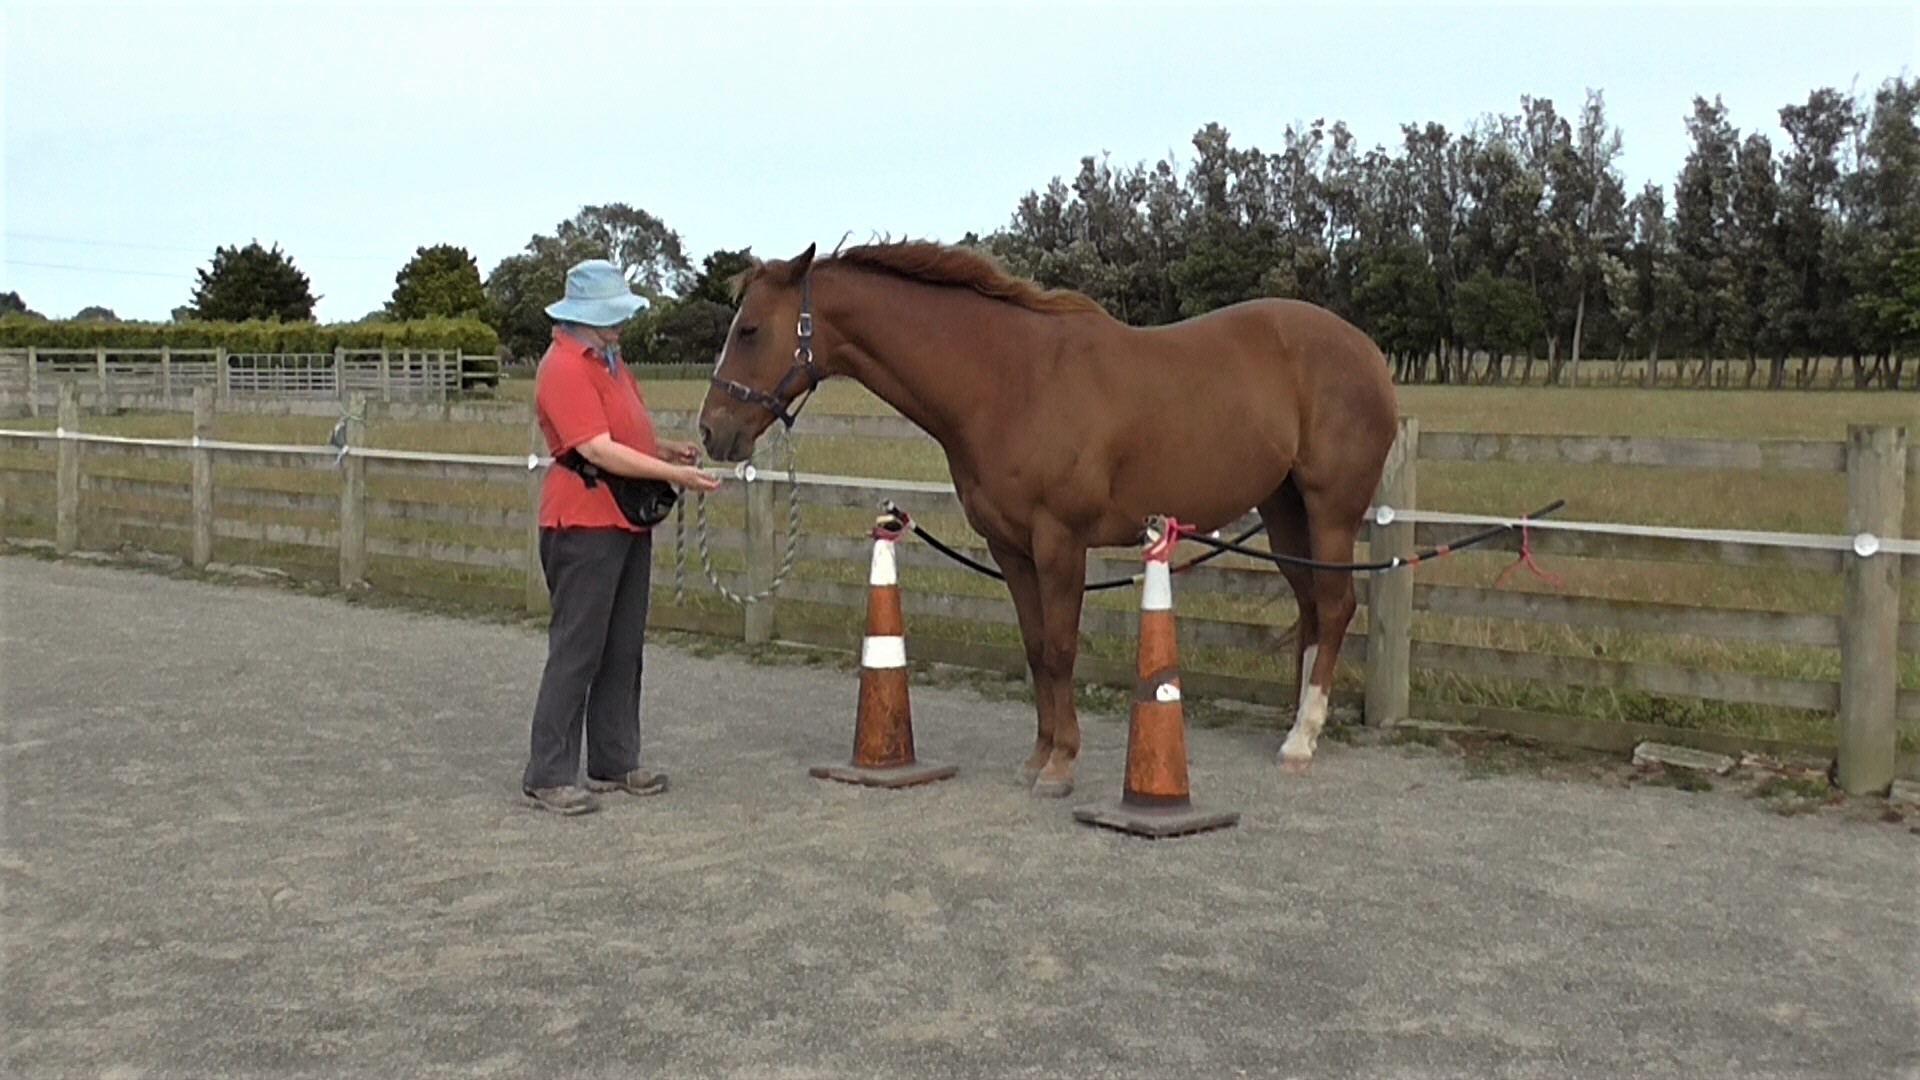
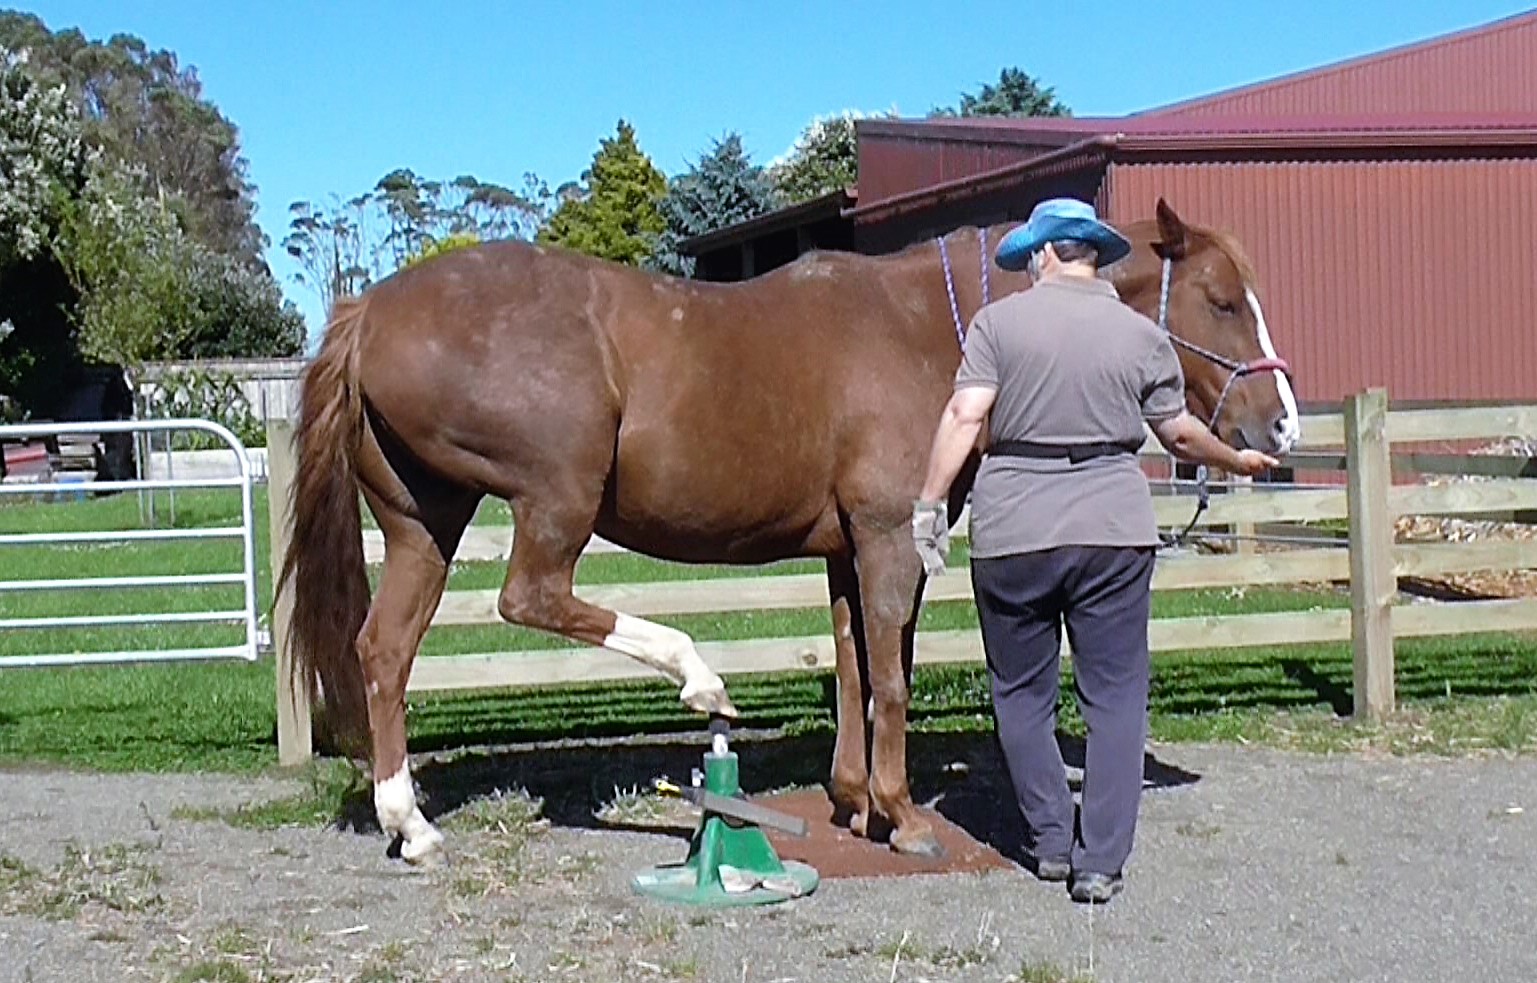
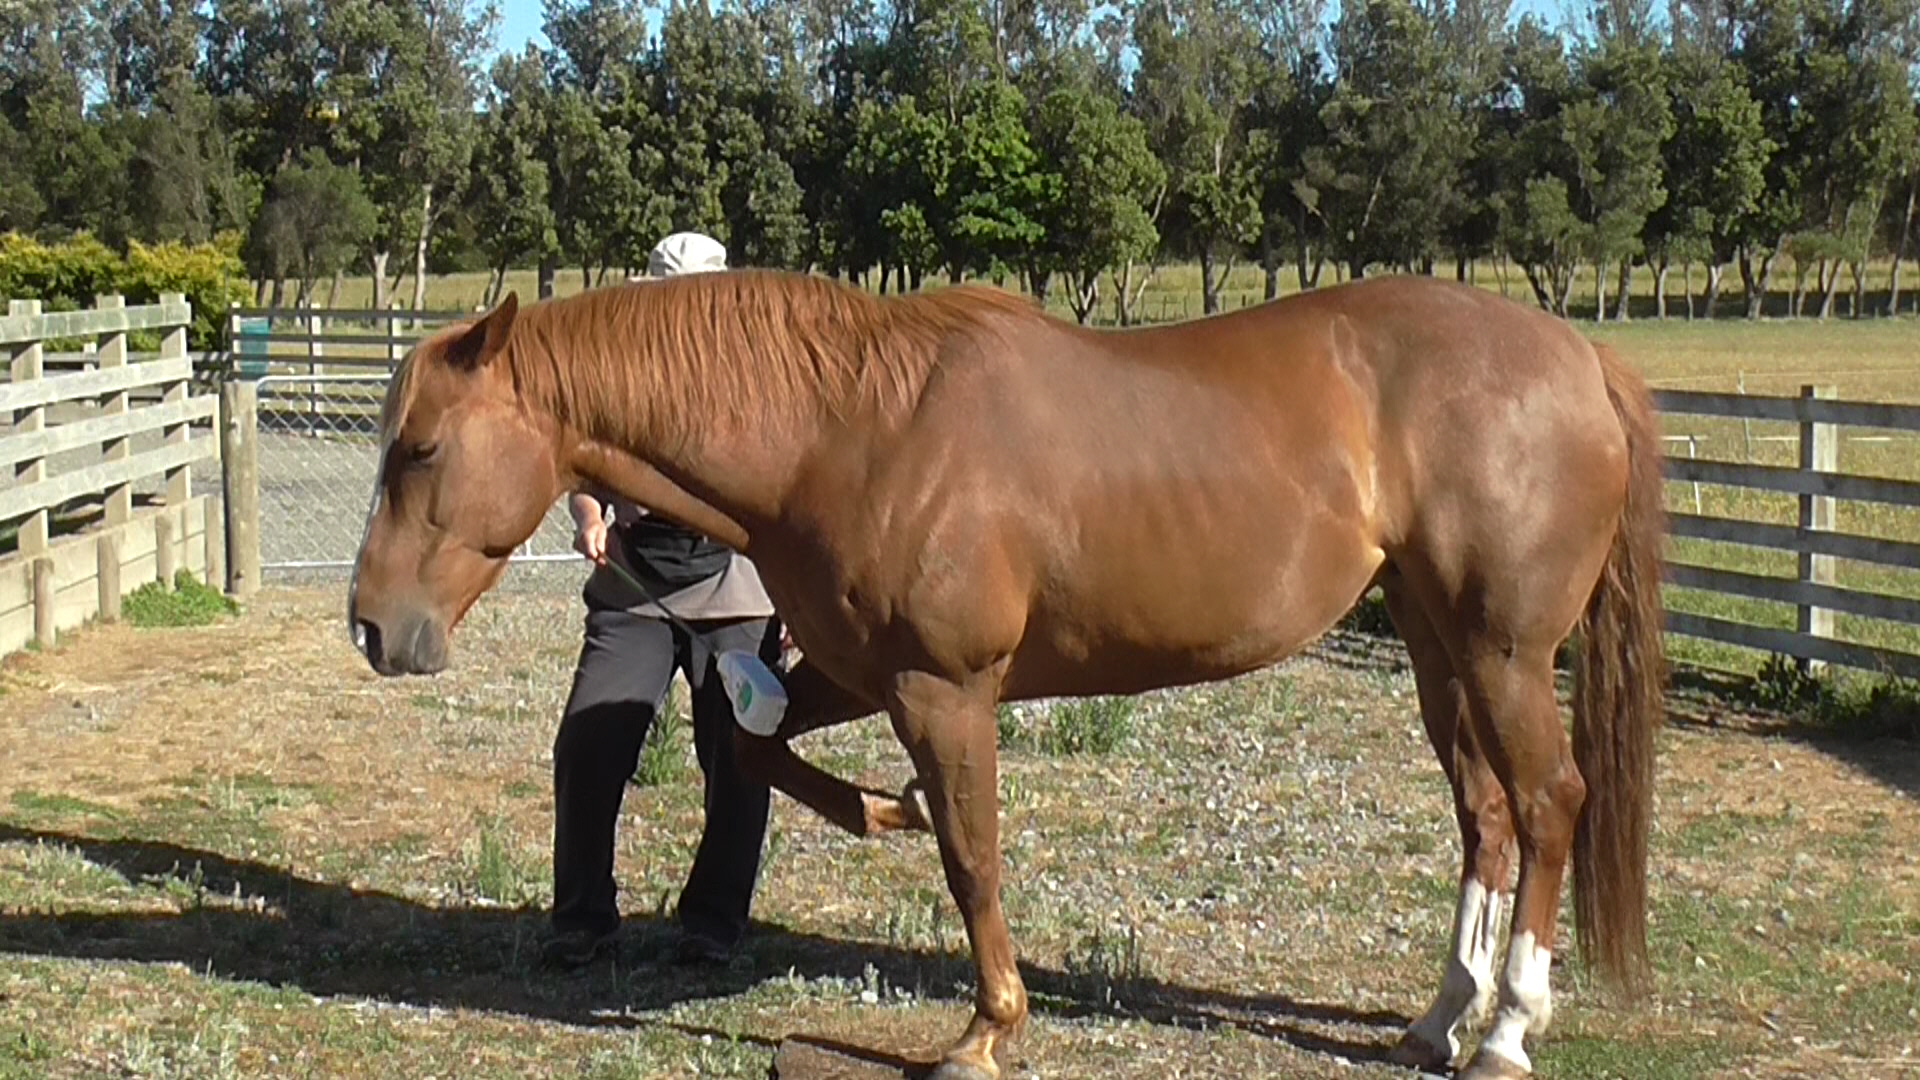
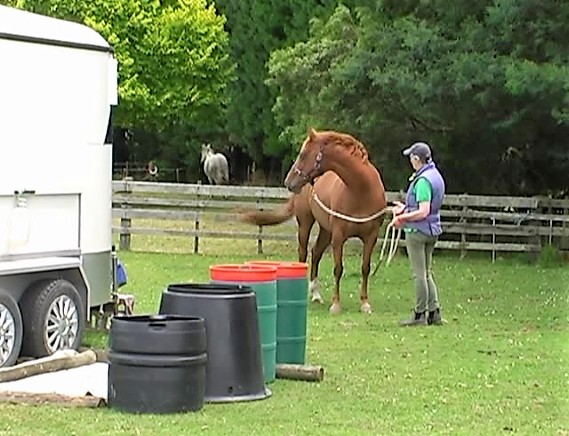
Dead End lane: Set up a lane so it has a dead endlike a straight-load horse trailer. Walk the horse into it, ask him to stay parked, then ask him to back out. Vary the ‘parking’ duration.
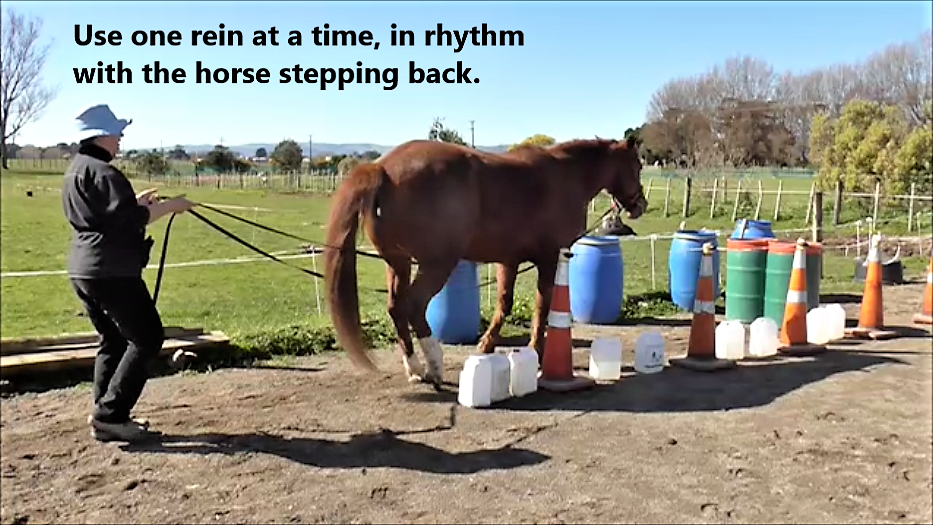
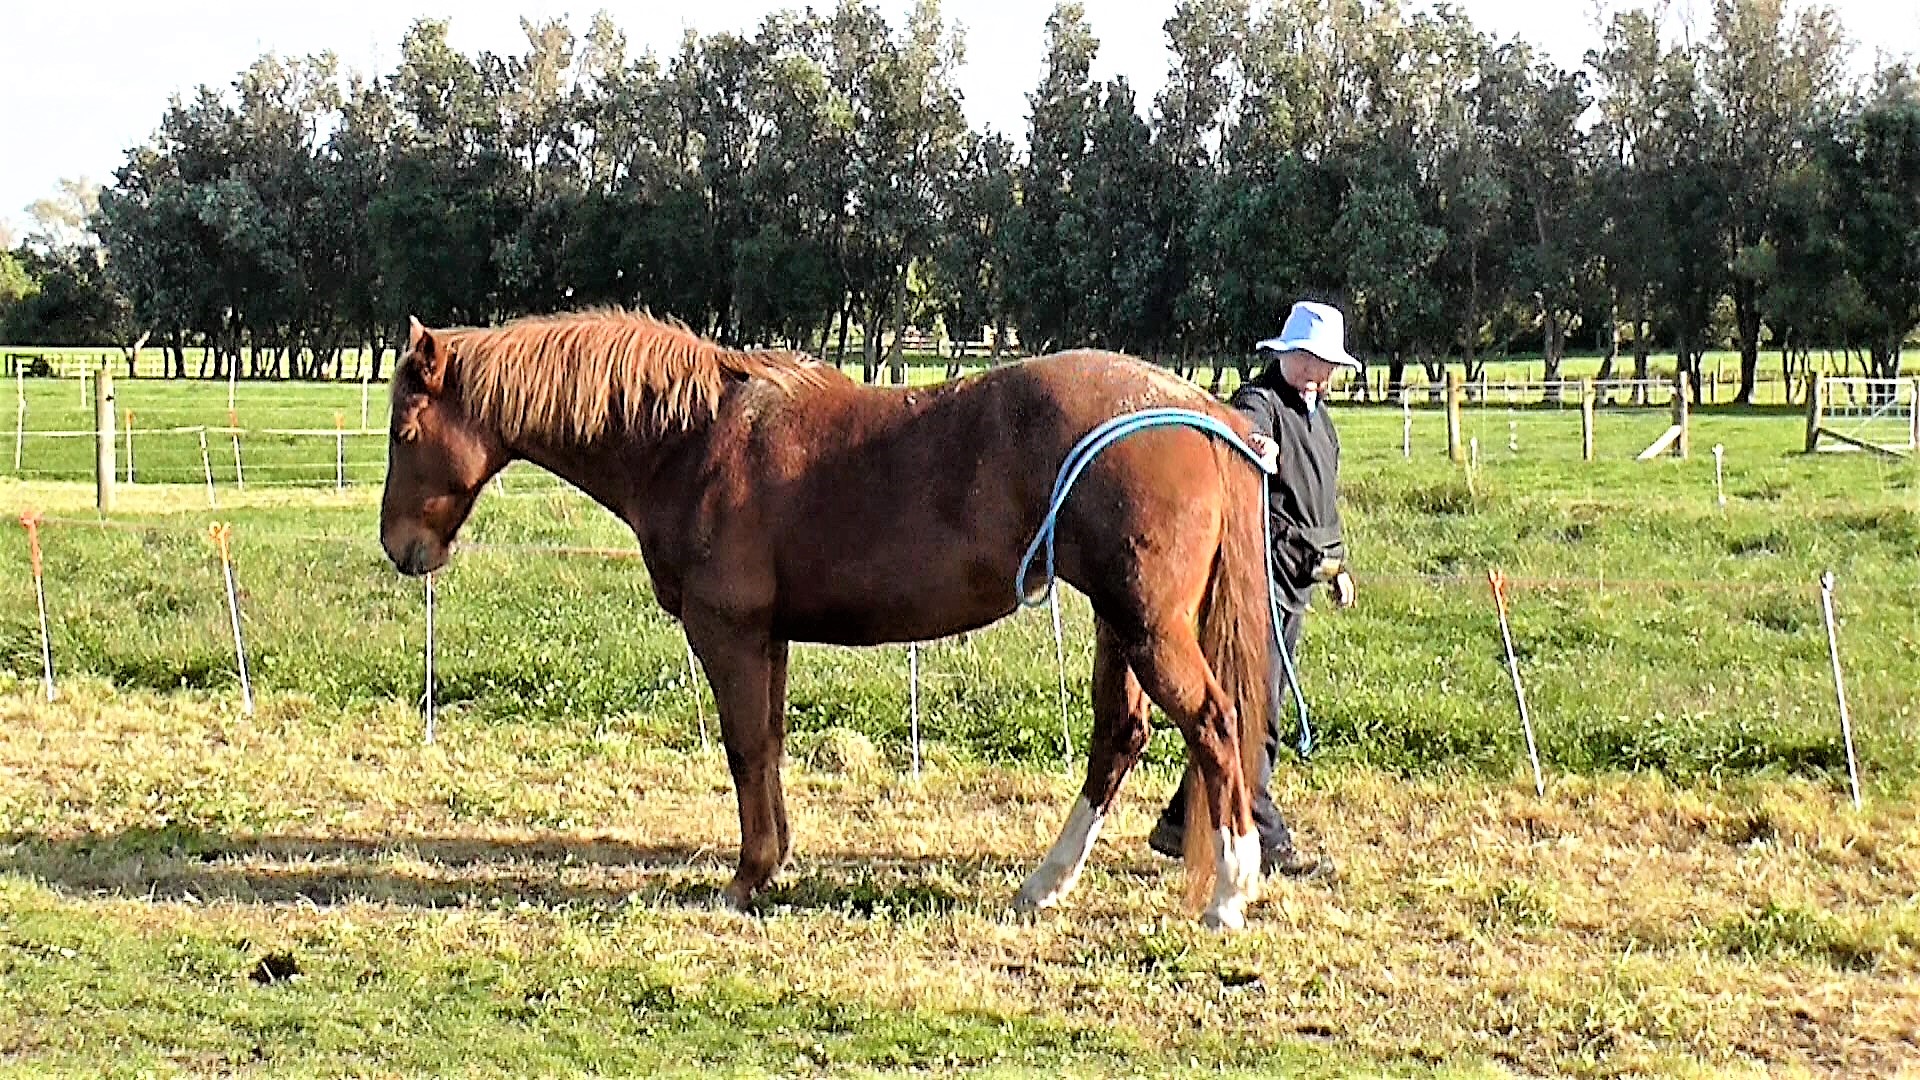
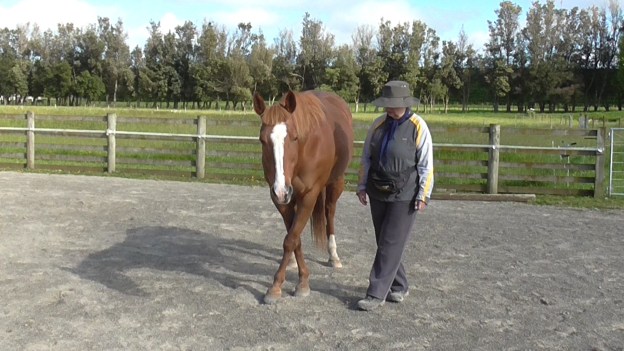
I’ve walked Boots into the dead end lane and now am asking her to back out.
Start with just one or two steps to reach the dead end. Gradually move the dead end further and further into the lane so he is backing a bit further as he gets better.
Gates: Clip #63 in my HorseGym with Boots playlist looks at using ‘gates’ to hone our driving skills, as well as putting reins through stirrup-guides and driving an obstacle course.
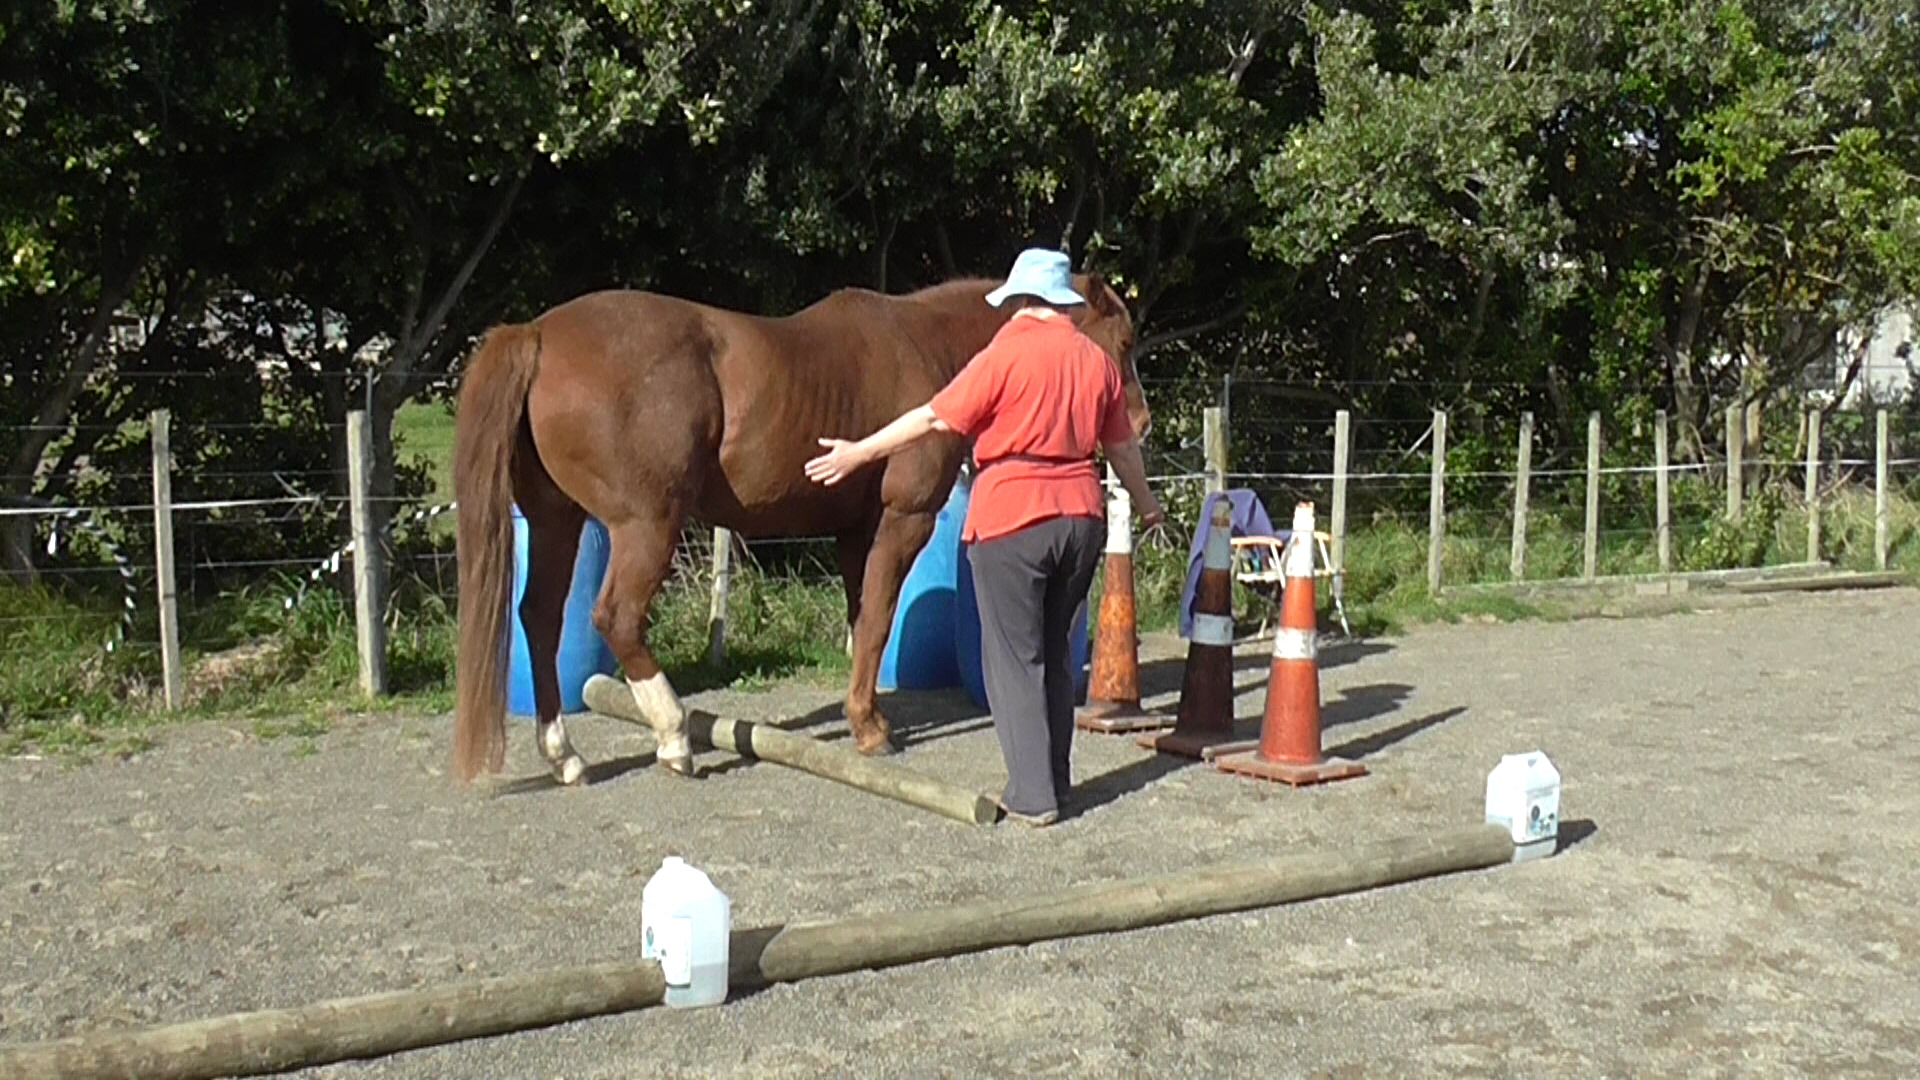
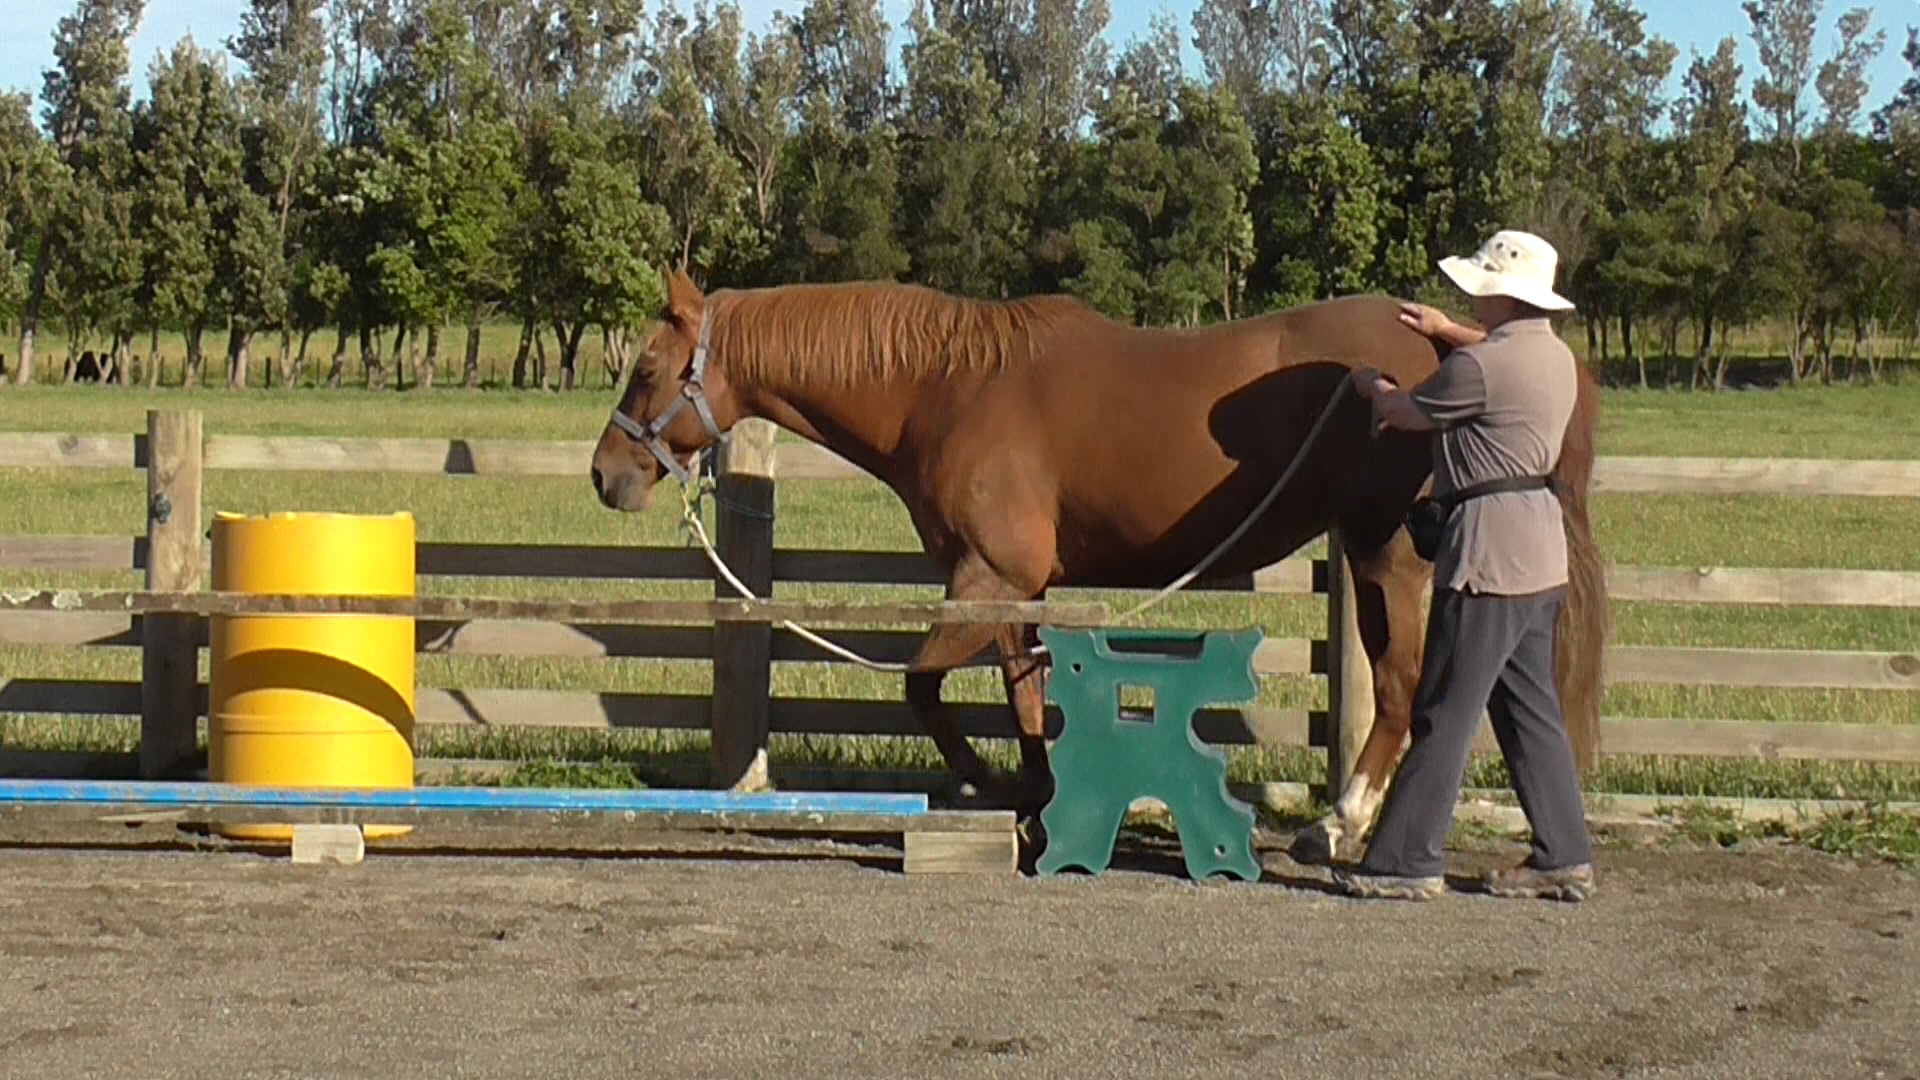
Set up pairs of markers withabout two meters space between them. Each of these is a ‘gate’ to drive the horse through. Set up several ‘gates’ spread out in an open area, and walk circuits asking the horse to pass through the ‘gates’. Learning to line up the best approach to each ‘gate’ is an interesting challenge.
I often use five-liter plastic bottles filled with water, or electric fence tread-in posts as markers for my ‘gates’. Every time you change the configuration of the ‘gates’, you have set up a new challenge. Approaching them from different directions and in a different order also changes the challenge. Setting them up on uneven ground changes the challenge.
When you get good, make the gates narrower.
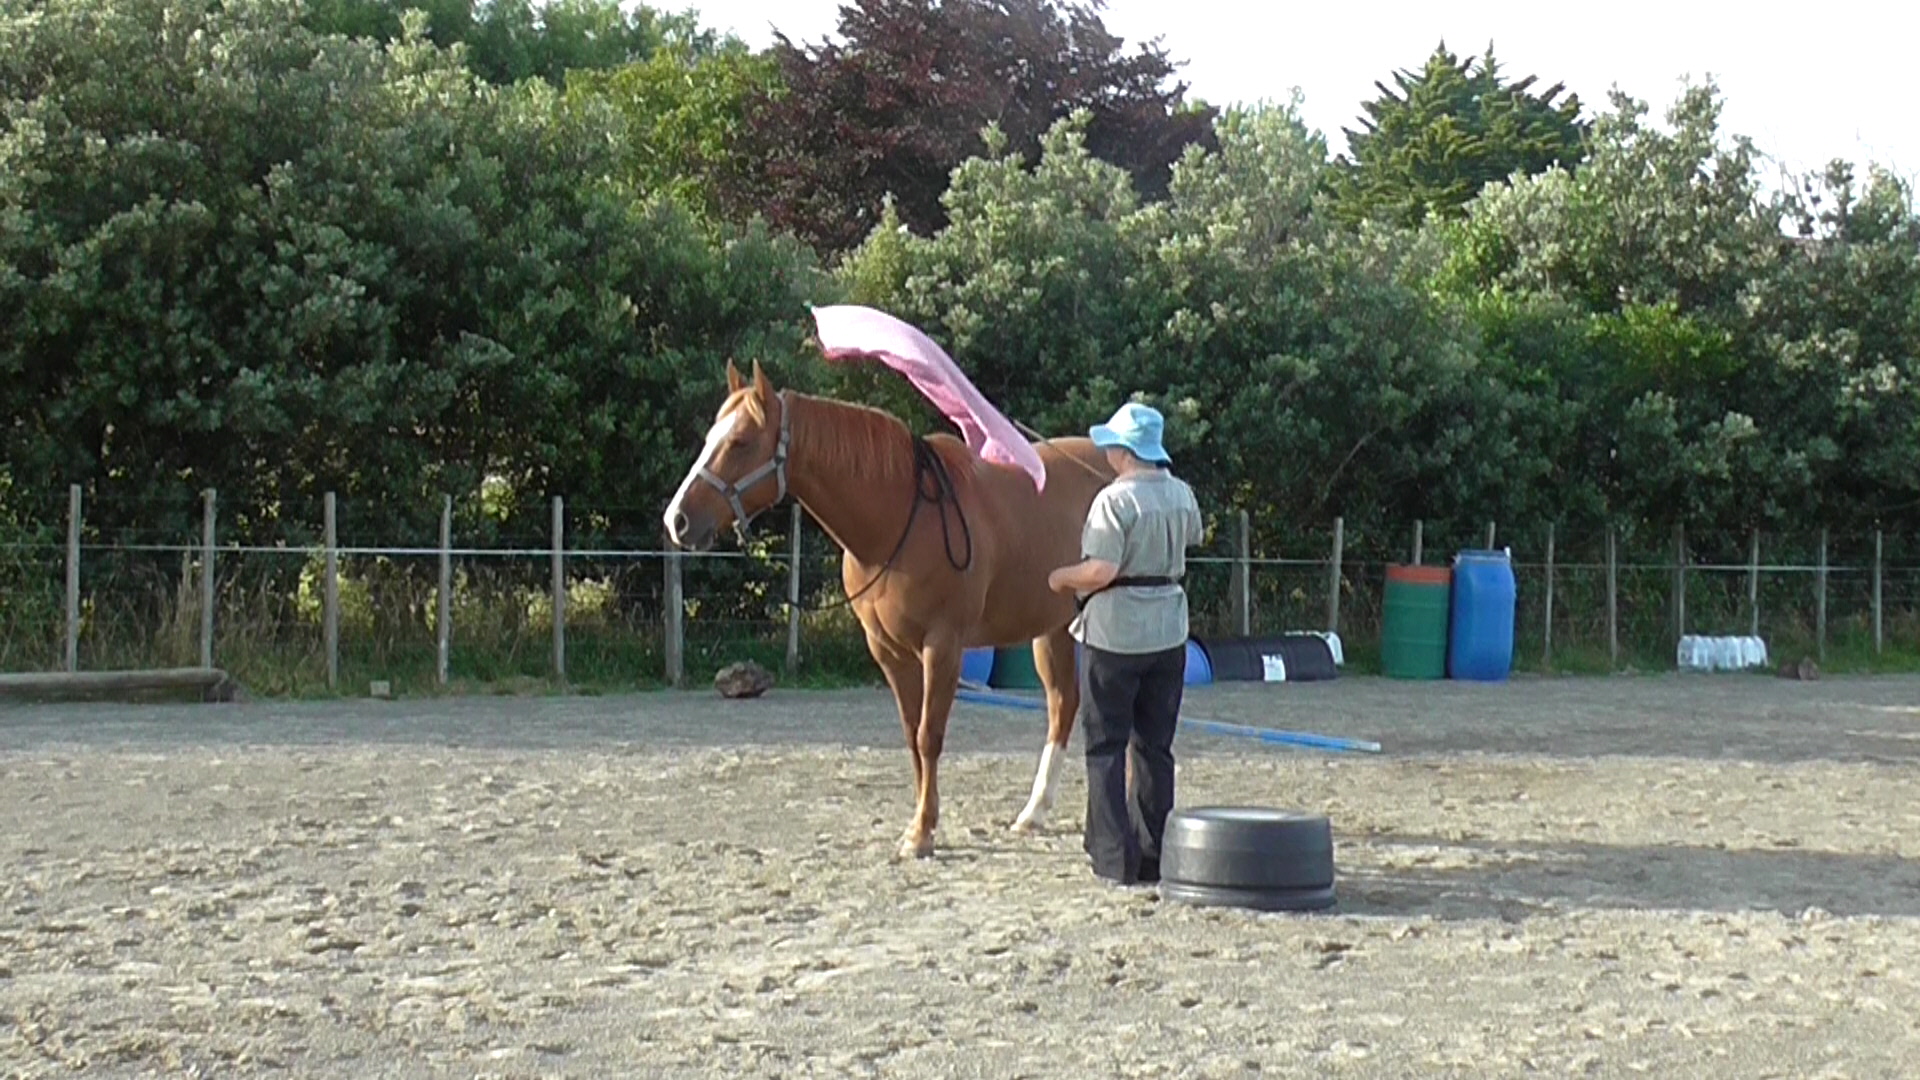
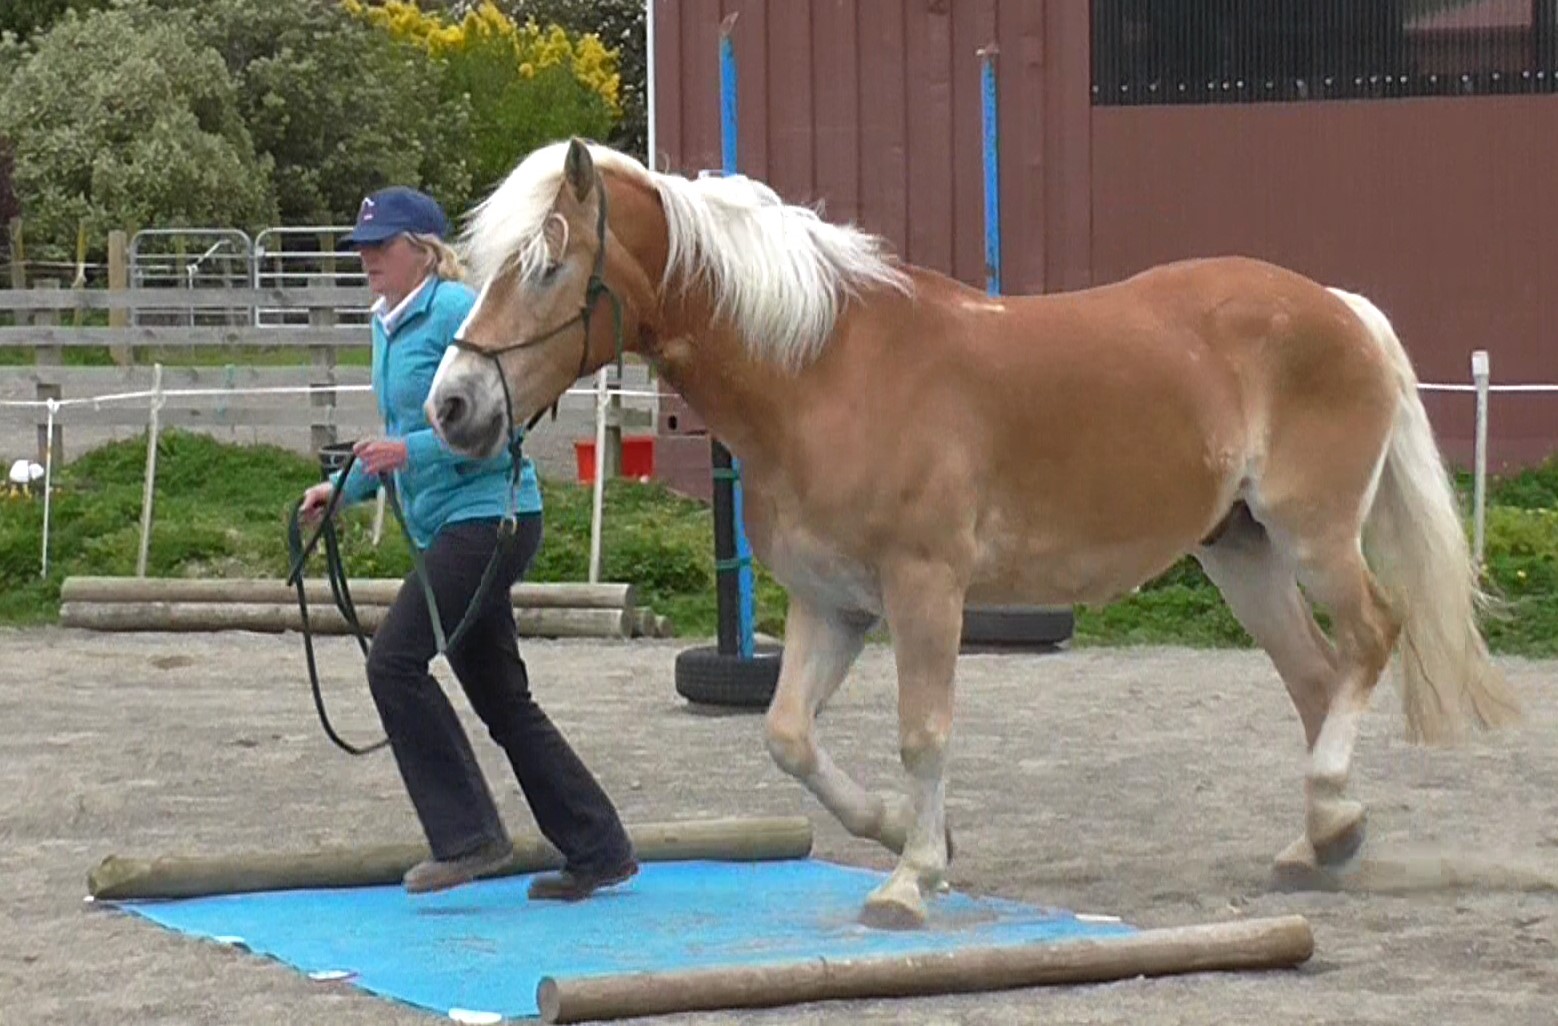
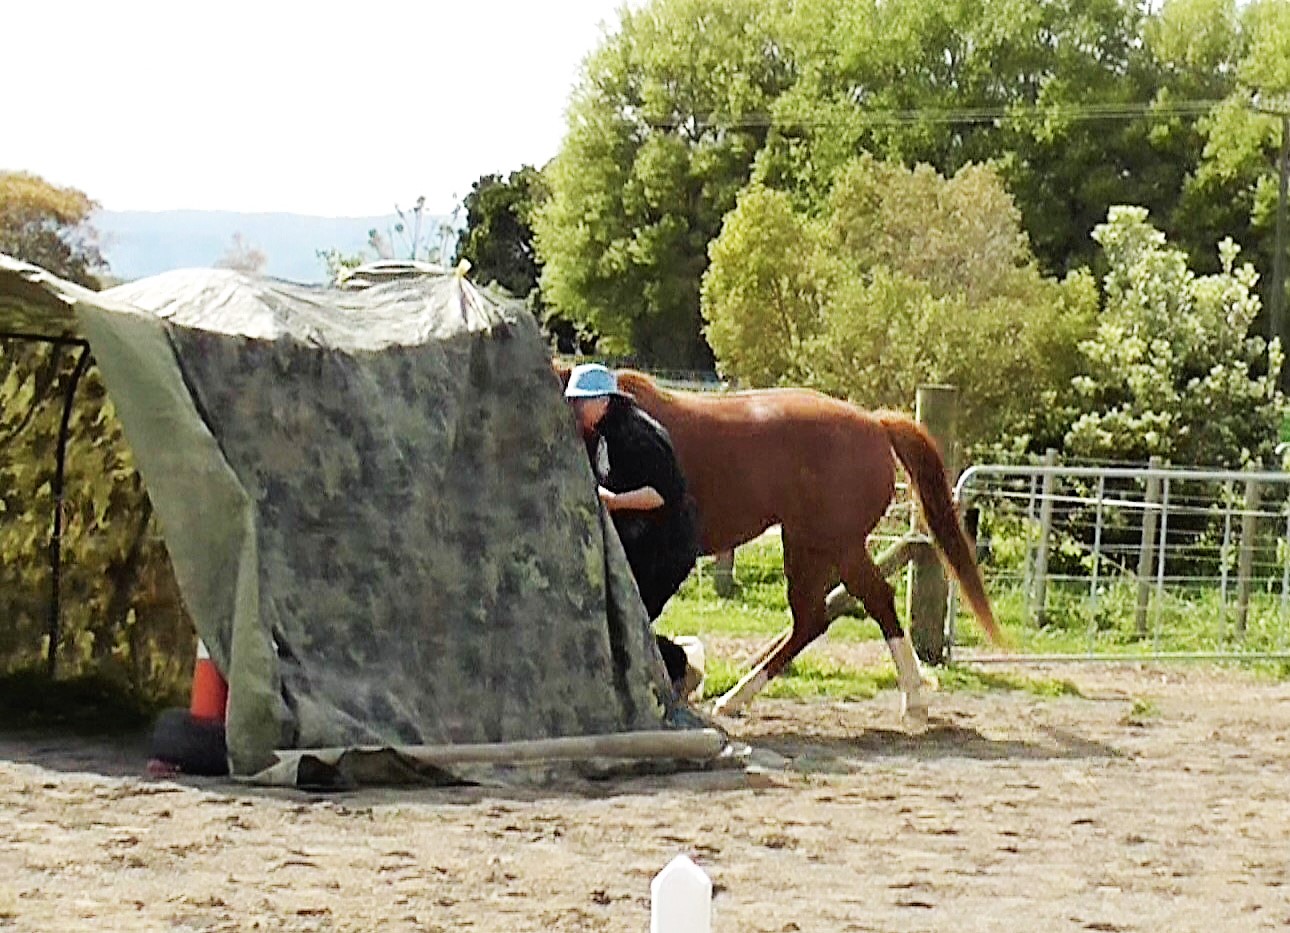
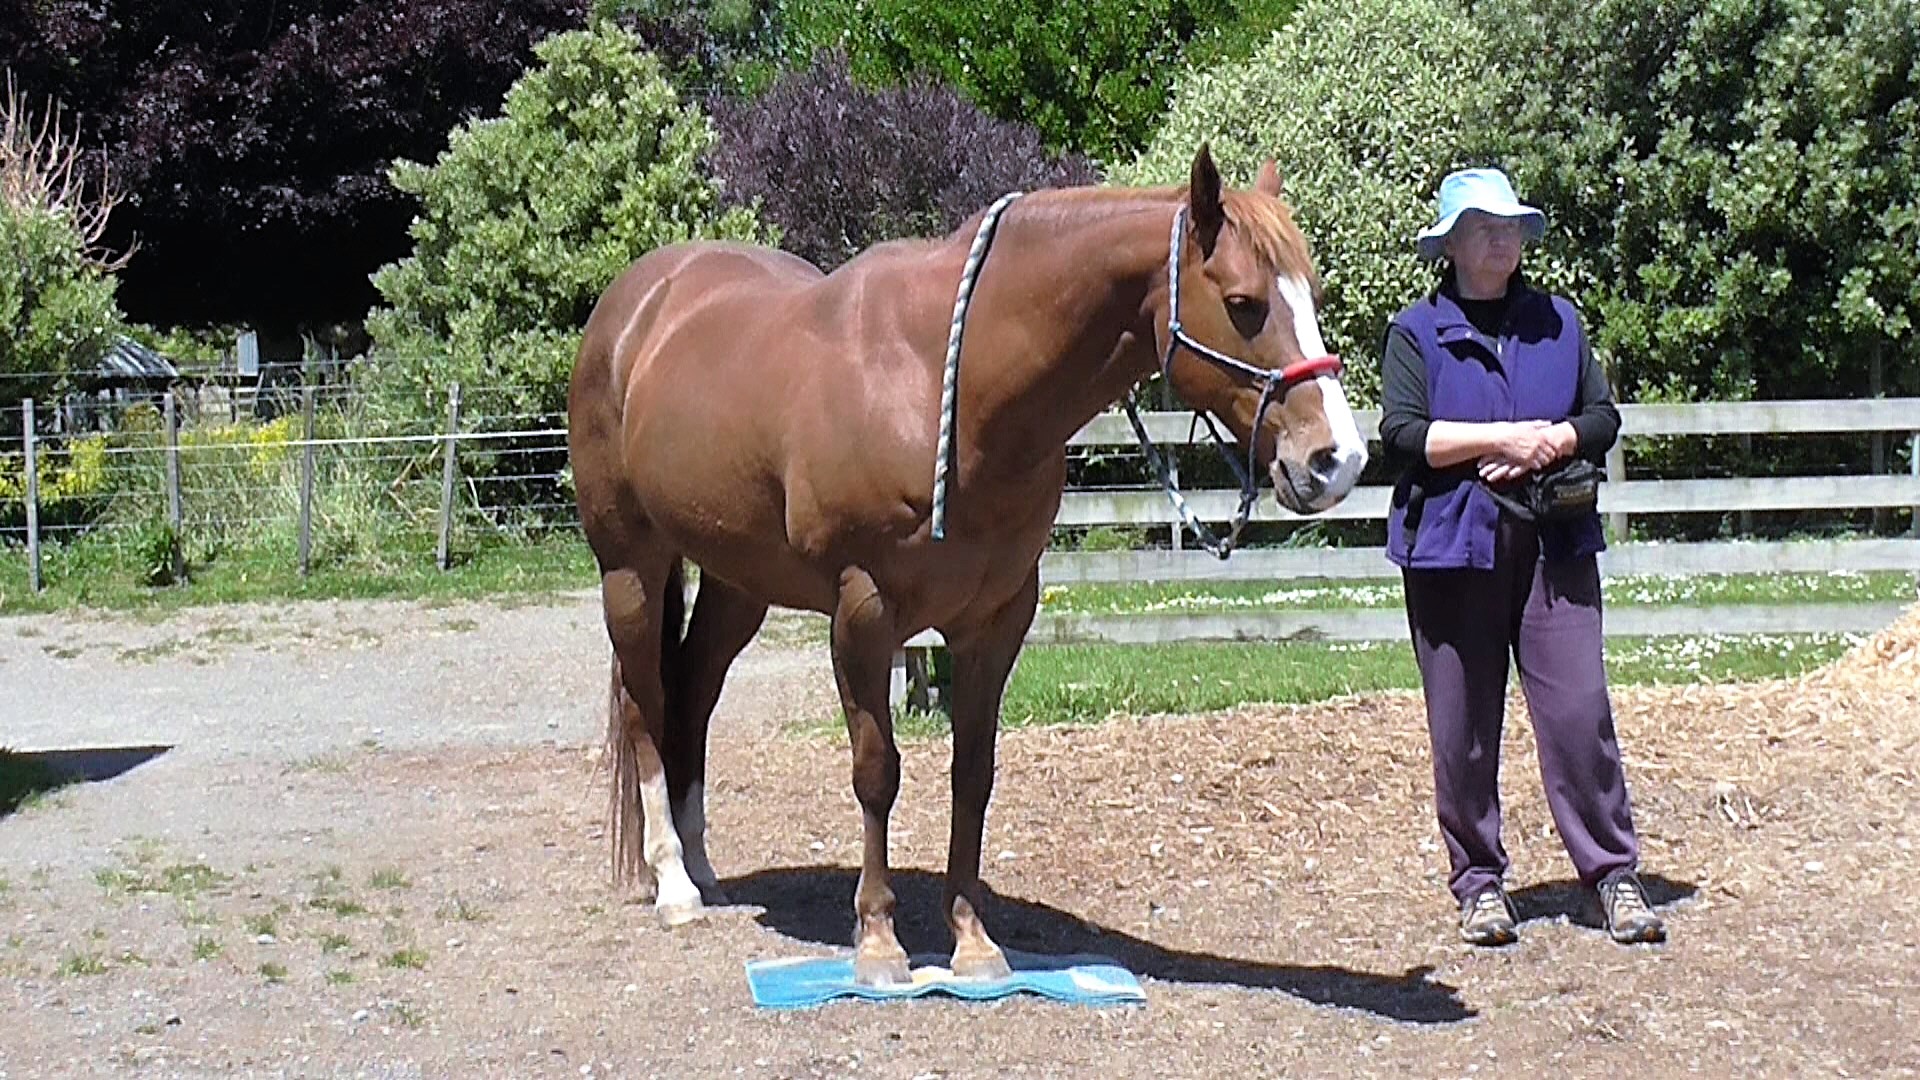
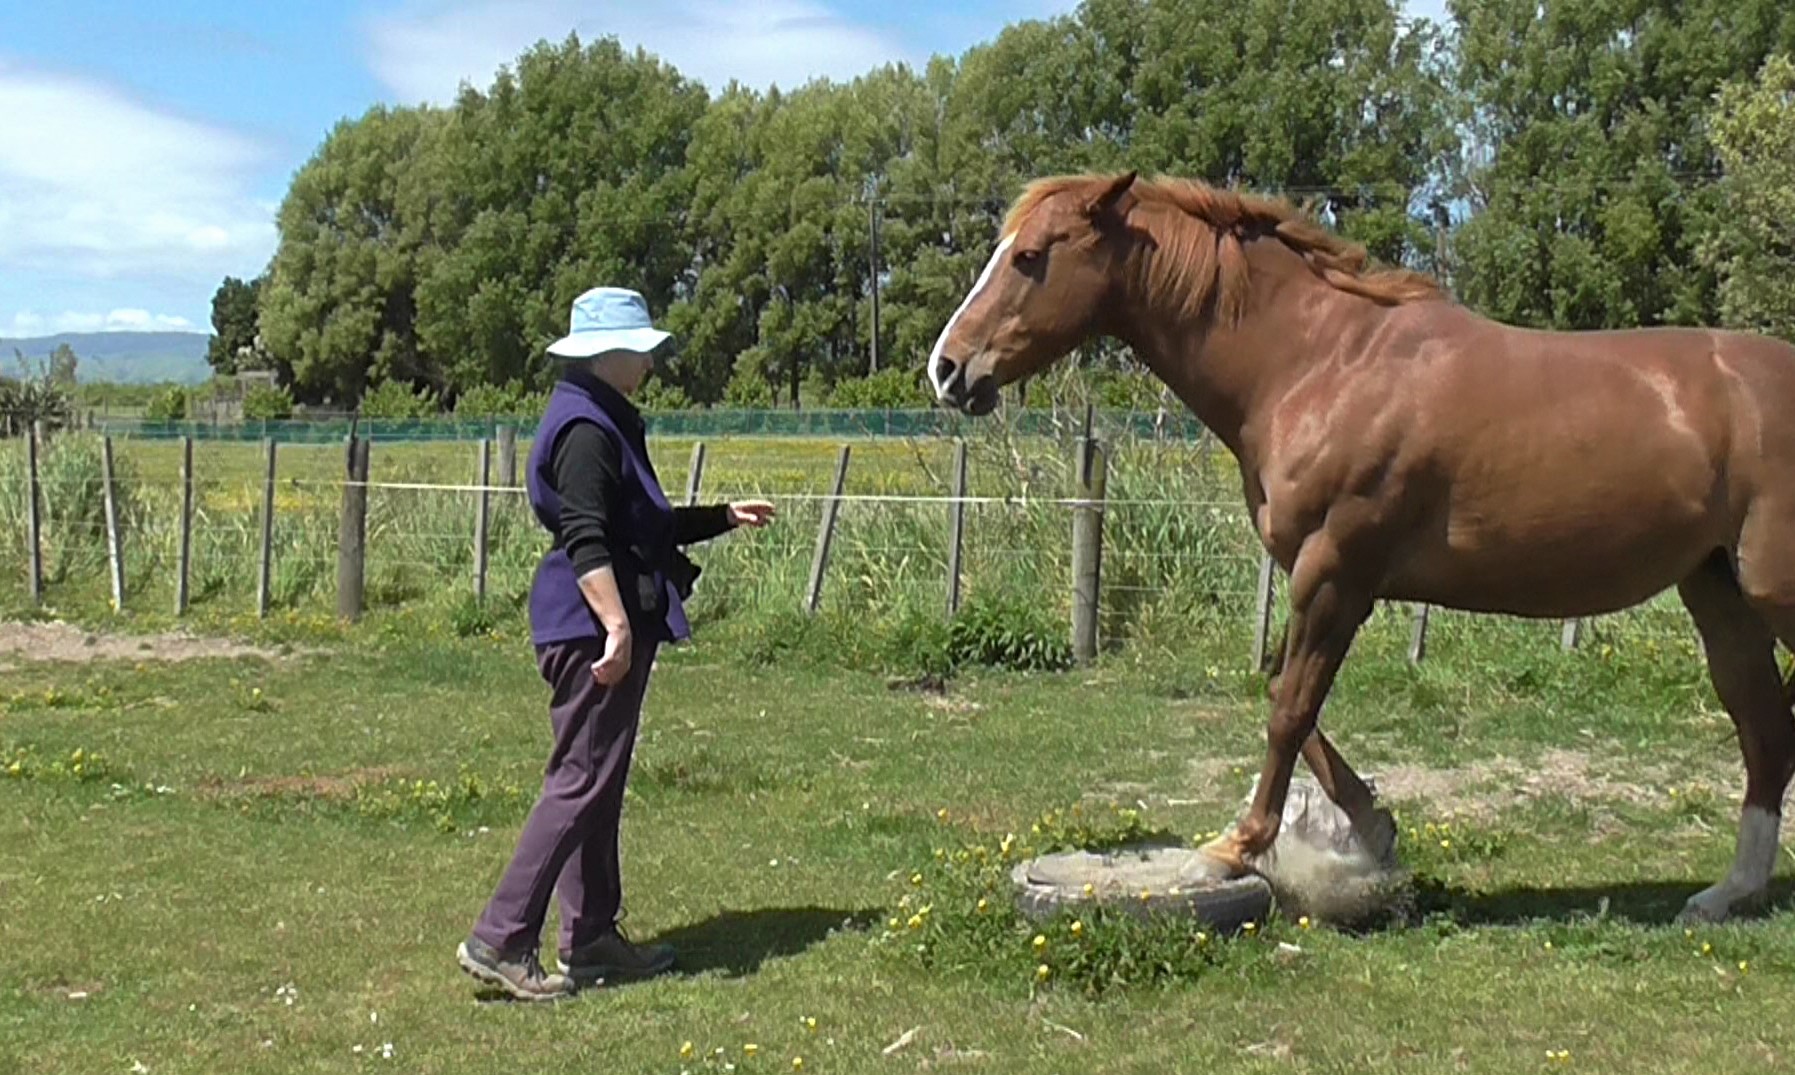
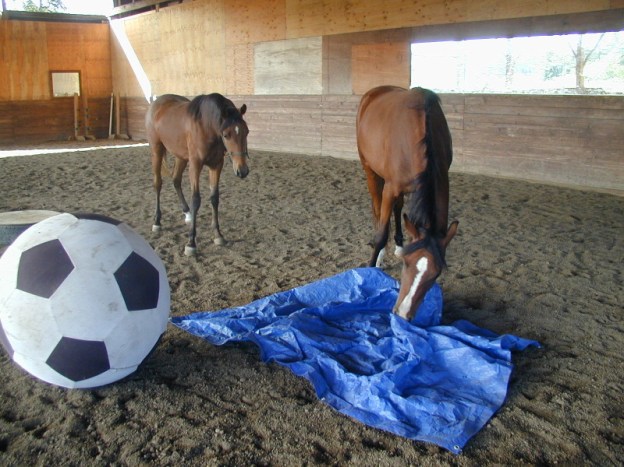
Unusual Surfaces: Ask the horse to drive over unusual surfaces: tarps, carpet, blankets, sheets, wood, flattened cardboard boxes, bridges, seesaws, mattresses, logjams, road markings.
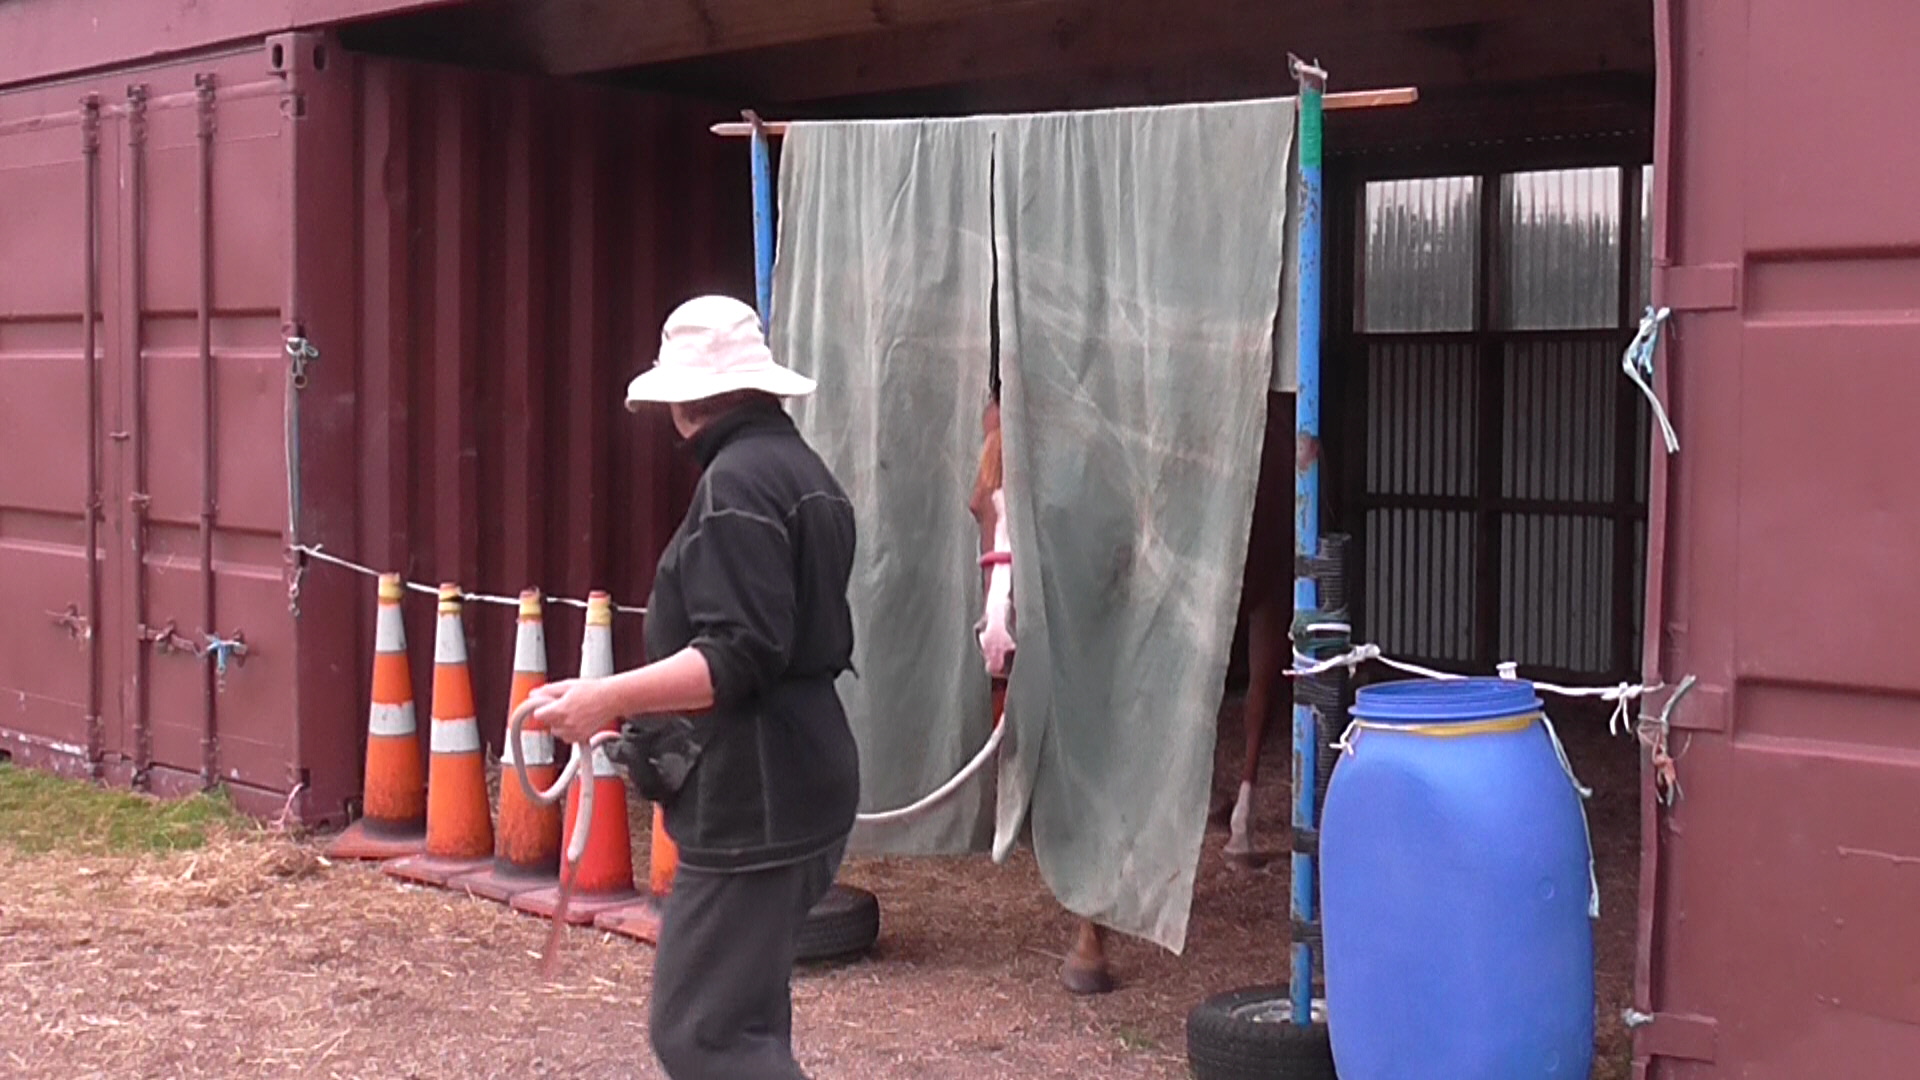
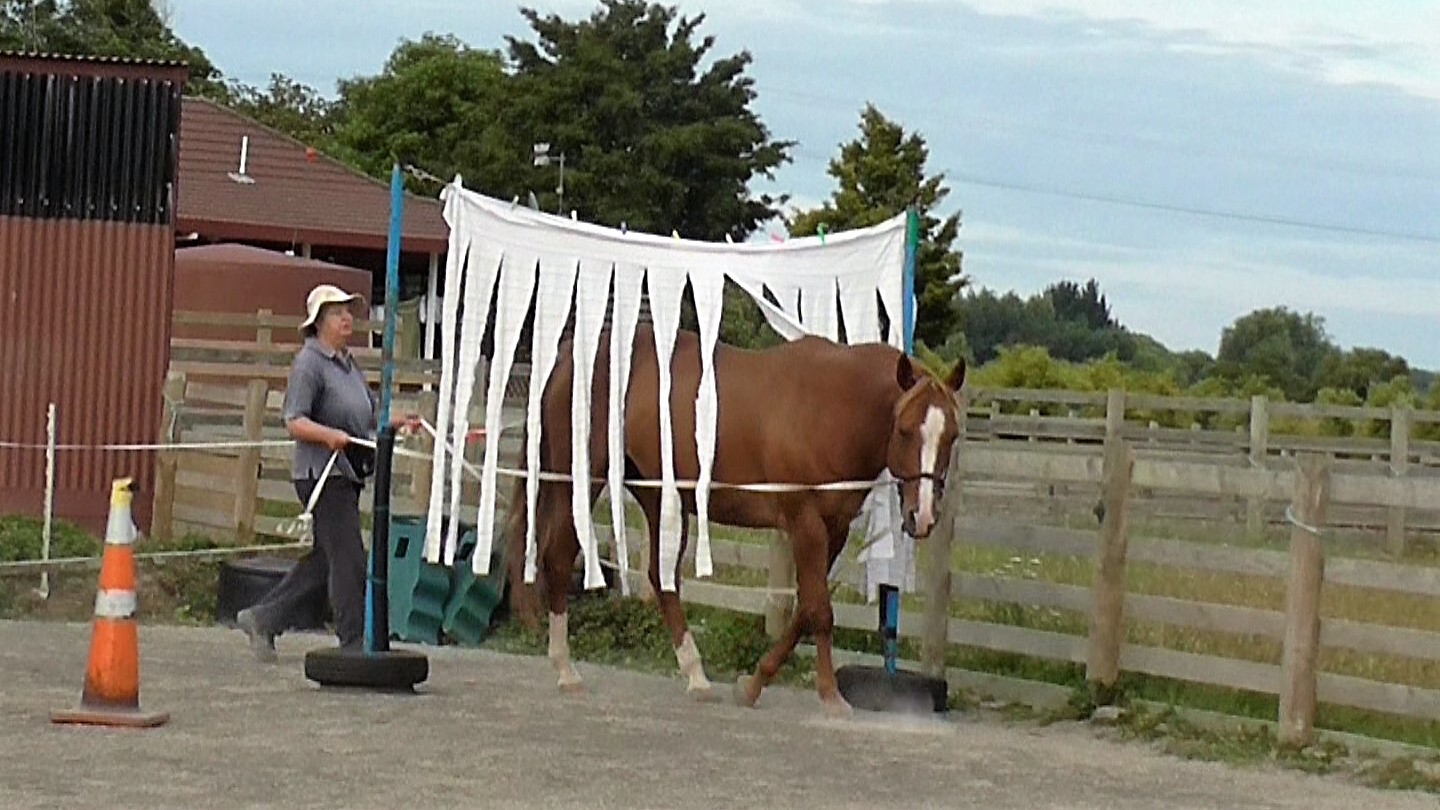
Drive Through: Ask the horse to drive through water such as puddles, small streams, and/or a purpose-built water obstacle made with a large tarp and 4 rails. You can also drive through curtains or obstacles like a series of paired pool noodles set up horizontally or vertically.
Driving Squares: In an open space, drive ‘squares’by focusing on distant objects on the horizon. It helps to ‘throw your energy’ out in front of the horse in the chosen direction. Do right hand ‘squares’ and left hand ‘squares’. You could use corner markers at first, to help.
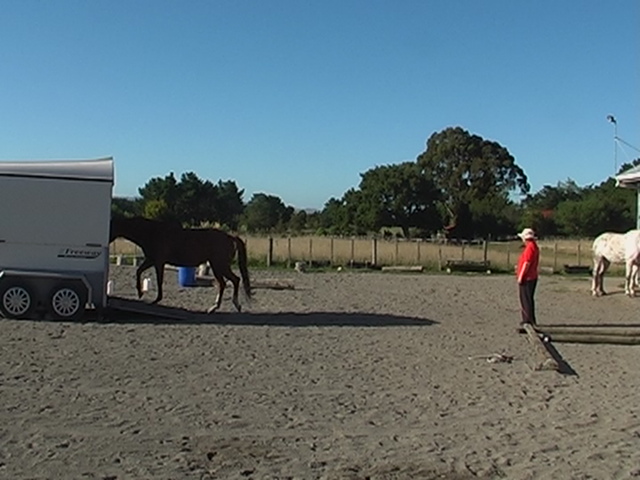
Eventually you may be able to send your horse into his trailer from further and further away.