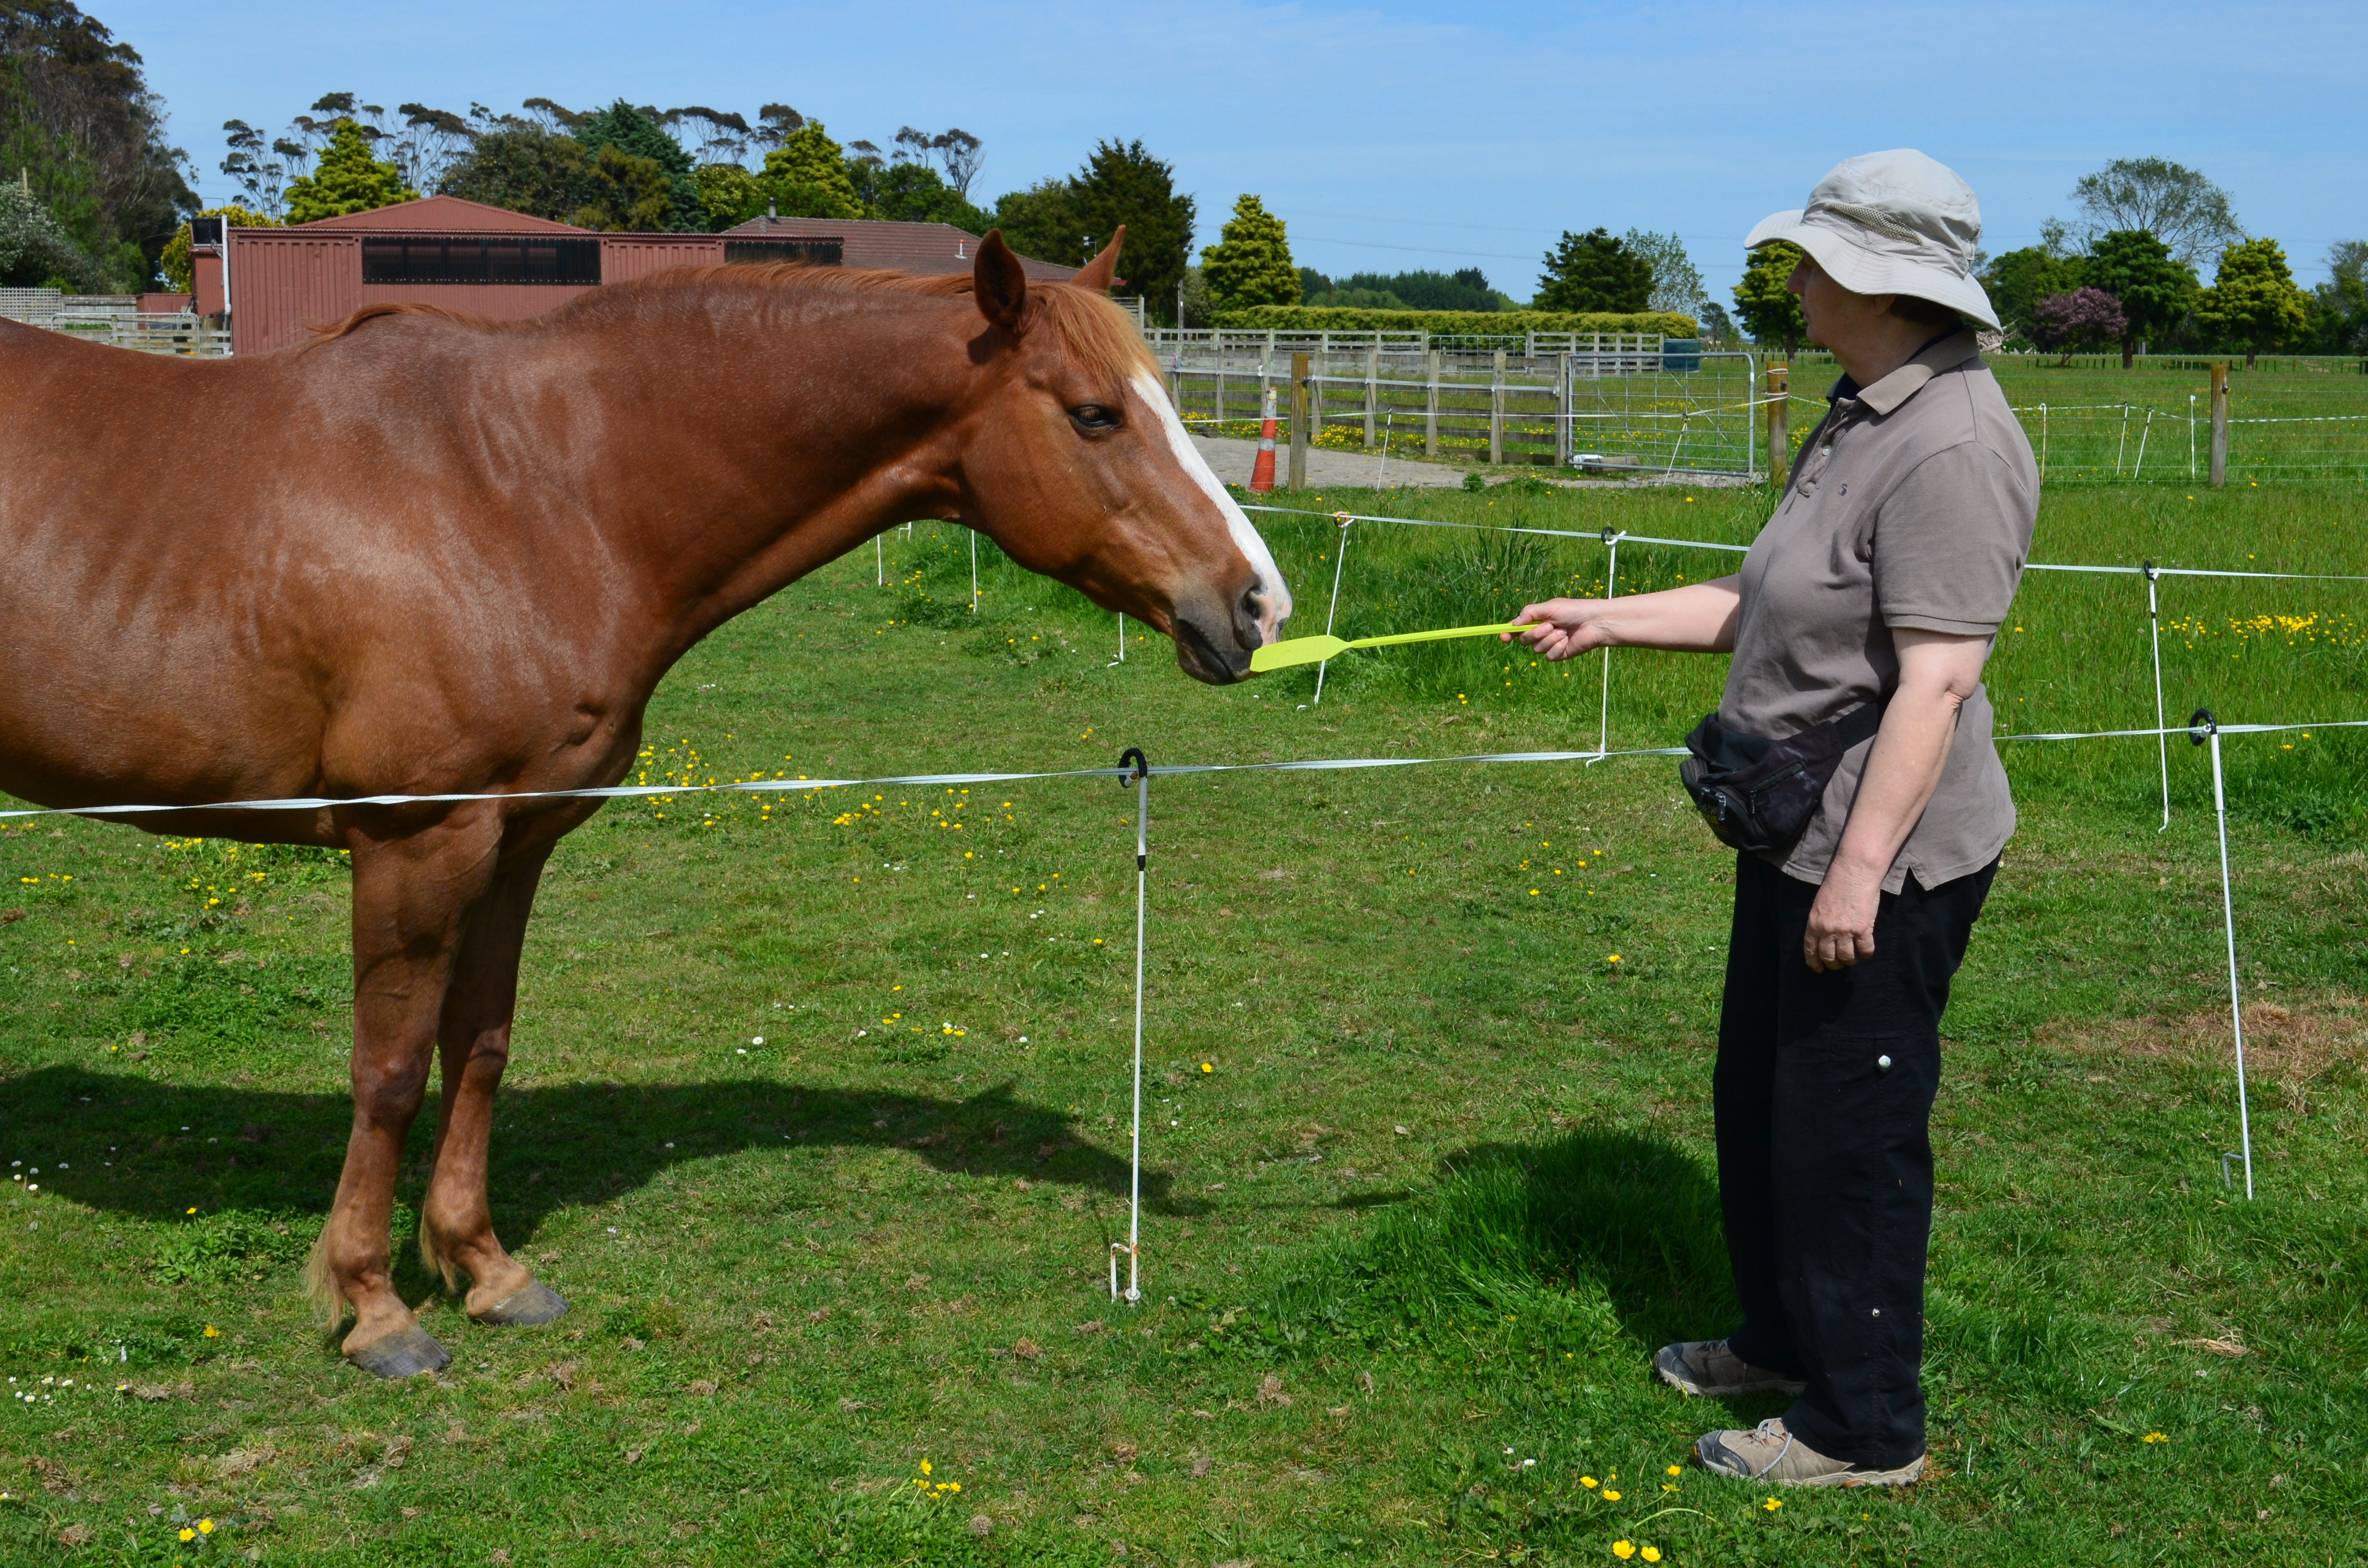
A Few Words about Headgear
IF we use a bit, pressure is applied directly to the thin membrane covering the gums. The pain and discomfort caused by bits tend to engage the horse’s mind, making him less able to attend to our teaching.
If you have a pen or pencil handy, clean it and put it in your mouth crossways. The first thing you might notice is that saliva begins to flow into your mouth. You are probably very conscious of the object and after a while your tongue may want to shift it around.
Meanwhile your mouth is filling up with saliva, which means you need to swallow more, which means that the rest of your digestive system ‘prepares’ to receive food. This is what happens with horses too and might explain a lot of horse stomach ulcer problems.
Keep the pretend ‘bit’ in your mouth and do something active. You may find that some of your focus remains on the thing in your mouth.
Have someone tie strings to either end of your ‘bit’ and use it to send you messages about where to go and when to stop.
Some people have very soft hands. They teach in a way that allows the horse to respond to light signals. However, many people don’t have this kind of ‘feel’ due to lack of experience, knowledge or awareness.
Horse mouth autopsies show that bits cause extensive mouth trauma. As well as causing excessive salivation, the bit takes up space needed by the tongue. So horses often pull the tongue back, which inhibits swallowing of the excess saliva, which in turn inhibits the horse’s breathing.
Research has shown that for optimal breathing, the horse’s mouth needs to be ‘sealed’, which obviously can’t happen if the horse is wearing a bit.
Anything in the mouth triggers the brain to produce saliva because it obviously thinks that ‘eating’ is going on. It is common to see sport horses dripping with saliva, yet we don’t see wild horses, run ragged during a round-up, frothing with saliva.
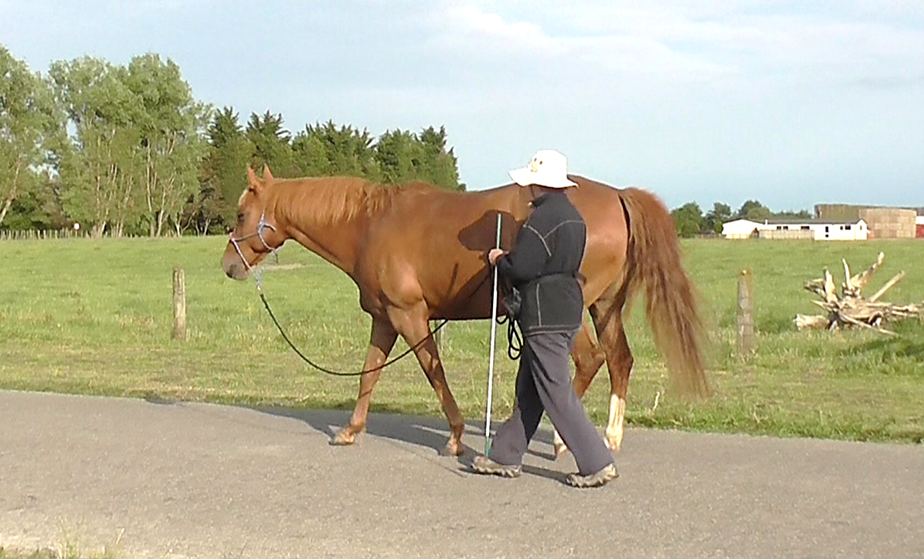
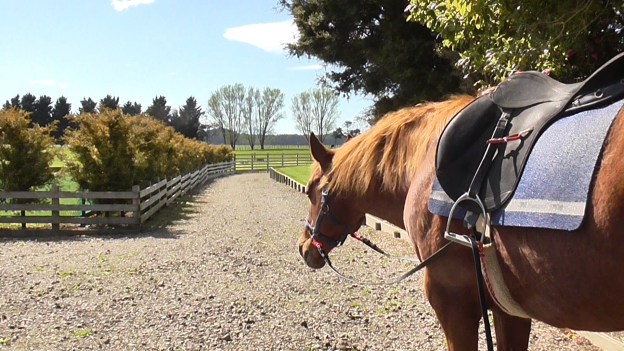
There are many bit-less alternatives. We can teach soft rein response using a halter or a side-pull headstall. Sunset Halters in the USA produces a line of side-pull halters. Click here for the Sunset Halters website.
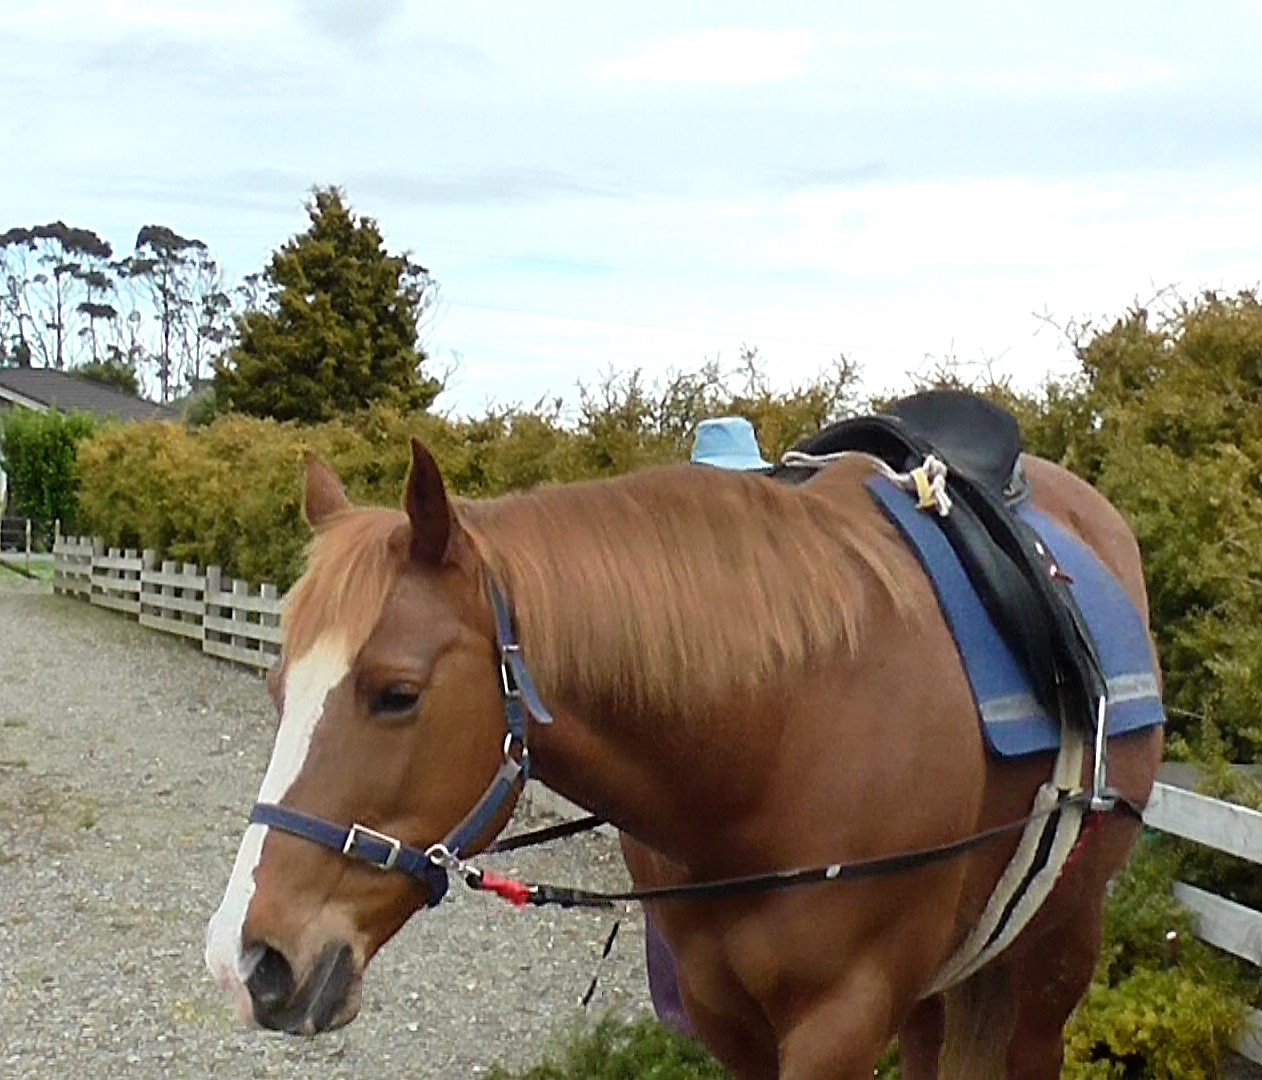
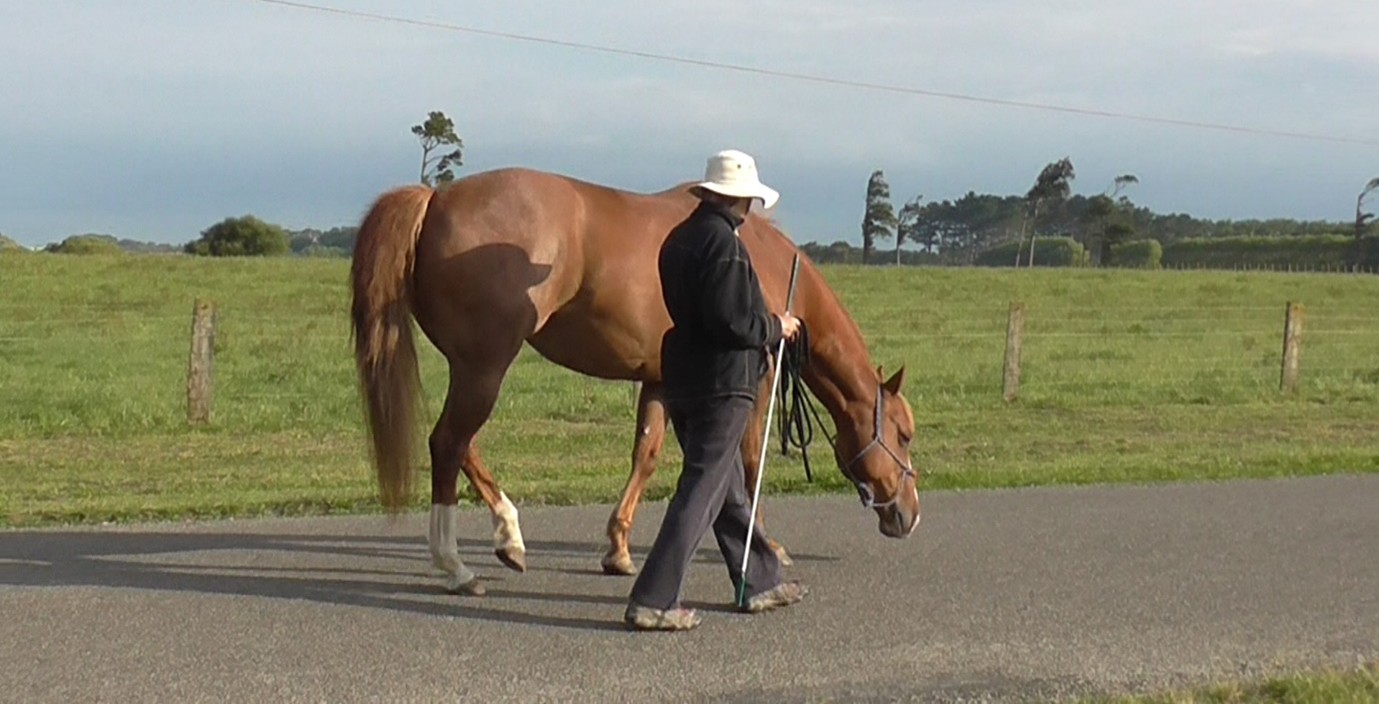
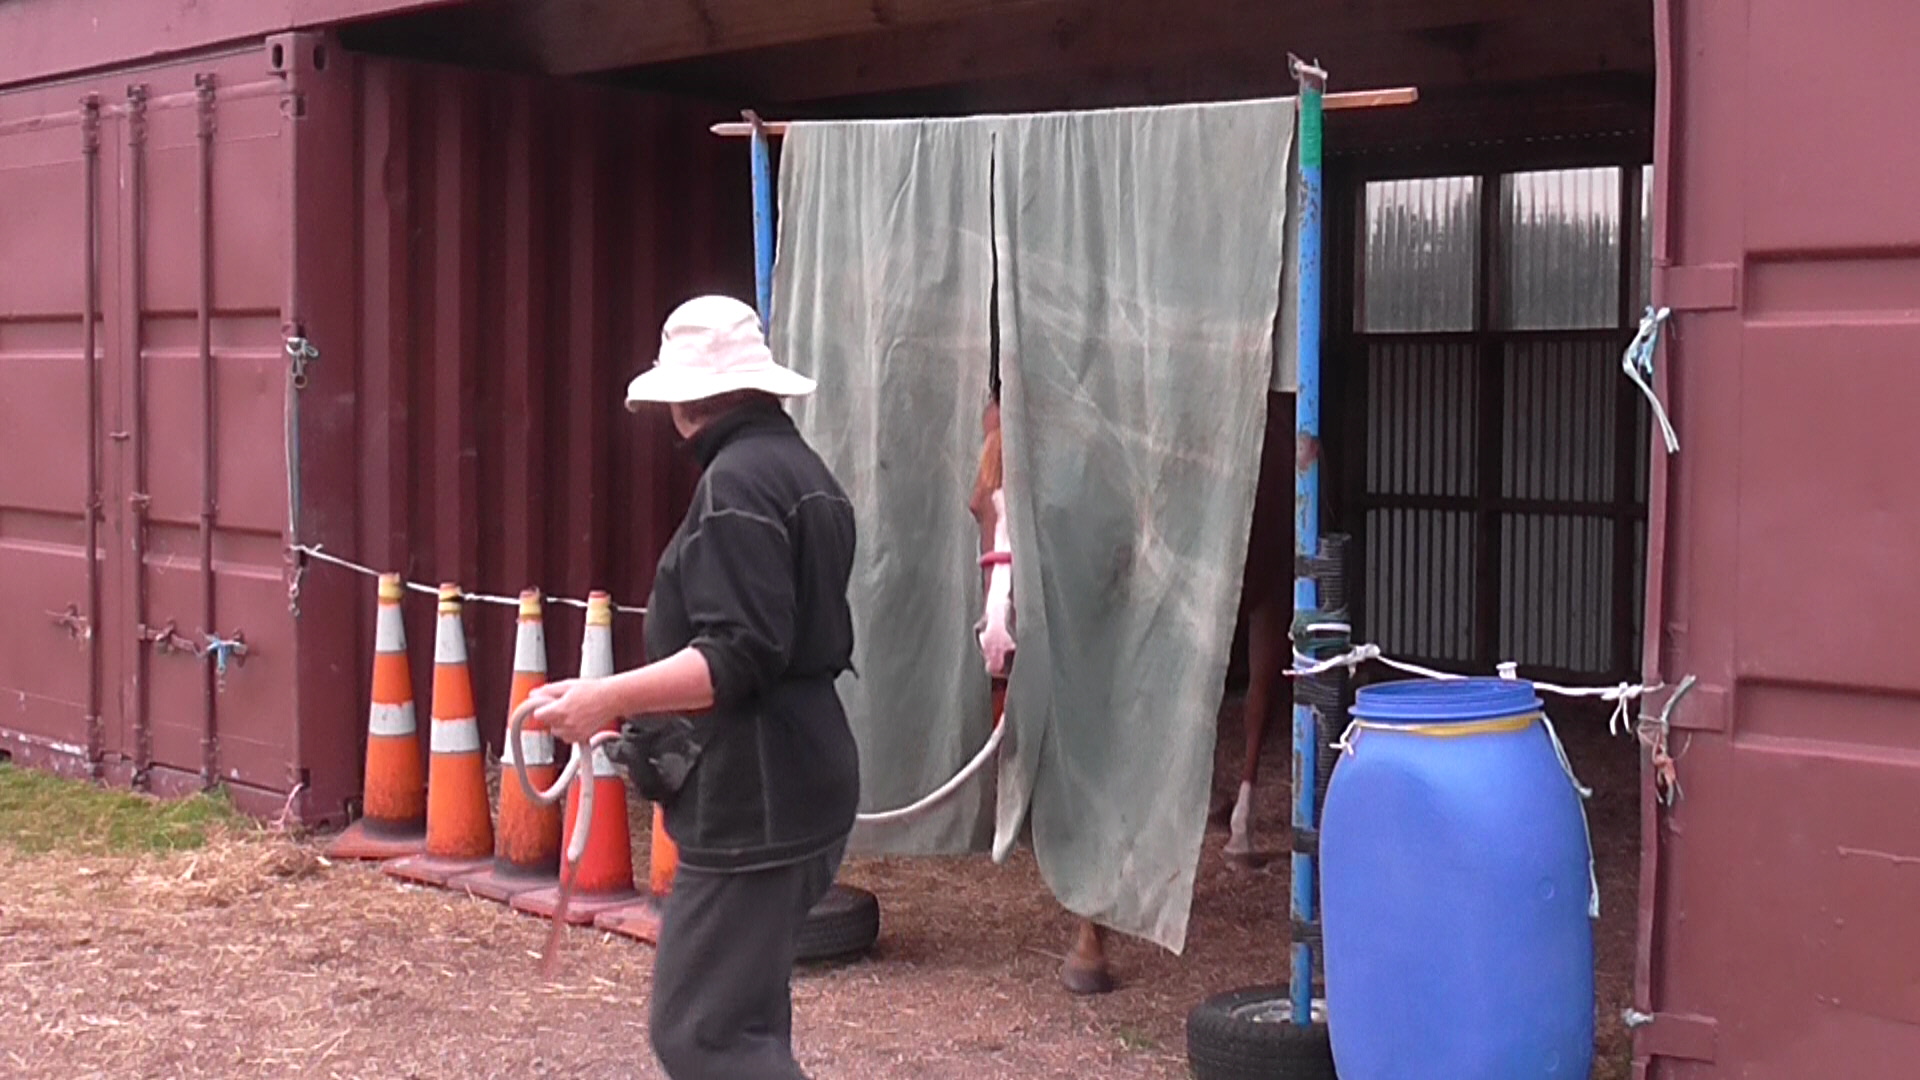
A flat halter works fine for long-reining when all the steps of the process are taught carefully.
A side-pull or halter needs to be handled with the same finesse and delicacy as a bit should be handled. The rein pressure on a halter or side-pull pushes the skin against the horse’s teeth. It is, however, much less intrusive than a bit.
Tossing Reins from LP6
Aim: Horse is confident having the reins flipped over his rump from behind.
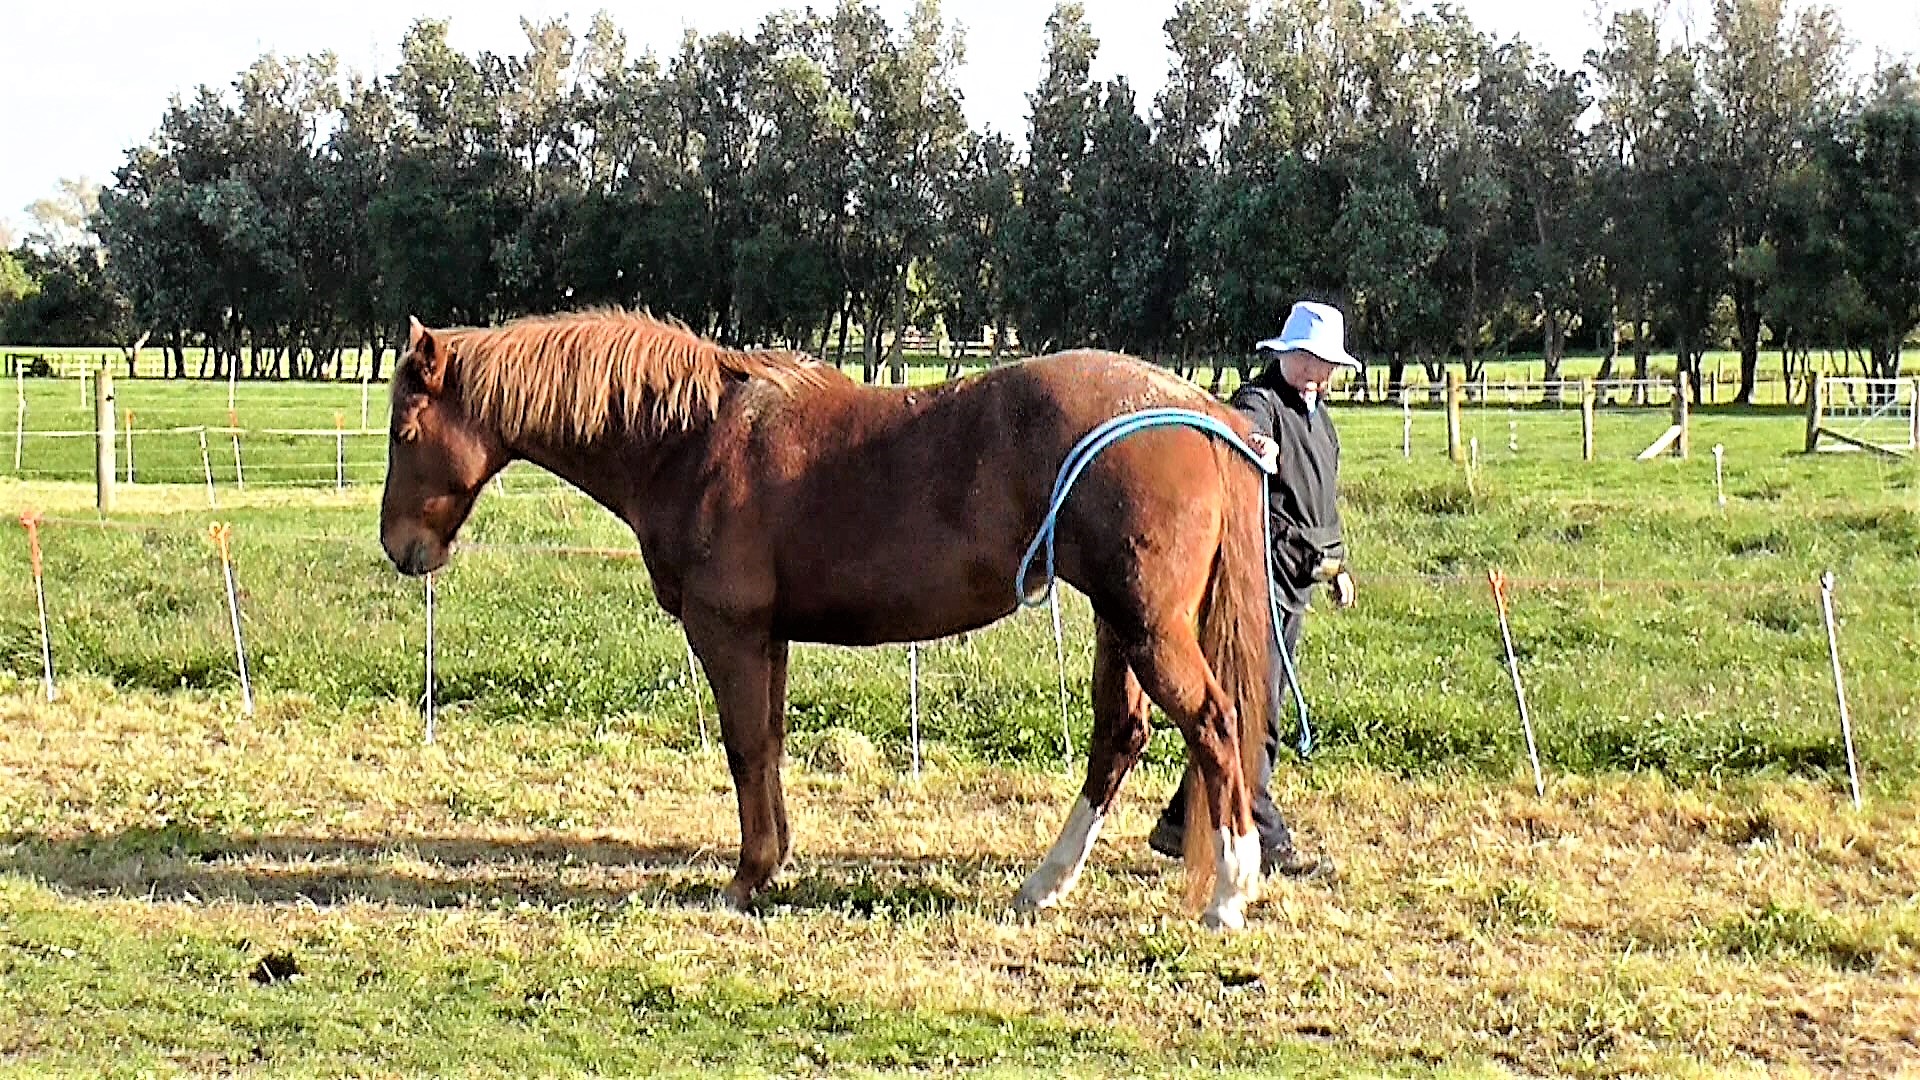
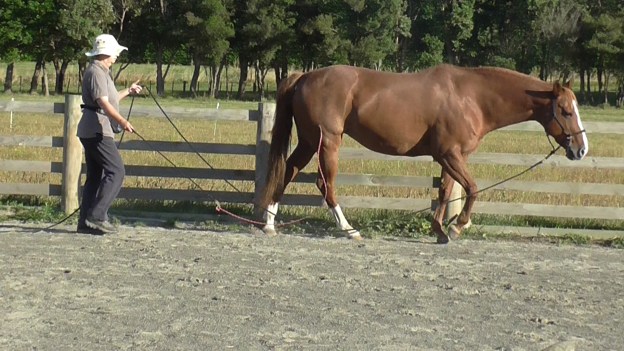
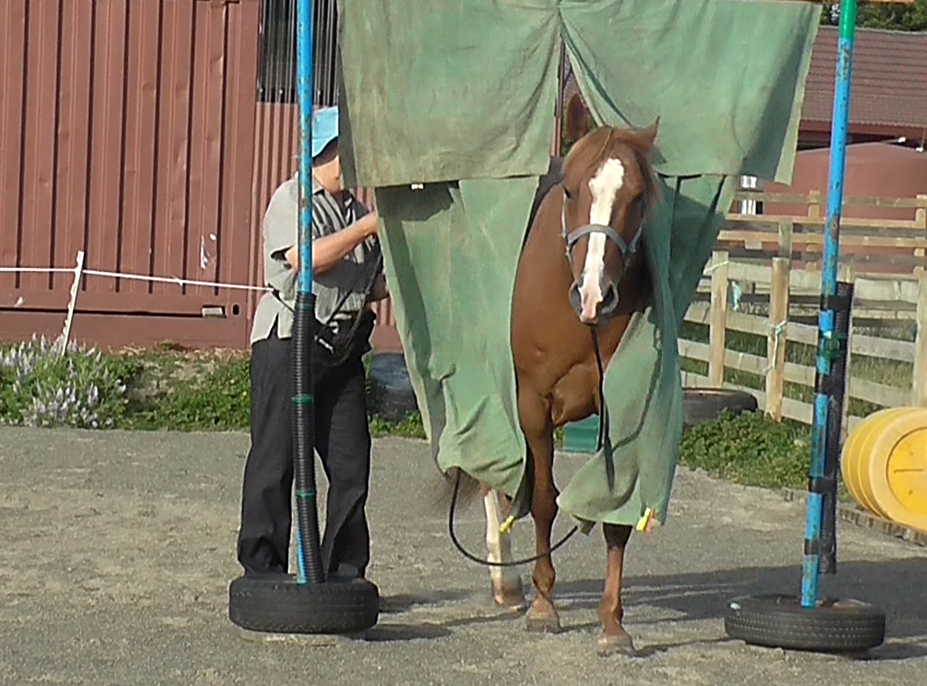
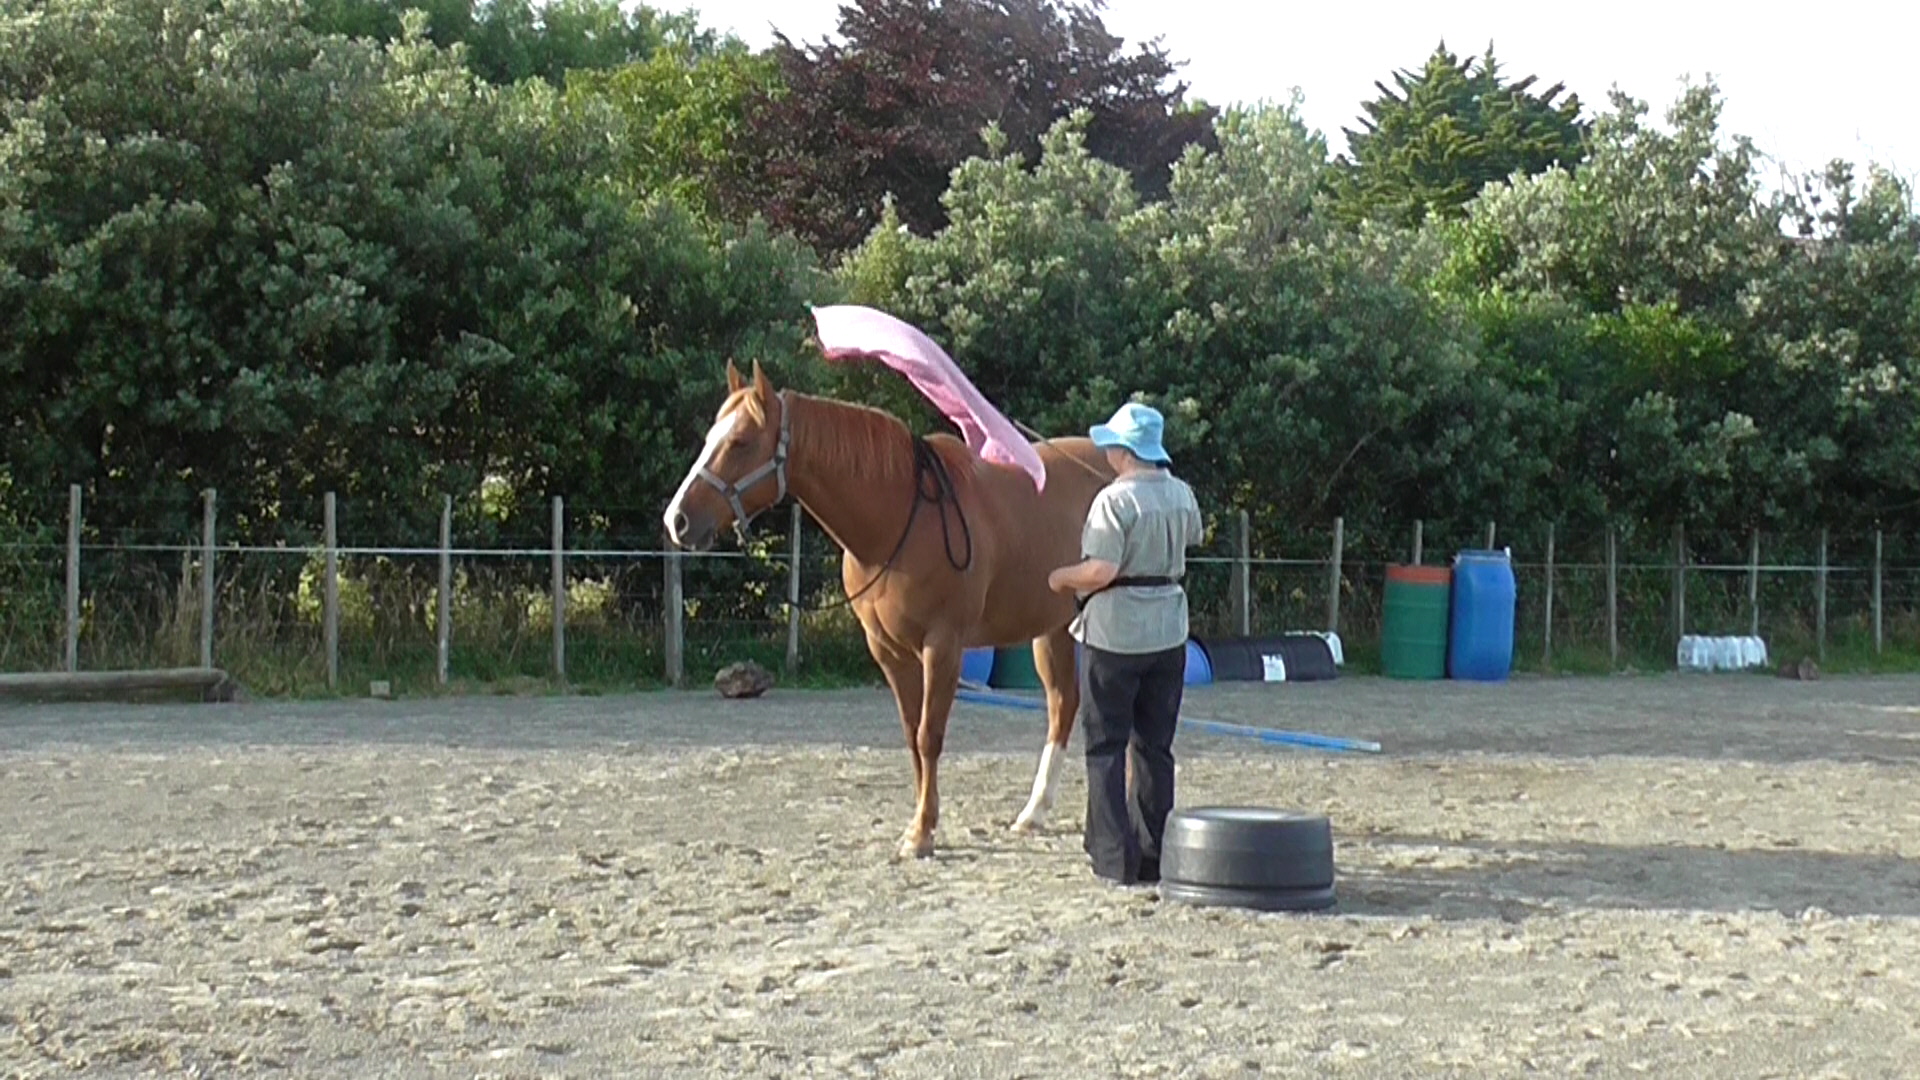
When we attach the reins, or move to the horse’s head to take them off, it is safest to have them both on one side. That means the horse has to be confident when we toss a rein over his back.
With clicker training, we toss a rein over his back and promptly step forward to deliver the treat. We don’t want to give the horse the idea that he needs to turn to get his treat. Doing a little bit of this exercise frequently means handler and horse rapidly get better at it. It may pay for the handler to first proctice tossing the rope ovr an inanimate object about the size of a horse. The horse quickly accepts it as another ho-hum thing that we do.
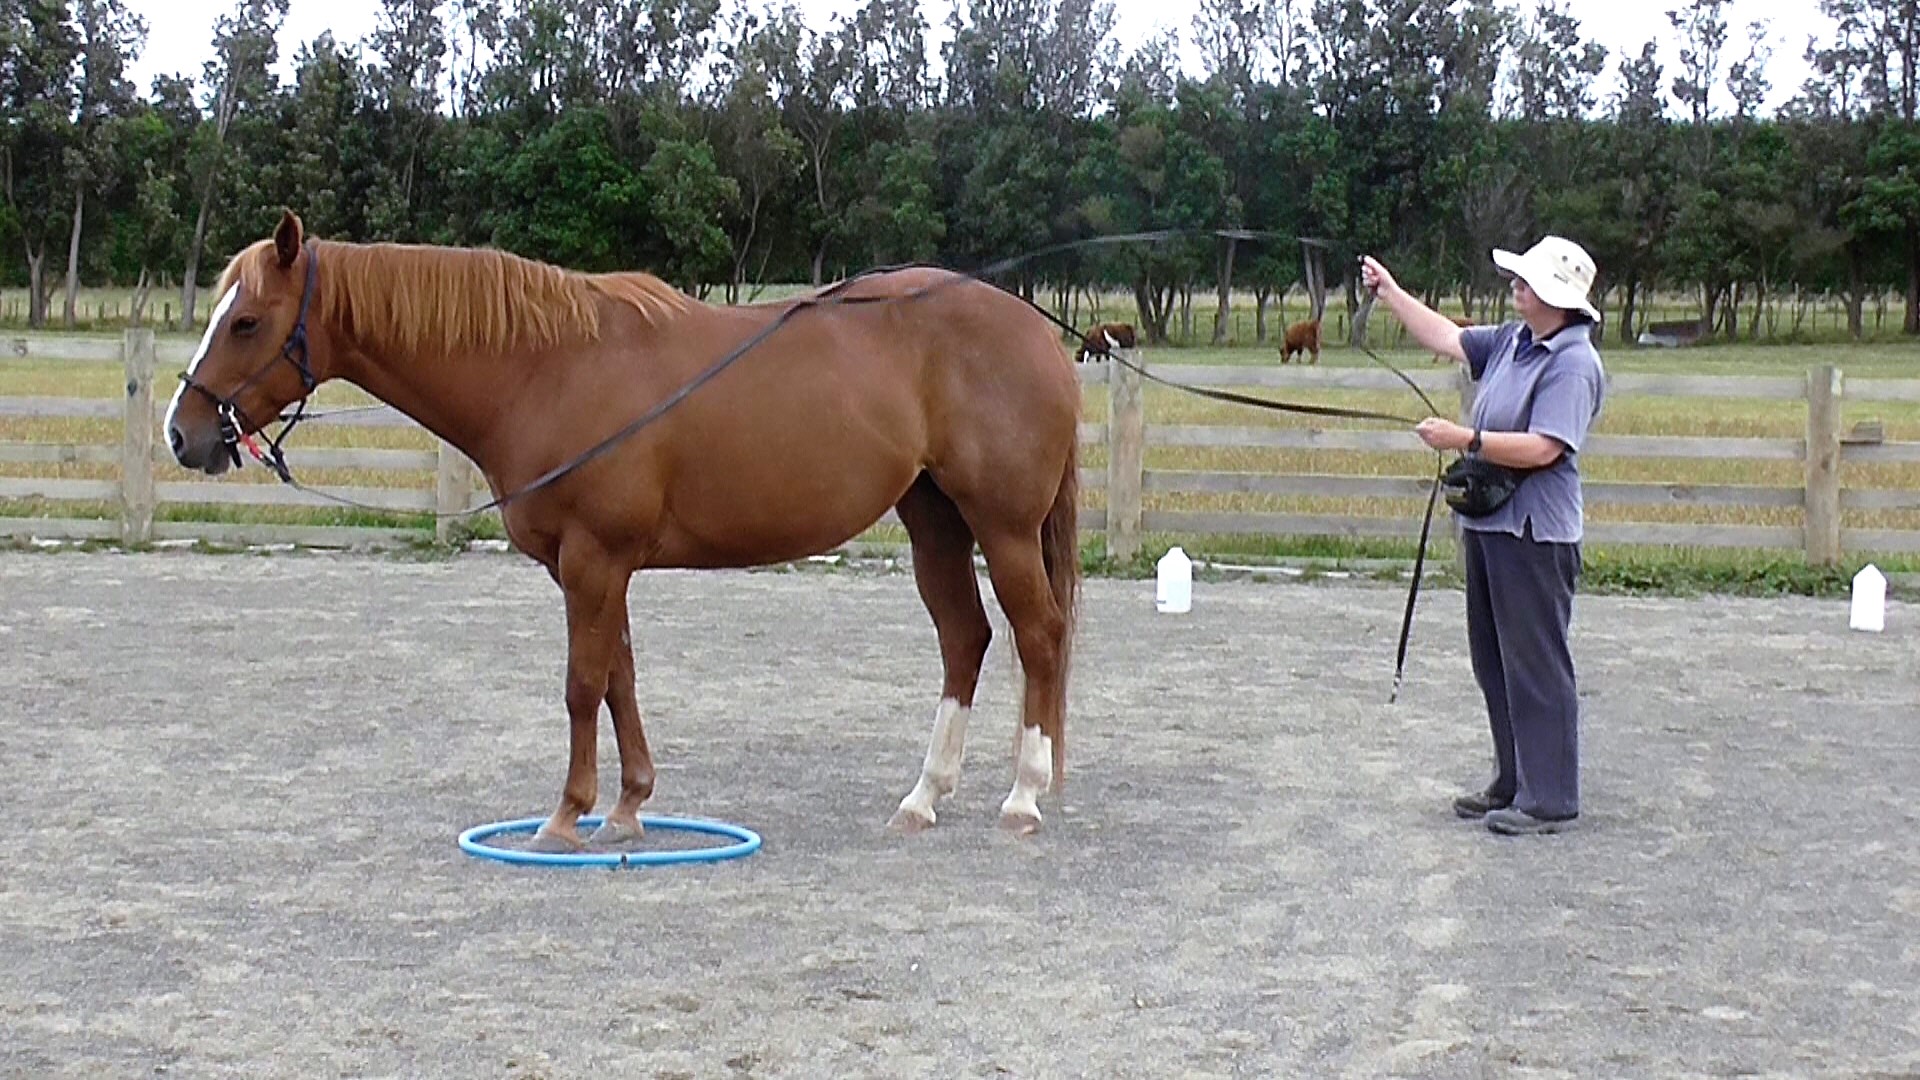
Boots is parked in a hoop (or use a mat) to remind her that she does not have to move to receive her treat after I click.
The horse’s responses let you know when you should relax (click&treat) during the slices outlined below. The horse may already be confident because he has had good Rope Relaxation lessons.
Or the horse may lack confidence, which means you have to write an Individual Education Program to build it up slowly.
Every step of the way, look for and reward signs of relaxation (sighing, lower head, floppier ears, softer lower lip, blowing out, shaking neck, cocking a hind leg).
Clip #60 in my HorseGym with Boots playlist also looks at ‘Rope Calmness’, leading to confidence with having the long reins tossed over from behind. The thin-sliced steps for this process are outlined in detail below. Click here for Clip #60.
Slices
Prerequisite: the horse is comfortable standing still while you move all around him. If you have worked with parking on a mat, this will be well established. Use a mat to begin with.
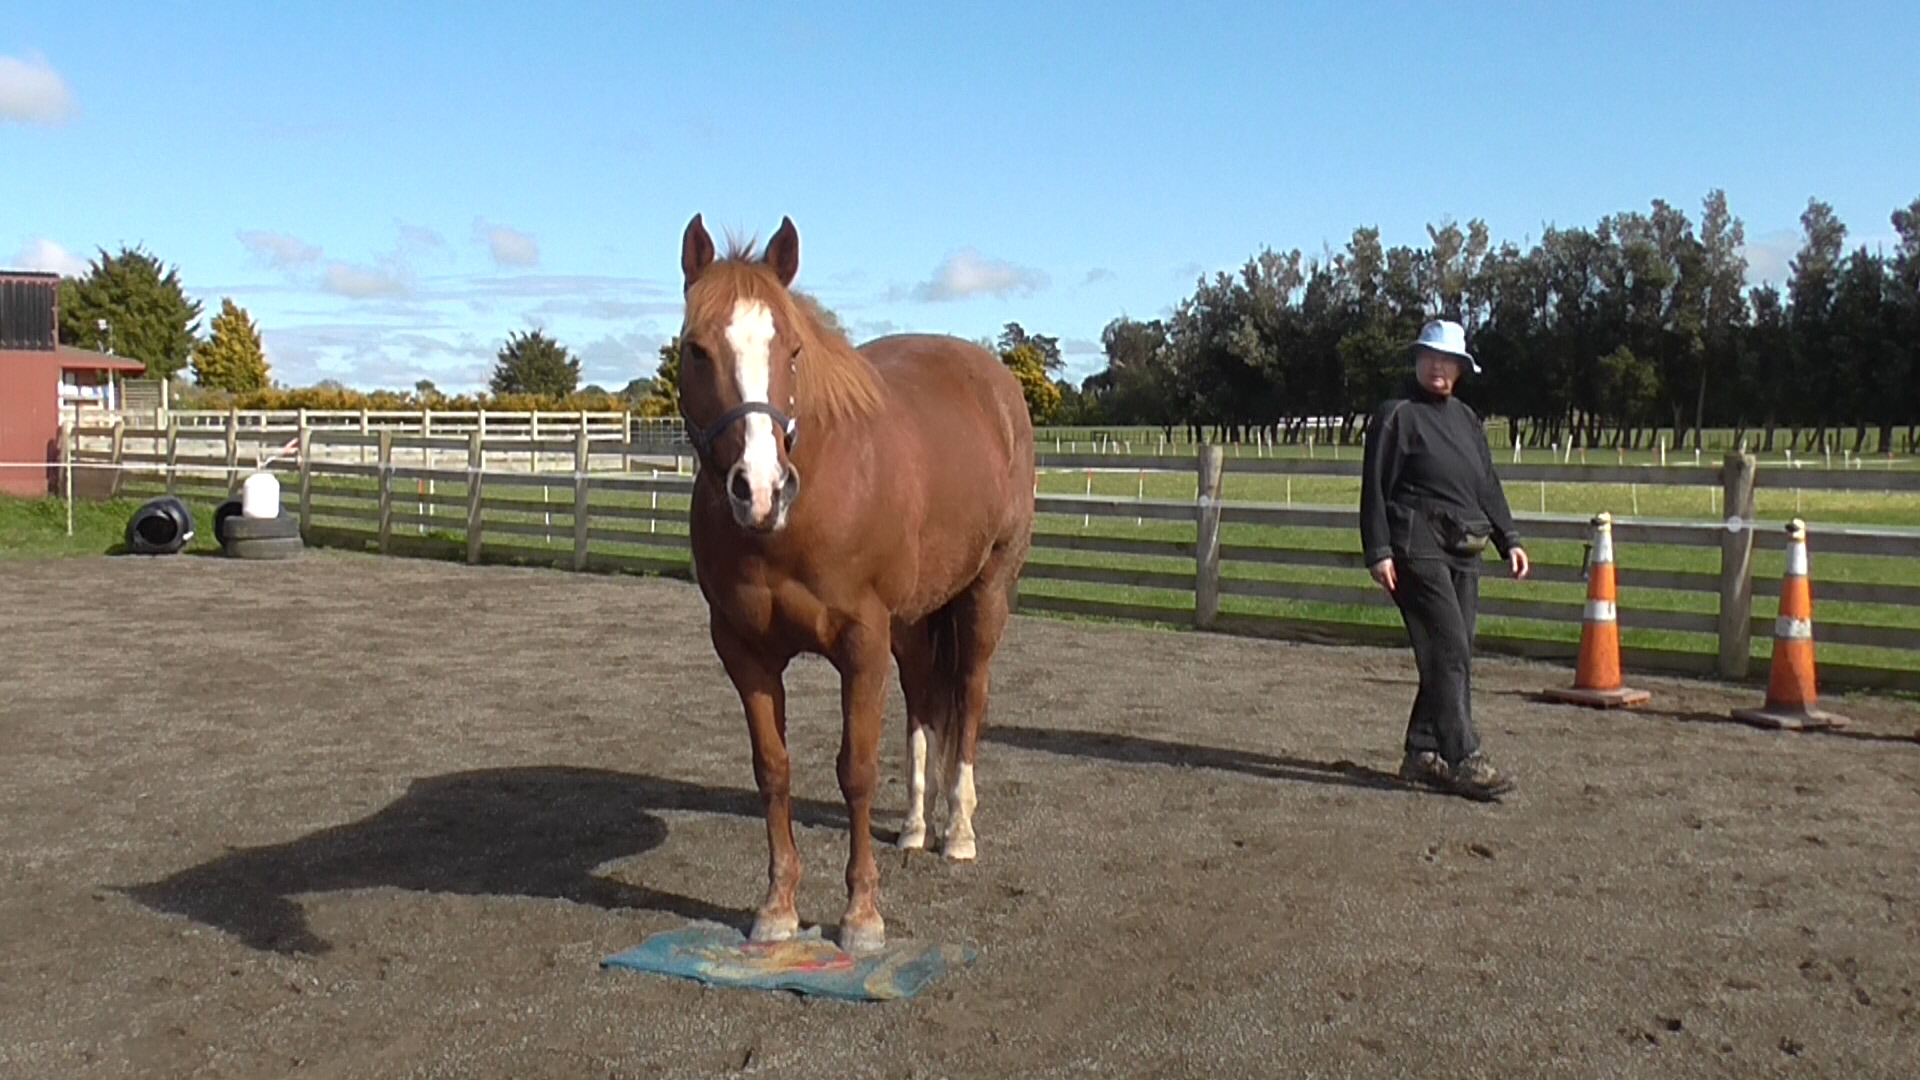
Here I’ve asked Boots to park on a mat and am walking from right to left behind her. At first I clicked/treated every time I changed sides. Then gradually we built more duration.
- Make sure the horse is confident with your hand running over his body as you move from LP3 on one side into LP4, LP5, around his butt in LP6, and along LP5, LP4 and LP3 on his other side. We really want the horse to be totally relaxed and ho-hum about us being close as we move around him in both directions.
- Also make sure he is confident with a body extension running all along his body on both sides as you walk around him, as outlined in video clip #60 above. You can generalize this to running a flag all over his body as you walk around him.
- Use a single long rope/rein. Standing near his shoulder, toss the end of the rope/rein over the horse’s neck, back and hindquarter. If it is new for the horse, relax (click&treat) after every ‘toss’ at first, then gradually increase the number of ‘tosses’ before you relax (click&treat). It may helf to refer again to clio #22 Rope Relaxation Click here for clip #22.
- When 3 is good, gently toss the end of the rope all around his legs. Reward all signs of relaxation (lowering head, breathing out, licking/chewing, blowing out, shaking neck, softer ear and bottom lip, cocked hip).
- Ground tie the horse or have someone hold him or tie him up so you can move into LP6 and alternate stepping to the left and to the right. When you do this you pass through the horse’s blind spot right behind his butt. Watch his eyes. He should track you with each eye and be comfortable with you moving from his left eye to his right eye and back again.
- When you are happy with 5 above, gently toss the single rein over the horse’s back from behind; relax (click&treat – move briskly to the horse’s head to deliver the treat. We don’t want him to turn around for it). Then toss the rein back the other way; relax (click&treat). Repeat until it is ho-hum.
- Attach the rein on the horse’s other side, and repeat the process above until it is ho-hum on either side.
Introducing Two Reins – NOT YET, But working towards it slowly
Instead of specific ‘slices’ I’ll present the ideas I have gathered from my long-reining experiences.
It’s time to ask the horse to get comfortable with two long reins when:
*Asking the horse to ‘walk on’ from leading position 6 with a single rein is easy (previous blog).
*You can have the single long rein on either side of the horse.
*You can flip the reins over easily, from behind, from left to right, and from right to left.
*The horse willingly ‘walks on’ in a straight line when the single rein is between the horse and the fence.
The horse willingly ‘walks on’ in a straight line when he is between the fence and the single rein.
*The horse understands voice and light touch cues for being asked to ‘walk on’ and ‘halt’ without turning toward you.
*Any signal pressure is easily felt by the horse. Applied with clarity and consistency, and given instant release at the desired response, horses quickly work out what the different pressures on their cheeks mean.
Aim: To teach the horse to understands LIGHT rein signals for right and left turns while at HALT
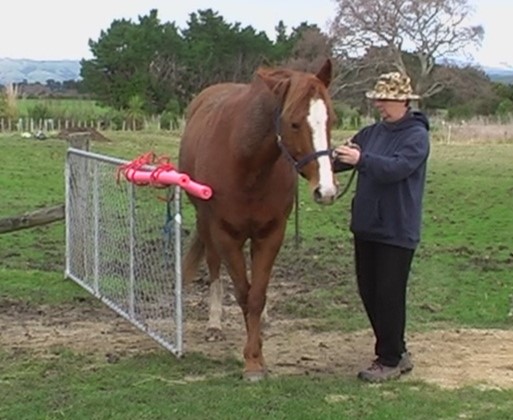
Before we attach two reins, it is essential that we teach the horse to respond to a light signal from behind his withers to turn left and right. It’s easy to teach soft rein response from LP4 (behind the withers).

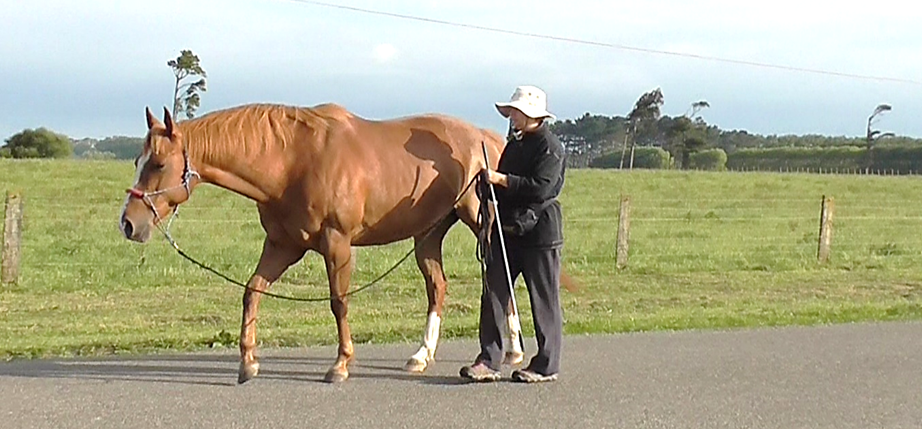
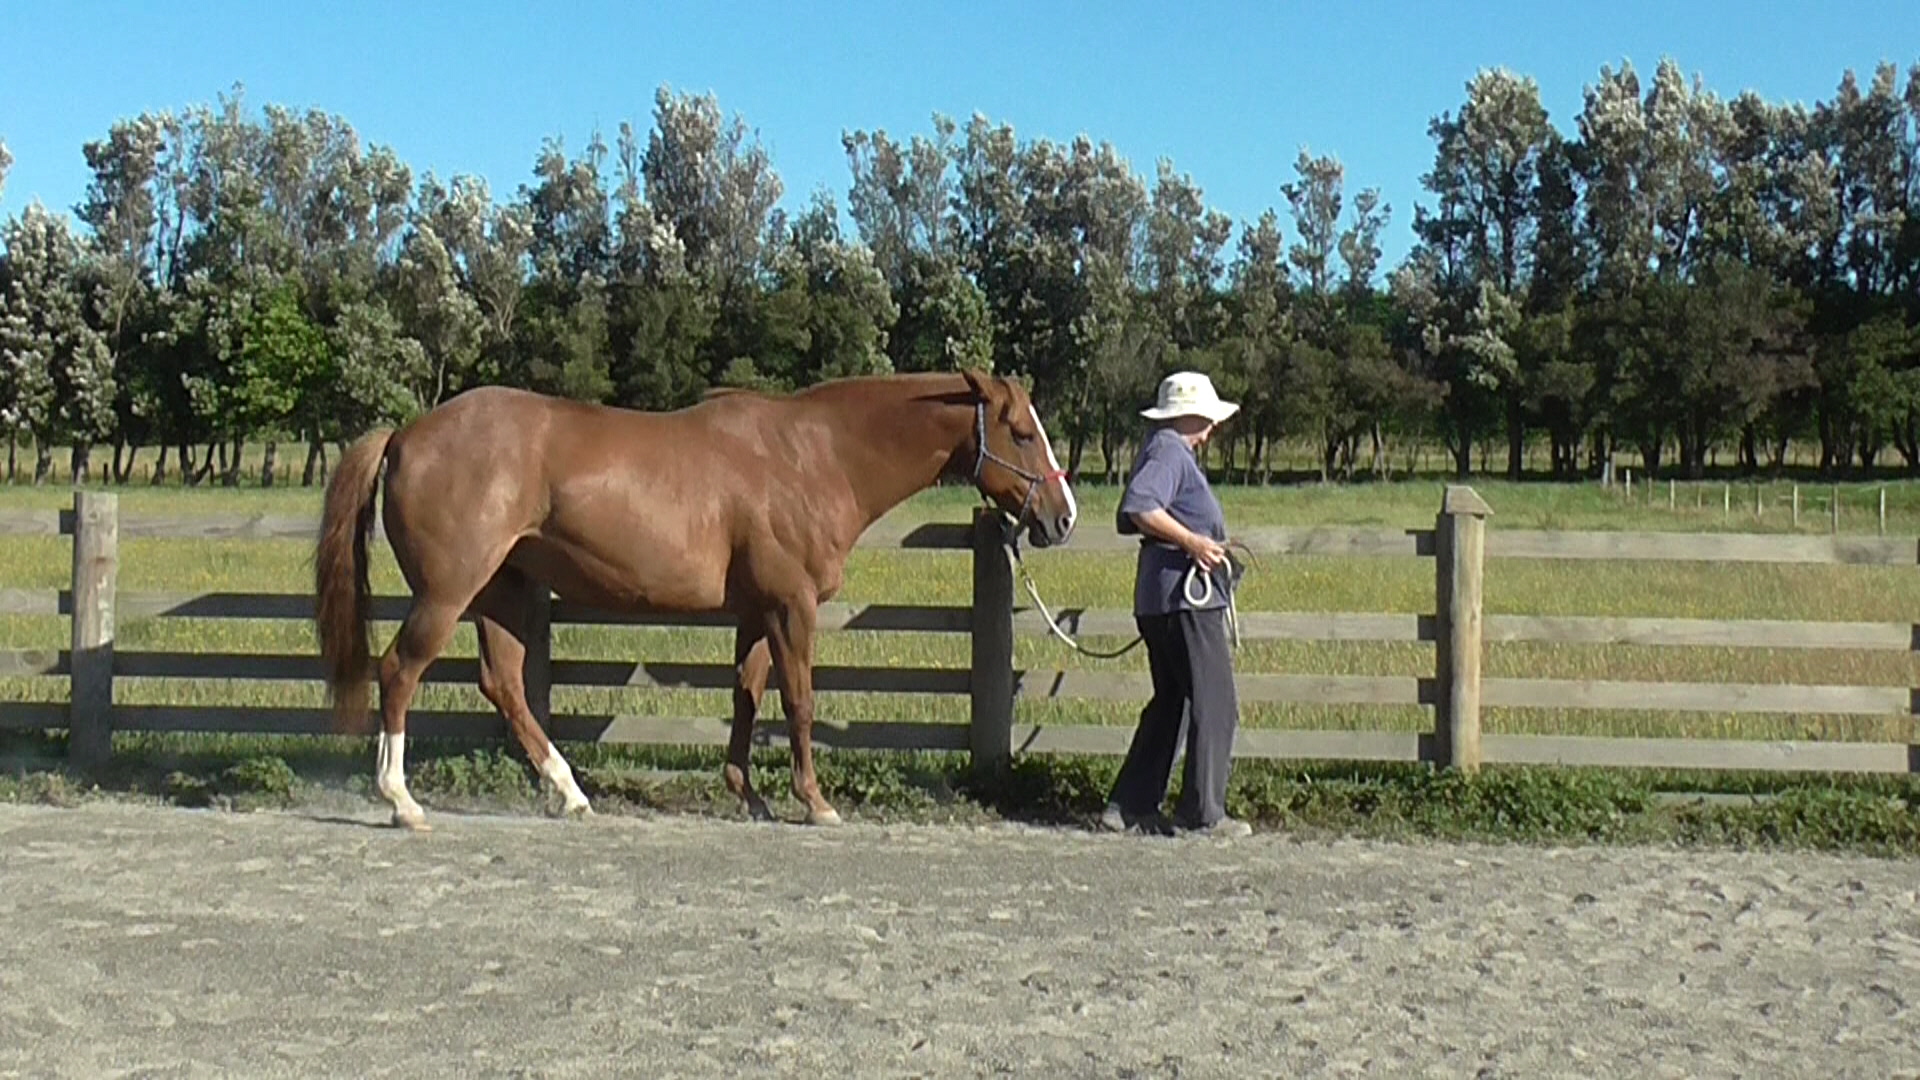
Figure 140: Teaching soft rein response from LP4 (behind the withers). When this is good at the halt, we can generalize it to long-reining. This technique is illustrated in the second video series below.
The photograph above shows how I set up teaching soft rein response from LP4. First I teach relaxation with the head straight while I am behind the withers. This can take some time. Then I teach a soft rein response toward the side I am standing on. Then I teach soft rein response toward the opposite side, as shown in the photo above.
These two little video series look at the detail. The first is done without a halter, if you prefer to start that way. The second series starts with a halter and has the handler on a raised mounting block behind the withers, which makes it more of a riding position and allows teaching both left and right turns from the withers as when riding.
Series One
Series Two
The first one is about 10 minutes long but the others are much shorter.
Finally, be sure to watch this one called THE INVISIBLE REIN, as it is quite an eye-opener.