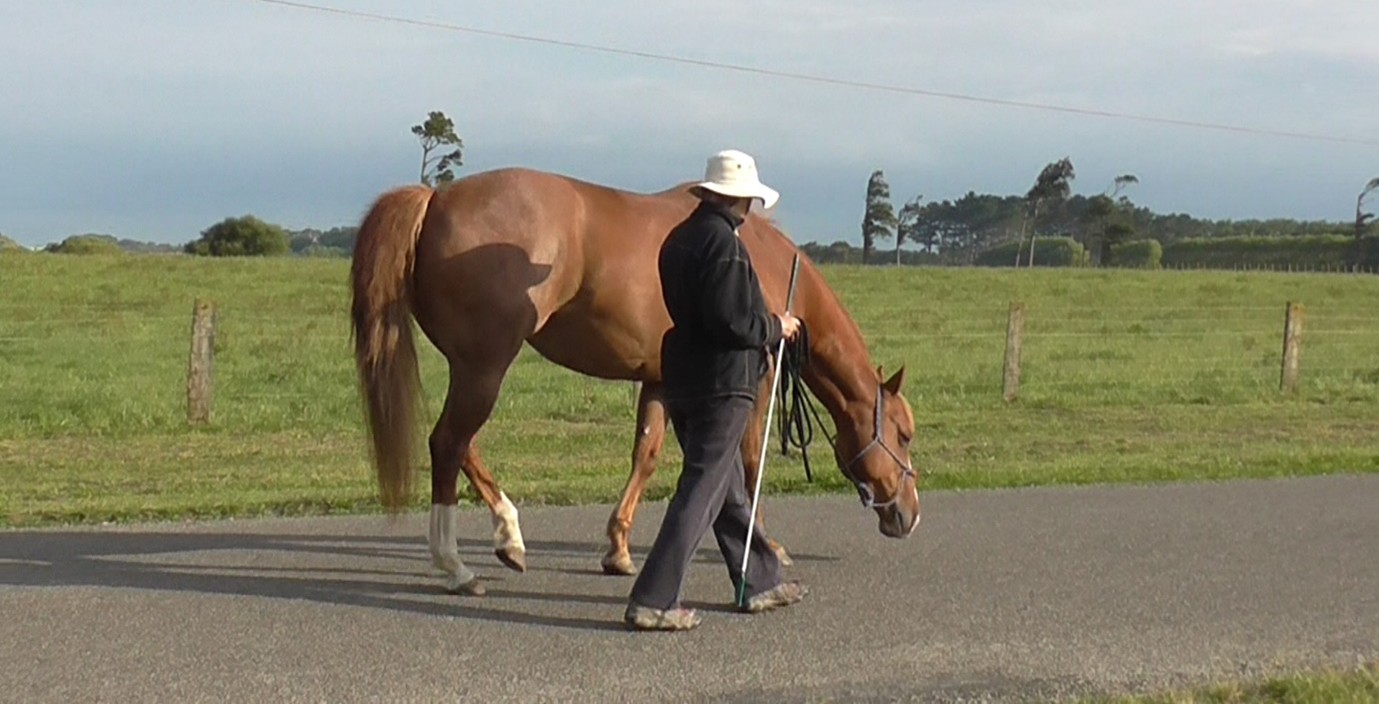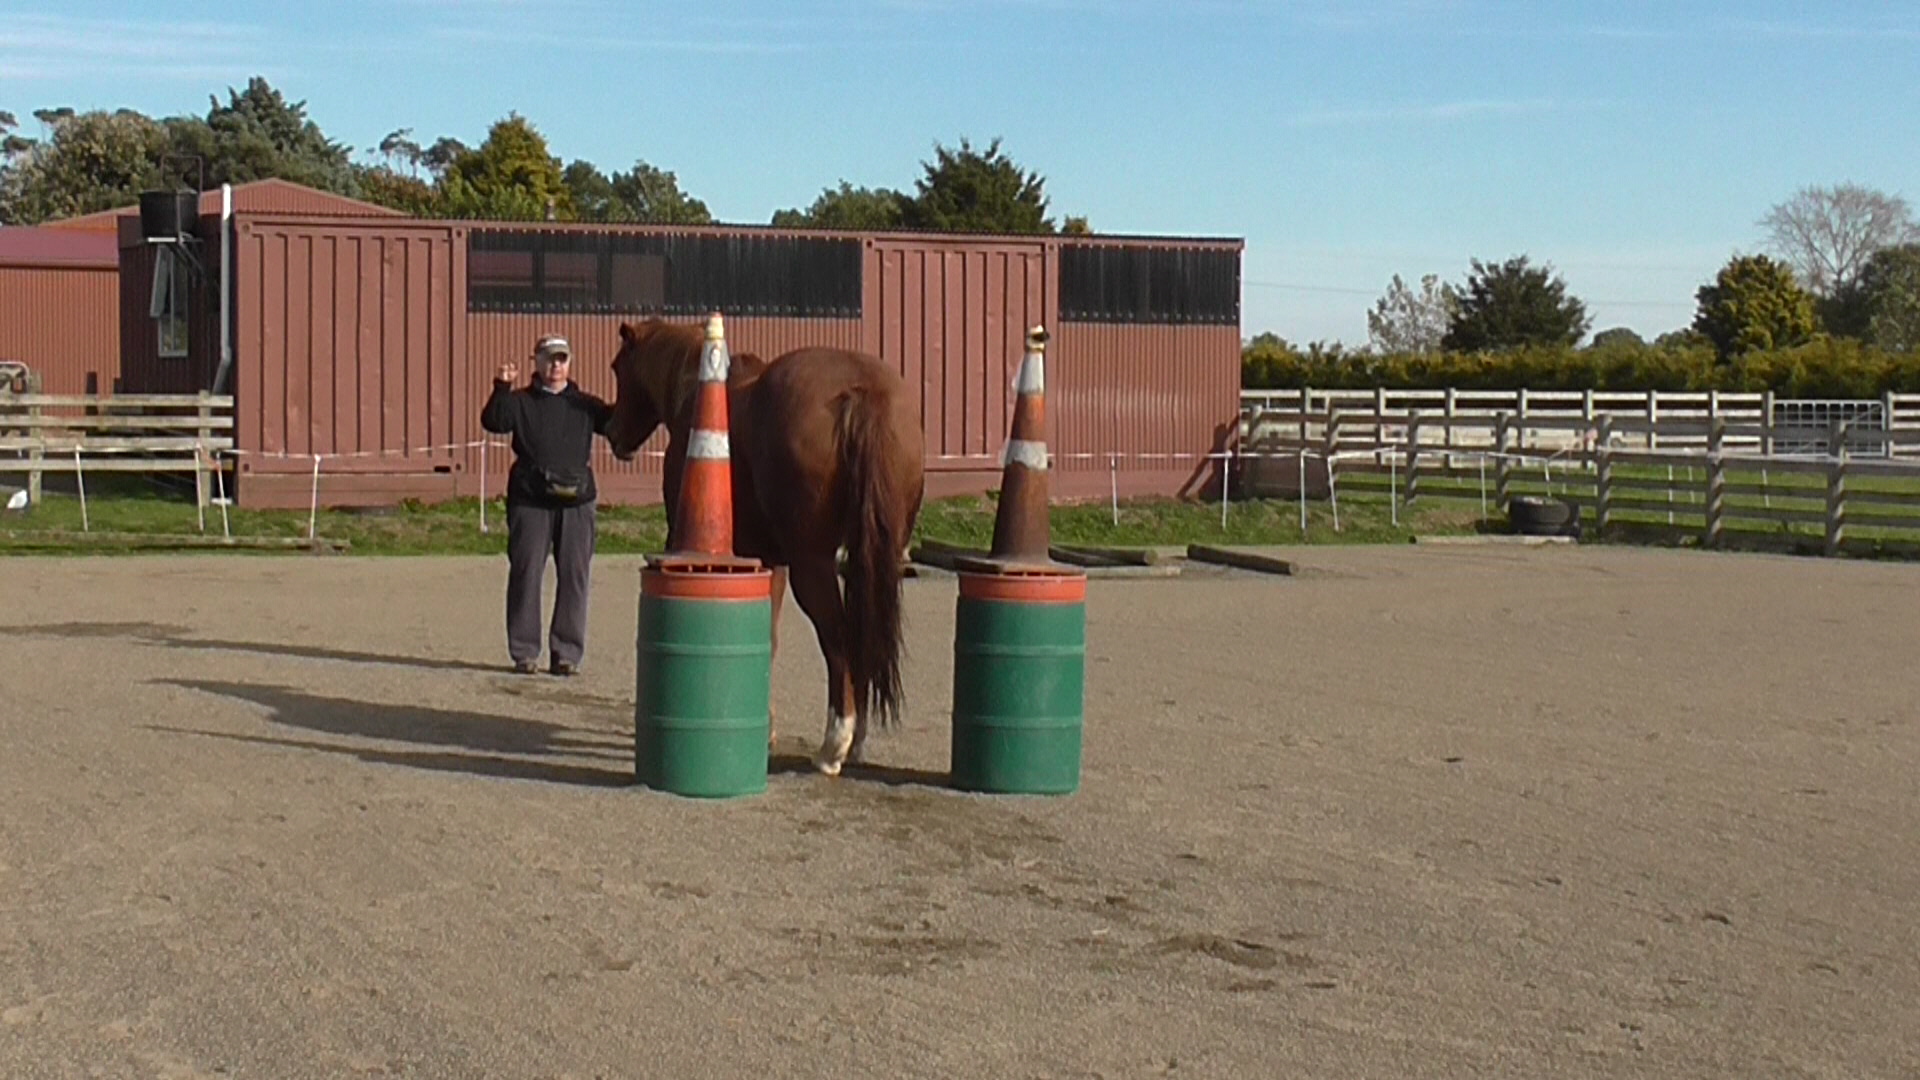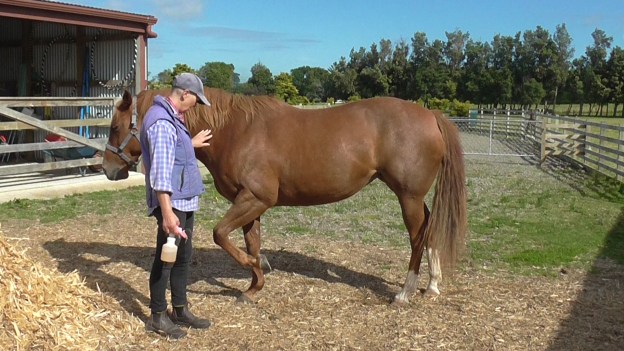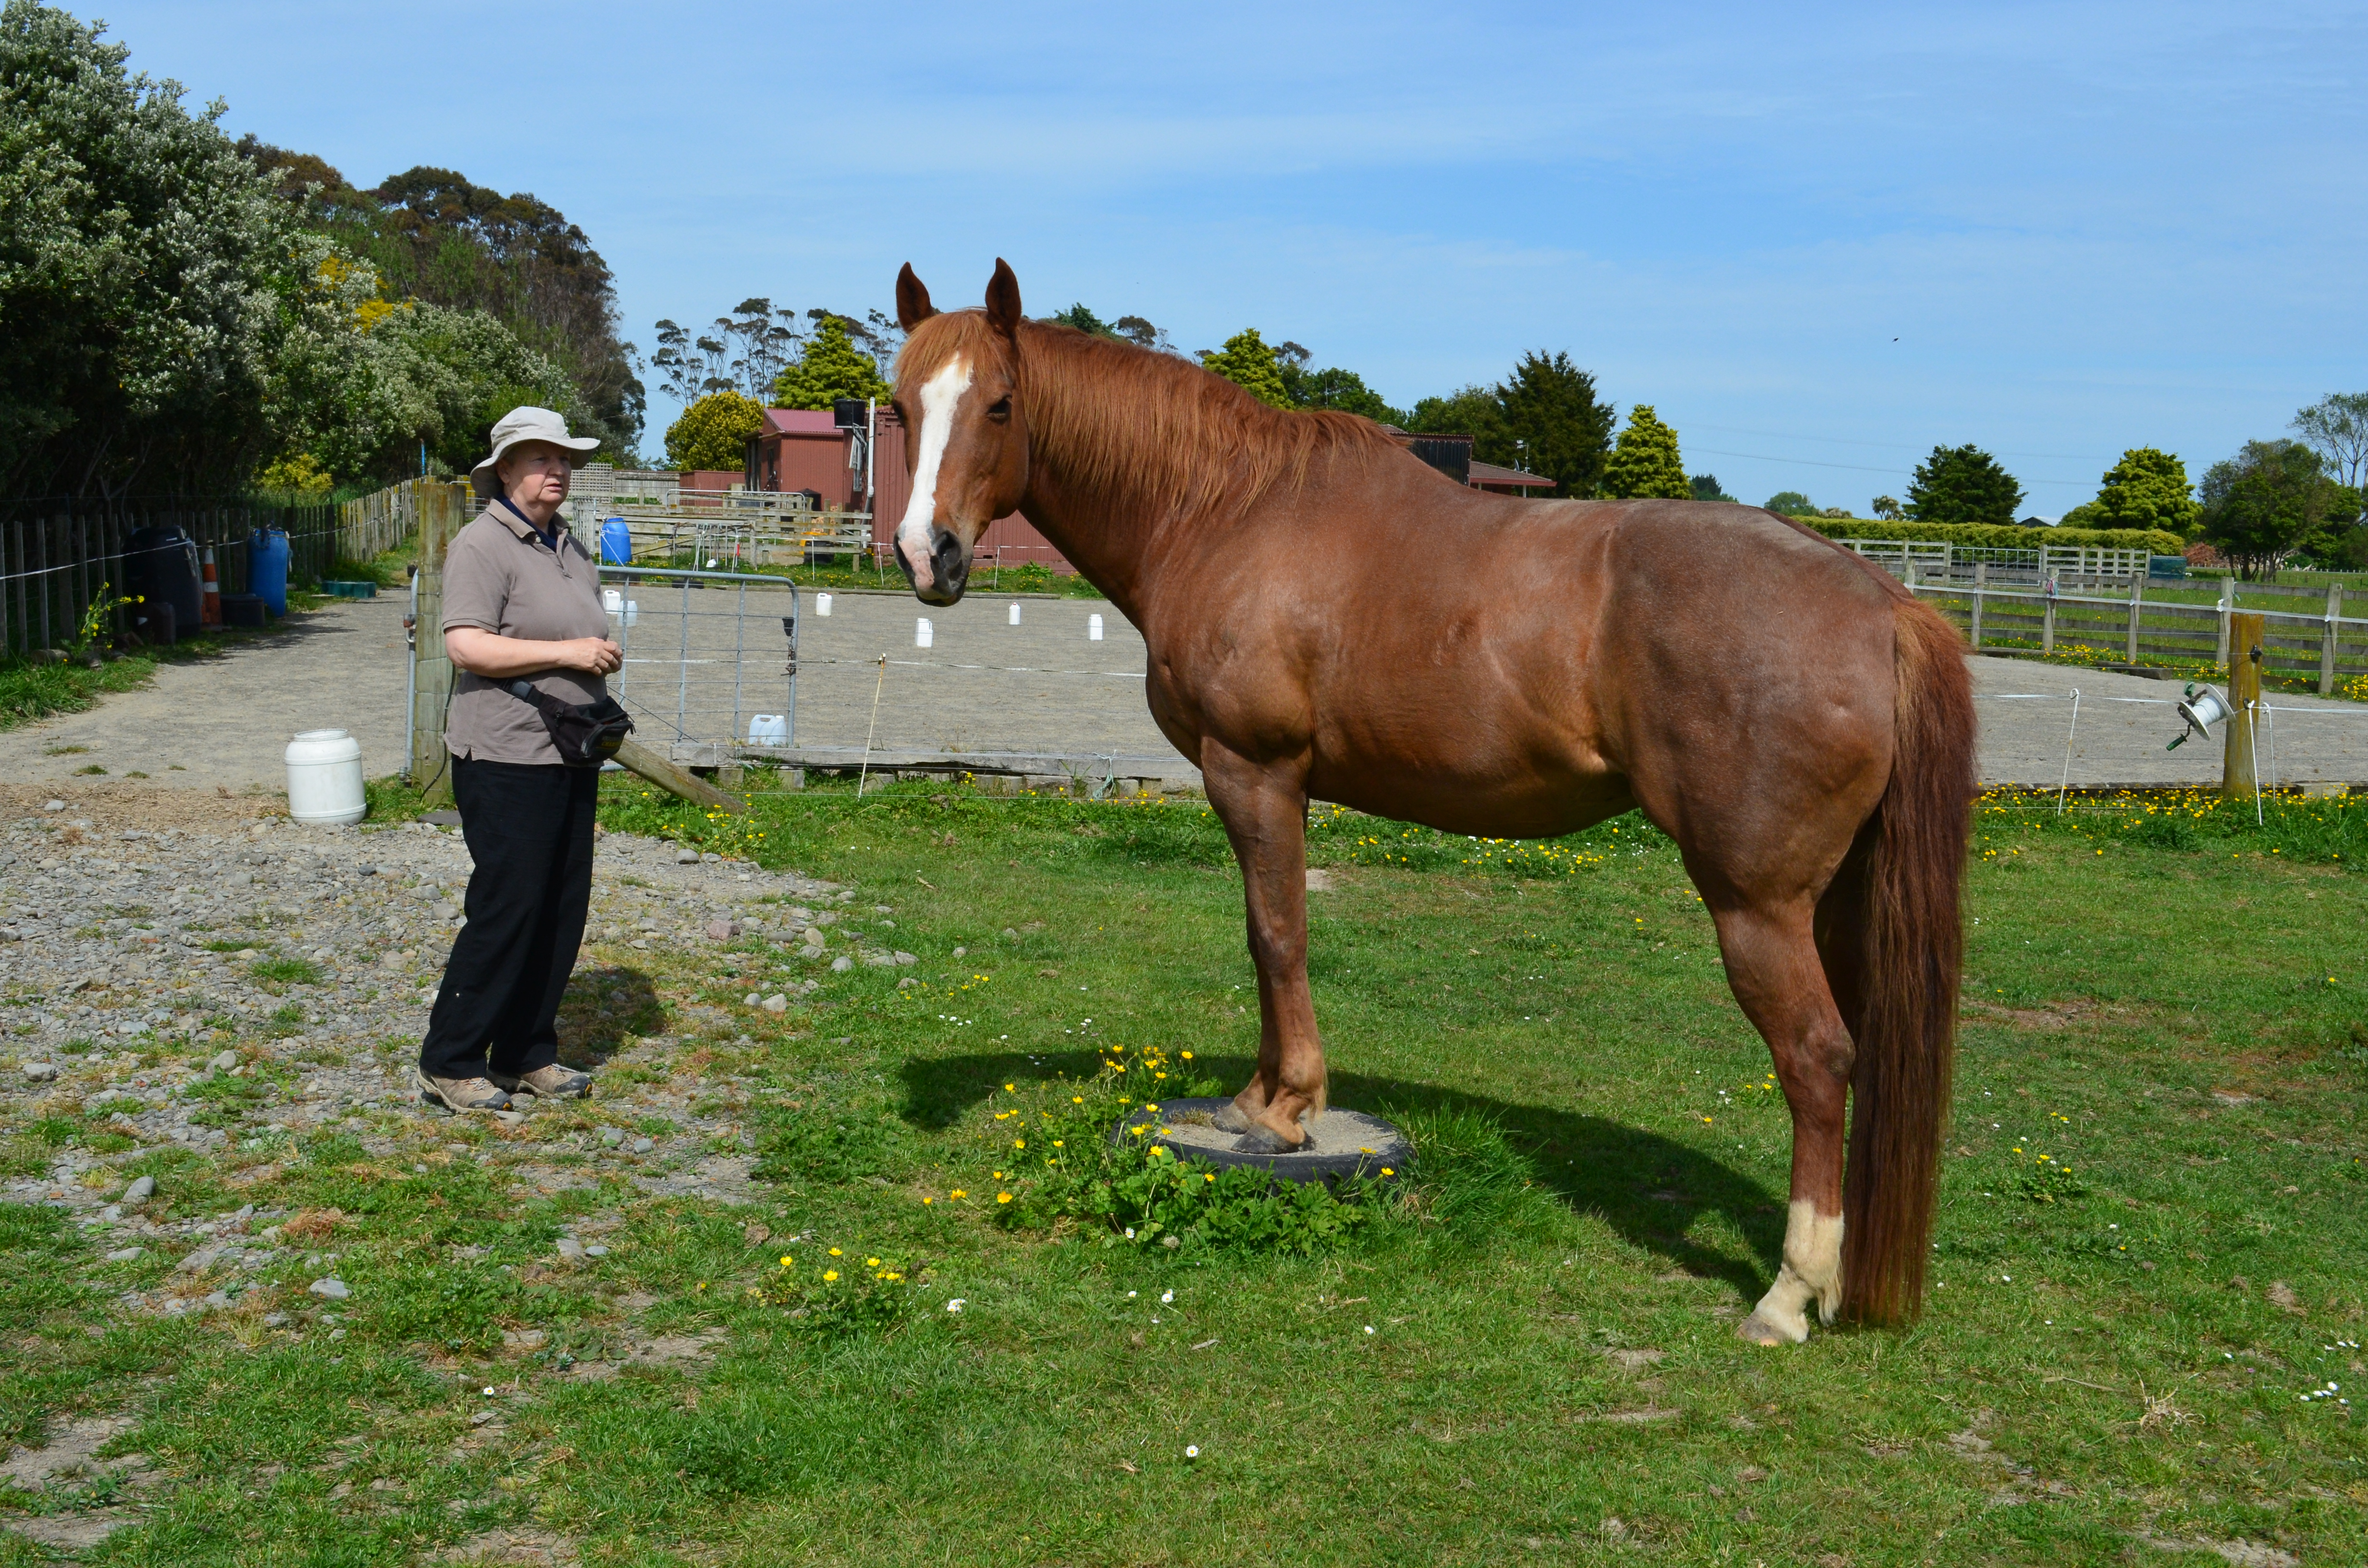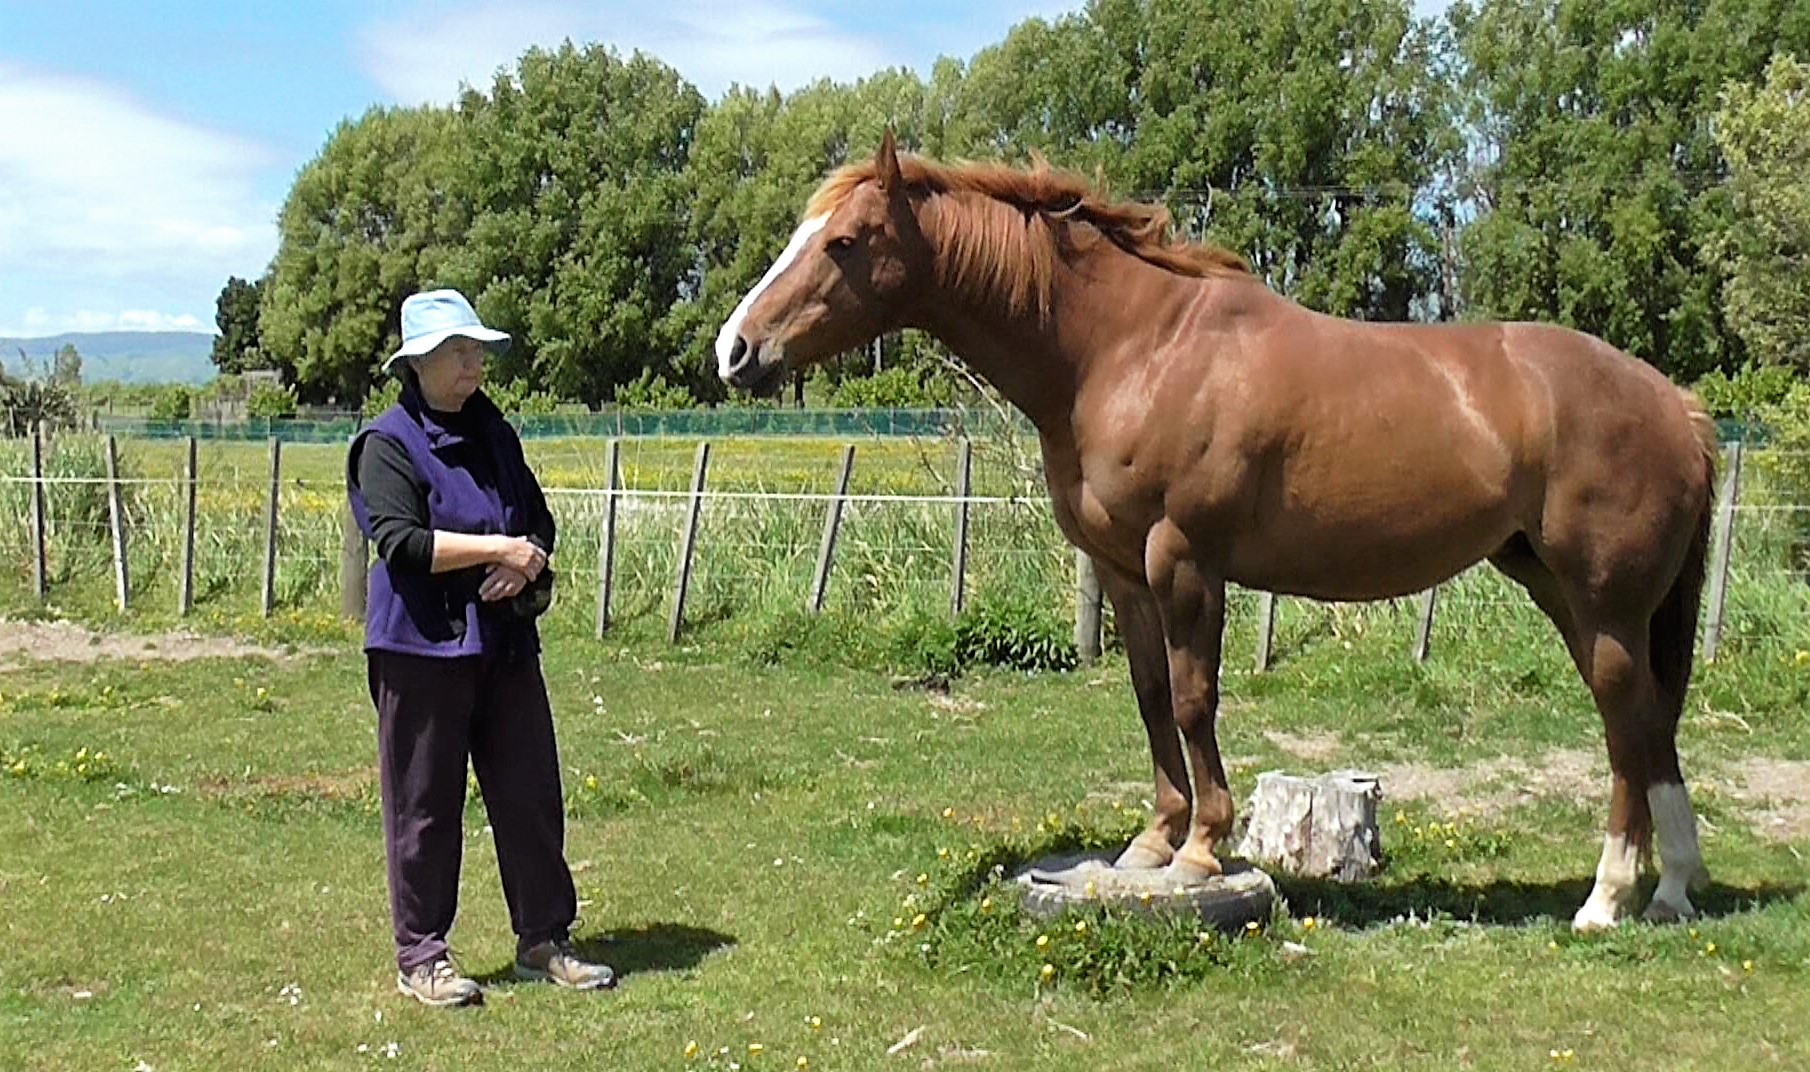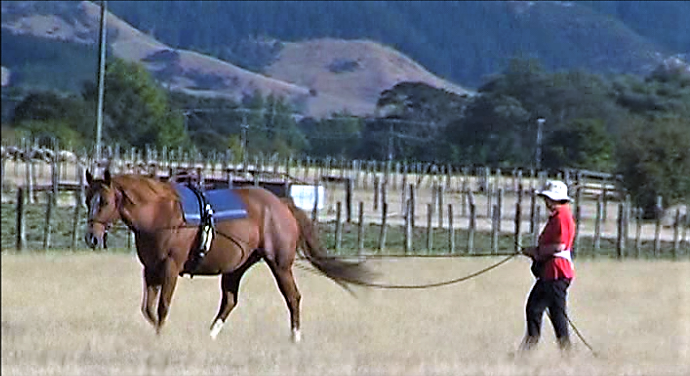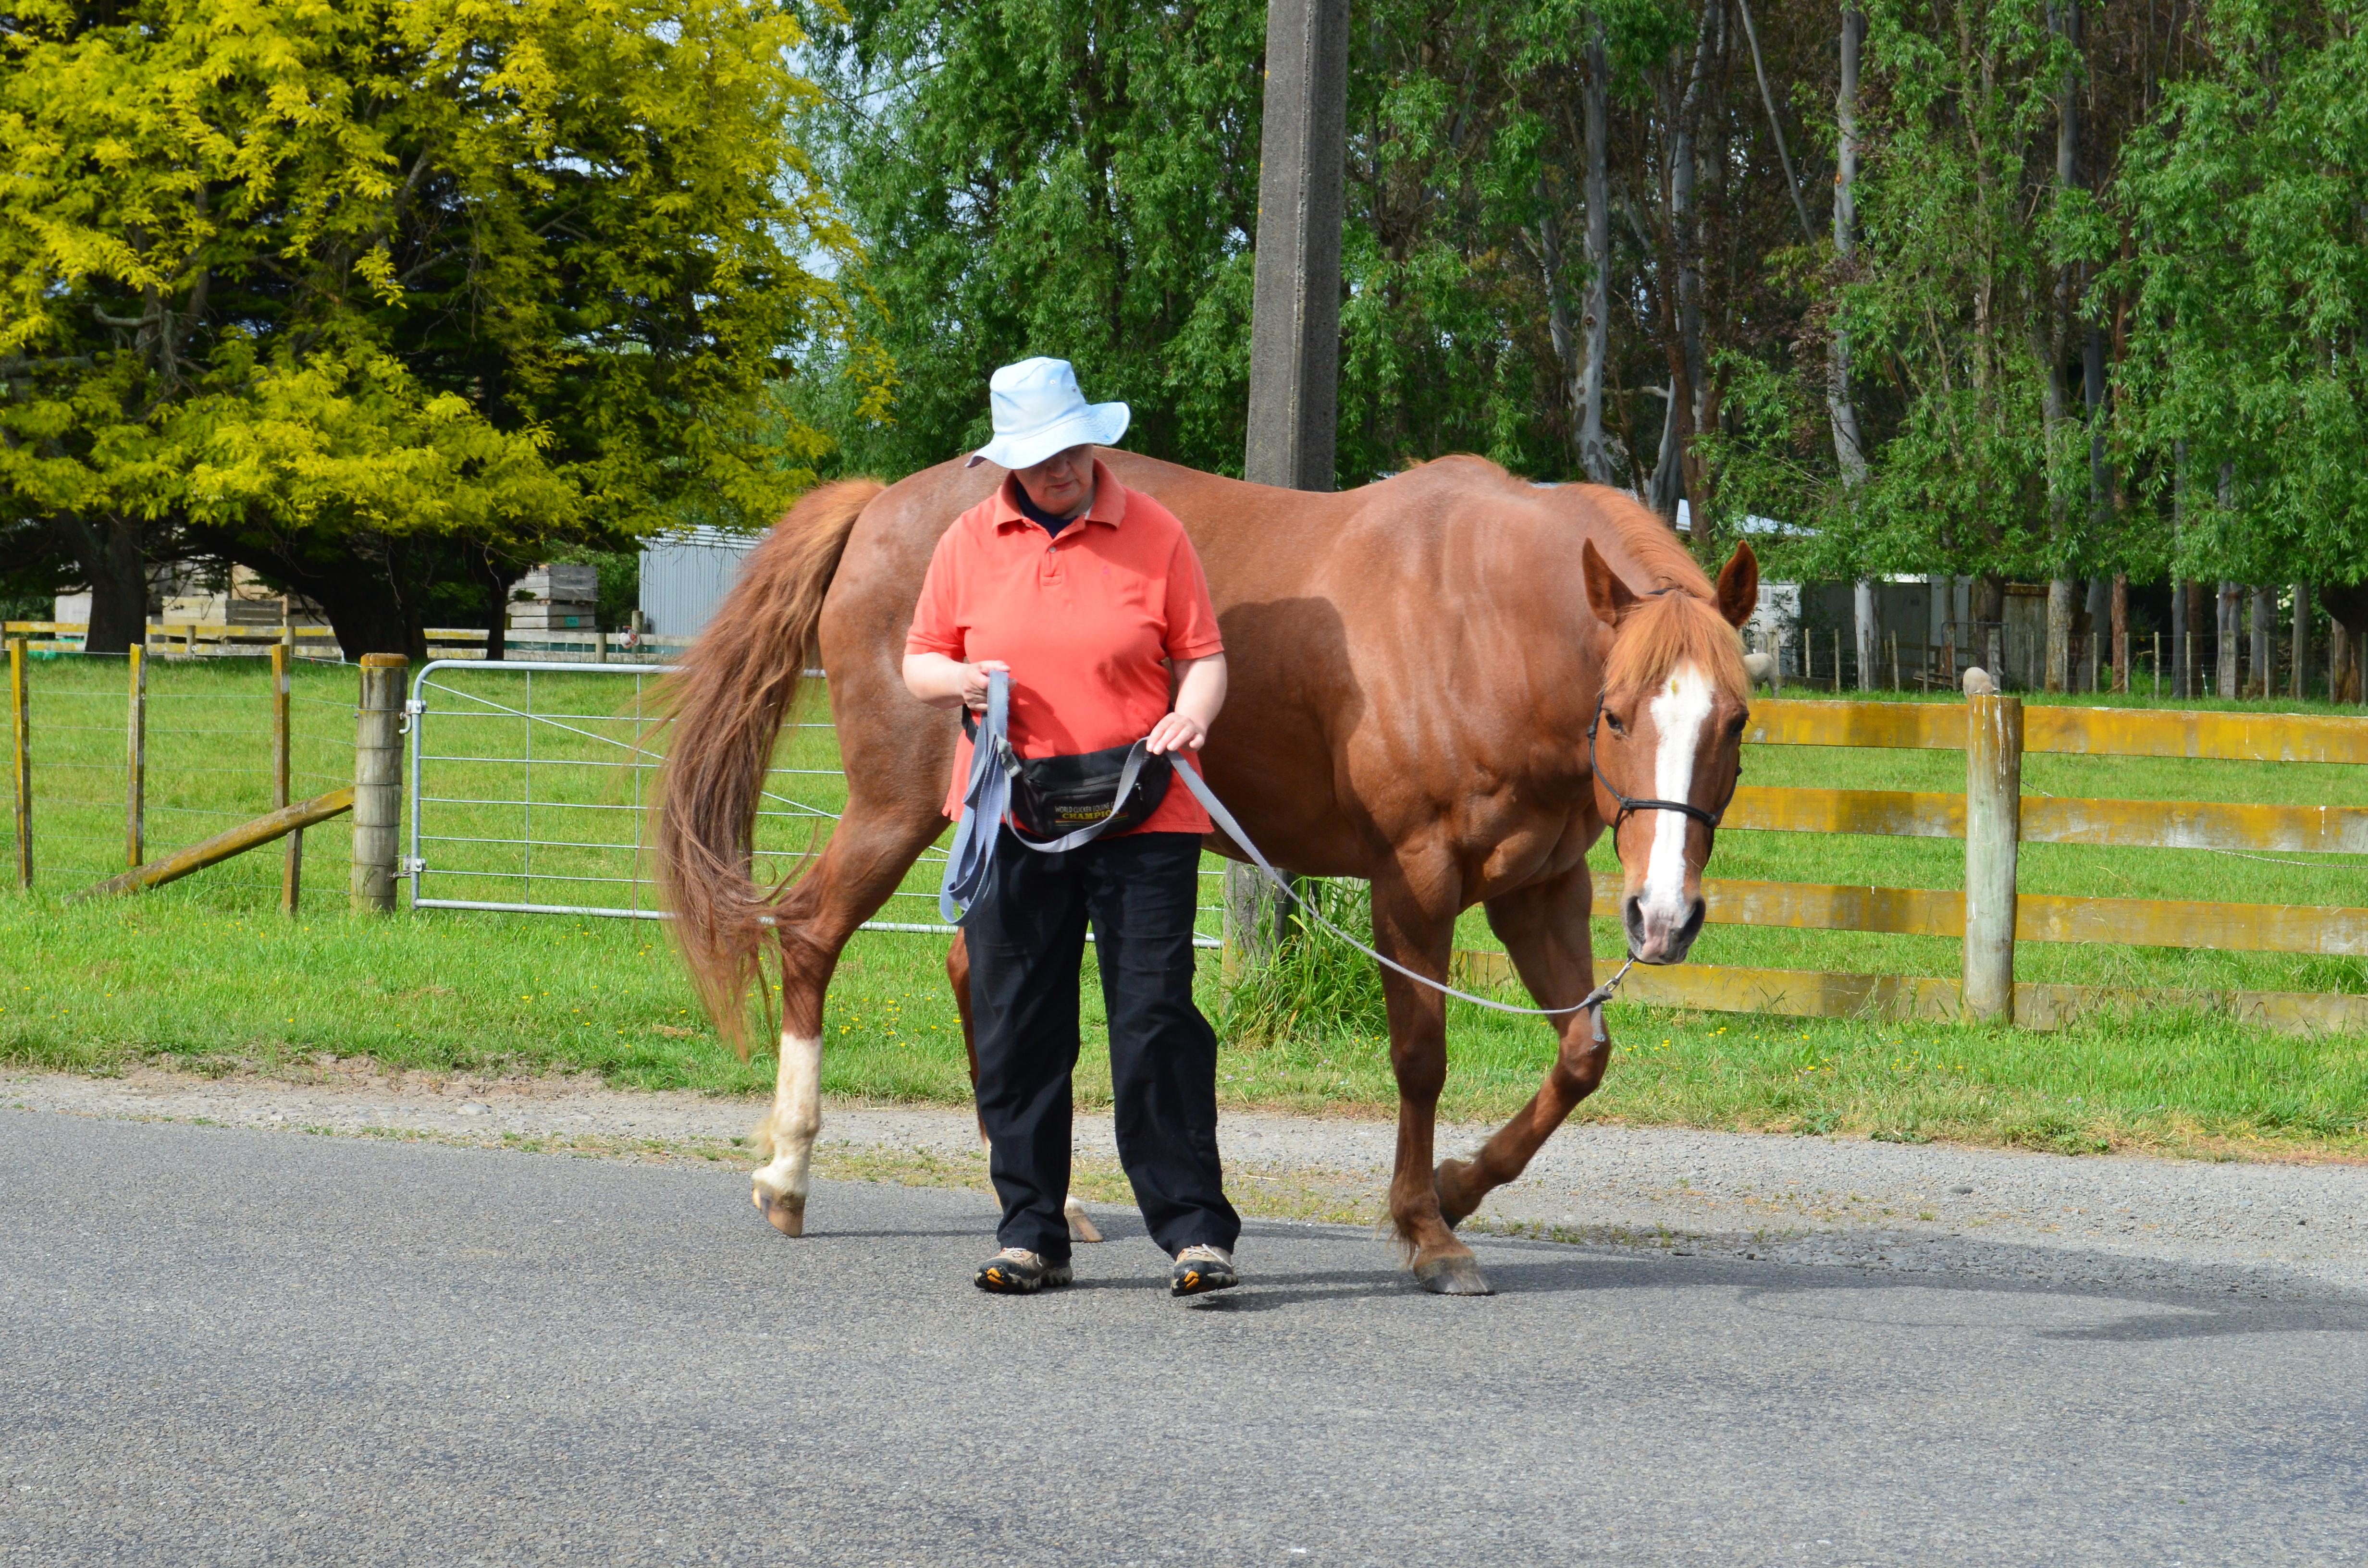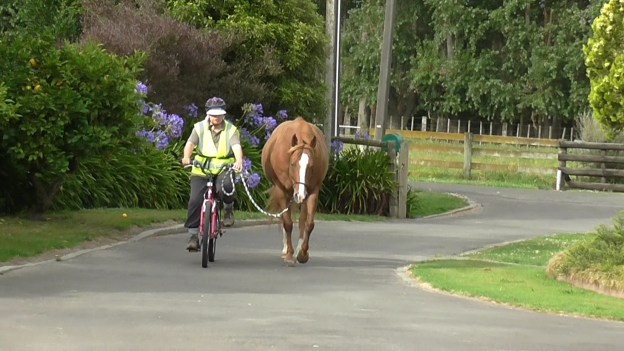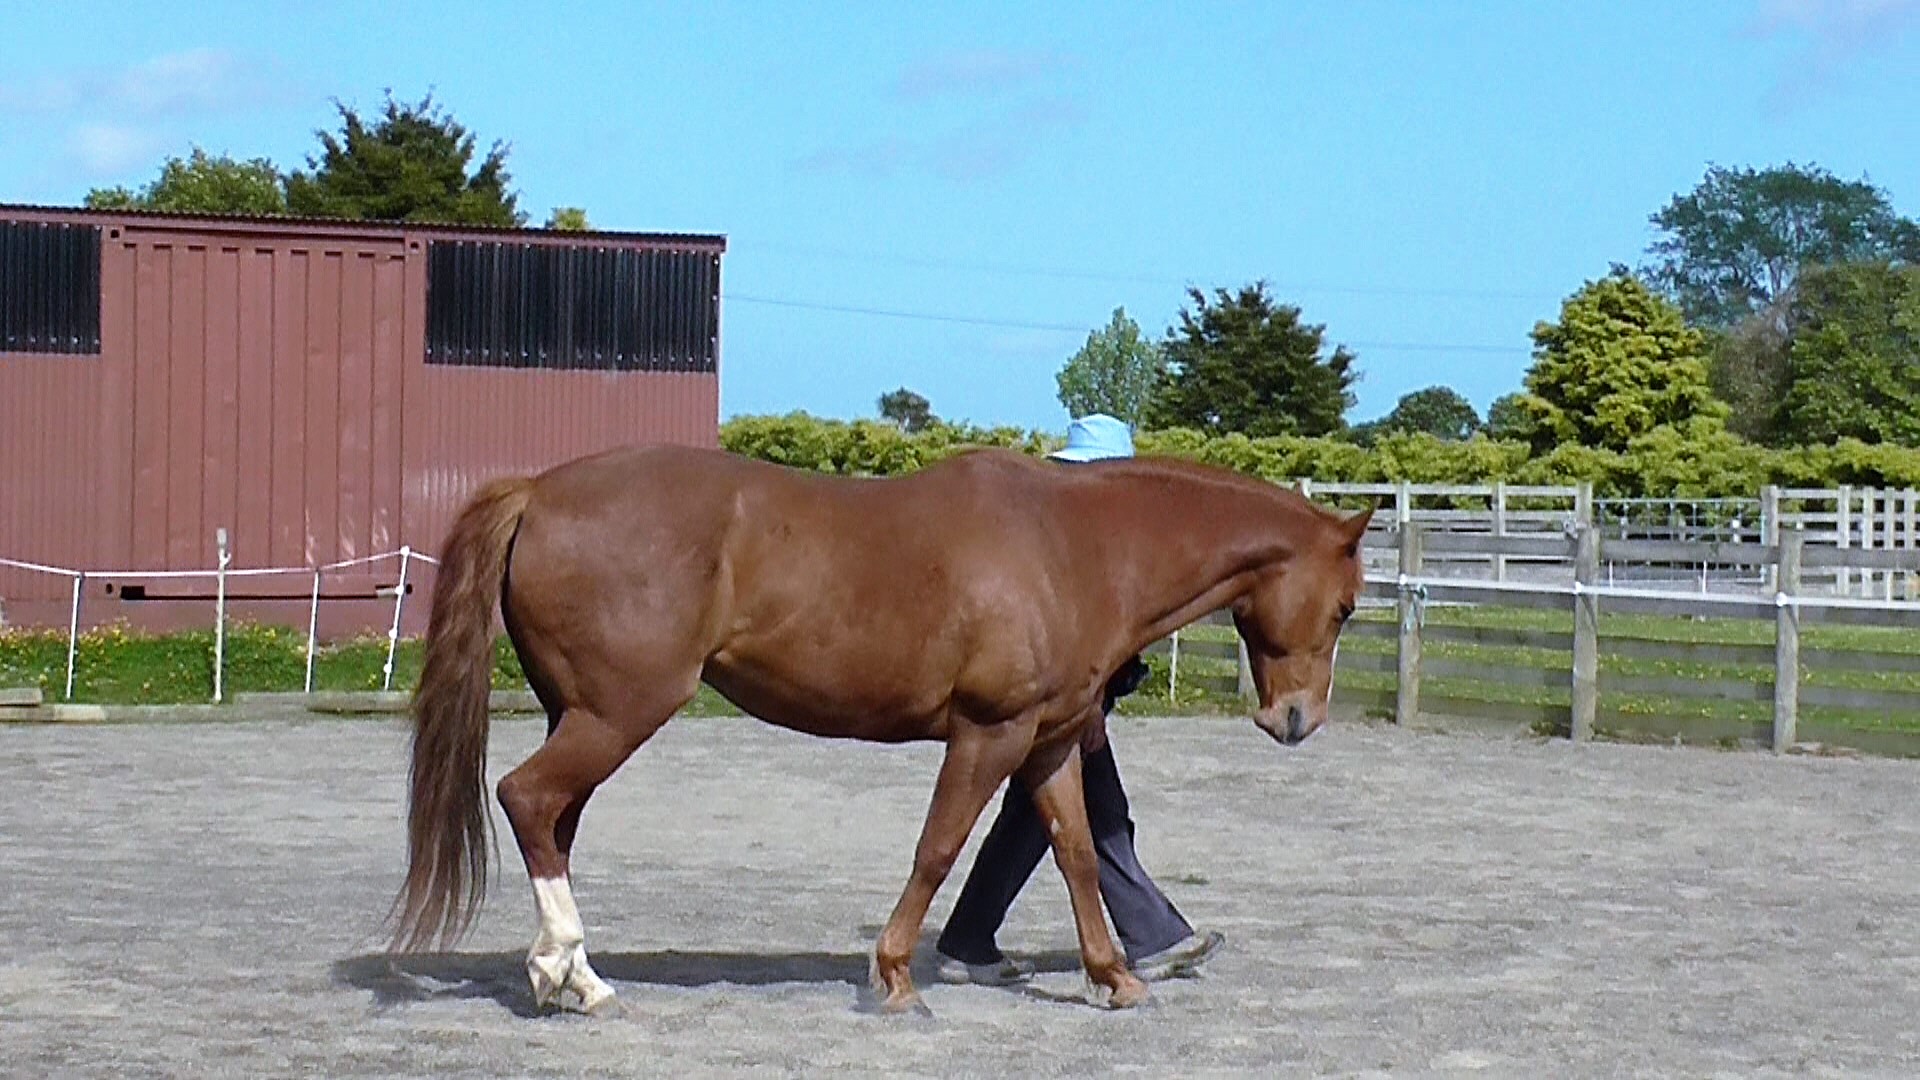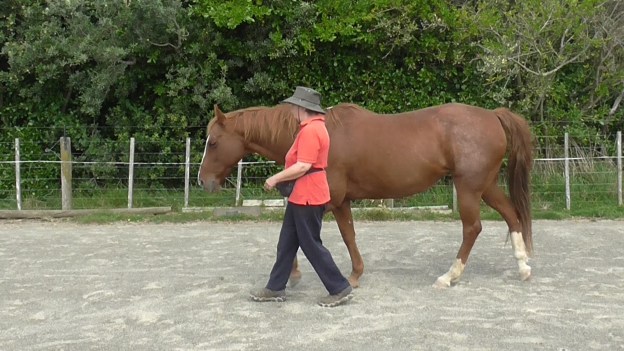
Leading Position 6 is the final of the Eight Leading Positions. The handler is behind the horse, facing the horse’s tail. We might be directly behind, or a little bit to the right or left. It will take time to teach long-reining so that the handler and horse are totally comfortable and skilled with each part of the process.
How long obviously depends on the experience of the handler and what the horse already knows. It also depends on the handler-horse relationship and the innate character type of the horse.
Before we delve into teaching long-reining on the next blog, this is a good spot for a quick look at:
- Horse Character Types.
- The importance of being aware of when we change parameters during our training.
- Body Extensions for LP6.
a. Main Horse Character Types
We can’t put horses into categories or pigeonholes, but we can look at general tendencies and ways that horses respond to change and how they adapt to life in captivity. Obviously every horse will respond differently in different situations.
A horse’s behavior in a specific situation will depend on:
- Whether he is with a trusted handler or an unknown person, a person he doesn’t like or a person he fears.
- Whether he is in a familiar area or an unknown place.
- Whether horses he knows are in sight or out of sight.
- Whether his handler is calm or nervous or excited.
- Whether he is doing familiar things or being asked to do new things.
- Whether the handler is using signals/cues the horse understands or he is using a language the horse doesn’t understand.
- Whether he feels threatened or whether he is able to relax.
- The energy levels and emotional states of other horses nearby.
- The enery and emotional state of the handler.
- The clarity of the handler’s intent in relation to the situation.
Most horses show the general tendencies outlined in one of the categories described below. Each category is a continuum, rather than black and white. Furthermore, a horse can show any of the category characteristics mildly, moderately or strongly.
Away from home, the horse will be different thanwhen he is at home in his known environment. The horse’s previous training may have expanded his comfort zone in many directions, or his training may have been restricted to a small number of behaviors taught in a tight framework.
Keeping all of these variations in mind, here are the four categories with suggestions about possible ways to approach each type of horse.
GENERAL HORSE CHARACTER TYPES
I’m out of here! character
An anxious, high energy type of horse needs a lot of exercises double-geared to:
- Use up his excess adrenalin caused by fear and insecurity until he is able to drop his head and ‘blow out’ (which is a release of body tension).
- Slow, consistent, build-up of a trusting relationship and lots of time spent at each stage of an Individual Education Program so he is able to relax into his work.
Where’s the party? character
An imaginative, high energy type of horse can be challenging because he generally needs to:
- Use up his excess adrenalin caused by sheer exuberance until he is ready to slow down his feet and pay attention to a lesson.
- Stay with each slice of a task until it is solid, but not so long that boredom sets in and he feels the need to make his own fun. It’s important to ‘move on’ to the next slice as soon as he seems ready. We can always backtrack if the need arises. Lots of short sessions generally work best. If we stop well before this sort of horse gets bored, he will usually look forward to his next session.
I’m not sure about this…..character
An anxious, energy-conserving type of horse seems to do best when:
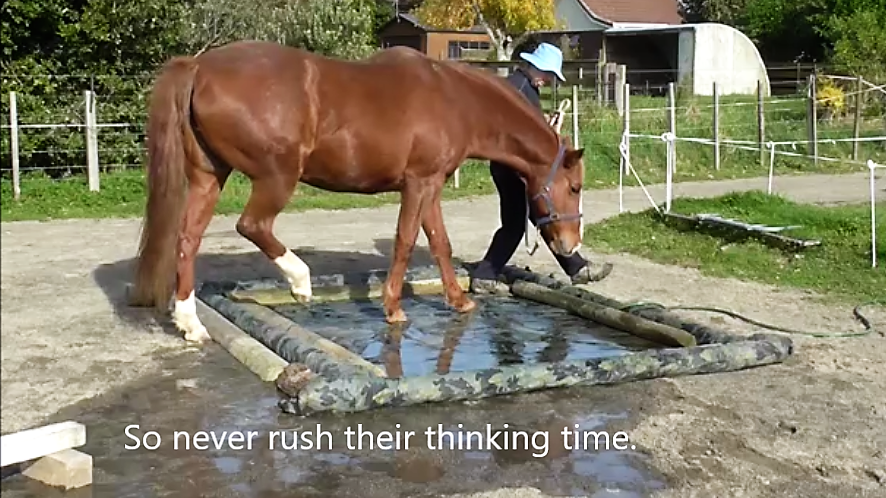
- He is given lots of pauses and ‘thinking time’, as his anxiety often causes his feet to be ‘stuck’. If the handler uses more energy to try to ‘unstick’ the feet, it merely causes more anxiety and less learning.
- He is given the opportunity to learn new skills in a home environment where he feels comfortable. This type of horse often needs a long time (months & years) to adjust to a new home, so sending him away to a trainer is problematic for him. It may also be hard for him to learn in a ‘clinic’ situation surrounded by unknown, often also anxious, horses. Lots of gentle exposure to clinics may help, but will never be the ideal learning environment for an anxious introvert.
- He is given ample time over multiple sessions to work on each slice of the task until it becomes a habit he has embraced. When he offers the behavior we want willingly, on a light signal, we have success.
Where’s the grass? character
An imaginative, energy-conserving type of horse can be a true challenge because he generally prefers to be doing his ‘own thing’ at his preferred pace. Much of the energy he expends is in his mind, working out how to carry out his own ideas instead of focusing on what his handler would like to do.
In a wild herd, these are often the leaders who make the decisions. This type of horse tends to think things through, whereas a high energy horse’s first reaction is to move his feet.
Imaginative, energy-conserving character types seem to respond best when:
- The handler uses reverse psychology. E.g., if the horse is walking really slowly, ask him to walk even slower; it will soon be his idea to walk faster.
- The handler uses cycles of signal intensity until the desired response is forthcoming, with a second or two of ‘think time’ between the cycles. The horse will soon work out that his best deal is to respond to the first light signal because the more intense ones will soon follow.
- The handler moves on to new teaching as soon as each skill is mastered. Otherwise, this type of horse will take over and put his own plan into action because it is more interesting to him.
- The handler has a clear plan of action and a strong focus. Imaginative, energy-conserving types don’t put up with ‘wishy-washy’ very well. Think how terribly boring meetings can be if the chairperson is not focused and switched on to getting through the agenda in a timely fashion.
Revisiting PARAMETERS AND THIN-SLICING
We set the parameters for our training sessions. The parameters make up the framework in which we will be working.
We thin-slice the task that we want to teach.
This means that, as we write a Training Plan or an Individual Education Program, we have to keep focused on three things: the parameters we are setting, the thin-slices of the task, and how the two interact.
With horse training, parameters come in two guises:
First is the general training environment that we try to keep constant while we teach a new skill. If a horse learns a dressage test or a reining course, a jumping course or an agility course at home – always working in the same paddock or arena, the location will be a constant parameter. If we then take that horse to a different venue, we’ve made a huge parameter change.
If our plan is to teach a horse tasks that we can do away from home, then a large part of our training has to be teaching the horse about relaxation while being out and about in different venues.
It helps the horse a great deal if we are as consistent or ‘constant’ as we can be when we organize the larger ‘training environment’.
The larger ‘training environment’ consists of:
- The place we are in.
- The time of day we train.
- Types of distractions common at that time.
- The props we are using (lanes, fences, round pens, obstacles, type of body extension).
- Horse’s internal environment: is he thirsty, hungry, tired, sore, hot, cold, or bothered by flies? Is he relaxed or emotionally riled up?
- The emotional, physical and intellectual state of the handler: some days are just better or worse than other days.
- Our body position in relation to the horse.
- The signals we are using to communicate.
Obviously there is a limit to how much we can control some of these factors. Here are some ideas about how we might be able to increase the ‘constancy’ of the factors mentioned in the list above.
- For first lessons, use the same place.
- As much as possible, stick to the same time of day during the ‘acquisition’ and ‘fluency’ stages of learning. (See Number 5 in my Blog Contents Quick Links.)
- If distractions show up on a fairly regular schedule, time the training to when we either don’t want them or want them. We might want those distractions when we get to the ‘generalization’ stage of our training.
- Use the same props in the same location when first teaching something new.
- Before we train, ensure the horse has eaten recently and has had opportunity to drink. Check for soreness every time. Extreme heat or cold are just as hard on horses as on people. Stormy weather means the horse will be less rested. A herd mate leaving or a new horse arriving are both huge distractions. If the horse is in reactive mode, do things that allow him to come back to thinking mode before attempting to teach anything. Some days it’s better to just do easy things the horse already knows, or nothing at all.
- Read your own state of mind and body. Some days it’s better to just do easy things the horse already knows, or nothing at all.
- Become continually aware about where you are standing or moving in relation to the horse. Changes in position are highly relevant to the horse.
- Keep a record of the signals you are using to teach something new. Being totally consistent is hard. It is devilishly easy to slip back into old habits. It’s as hard (or harder) to break our own habits as it is to ask the horse to change his habits.
Large environmental parameter changes are fairly obvious. However, when we thin-slice large tasks into their smallest teachable portions, each portion or ‘slice’ has its own set of mini-parameters.
Mini-parameters
Inside the larger ‘training environment’, we have the immediate training environment, which is what the handler is doing to communicate with the horse any time they are together.
Here we can, with practice and experience, get better at recognizing the parameters we should keep constant while the horse learns a specific part of the task we are working on. Then we consciously change a parameter so that we can address the next slice of the overall task.
Every time we move on to a new slice of our over-all task, we have to make a tiny parameter change to facilitate the new action (or duration of an action) that we want from the horse. (‘Action’ can also mean ‘stillness – ‘doing nothing’ as when teaching parking.)
We have to change or increase our expectation a little bit to make room for expansion into the next part of the task. We can think of this as ‘raising the criteria’ or ‘changing the criteria’.
In other words, we change just one small thing at a time, so the horse can focus on that small change and learn how we want him to respond after we’ve made the change.
The horse lets us know if a parameter change is too great by becoming confused, getting anxious, wanting to move his feet away from us, giving up trying, shutting down, looking off into the distance, engaging in displacement behaviors.
Thin-slicing Revisited
Thin-slicing is a technique that makes what we want more transparent for the horse.
We thin slice in order to show the horse how to deal with each parameter change. He has to actively learn what the parameter change means for him; what does the handler want him to do differently?
First we decide what we want to ‘teach’. We set the large parameters (where, what gear, what props, what time of day is best).
Next we work on a Training Plan outline. Then we experiment mildly with the horse to find his ‘starting point’ for this particular task. Now the handler can write an Individual Education Program (IEP) that incorporates the particular foibles of this horse and thishandler and their interactions. (See also, Number 12 in my Blog Contents Quick Links.)
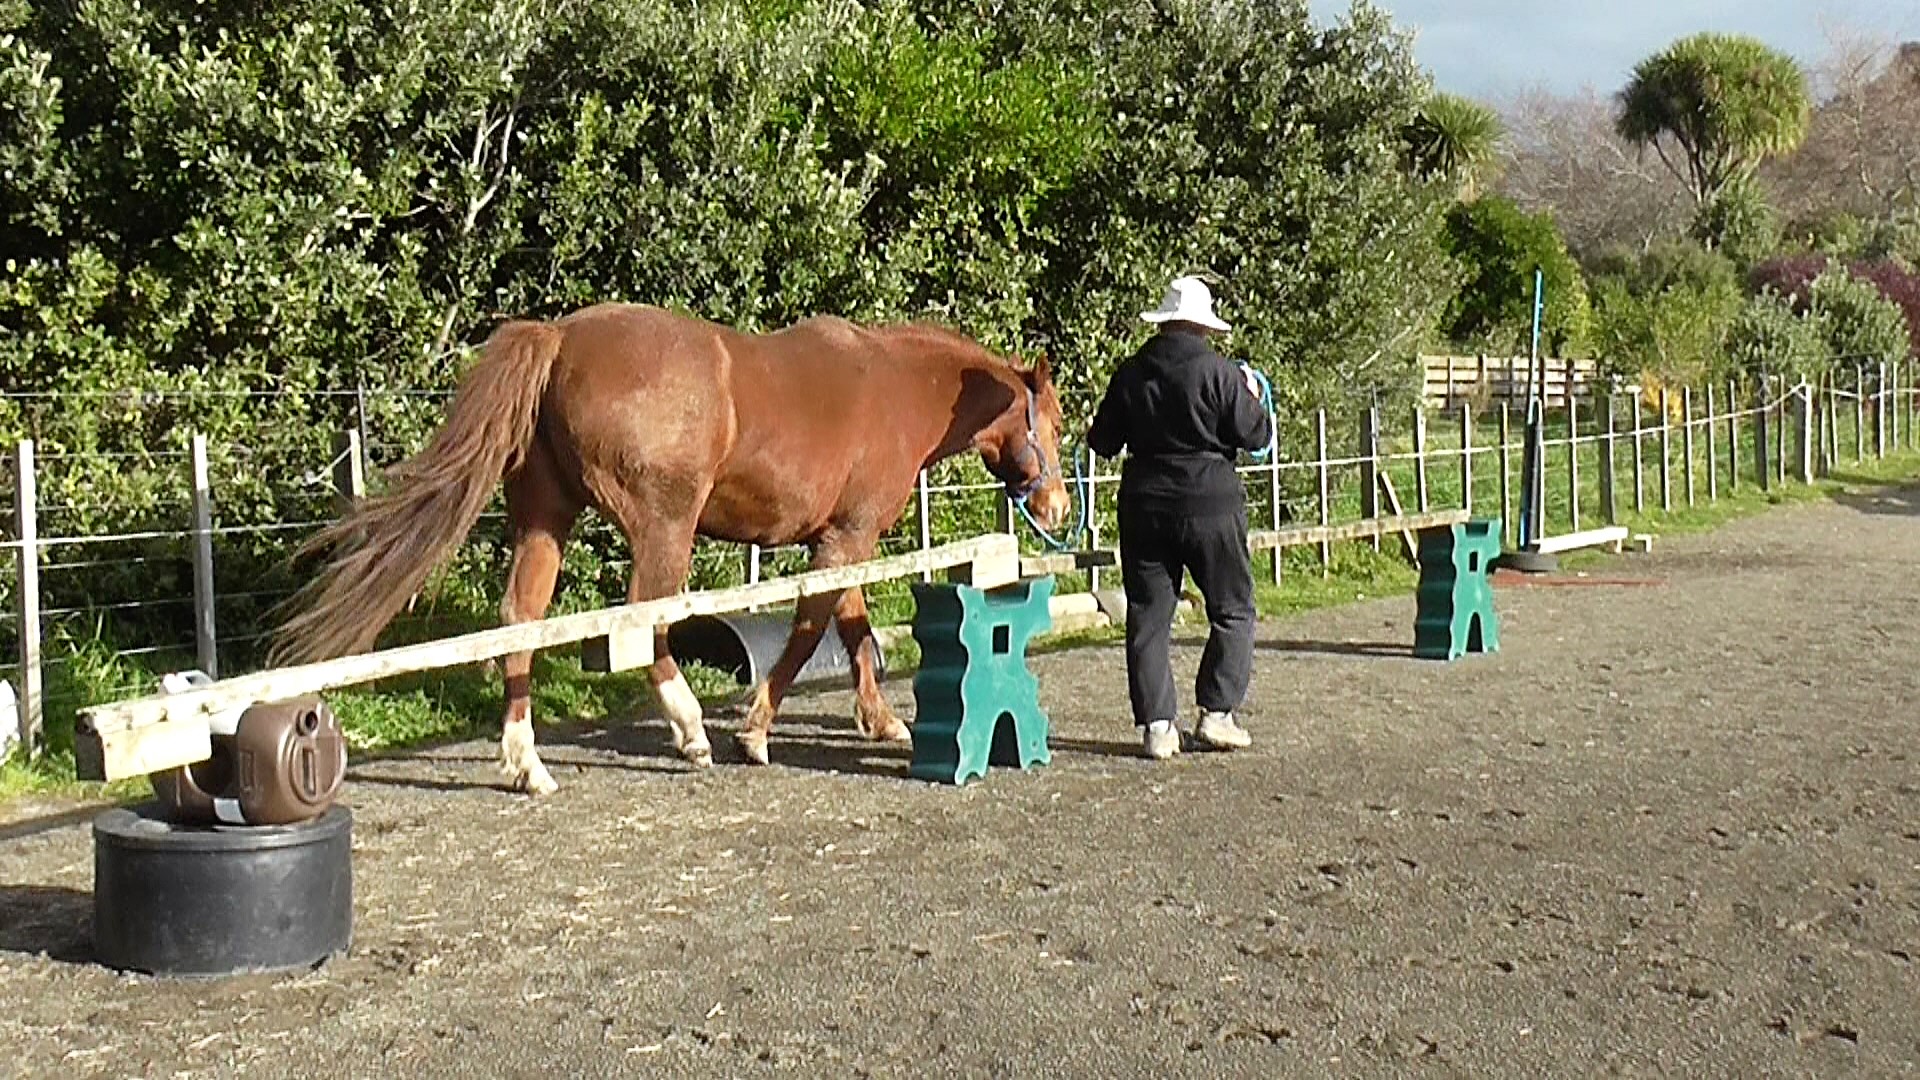
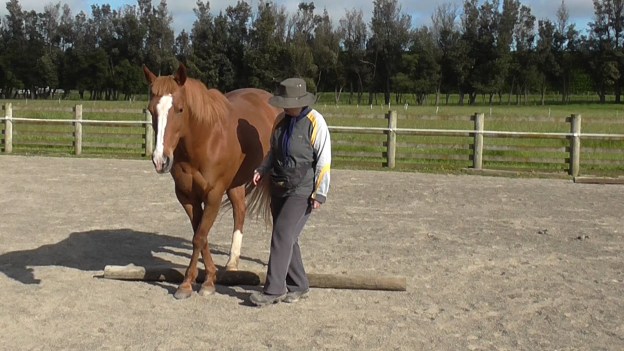
The IEP outlines the parameters for each part of the task. If the IEP is about teaching long-reining, the thin-slicing will address how to get the horse comfortable having the handler walk behind him holding a long rope.
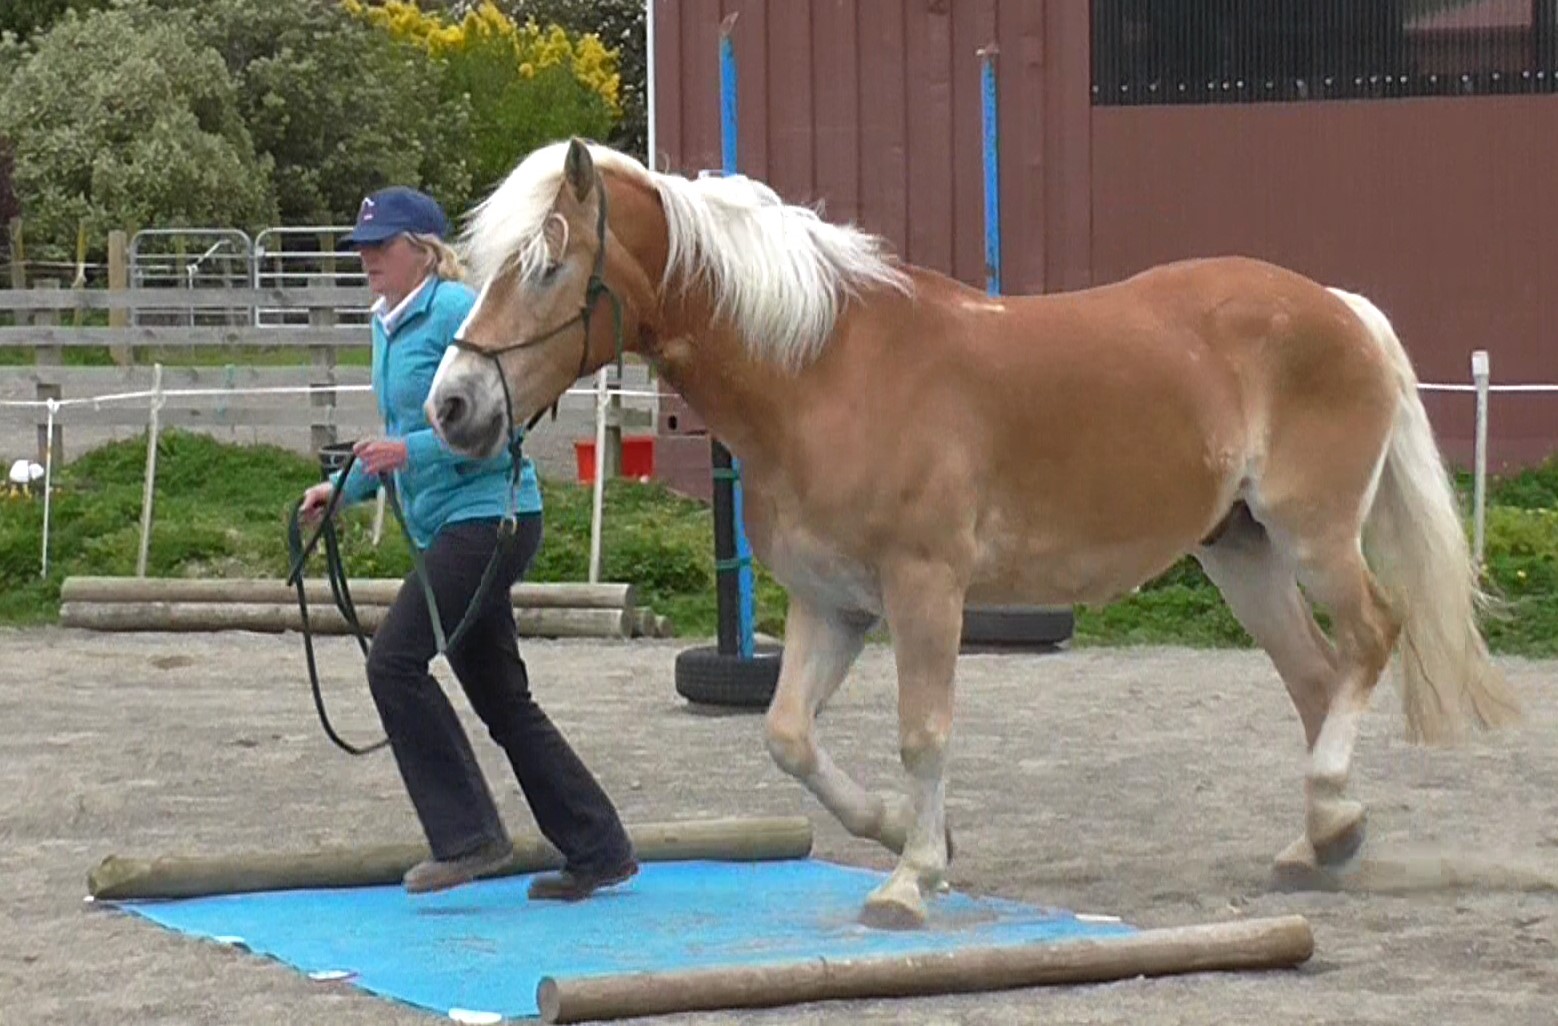
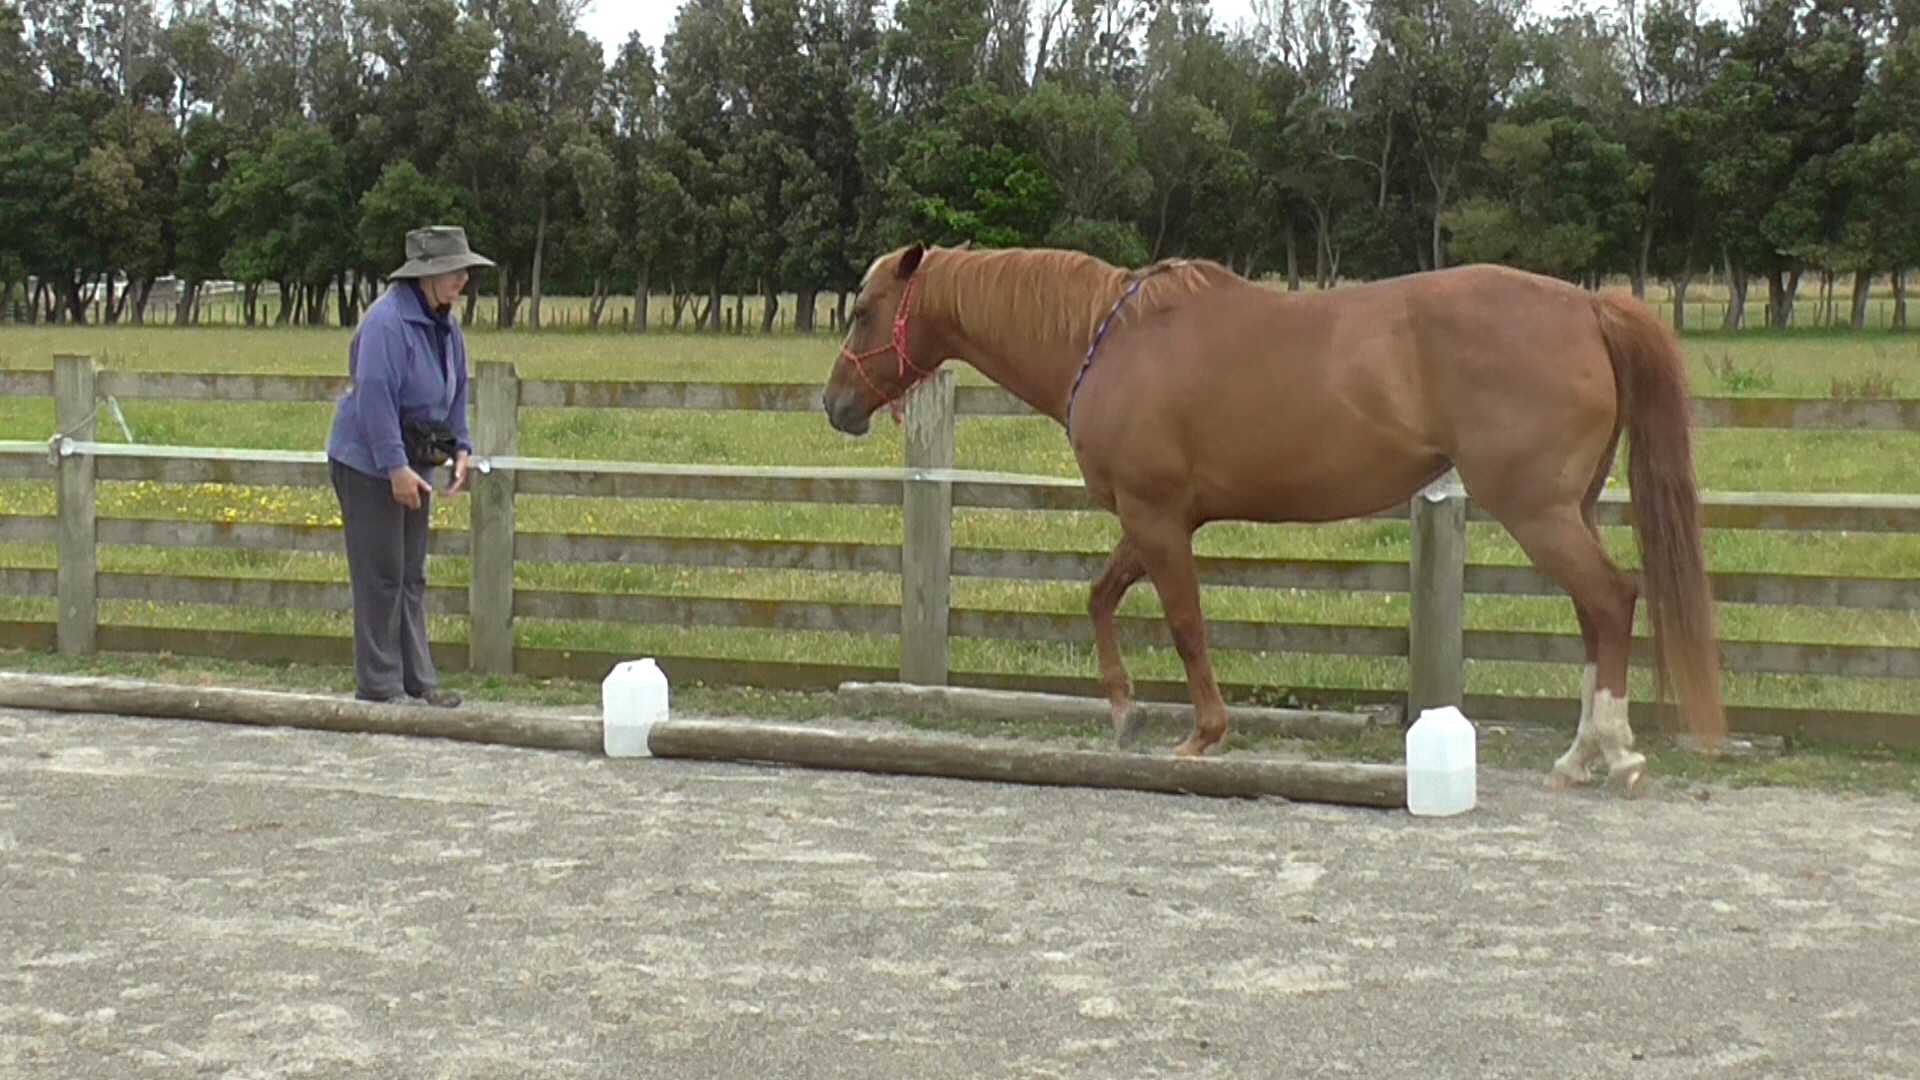
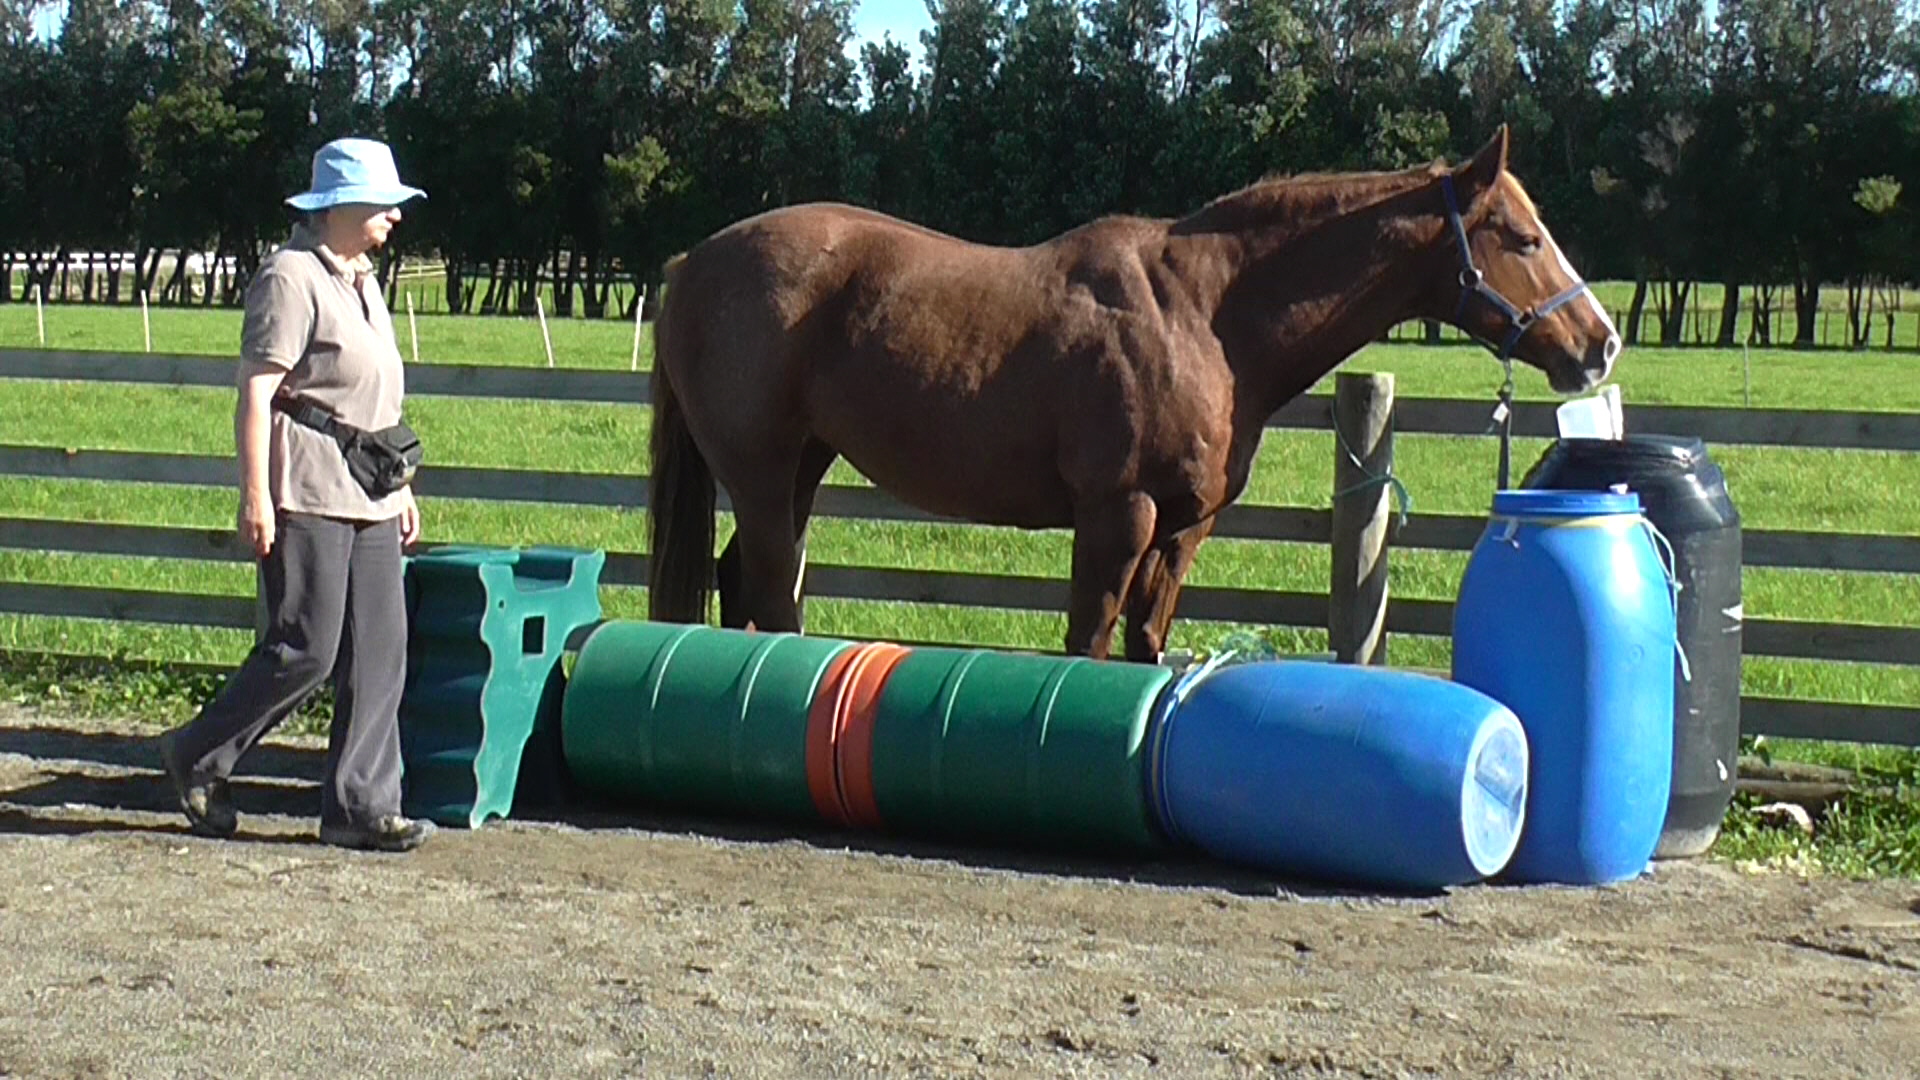
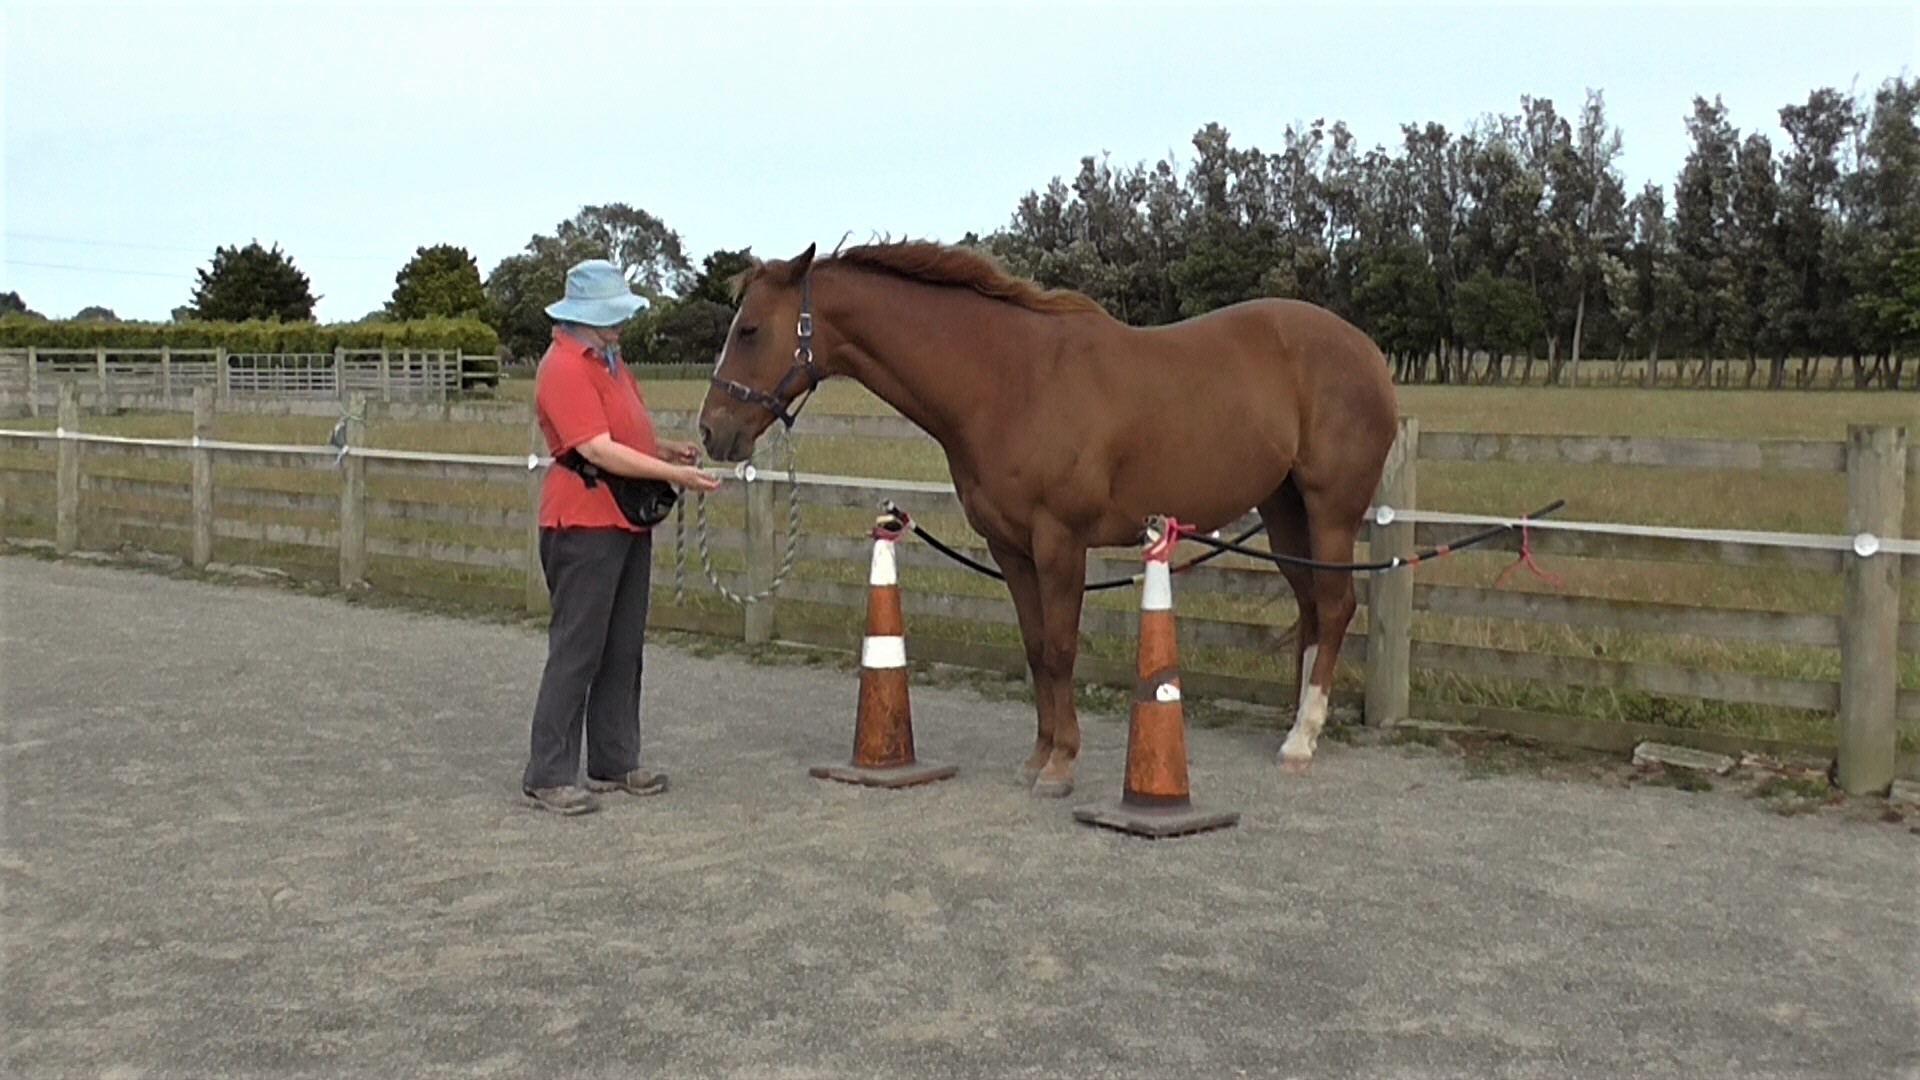
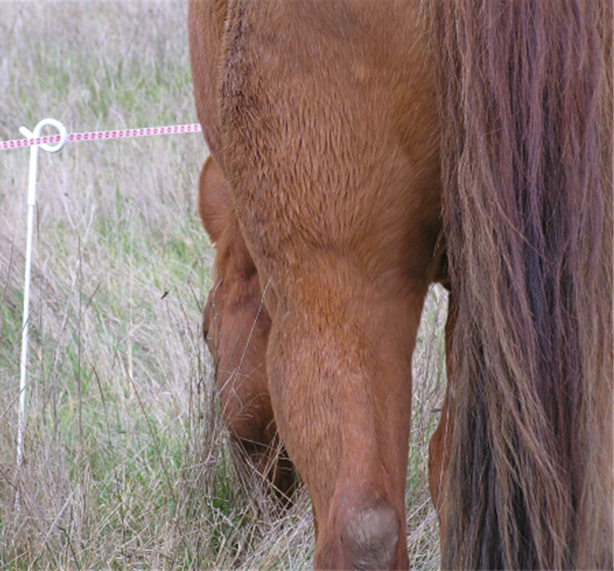
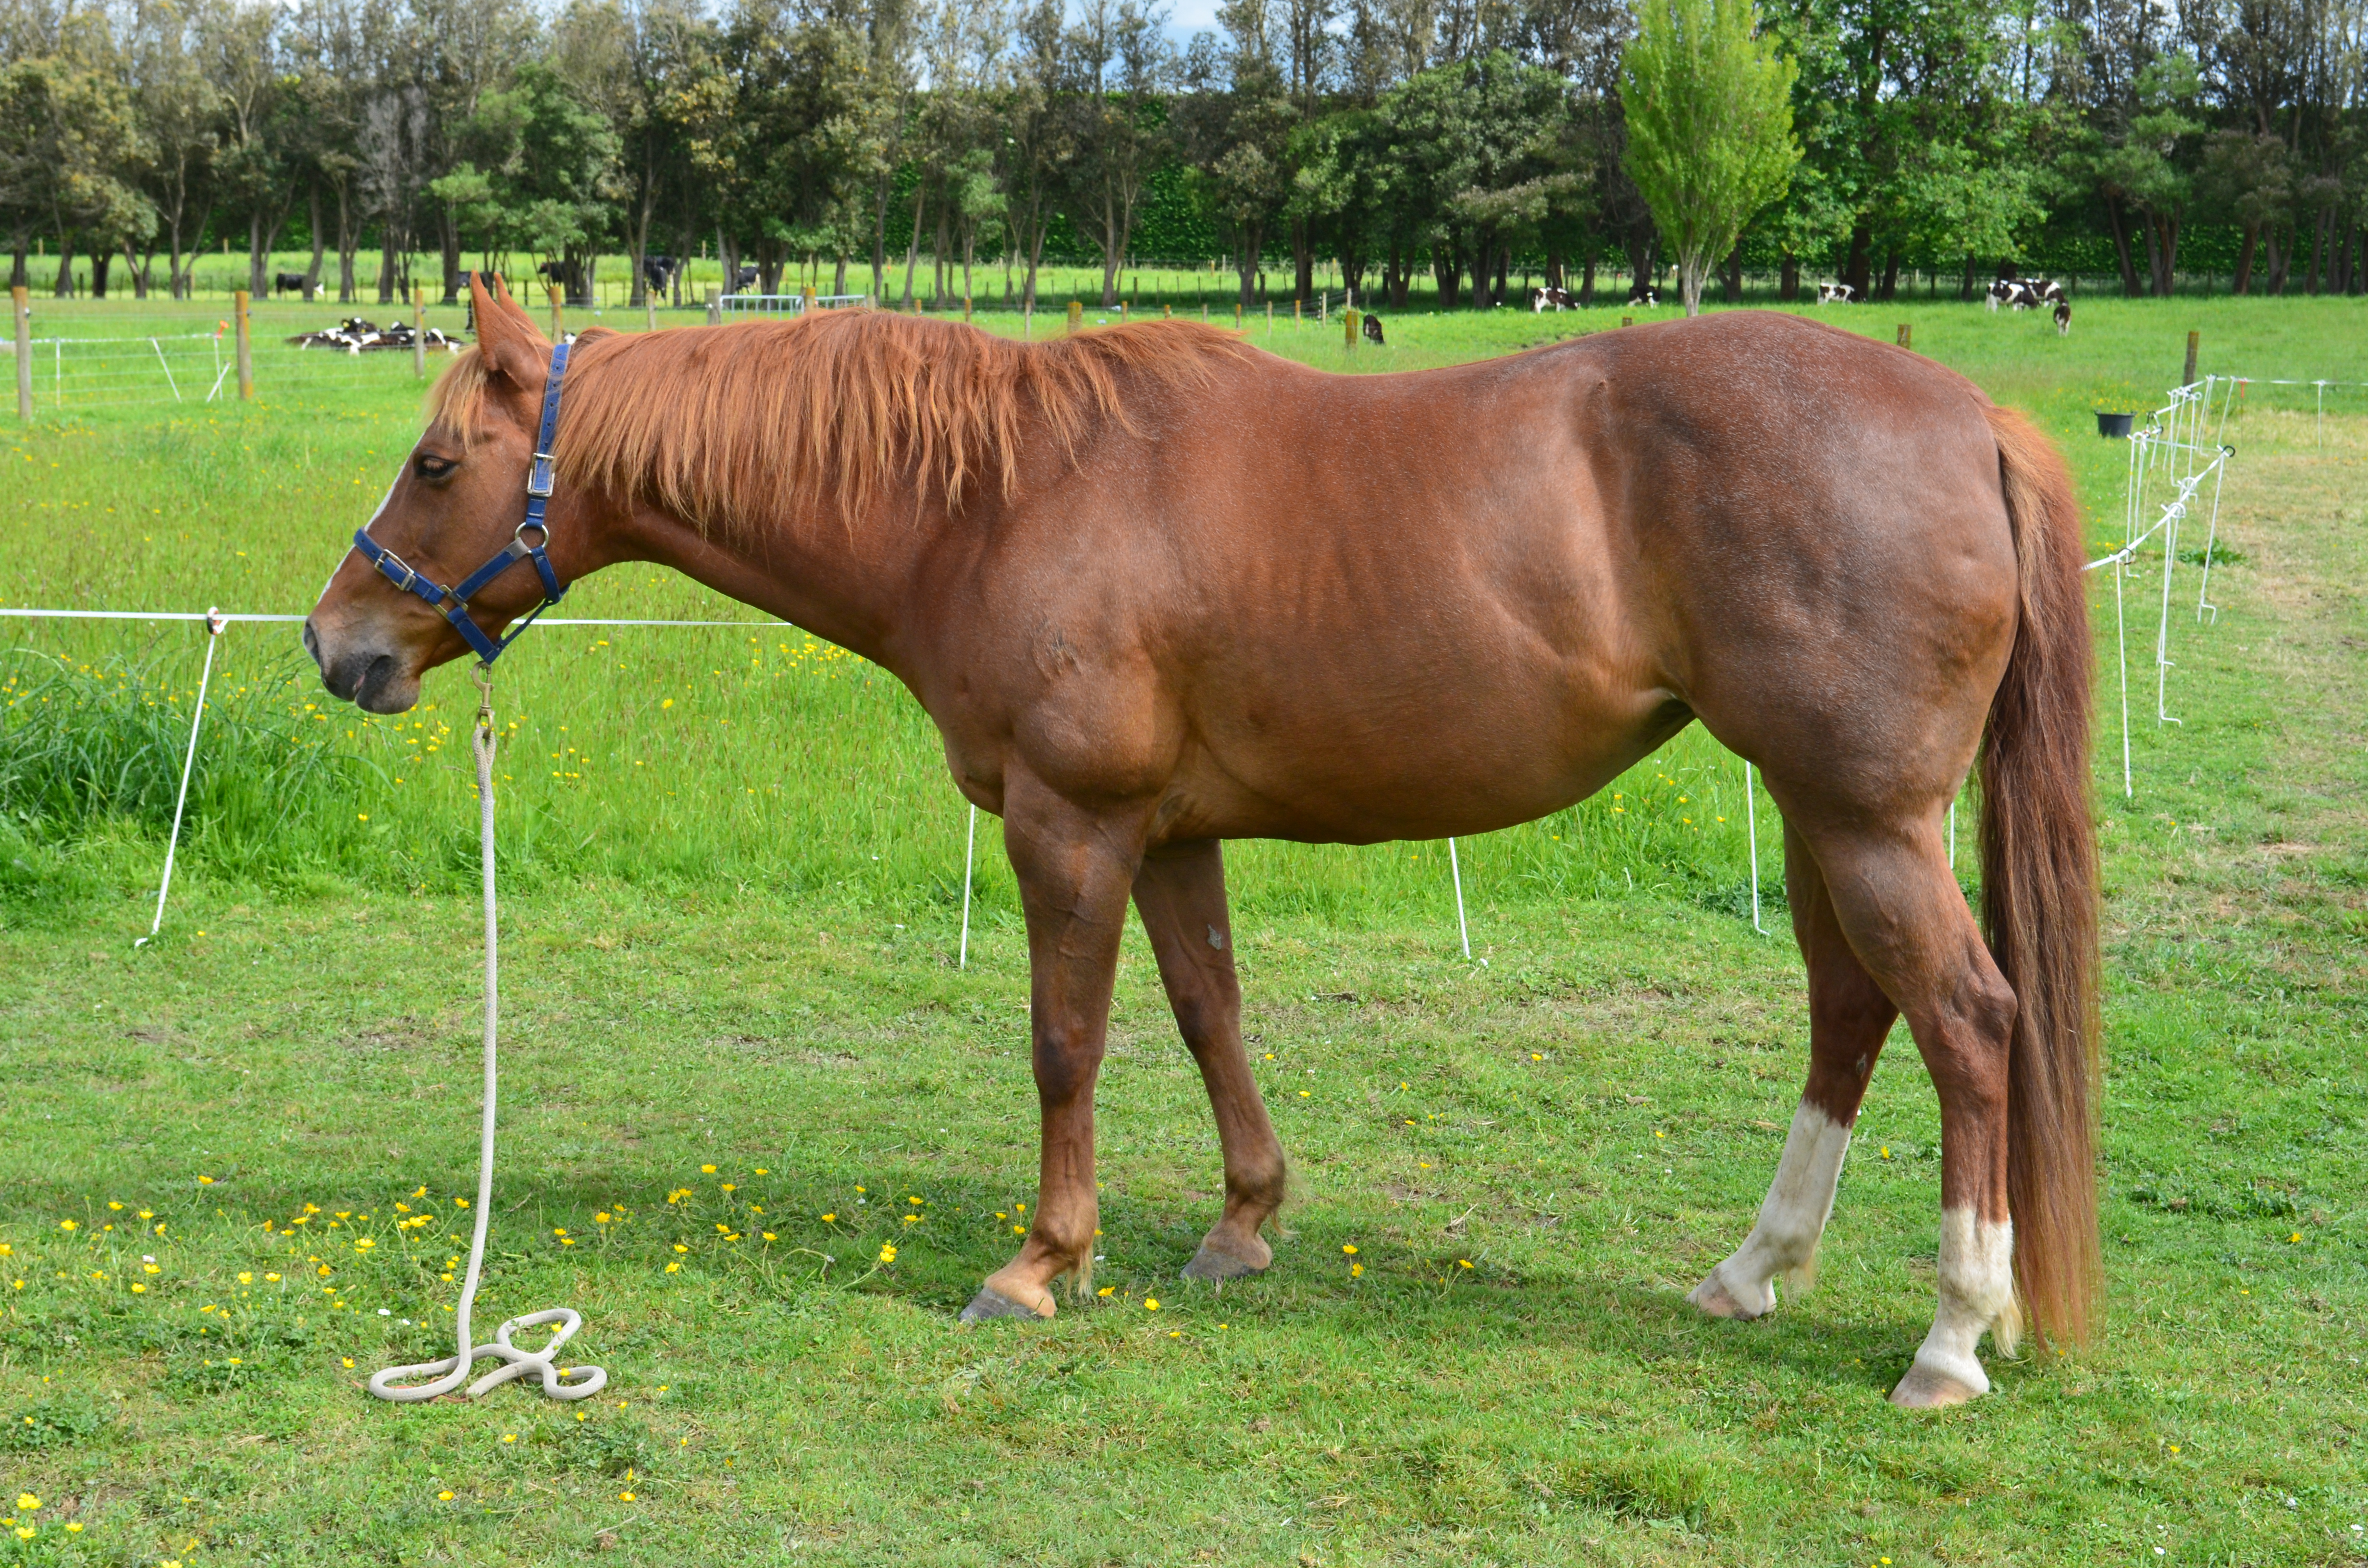
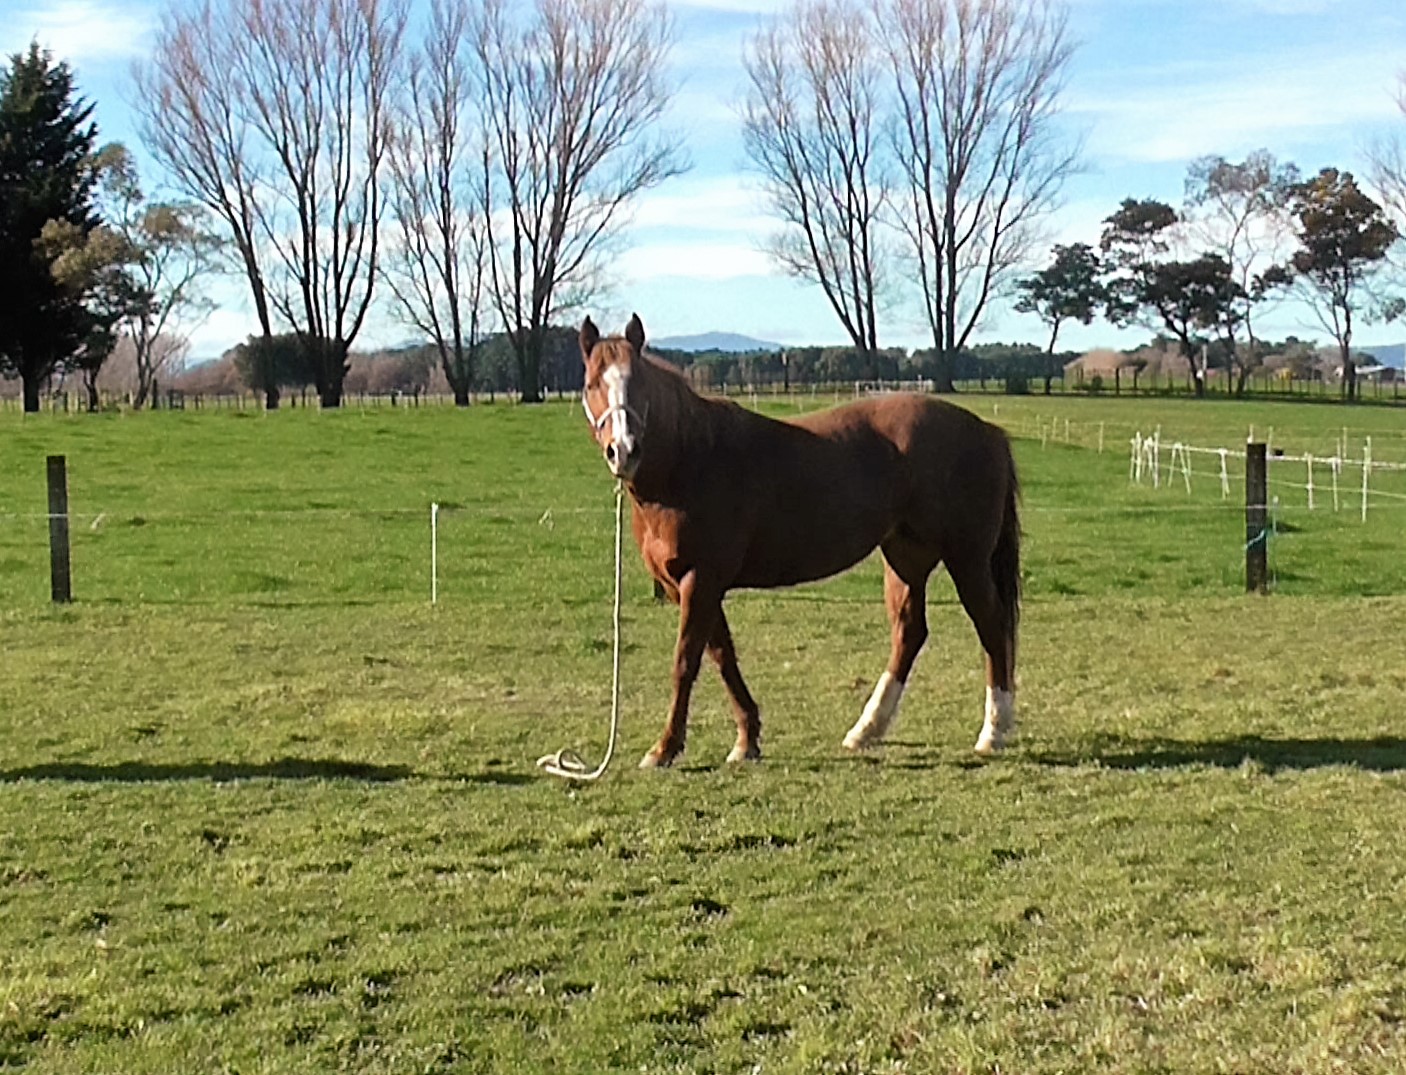
Our parameter for one of the slices could be that the long rein is between the horse and the fence. We can vary the ‘rope position’ parameter so that the rope is:
- Between the horse and the fence along his right side
- Between the horse and the fence along his left side.
- On the right side of the horse with the horse between the rope and the fence.
- On the left outside of the horse with the horse between the rope and the fence.
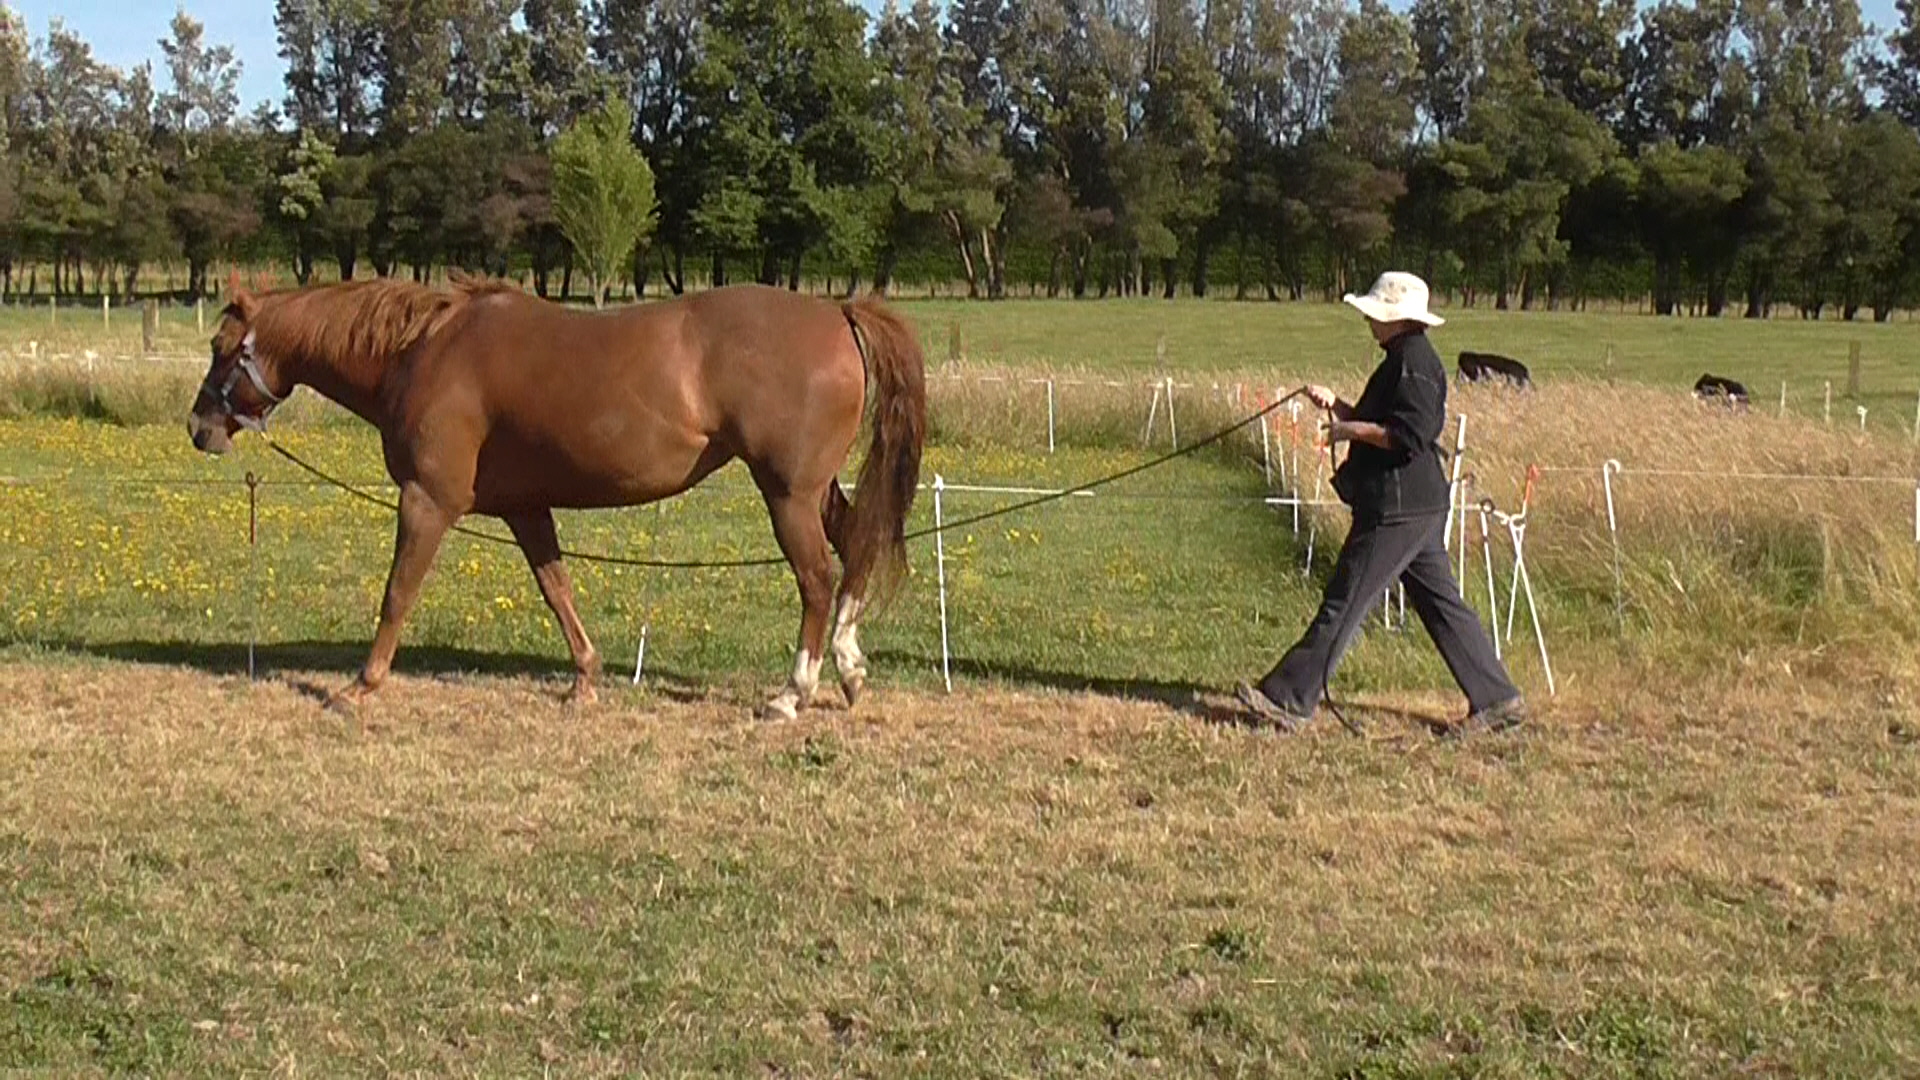
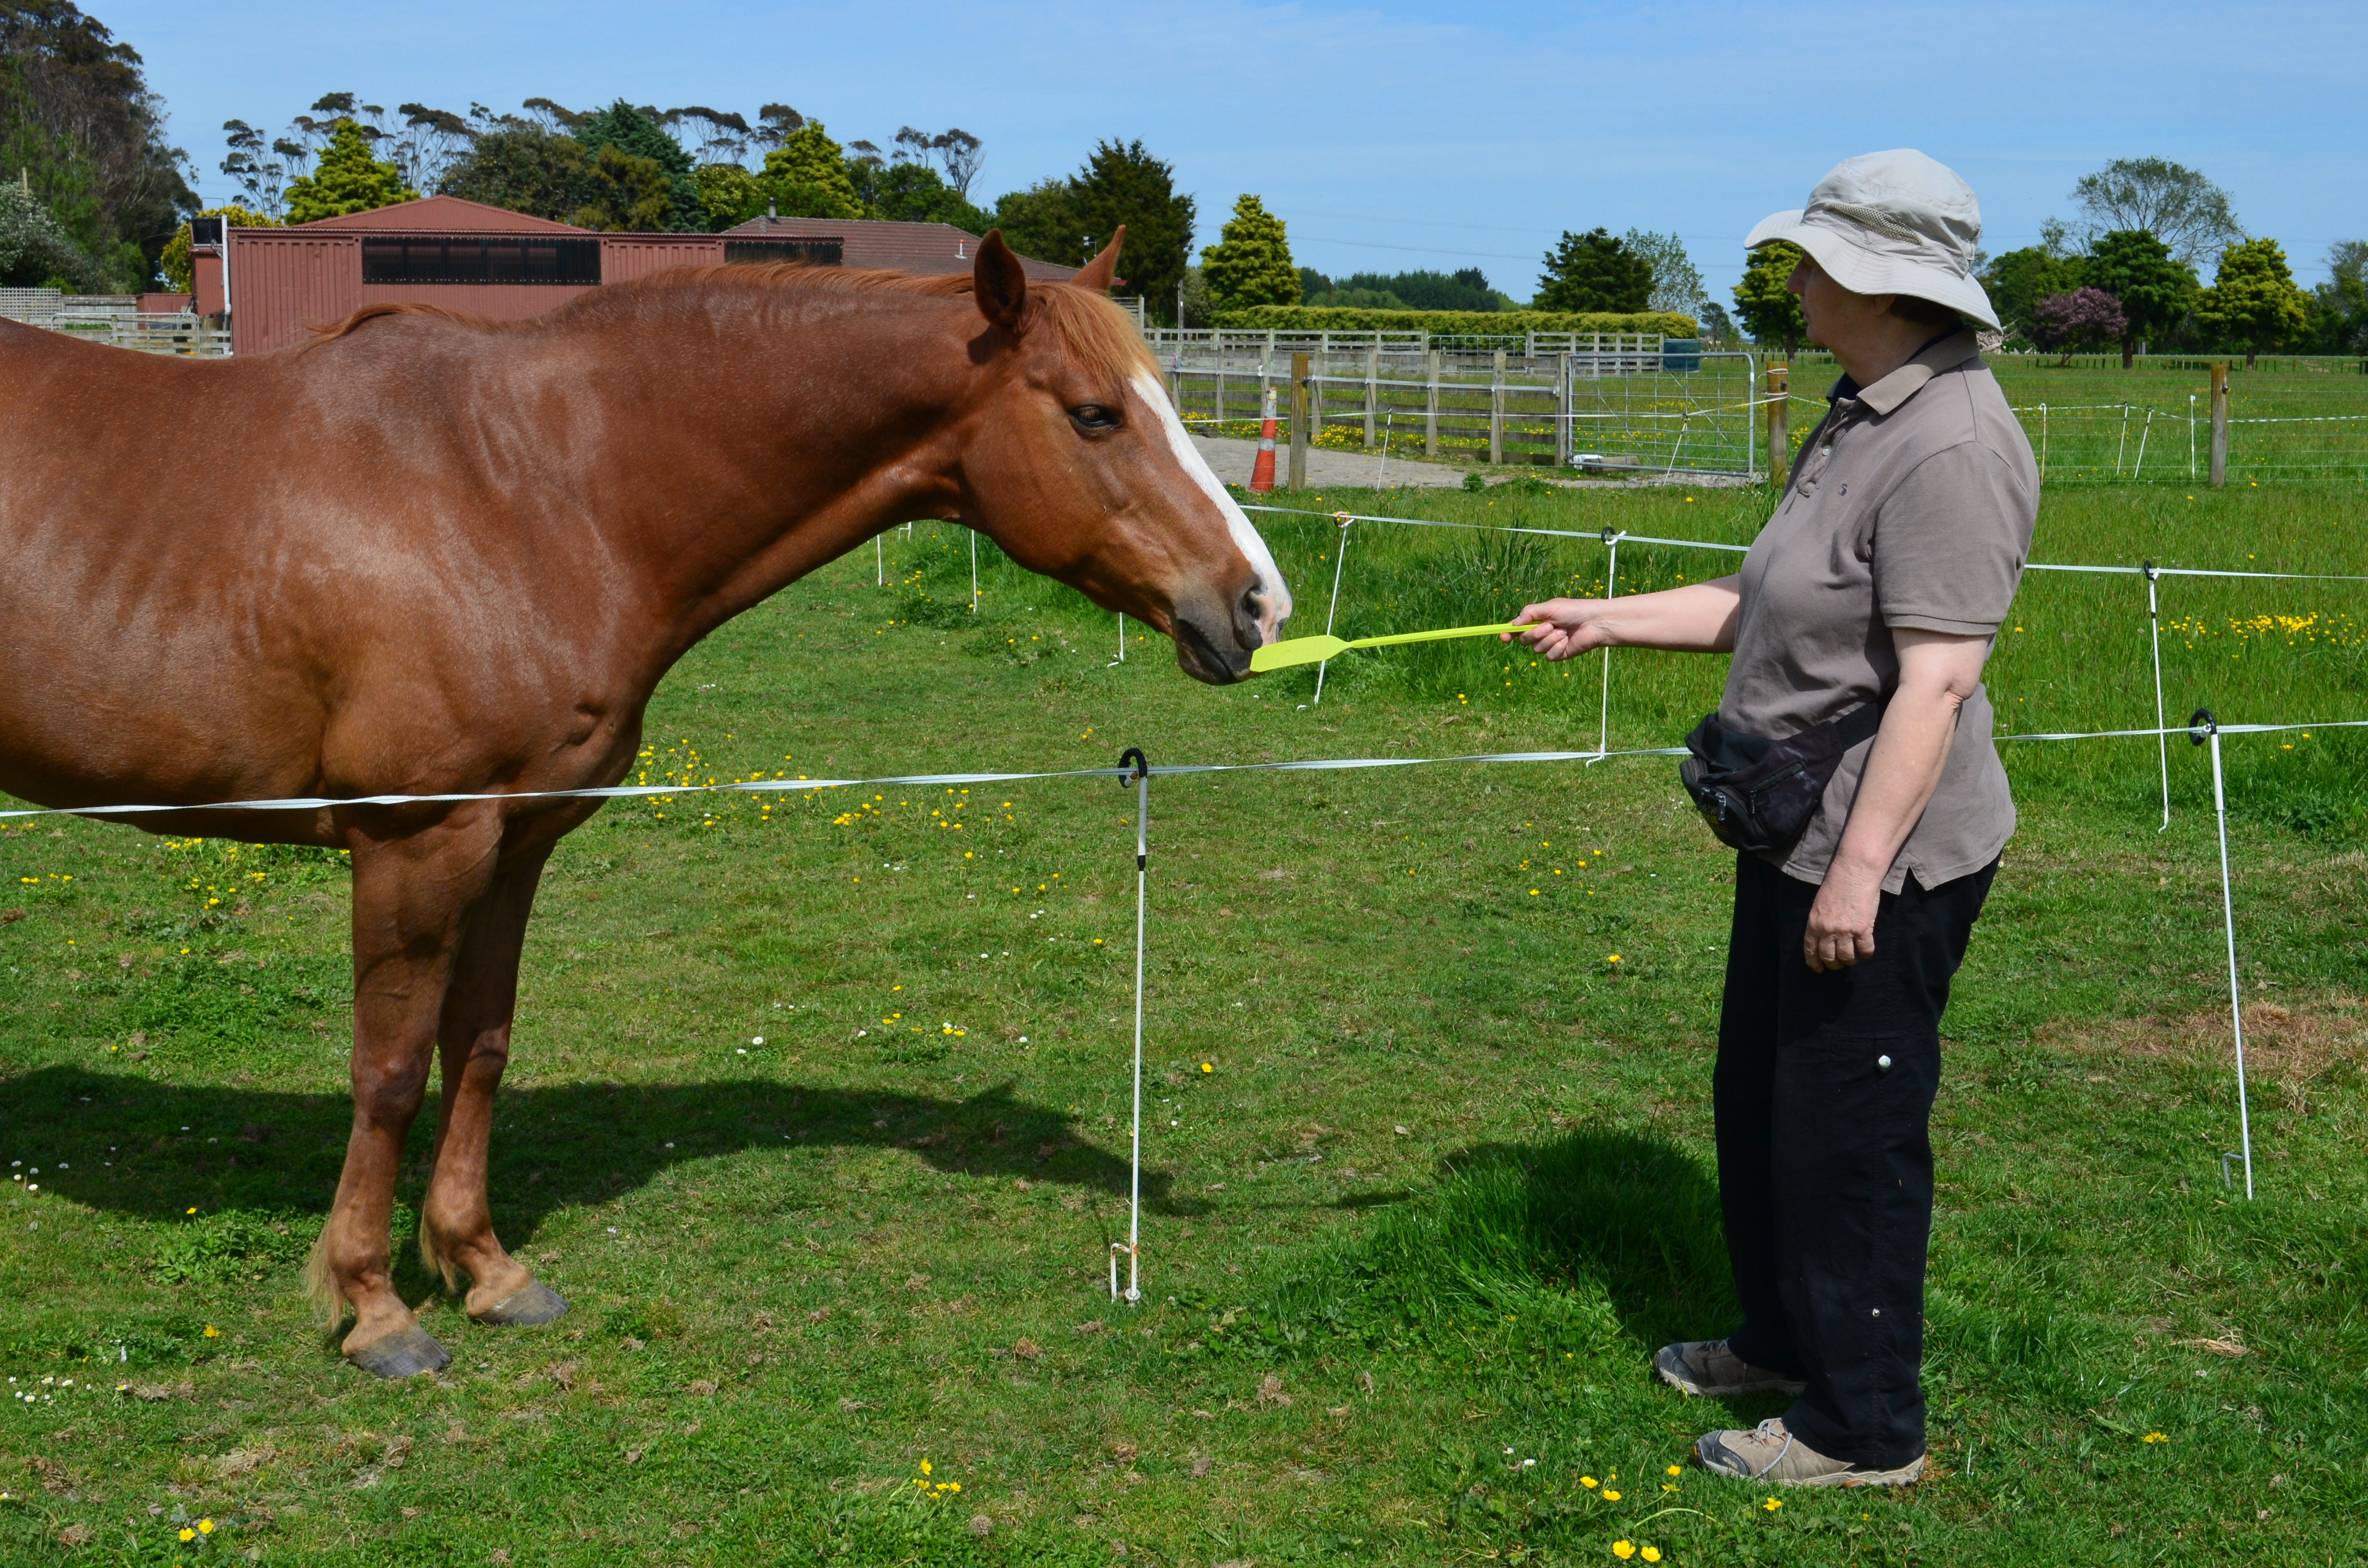
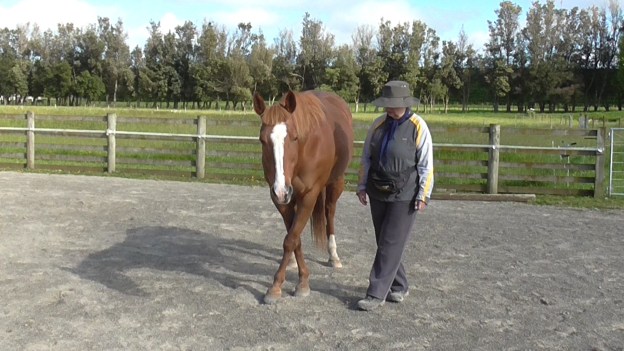
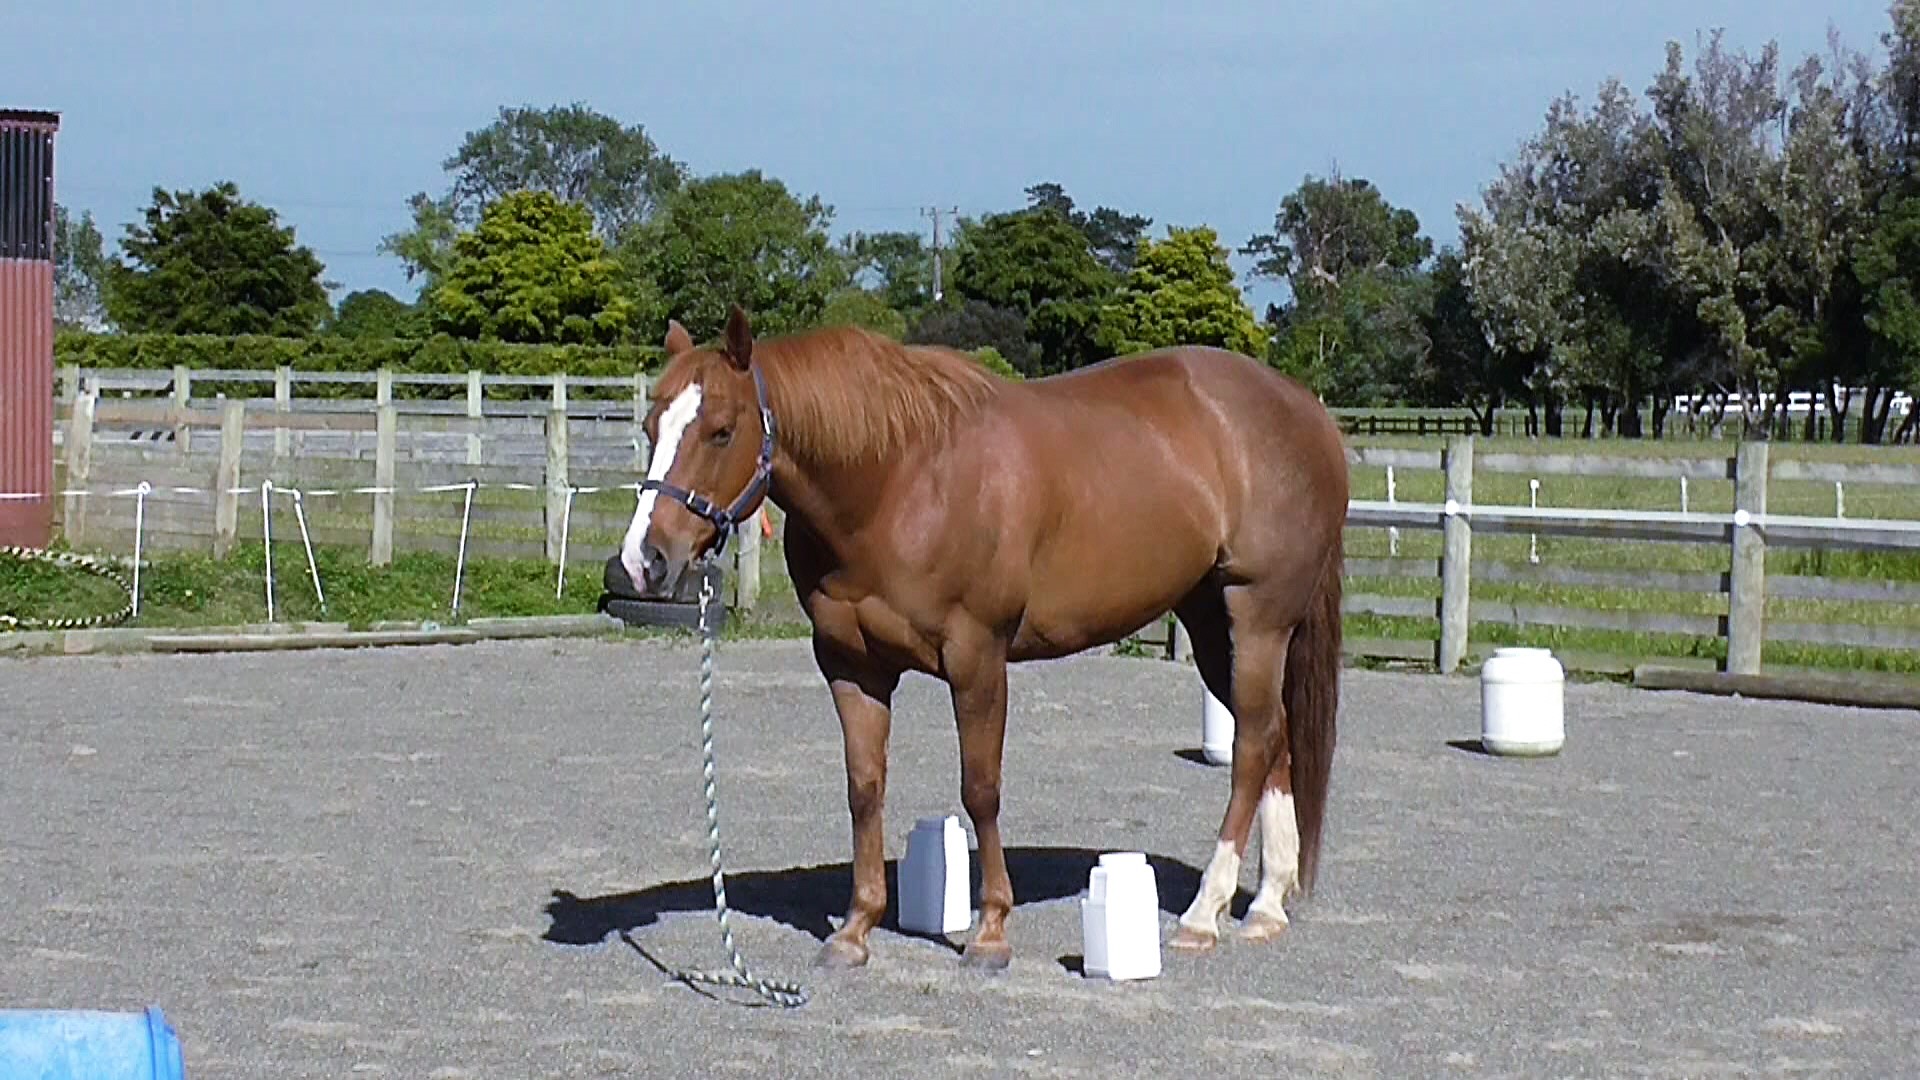
In this photo the long rein is on Boots’ right side between her and the fence. The electic fence is not on.
Examples of parameter changes
- If you change from having the single long rein between the horse and the fence, to the horse being between the single long rein and the fence, you have changed a parameter.
- Running the rein through a stirrup or guide ring before attaching it to the halter, is changing a parameter.
- Changing the single long rein from the horse’s right side to his left side is changing a parameter.
- Putting on two long reins is a major change of parameter, especially for the handler.
- If you change where you are standing or walking in relation to the horse, you’ve changed a parameter.
- If the horse is confidently taking three steps straight forward and you begin to ask for five steps, before you relax (click&treat), you have changed a parameter.
- When you move your pre-set destinations further apart, you have changed a parameter.
The more sophisticated your thin-slicing skills become, the smaller the parameter shifts will be. If your thin slices are well suited to the horse, the horse will learn almost seamlessly.
Horses are super observant of such changes, and can often be ‘thrown’ by them if we proceed too fast or ask for too much too soon.
The change may seem small to us, but everything means something to a horse. Or, as some people say, nothing means nothing to a horse.
When we make a parameter change we have to show the horse how to adapt to the change. That is what ‘training’ means.
Which, in my opinion, is where many people let horses down. They make all sorts of changes without any thought at all, expecting the horse to read their mind.
Horses are good at reading each other’s intent, but that’s because horses speak horse to each other.
In a training situation, the handler makes the parameter change, the horse has to learn what the change means. Thin-slicing helps the handler show the horse how to adapt to the change.
When we are actively working with a horse, being conscious of parameters makes it much easier to notice when we change a parameter. Horses notice everything. It takes a bit more effort for humans to notice anyything.
In other words, we have to strive to learn to recognize parameter changes as readily as a horse recognizes them.
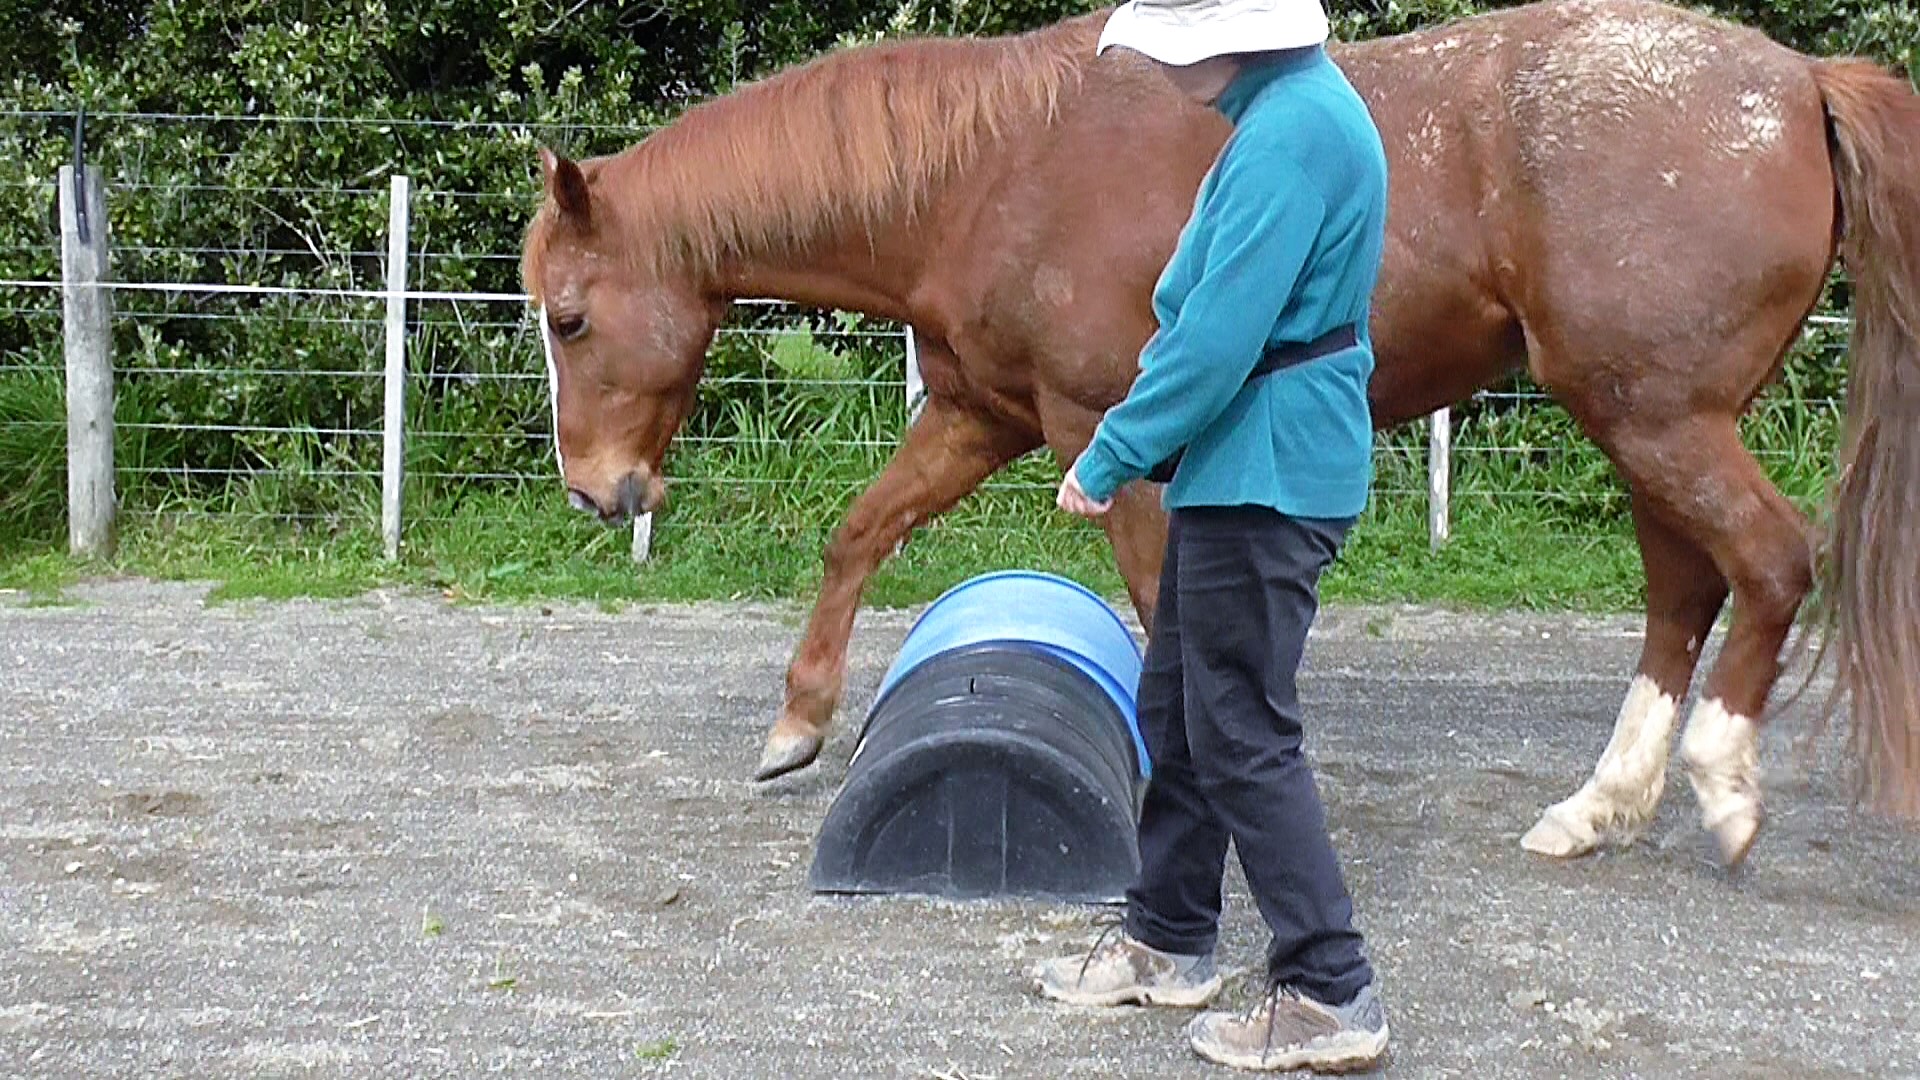
c. Body Extensions
I’ve talked about body extension in other blogys, but it pays to review them here in light of using them from behind in Leading Position 6.
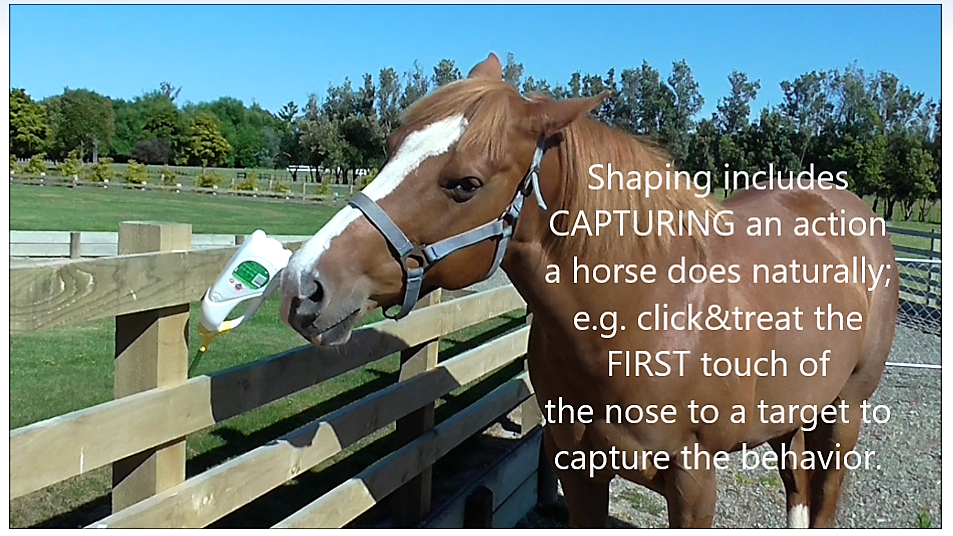
The first step is always to ensure that the horse is confident with our body extensions rubbed on him and tossed over in a friendly manner. The horse has to be comfortable with a rope tossed lightly all over him and around his legs.
A stick&string combination is a good tool for building confidence because we can use it for rubbing first, then introduce gentle tossing of the string. Start standing at his shoulder and gradually work up to being able to walk all around him.
Clip #22, called Rope Relaxation, in my HorseGym with Boots playlist, shows some ways to approach rope confidence.
If the horse is not used to staying parked ground tied – with commotion such as this – he needs a good Individual Education Program that provides release (click&treat) for each tiny sign of increasing relaxation (lower head, blowing out, licking and chewing, softer ears and bottom lip, cocked hip).
When we add long reins, it is essential to know that the horse is ho-hum about ropes or reins dangling along his side and legs.