Horses are incredibly sensitive to body language because it is the language they use with each other. They are also highly aware of the body language of predators so they know if predators are in hunting mode or not. When our horse gets to know us well, and we are reliably clear and consistent, small changes in our body language can become a significant part of messaging with our horse.
Whole Body Language Signals
General Orientation of Our Body
- Moving from A to B, the horse follows along or moves with us.
- When riding, the rhythm of our body in tune with the gait we are in, and our rhythm changes when we ask for a change of gait.
- Facing the horse in front, we can draw him toward us by stepping backwards.
- Facing the horse in front, we can ask him to back up by stepping toward him.
- Facing the horse’s ribs, allows us to ask him to move past us or in a circle around us.

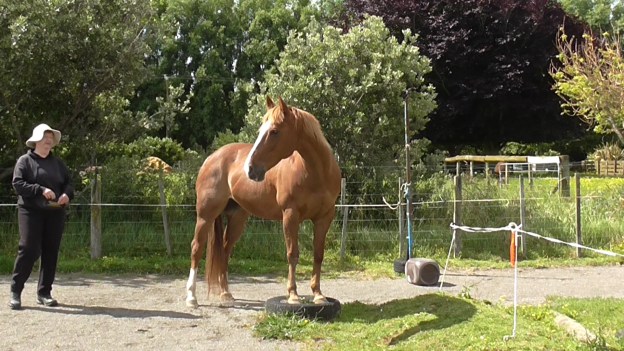
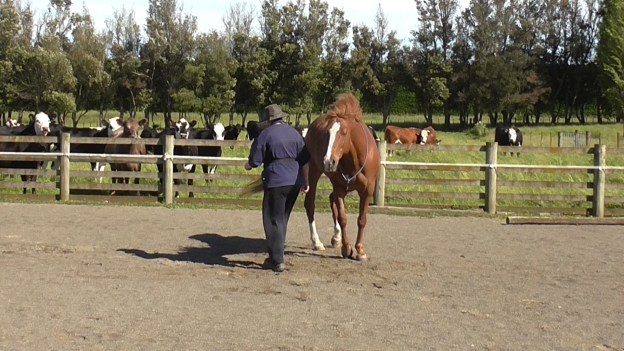
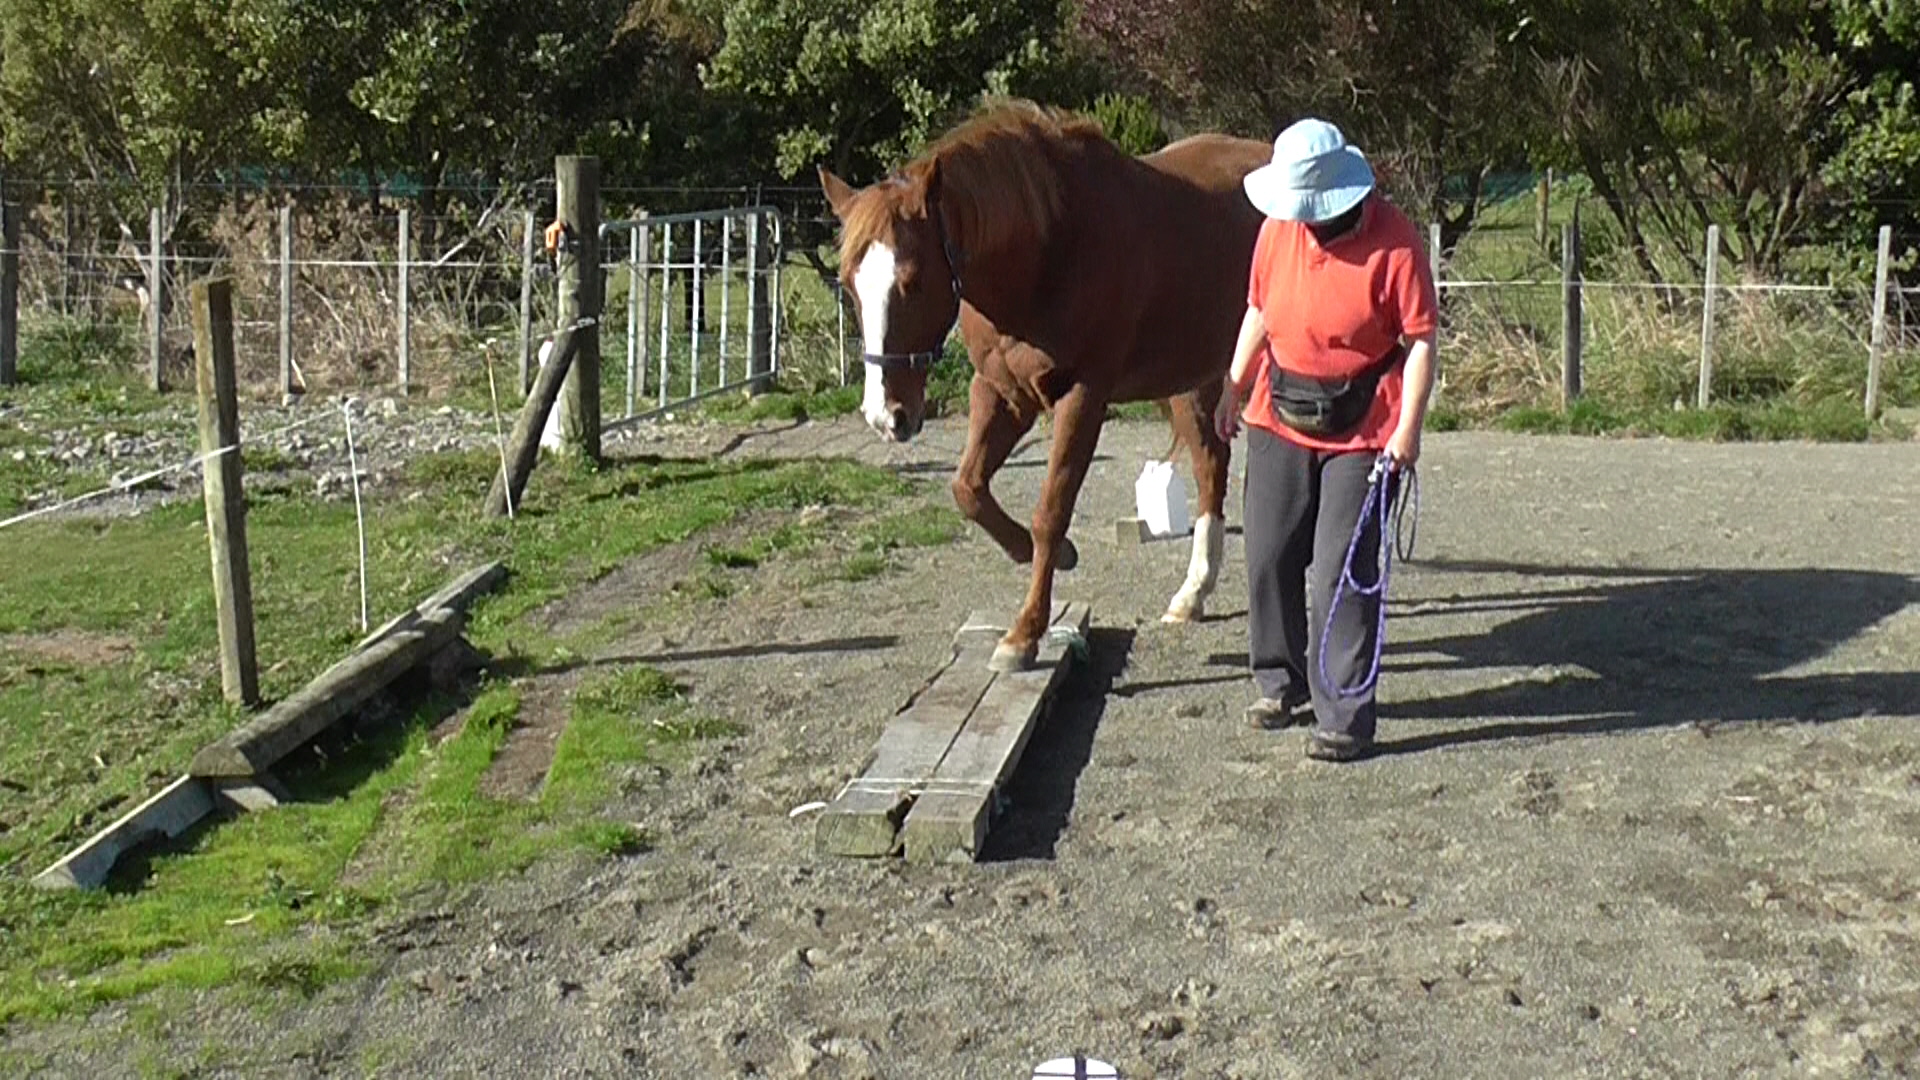
My body orientation is a large part of the signal that lets Boots know that I’d like her to move over the rails and continue in a circle while I pivot on the spot.
Specific Orientation – the alignment of our body axis in relation to the horse is a major part of the signal when we ask for:
- Turning right or left
- Weave pattern
- Figure 8 pattern
- S-bends, L-bends, U-bends, zigzag-bends
- Hindquarter yields
- Forequarter yields
- Backing up with counter-turns (as in backing a square)
- Standing on a mounting block as a signal for the horse to line itself up for mounting.
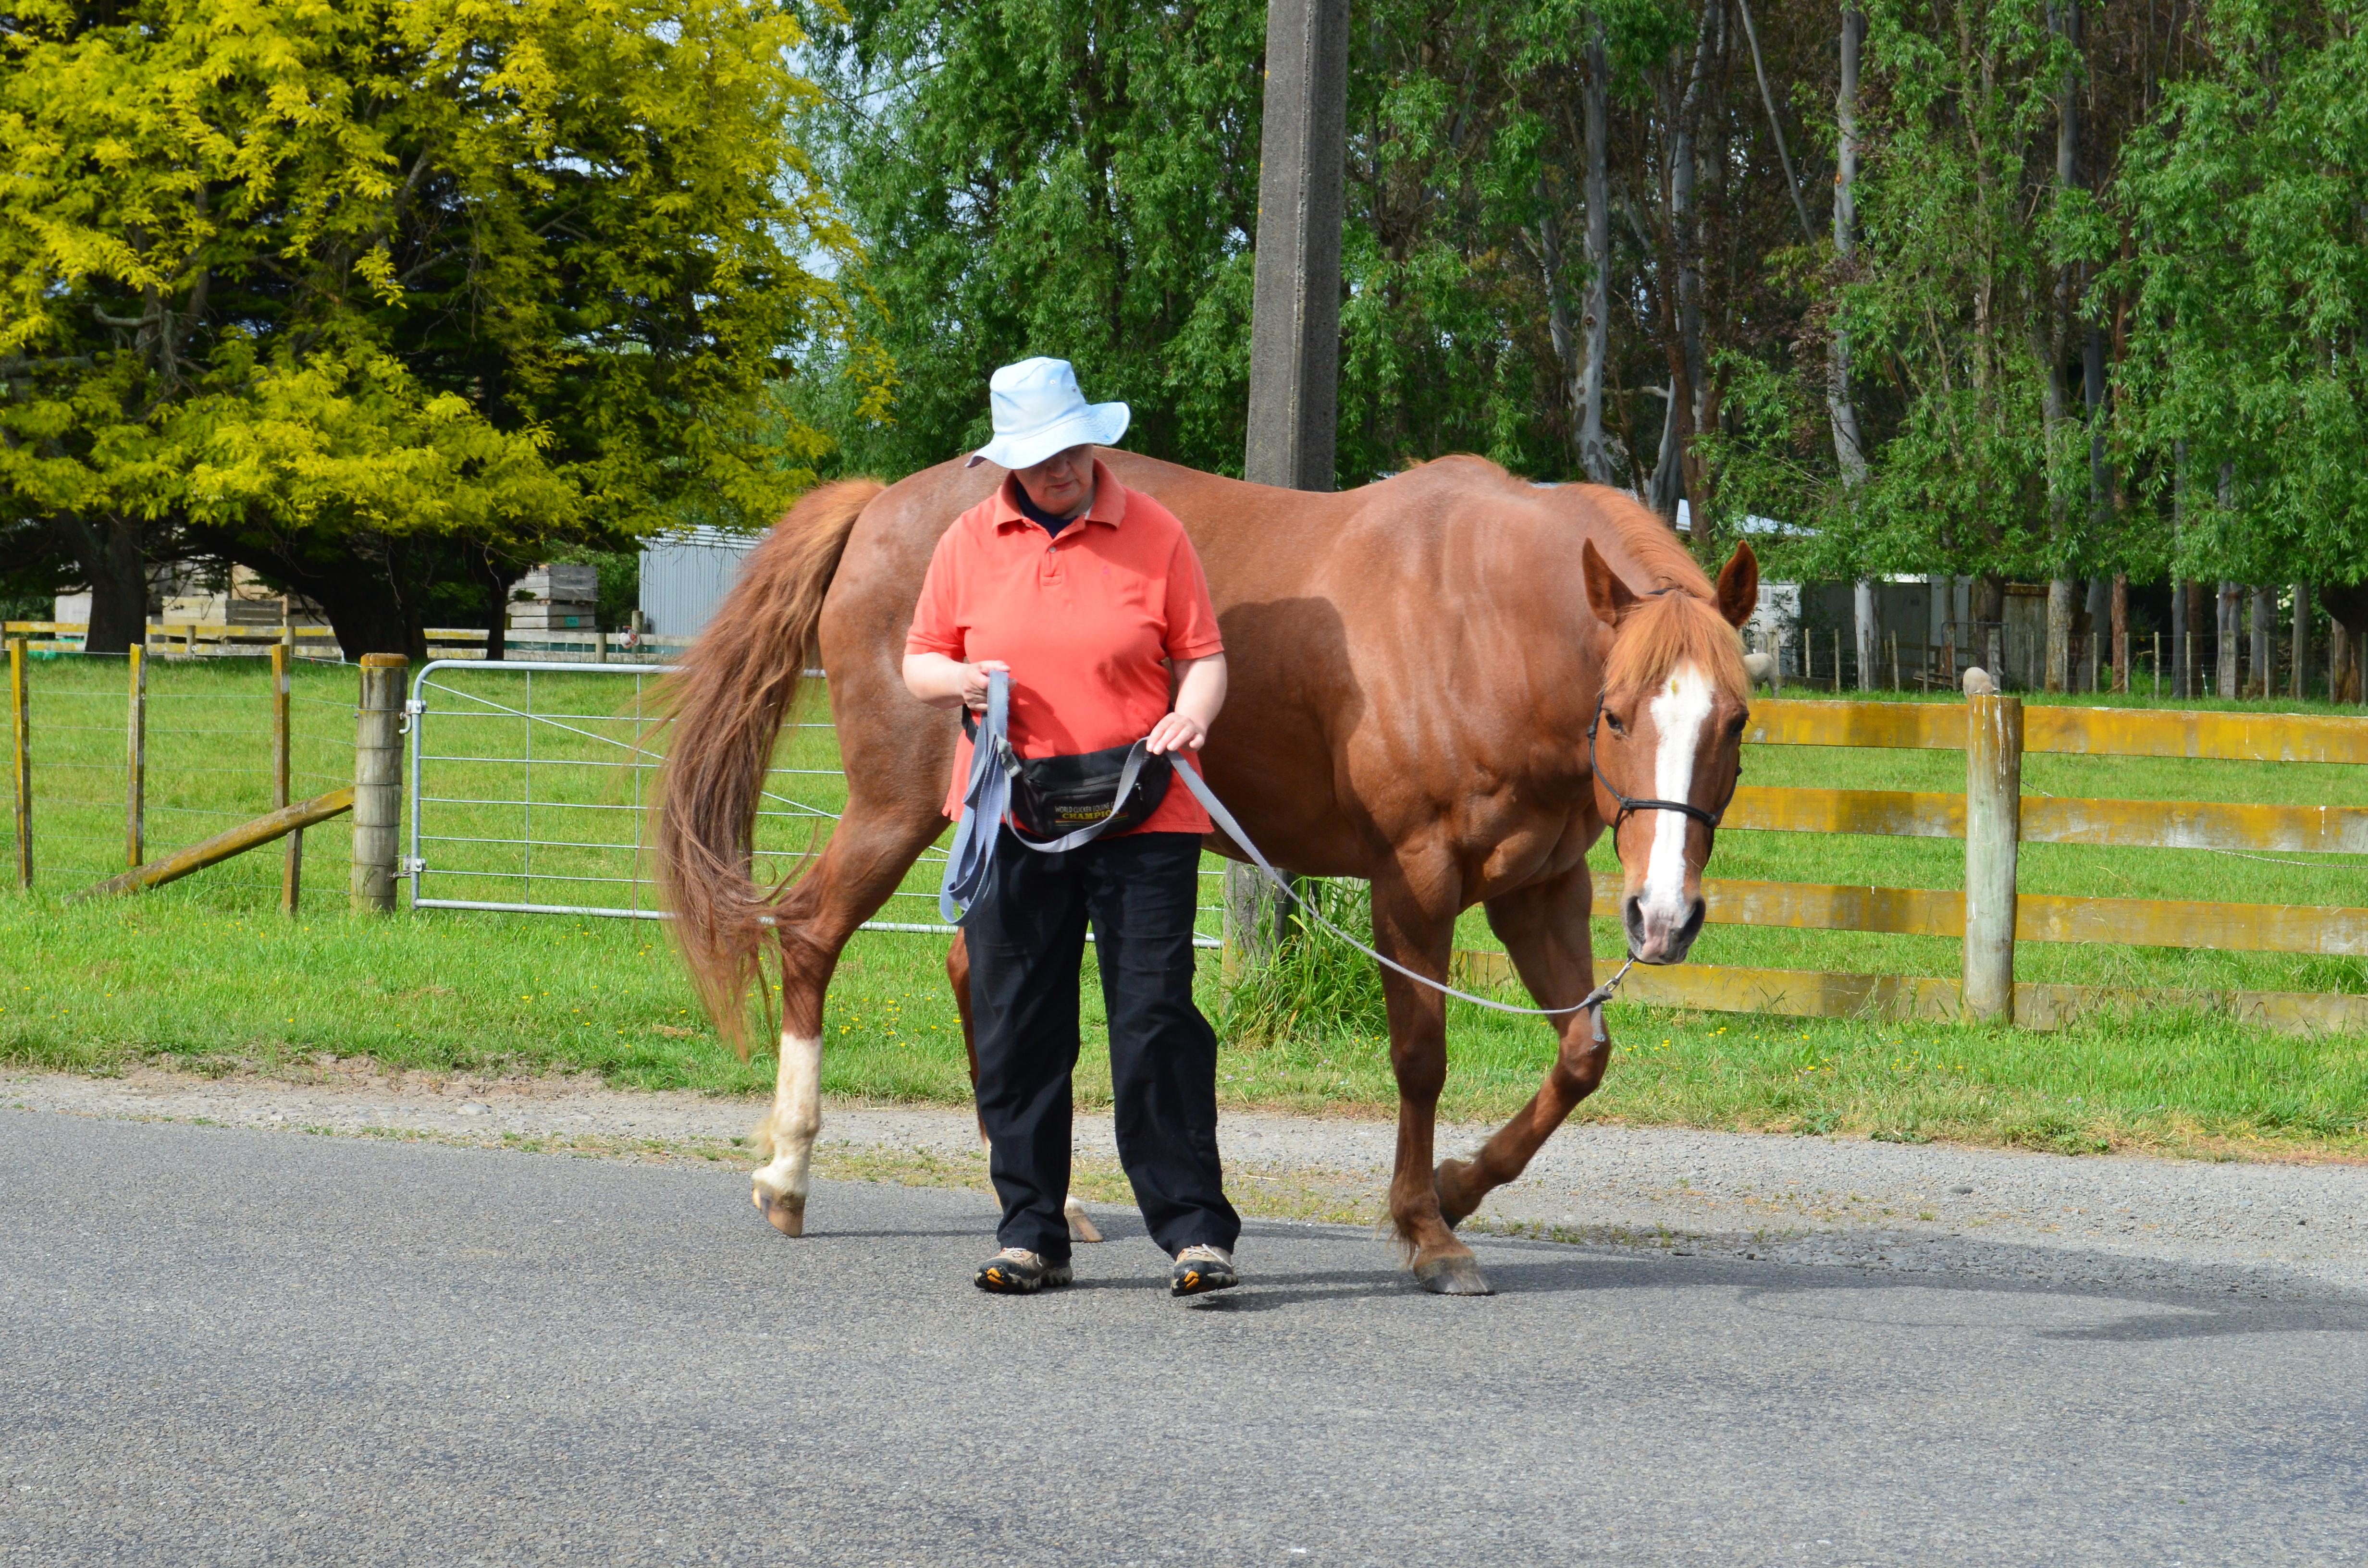
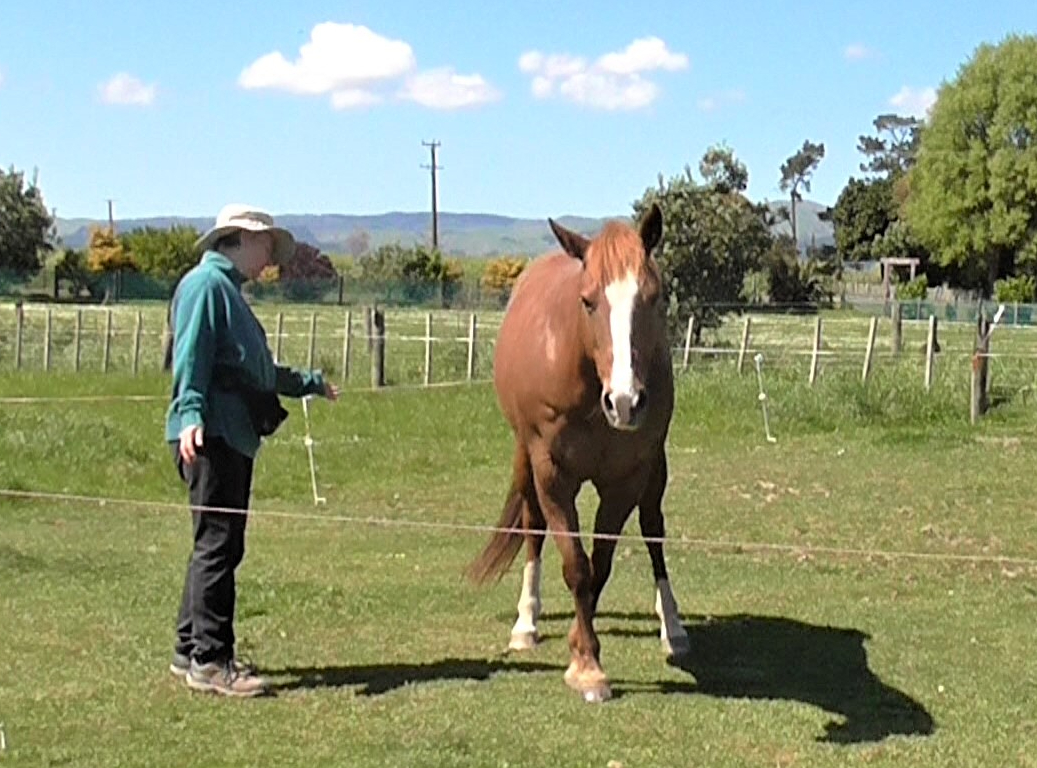
By shifting my body axis away from the horse, she knows we are turning right and no pressure on the halter is needed.
Gesture Body Language Signals
Large Gestures
We might sometimes use large body language signals if we are:
- guiding from behind
- sending the horse away into a circle
- arm held out as a target to signal a recall.
- Swing arms in front of us to signal end of a session, followed by jackpot on the ground or in a dish.
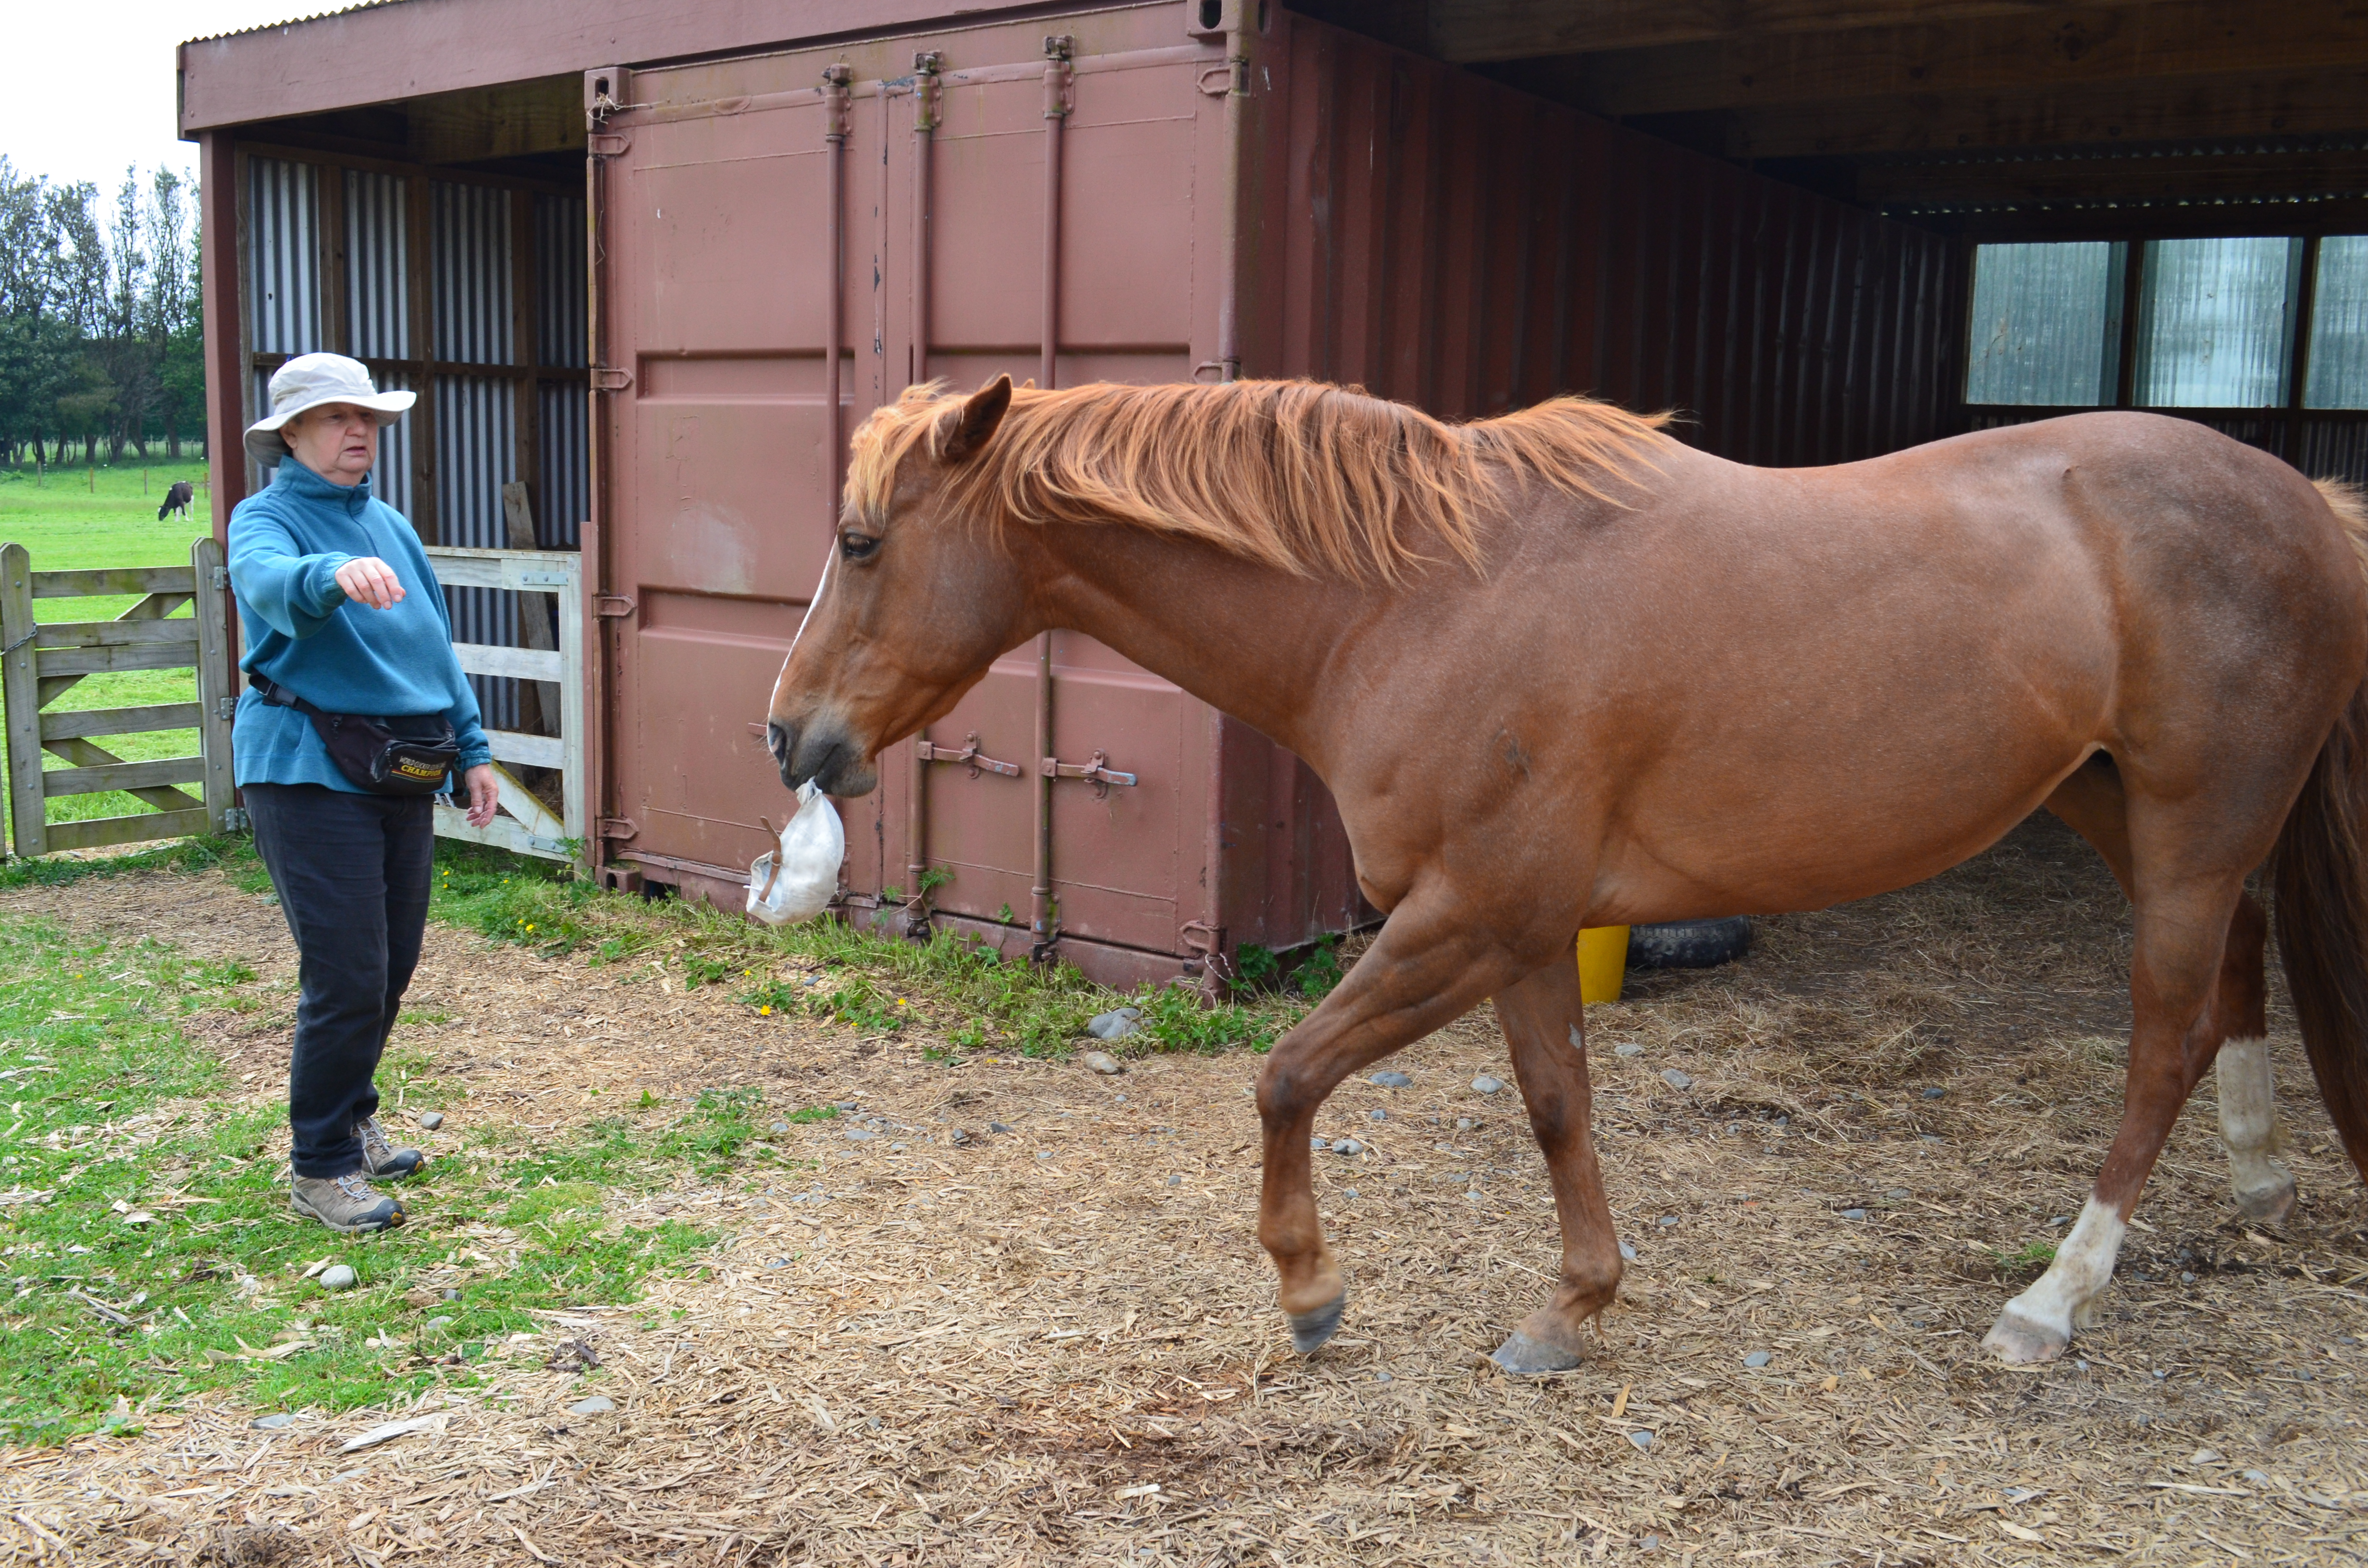
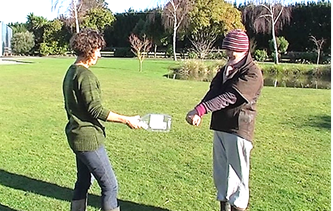
I’m holding out my arm as a large gesture for Boots to recall with my hat.
Medium sized Gestures might be ones we use as:
- back up with hand signals
- ‘walk on’ signal with arm and outside leg when walking together
- facing the horse, hand put up for whoa
- facing the horse, recall signal
- please move sideways away from me
- hand lightly on poll for ‘head down’ signal
- please move your hip away
- please move your hip toward me
- please move your forequarters over
- please move your forequarters toward me

Another recall signal is me leaning slightly forward and making a hoop with my arms. It works because it is clearly an unusual body position.
Small Gestures might include the following:
- walking side-by-side, halt signal by handler dropping into her hips
- hand positioned so horse can target the palm of the hand with his chin
- stretching out hand, palm down, for the horse to complete the touch connection with his nose; often called the ‘horseman’s handshake’.
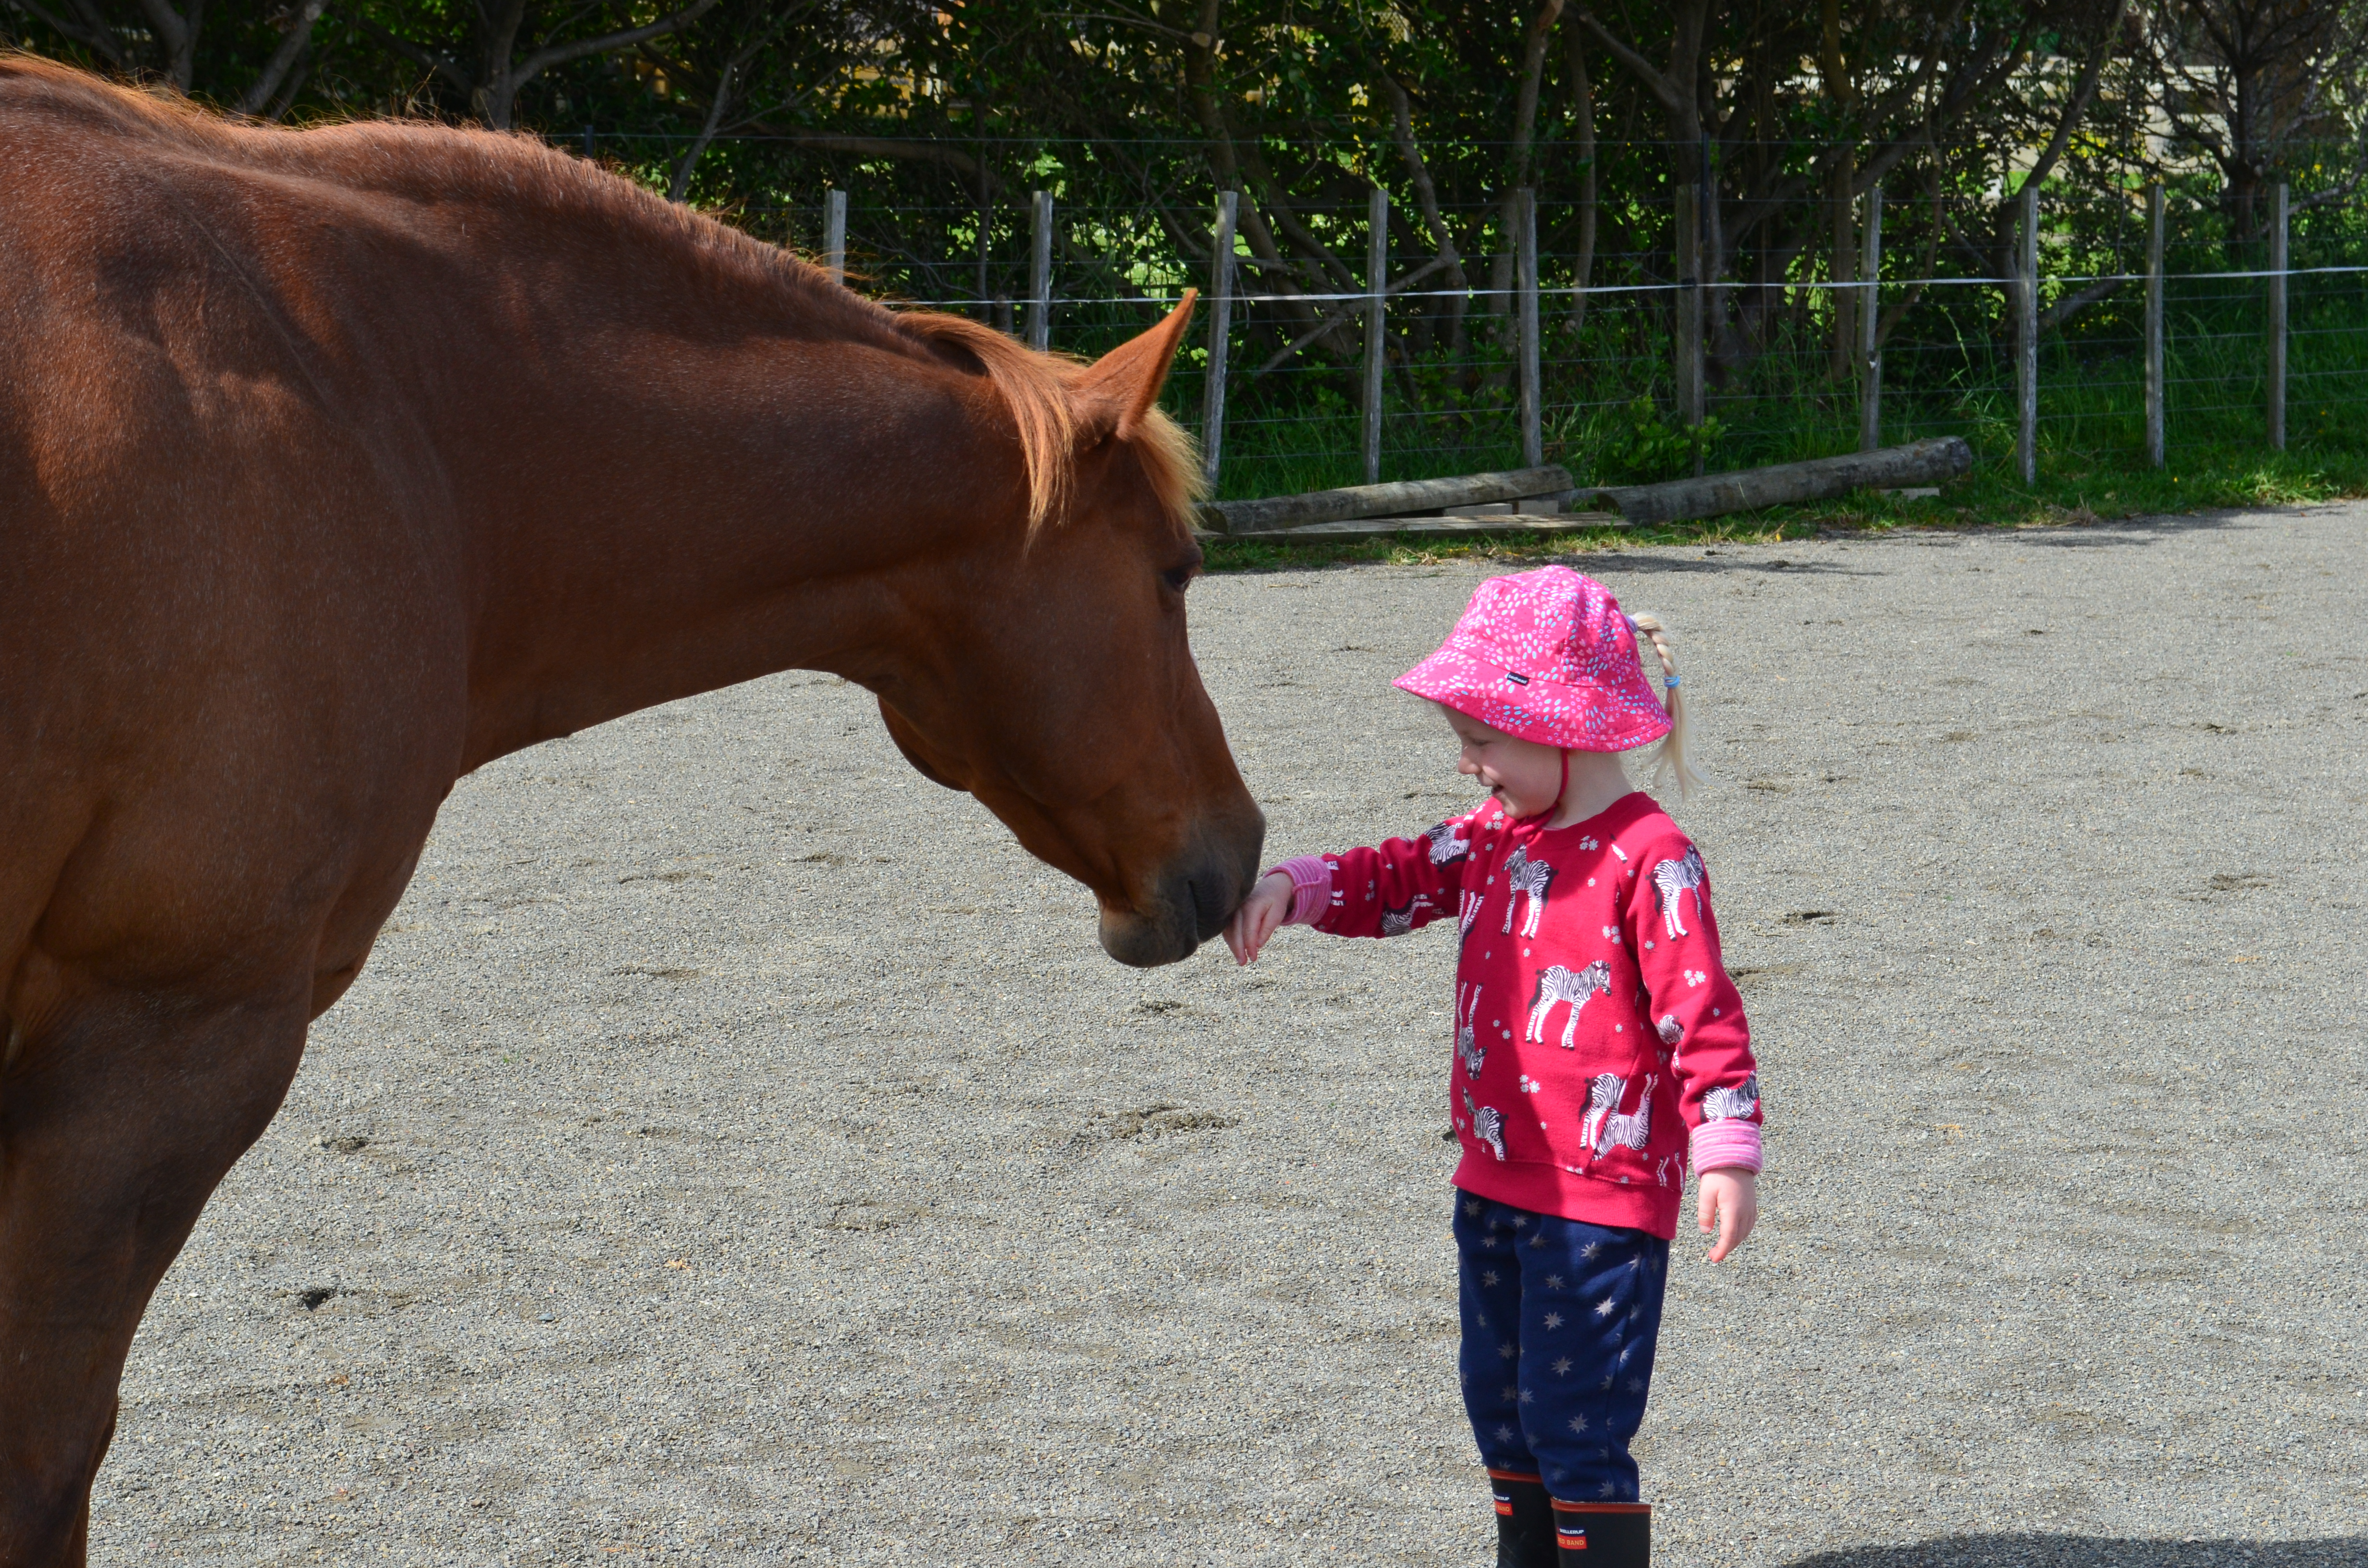
The horseman’s handshake. The back of our hand stands in for another horse’s nose.
Direct Touch Signals
Hand Touch:
- Stroking
- Massage & stretching exercises
- Picking up feet, cleaning them and trimming
- Backing up with touch to chest or nose
- Sideways with touch to ribs
- Yield hindquarters with touch to hip
- Yield forequarters with touch to shoulder
- ‘Walk on’ with finger tap behind withers or on butt.

We use body orientation and touch signals for foot care. Also often a voice signal.
Body Extension Touch: This involves all the things we have in our hand, or things we put on the horse. It might include:
- grooming
- cleaning and trimming feet
- head gear put on/off
- ropes all over body
- saddles or harness on/off
- guiding touch with a body extension, as for long-reining.

When we start using gear on our horses, we must remember how sensitive they are to touch.
Riding Touch:
Since horses are extremely touch-sensitive they feel every shift of weight and position. As long as we don’t desensitize the horse to touch signals by nagging, inconsistency, or rudeness, the horse learns to respond to the smallest of touch and weight placement variations.

Head Gear Touch Signals
Via rope while we are working on the ground:
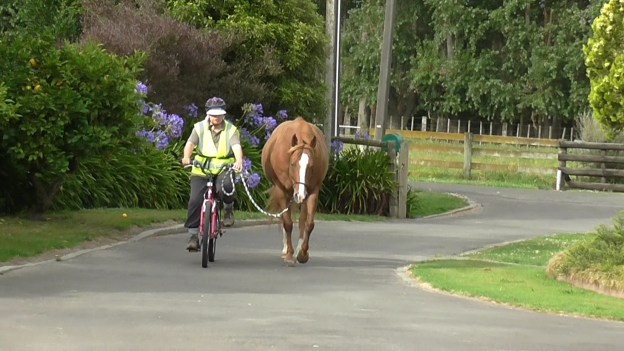
- poll pressure to walk forward when leading, although this can be replaced easily by using clear body language (breathe in, gesture with arm and step off with outside leg – easier for horse to see).
- light nose pressure to halt, back-up (refined with voice signals)
- light nose pressure for change of direction
- light nose pressure for downward transitions, halt, back up
- light nosepressure to ask for bend.
- halter vibration to back-up.

A very light jiggle on the rope is one of our signals for backing up. By using props such as this, it makes sense for the horse to back up, making it easy to teach. The rope touch signal can then easily be morphed into gesture, body orientation and voice signals.
Verbal (Voice) Signals
- “click or “yes” word
- whoa” word or sound
- upward and downward transition words or sounds
- encouraging ‘keep going’ words or sounds
- inhibiting warning words or sounds (squeal)
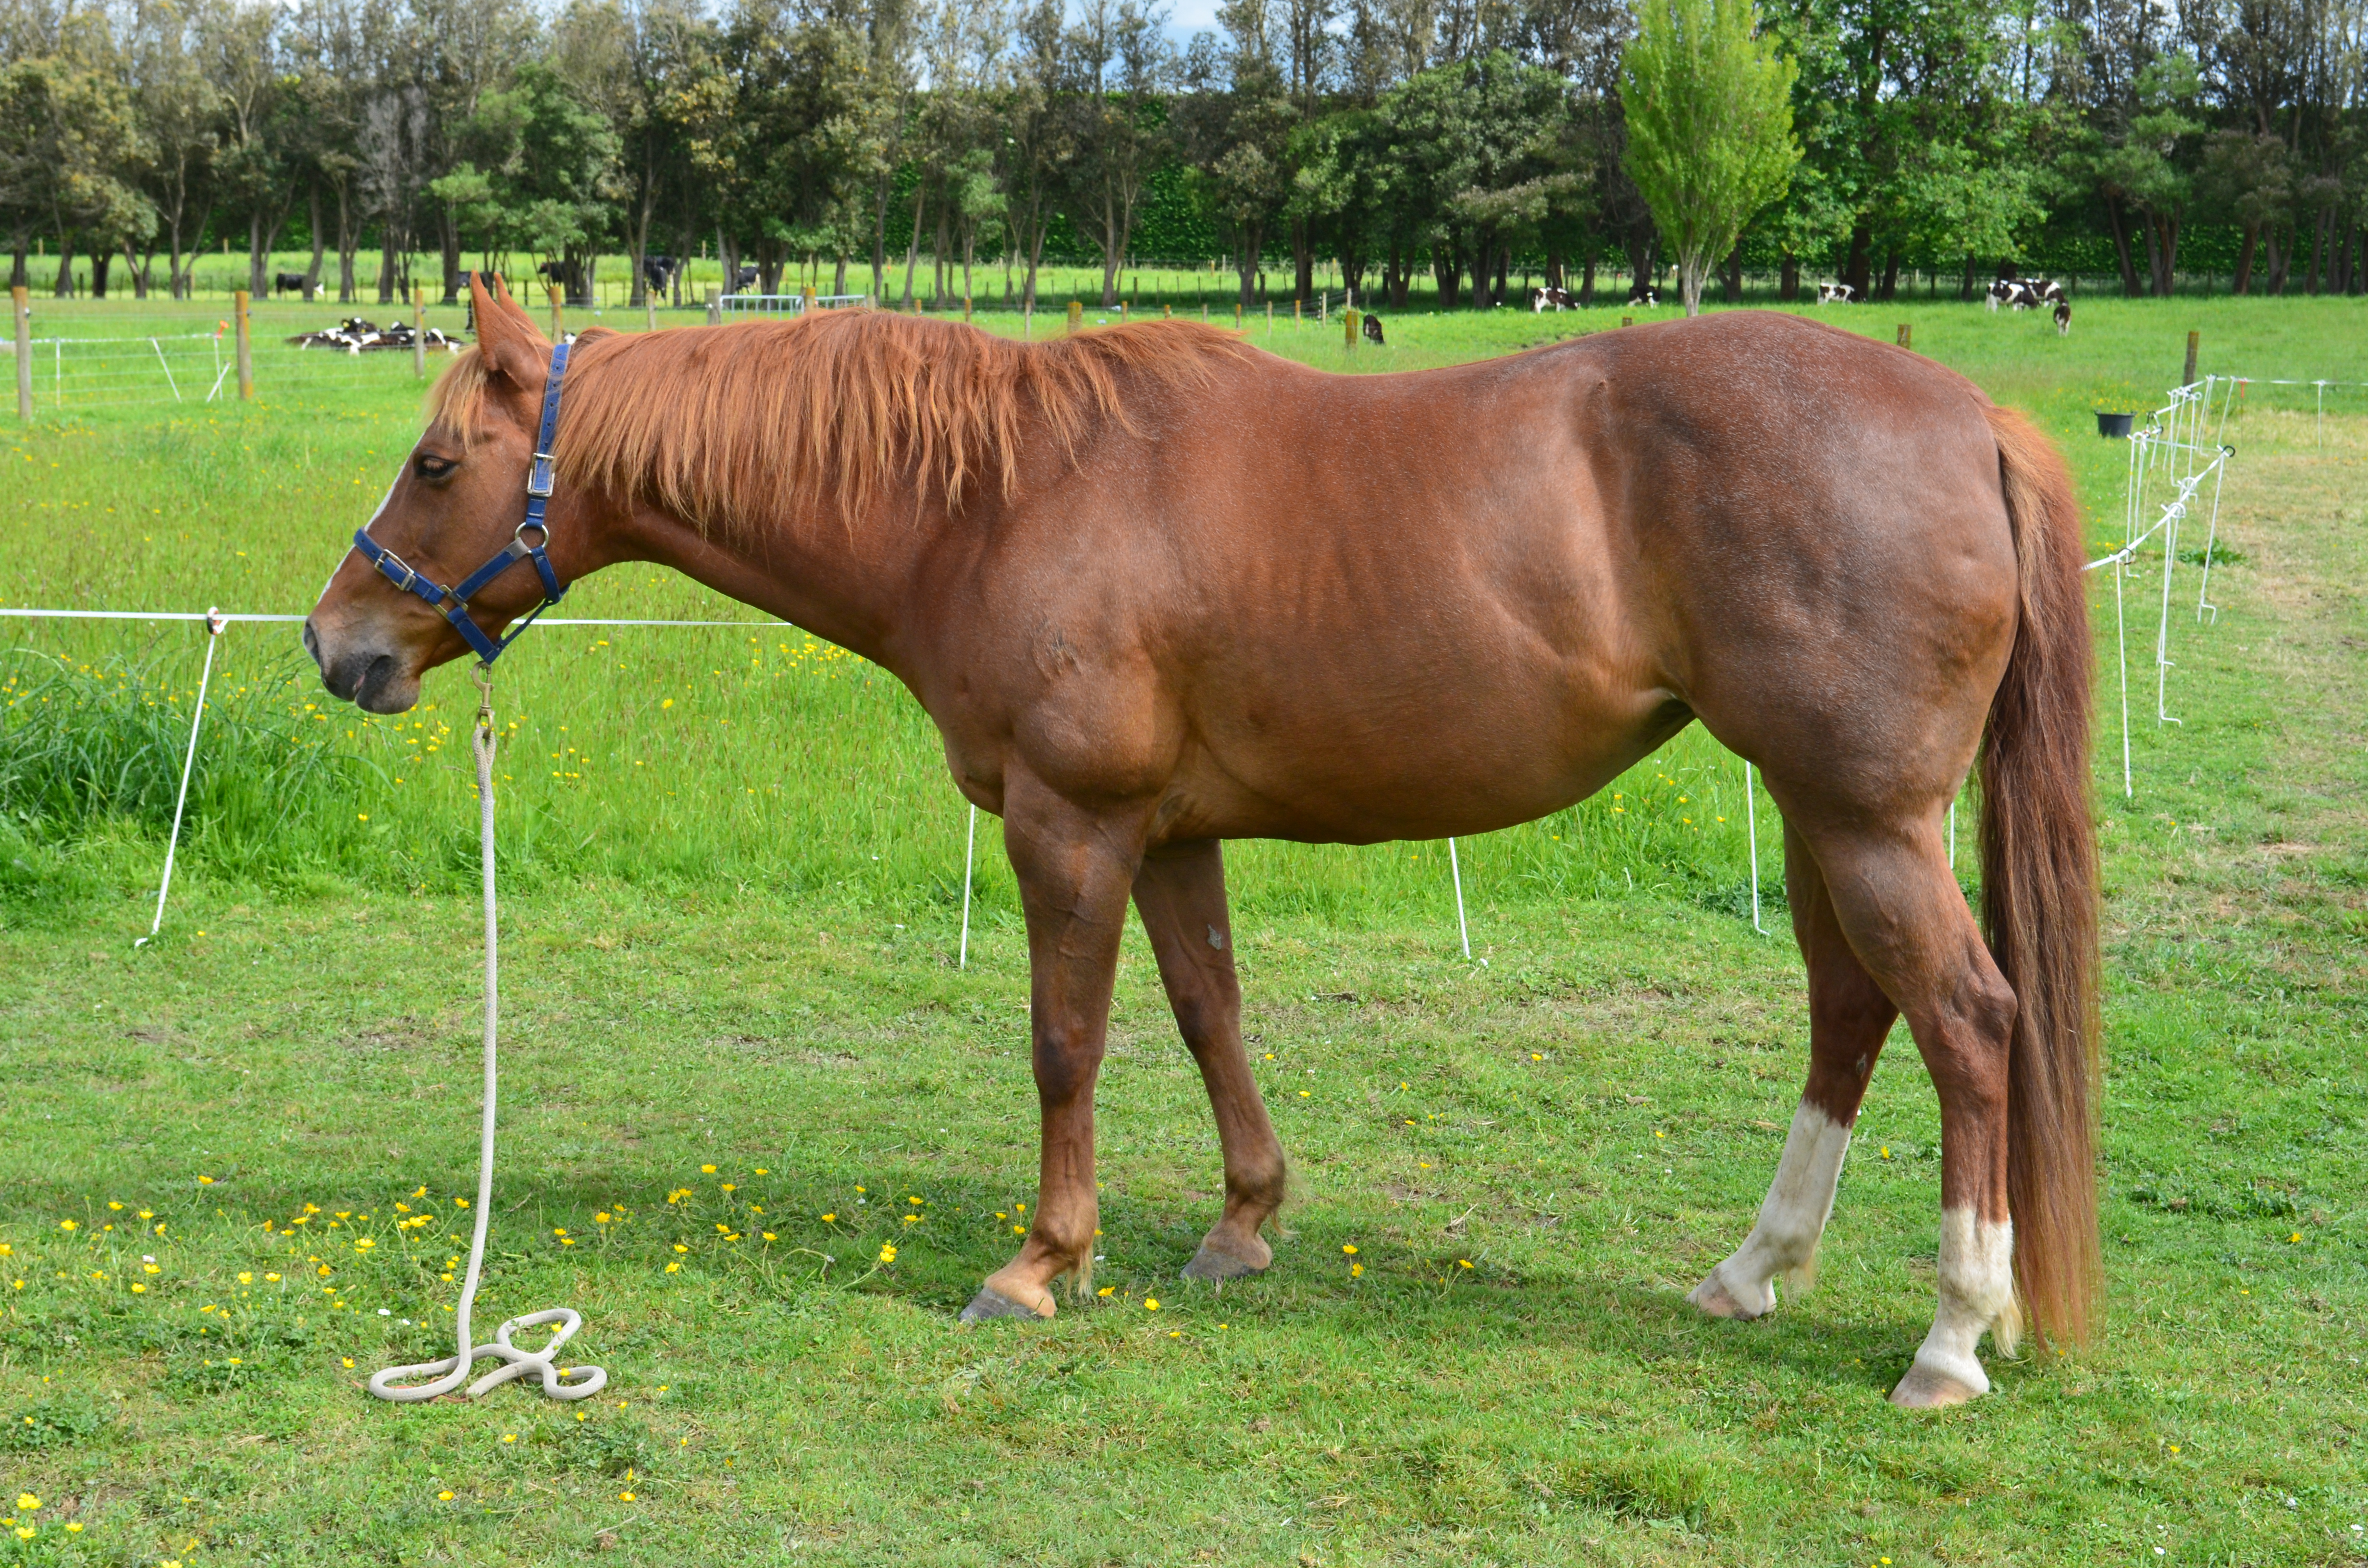
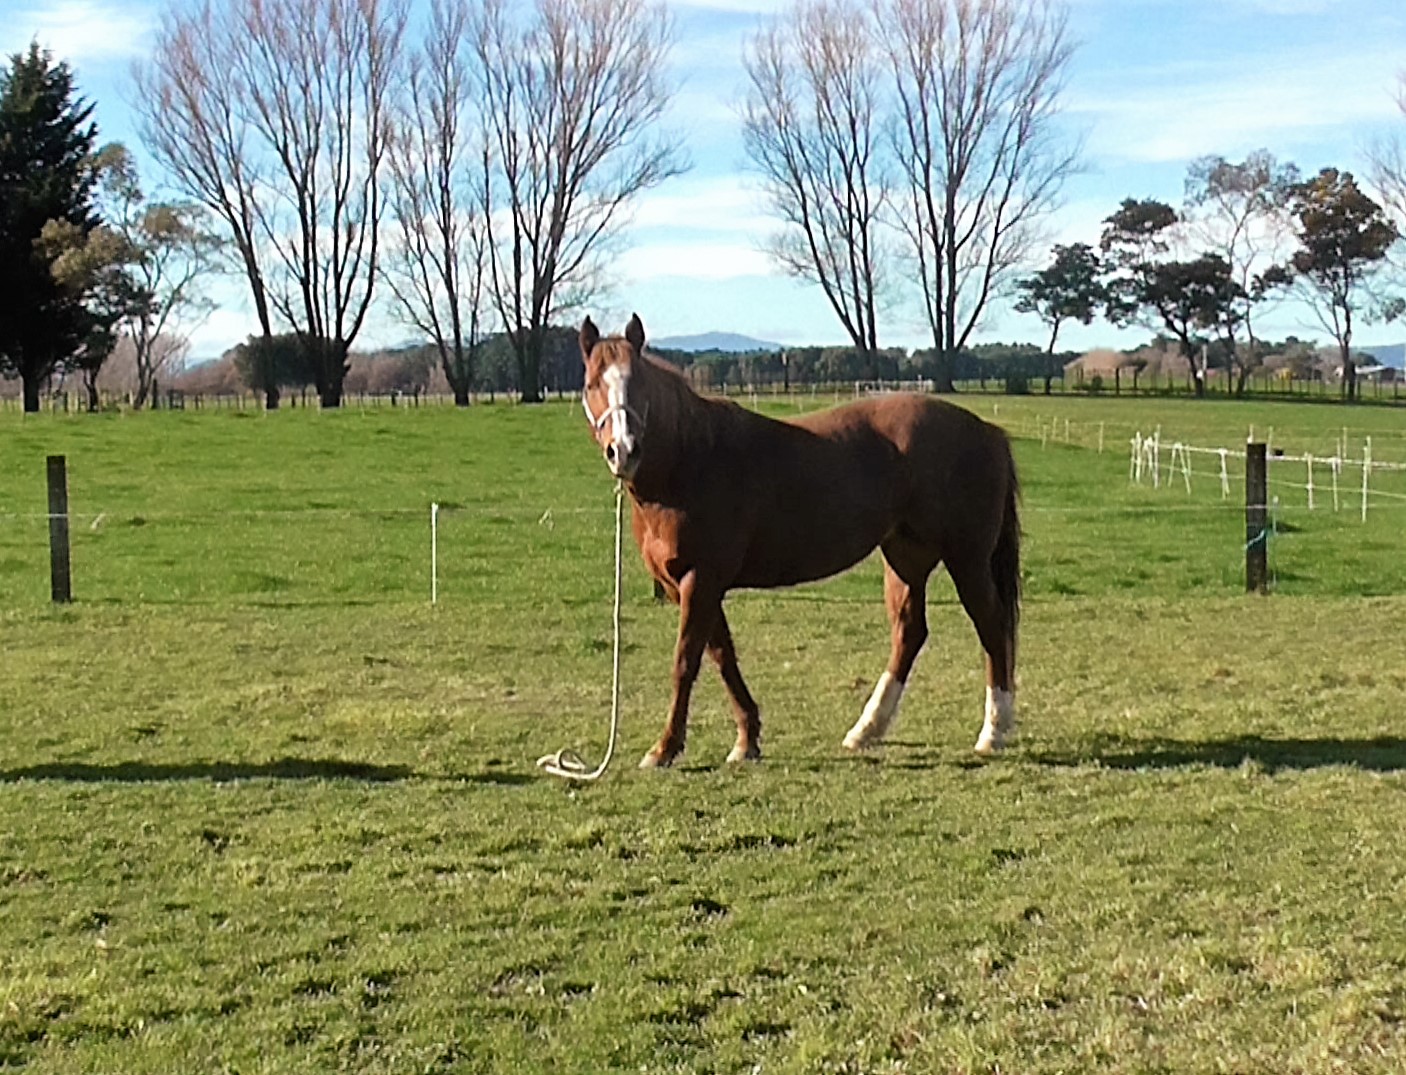
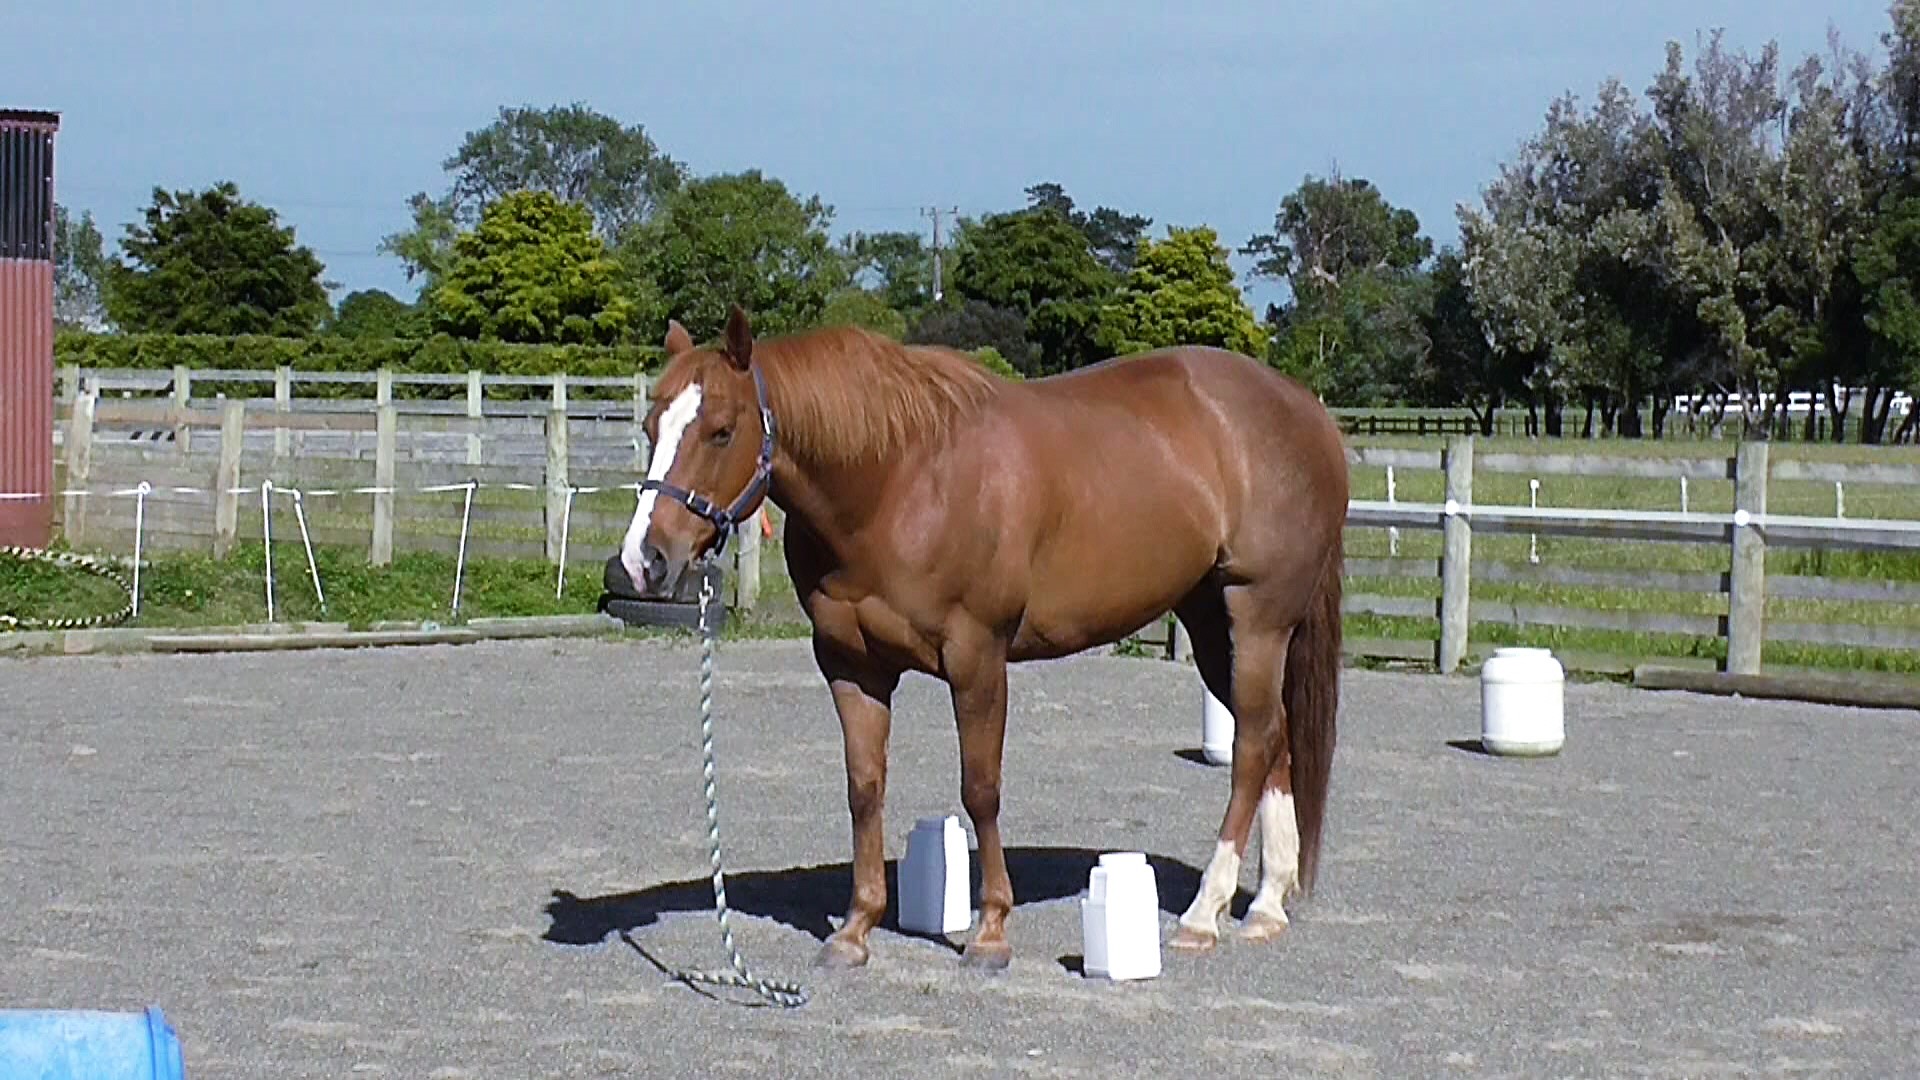
When I want to park the horse with ground-tying, I have first taught verbal ‘whoa’ and ‘wait’ voice signals to a high standard.
Before we deliver the treat, we have used a click (tongue click or mechanical clicker) or a special sound/word to let the horse know what he did at that moment, is what will earn a treat.
Breathing and Body Energy
- breath in = raising body energy to prepare to ask for more movement
- breath out = dropping body energy to prepare for slowing down
- large sigh to encourage relaxation
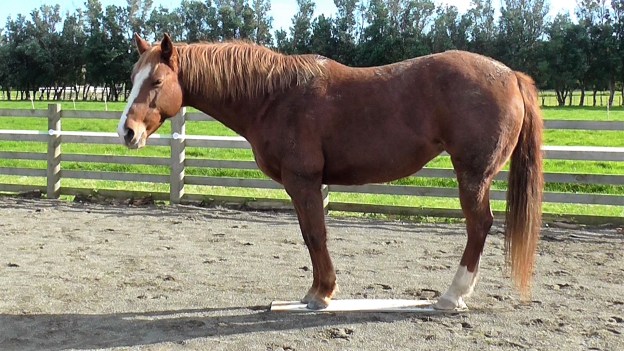
- relaxed posture during dwell or relaxation time between requests

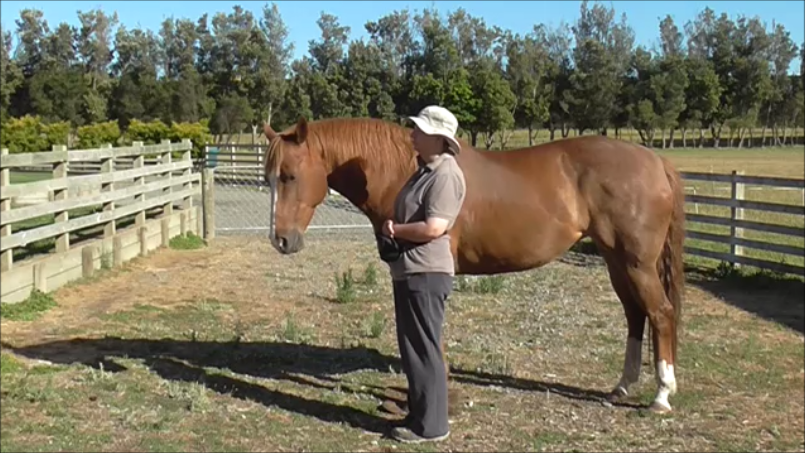
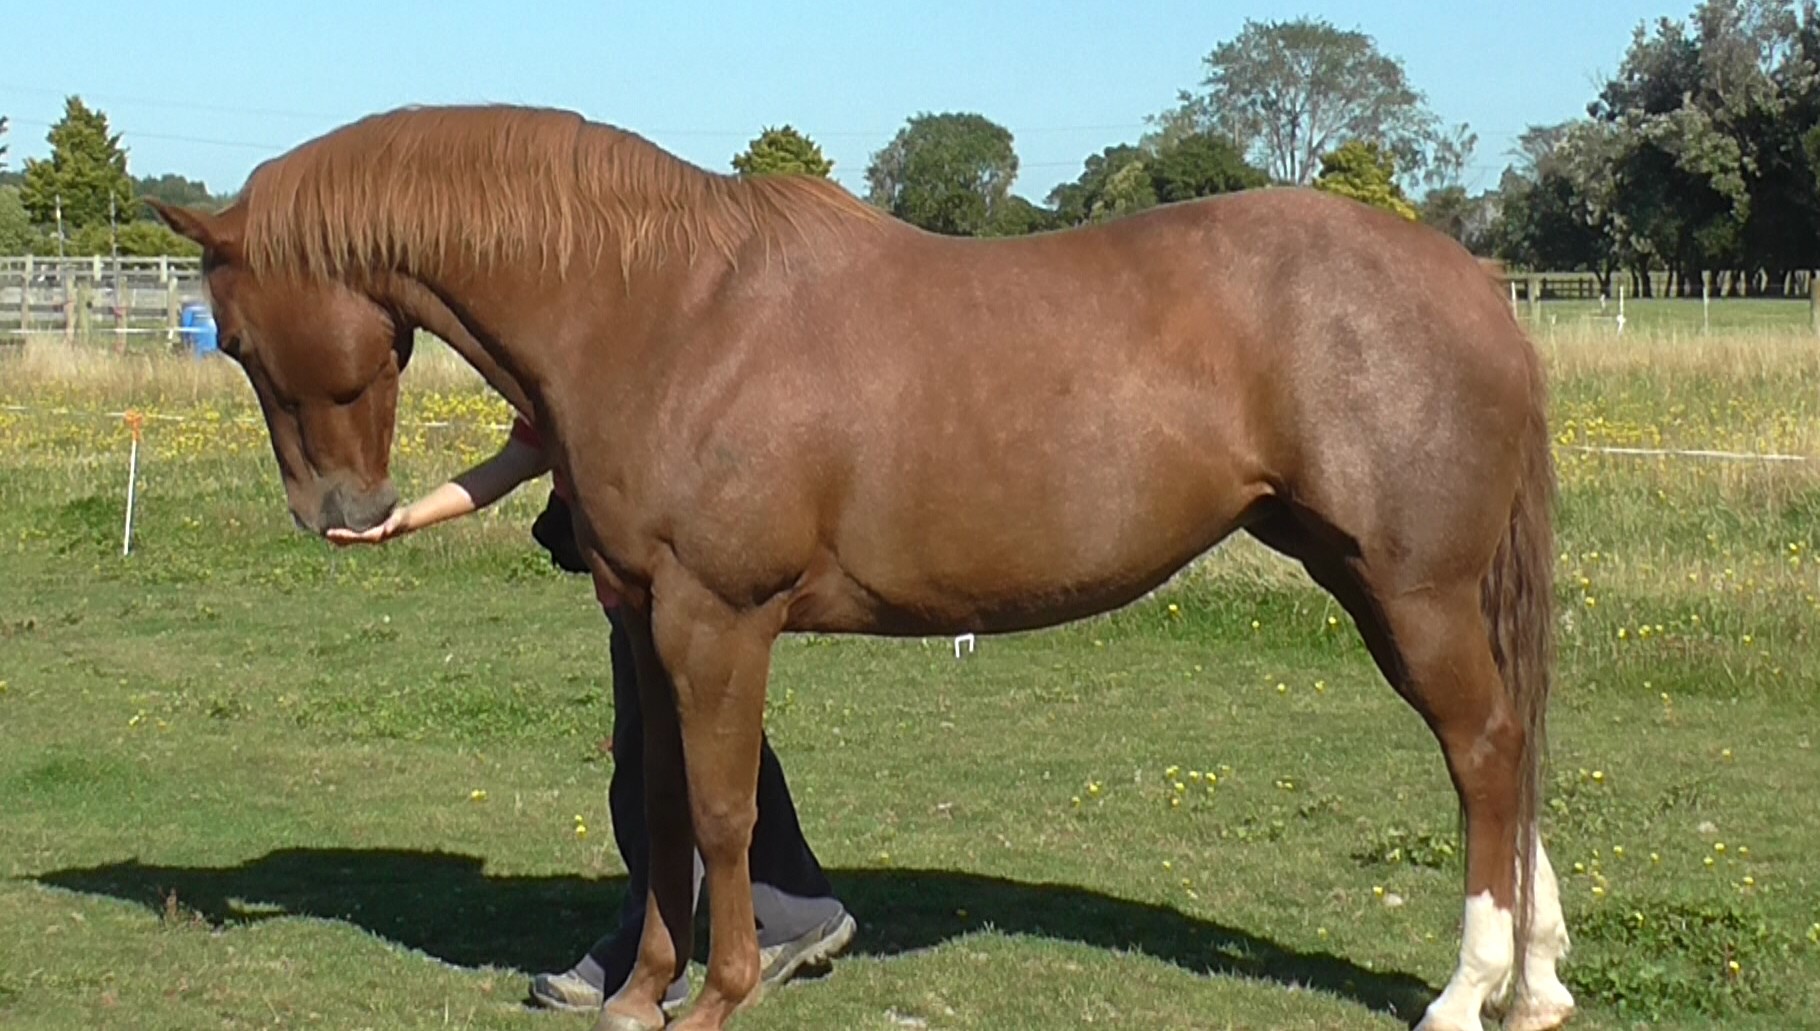
This relaxed posture during ‘dwell time’ I learned from Alex Kurland. Shoulders relaxed, looking nowhere, facing away from the horse, hands quiet on belly. I’m also slowing my breathing and therefore my heart rate. Horses are incredibly tuned in to the body language of people they know well and who act consistently. They are also instantly aware of emotions. Body language is the key language between horses.
Intent
This links very closely with our breathing and body energy. Again, horses are incredibly perceptive. The more consistent our behaviour and emotional state, the more relaxed and willing the horse can be.
- how we align the core of our body and our eyes
- how strongly we are focused on what we want to happen
- how we bring our breath and energy up in preparation for giving a signal
- how firmly our inner belief backs up what our signal is requesting

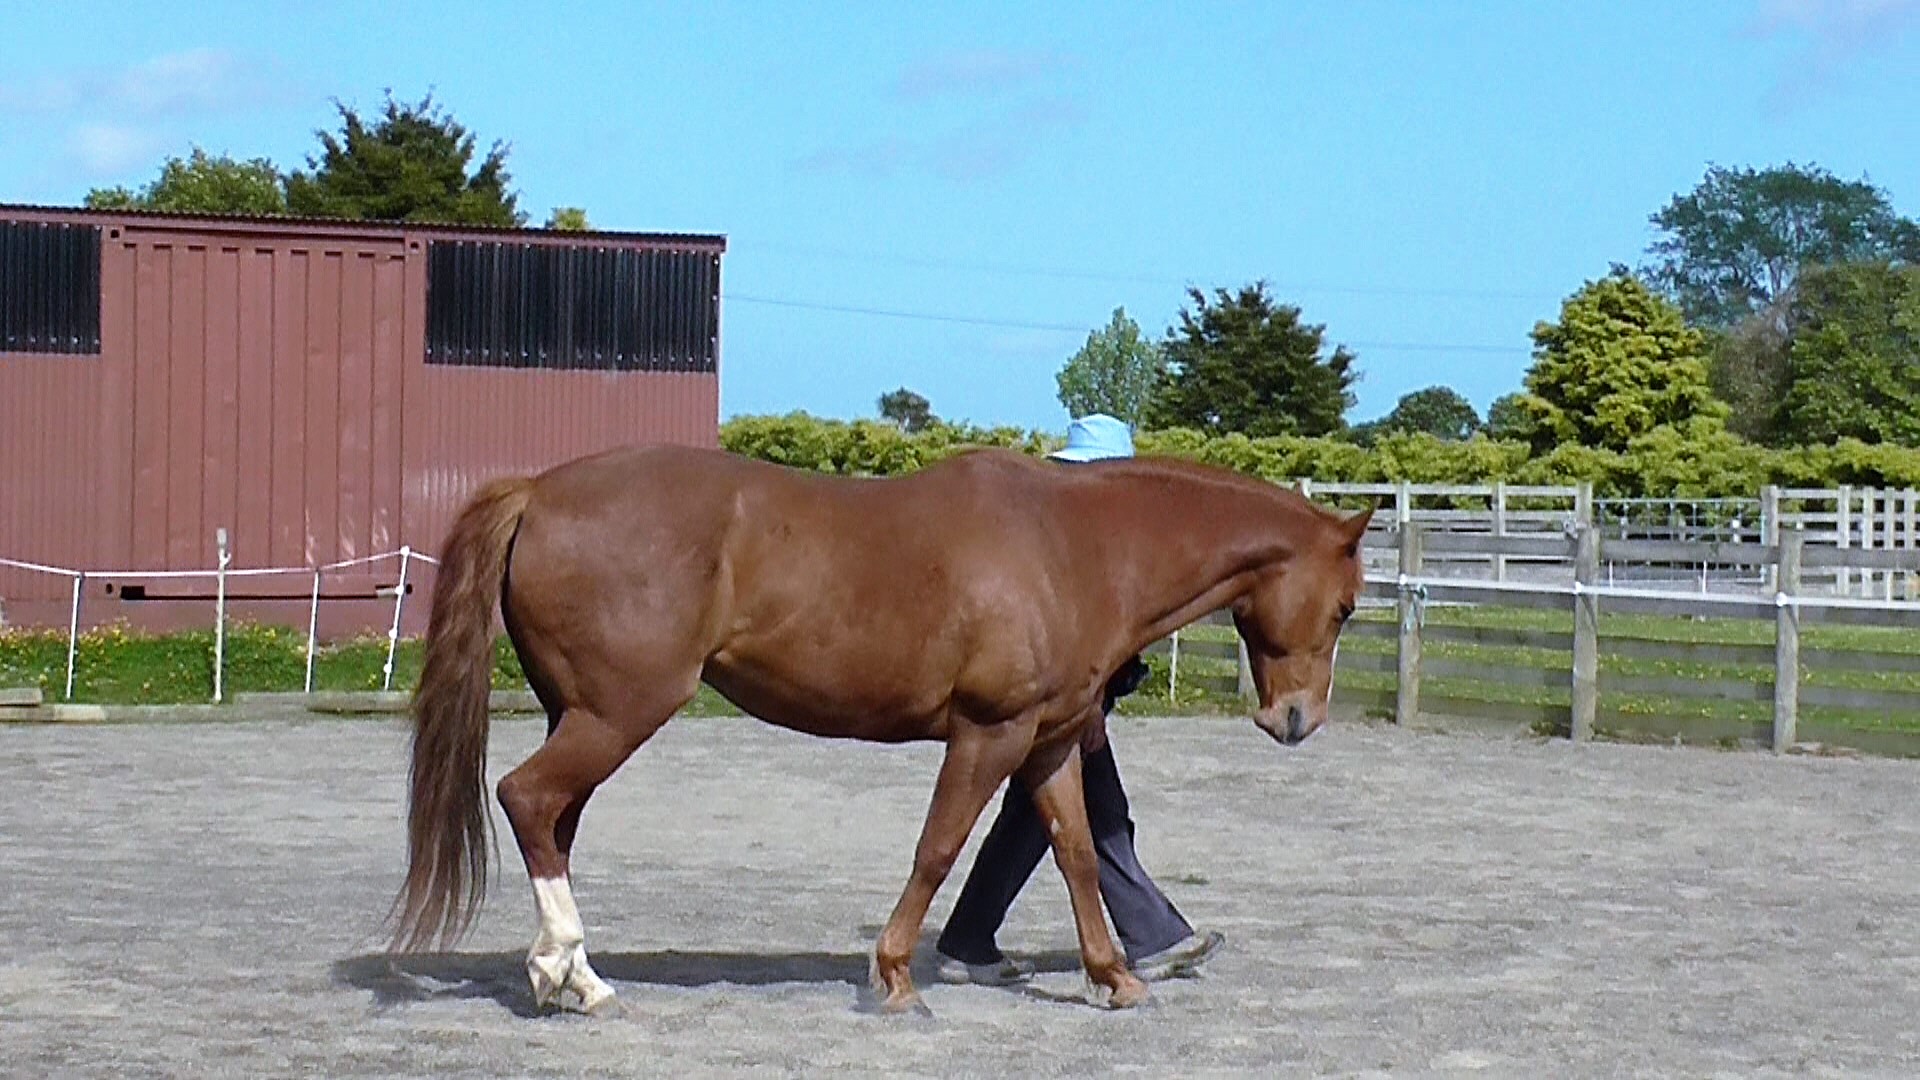
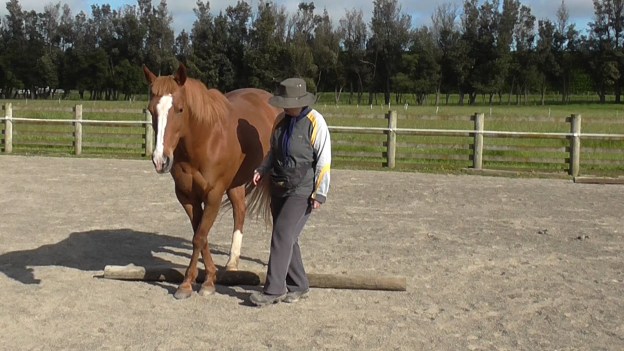
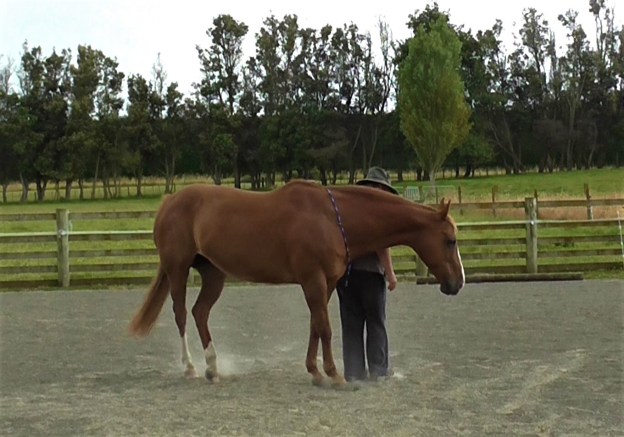
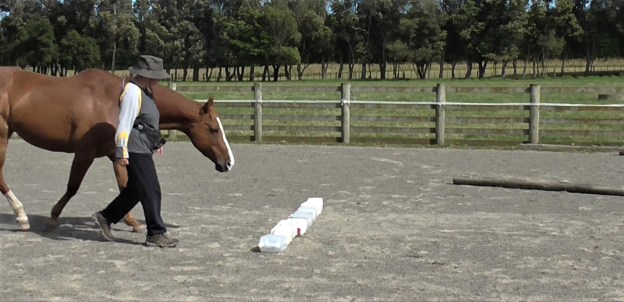
In this photo I’m aligning my body axis to weave the obstacle in front of us. My energy and breathing are up. I’m strongly focussed on what I want to happen. As we round one obstacle I change my body axis alignment and my focus to weave the next obstacle. Because I’m consistent, the horse learns to read my intent and readily complies.
I hope you have fun seeing how small you can make your body language and touch requests and still be clear for your horse. They depend on us for so much.

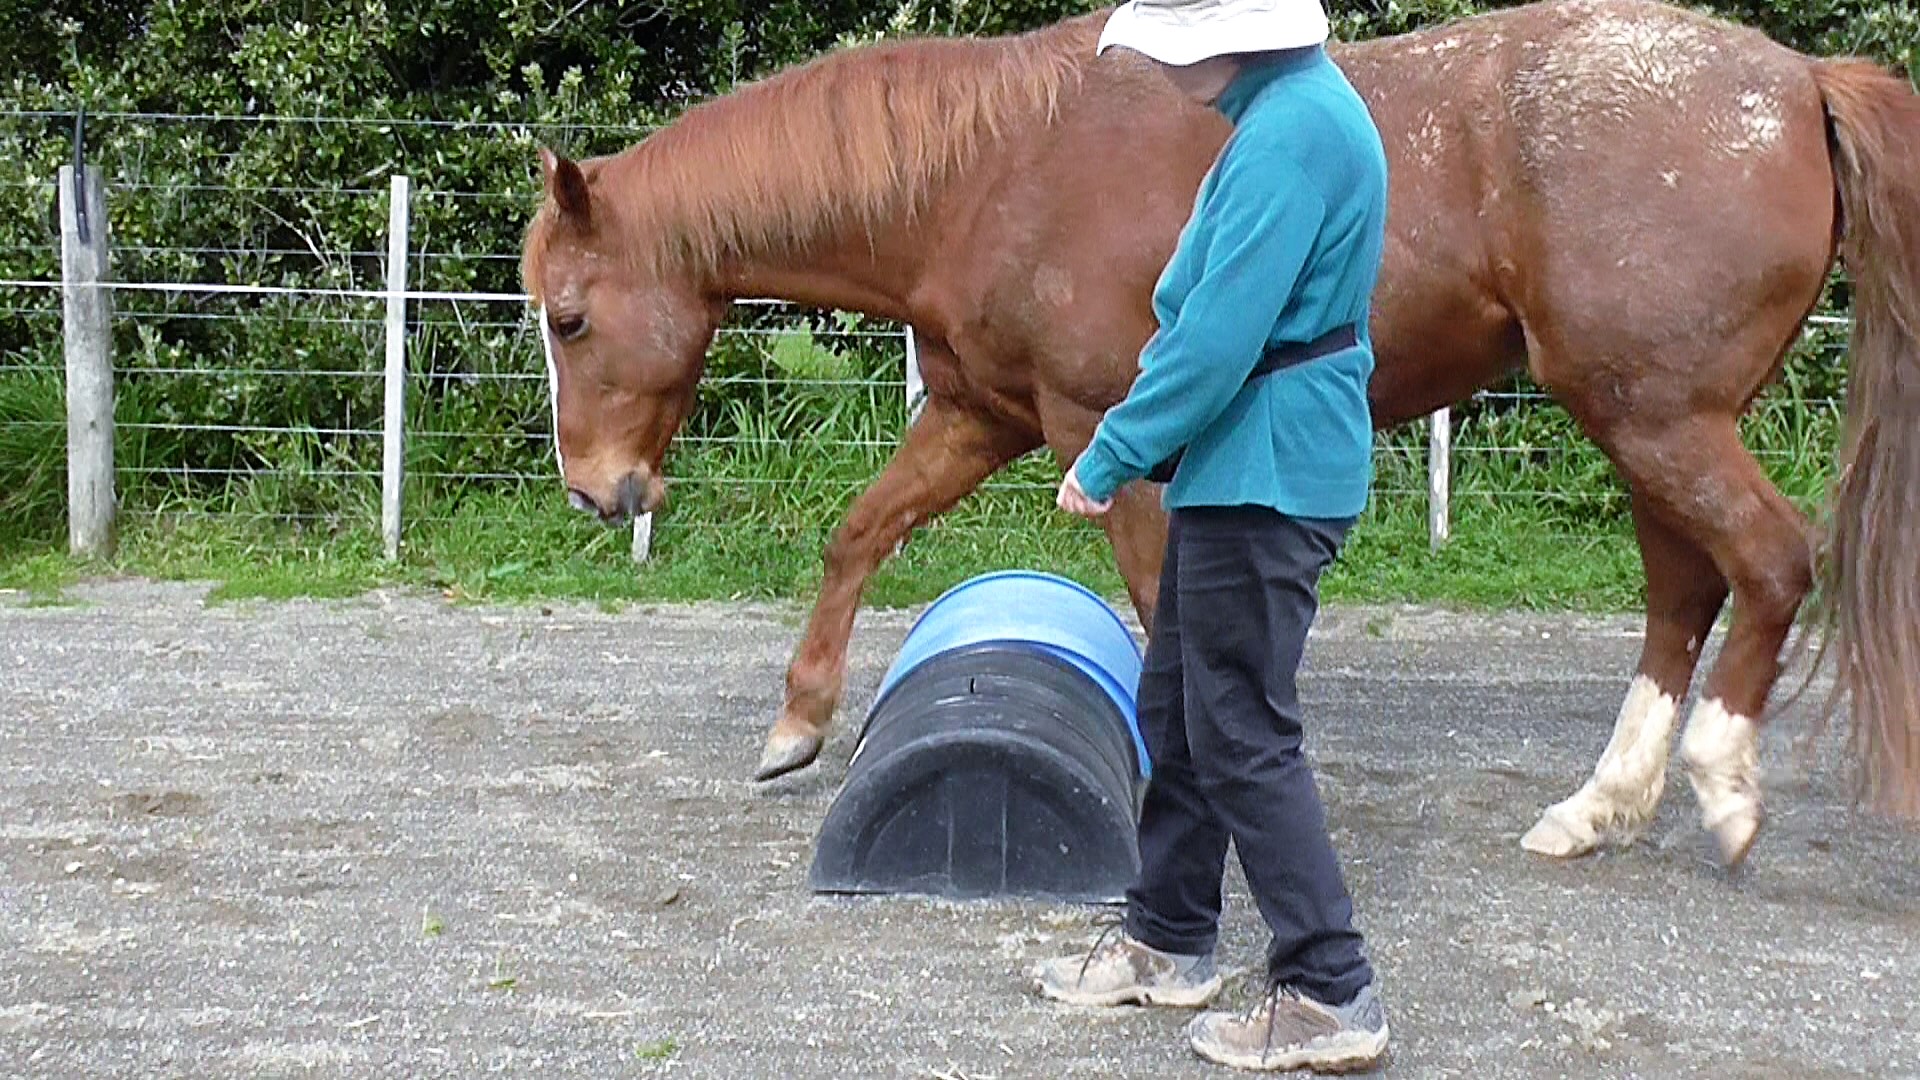
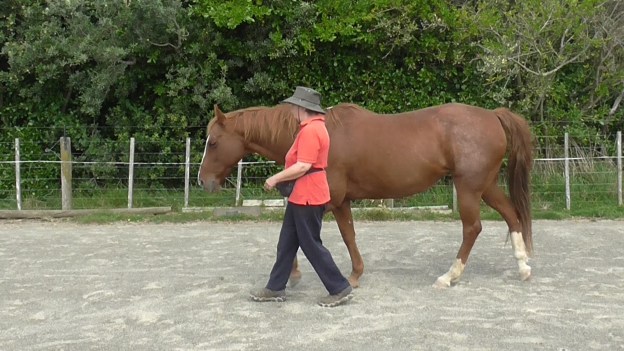
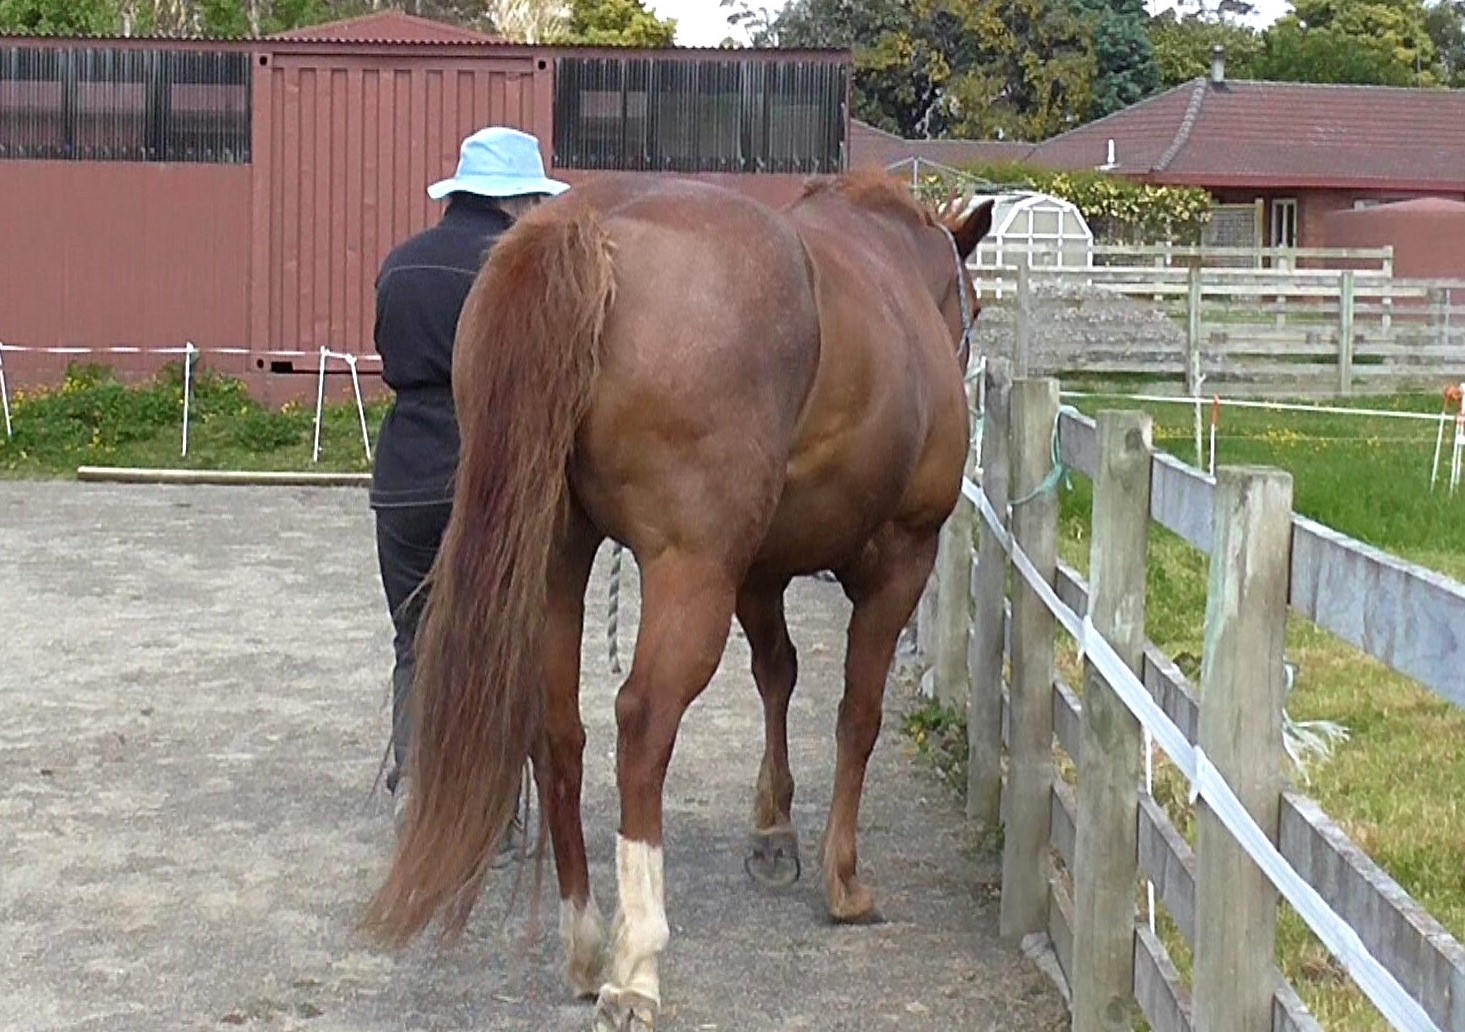
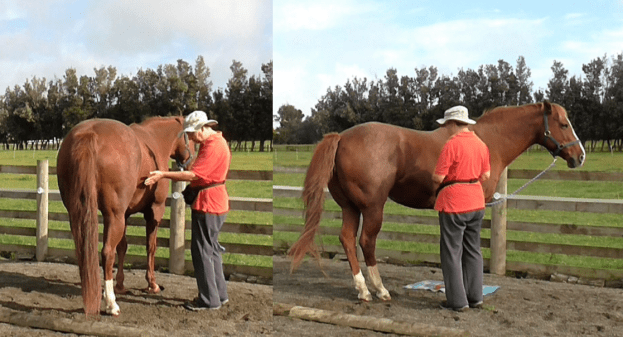
By always starting at the withers when we want to ask for a foot to be picked up, the horse has time to shift his weight so he CAN pick up the foot we want. Here Bridget is about to ask for the left hind foot and Boots will shift her weight to make it possible – in fact, she will be lifting her foot as Bridget moves to her hindquarters, in anticipation. Just as we do, horses like to know what is going to happen next, before it happens.