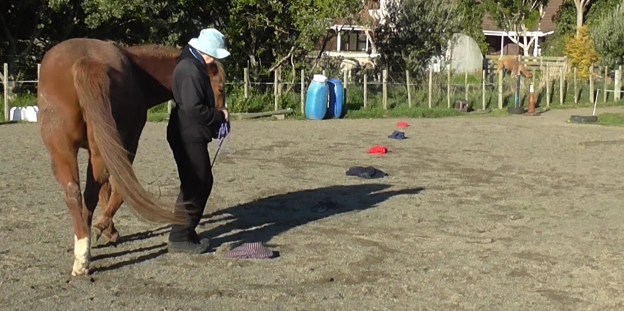
When the horse is comfortable picking up the front feet on request, we can proceed in a similar way with the hind feet. We start as usual with the horse willingly targeting a familiar mat and able to stay parked on it.

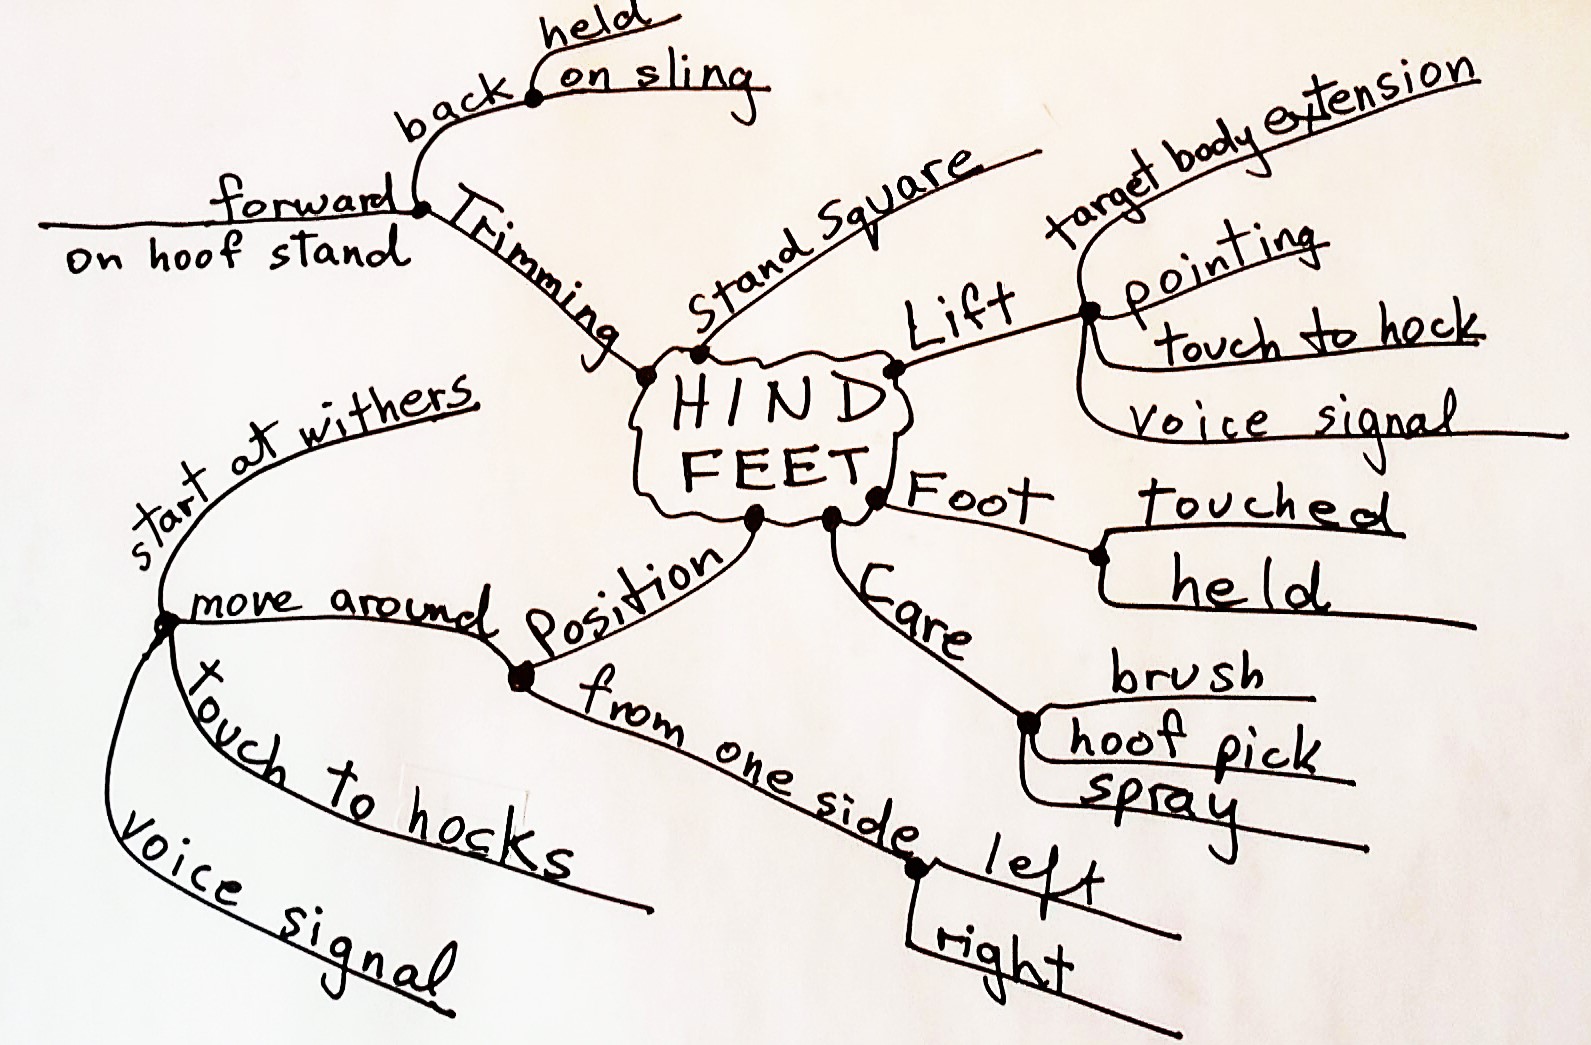
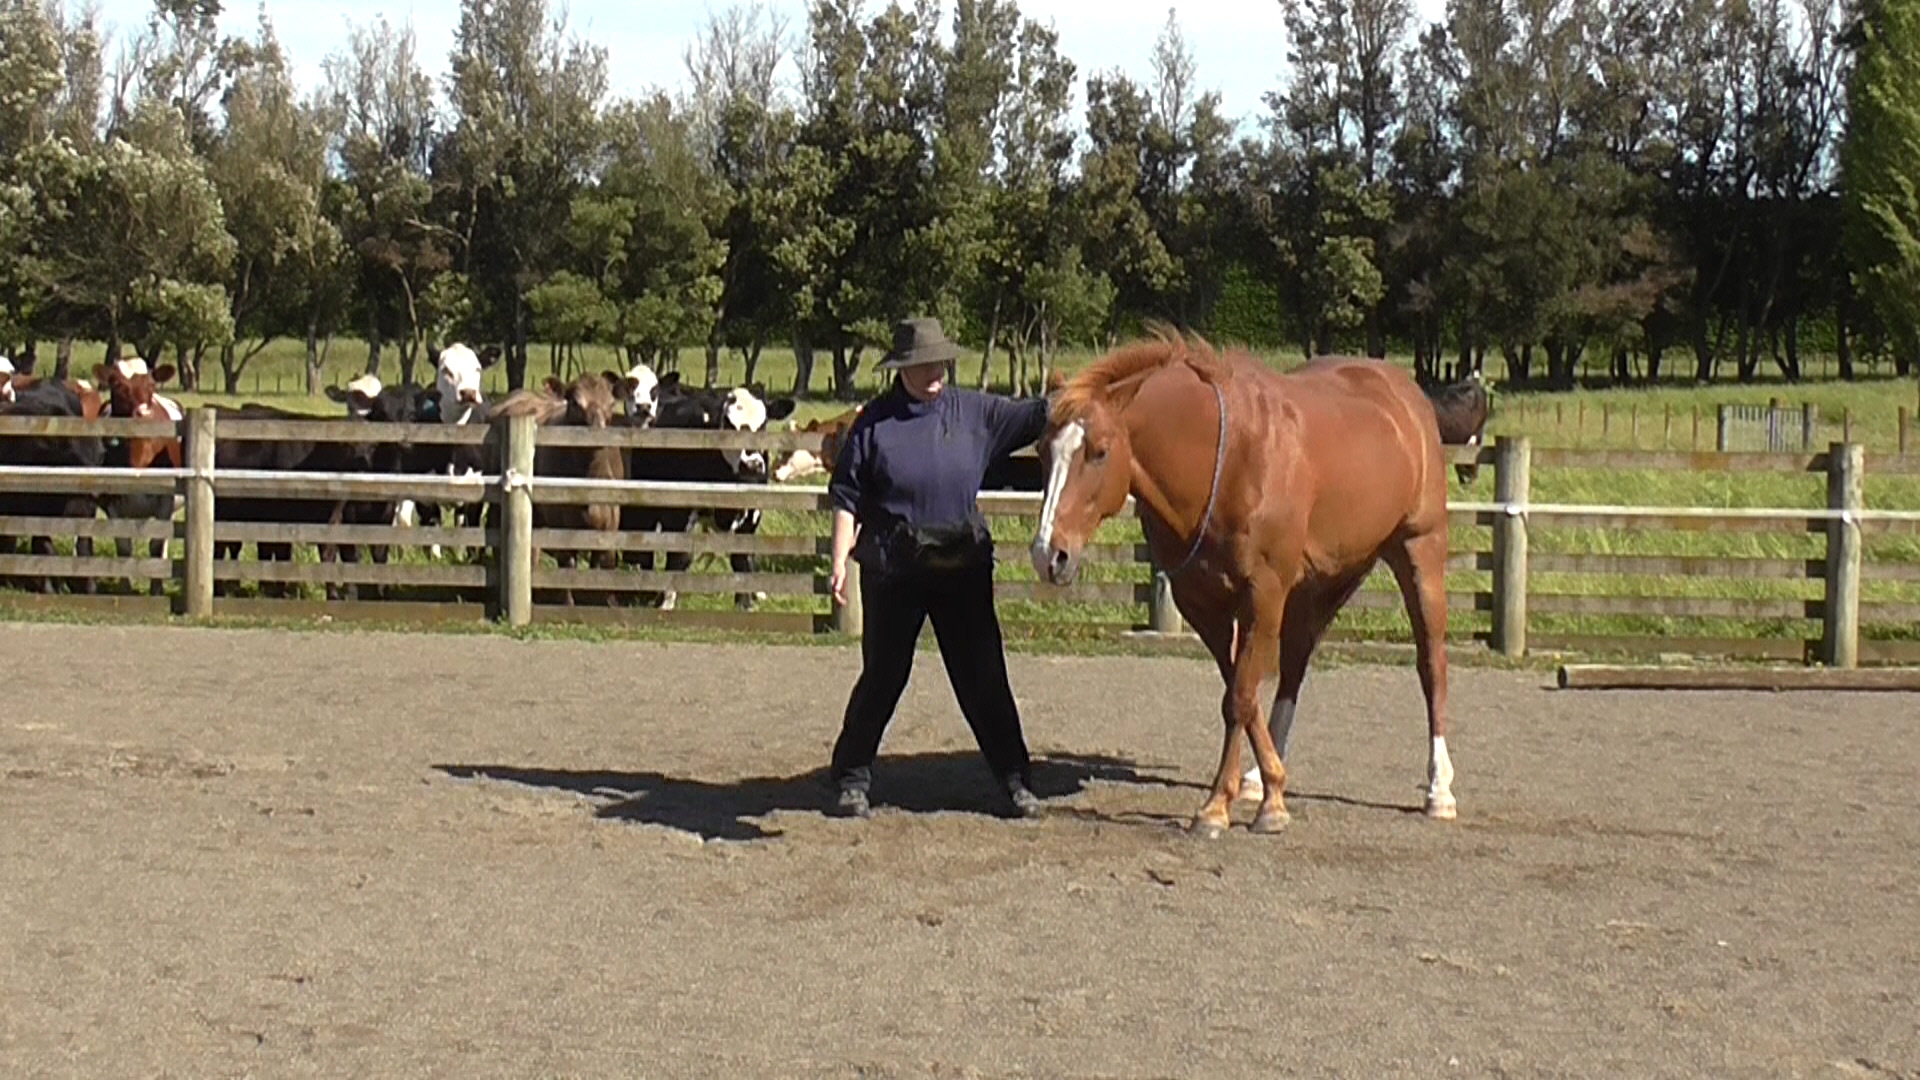
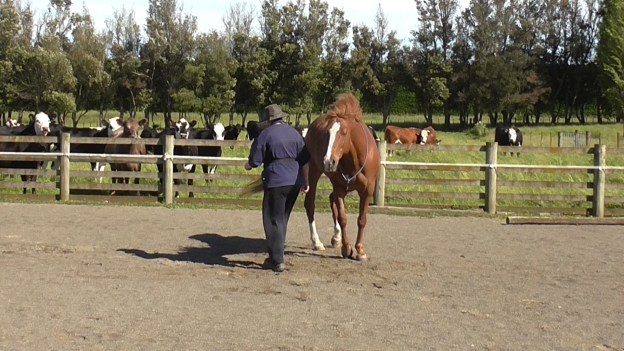
Then we make sure the horse is comfortable being rubbed all over with a body extension, paying special attention to the belly and hind legs.

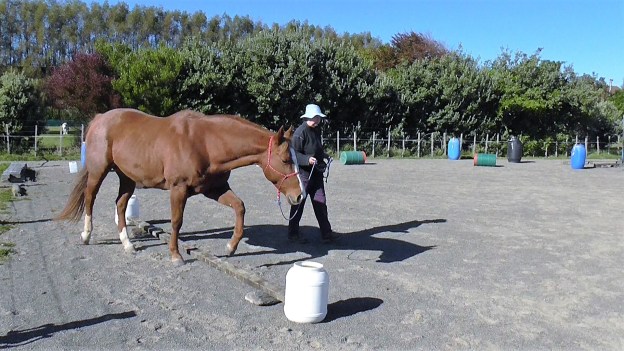
If the horse expresses concern about being touched with a body extension or with having a rope swung lightly around his hind legs, we’ve found a big training hole. It’s essential to go back and build the horse’s confidence about standing still while we do things around him.
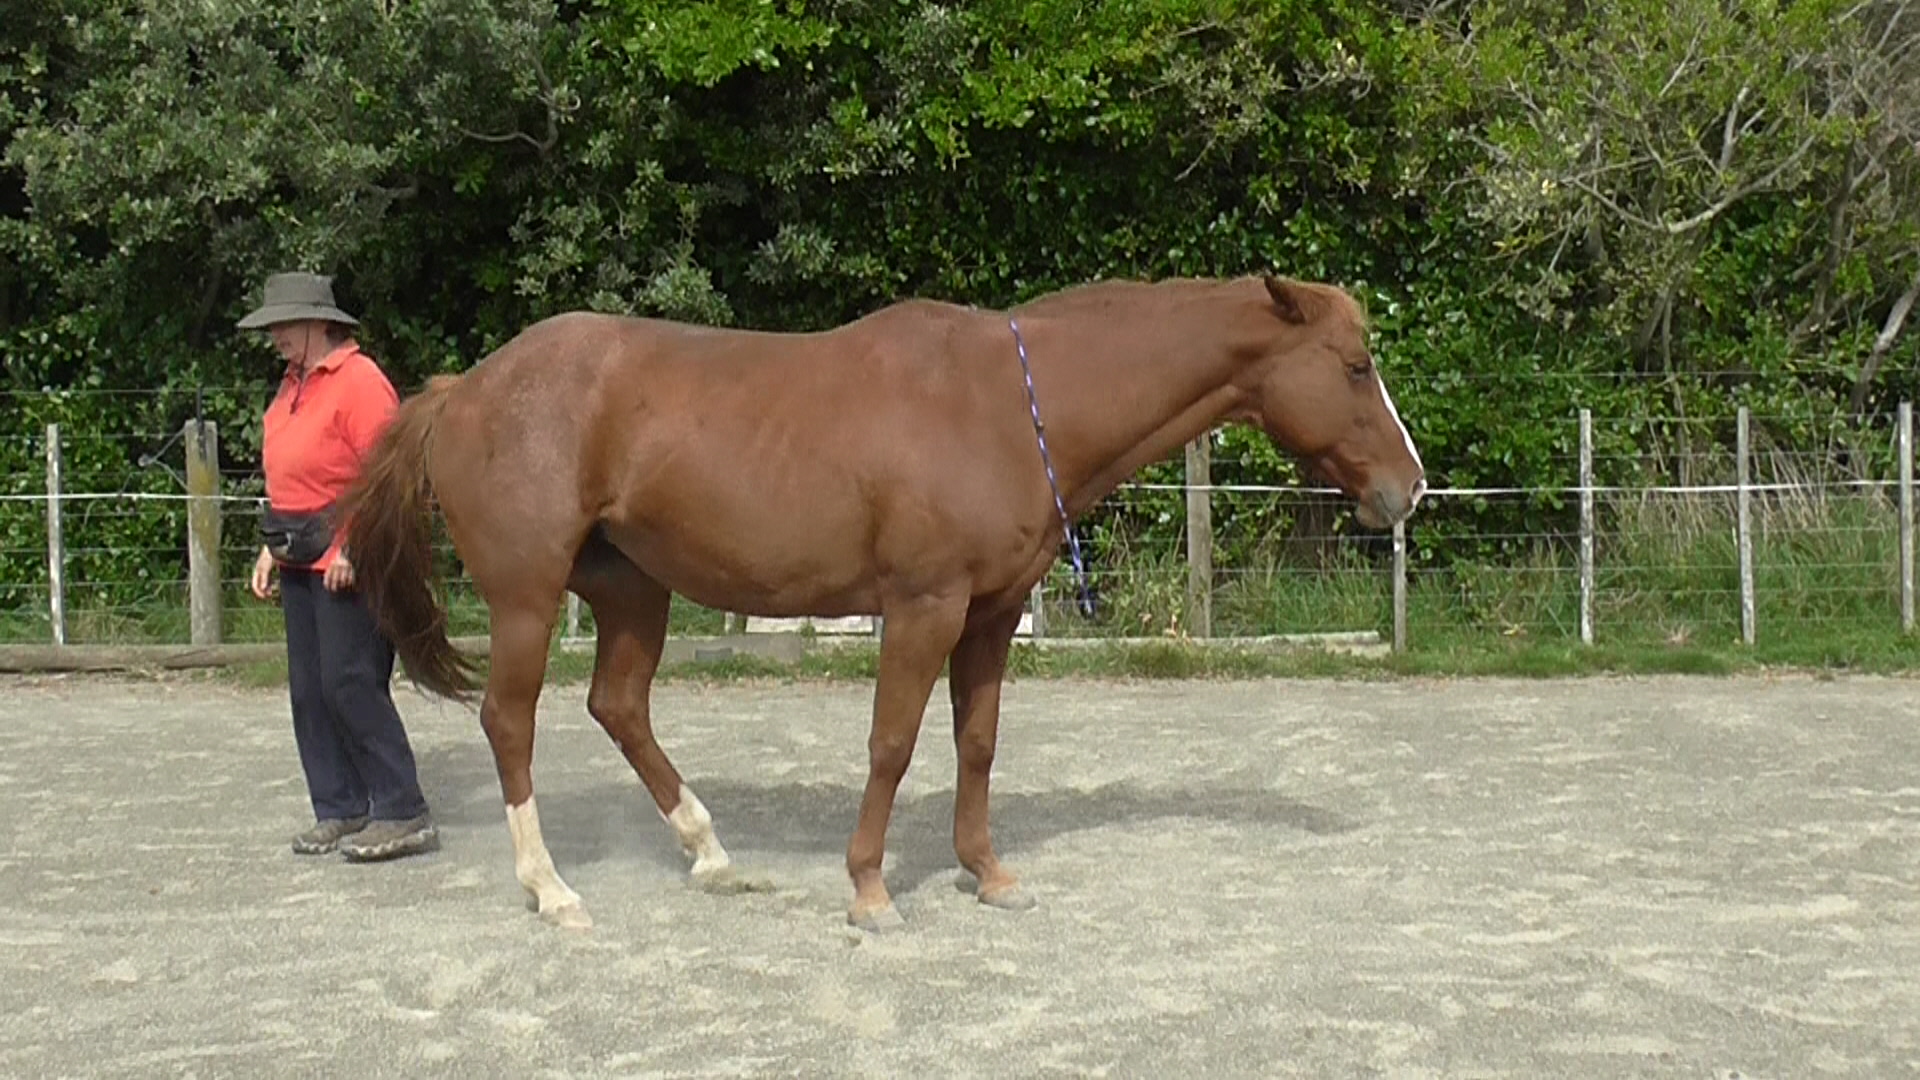
Before we proceed with picking up feet, we need the horse calm and relaxed having his legs brushed with a soft brush right down to his feet. We want him to remain calm and relaxed when we rub and massage his legs all the way down.
To develop the idea of lifting a hind leg on signal, we can touch the hock gently with a target such as a pool noodle or a tomato stake with bubble wrap taped around it. Click&treat as we touch the hock. Repeat until we can hold the target a little above the hock and the horse lifts his leg to touch the target because he’s figured out that’s what causes the click&treat. Be careful to click as the leg is coming up, not on its way down.

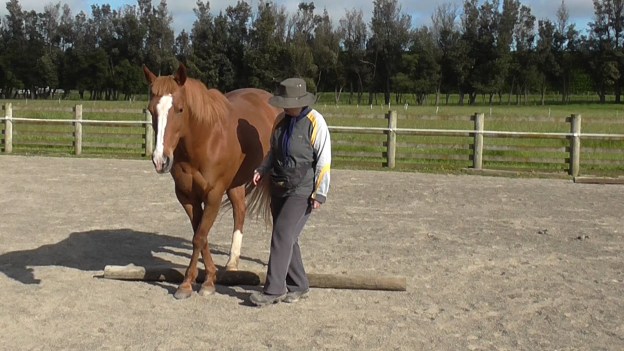
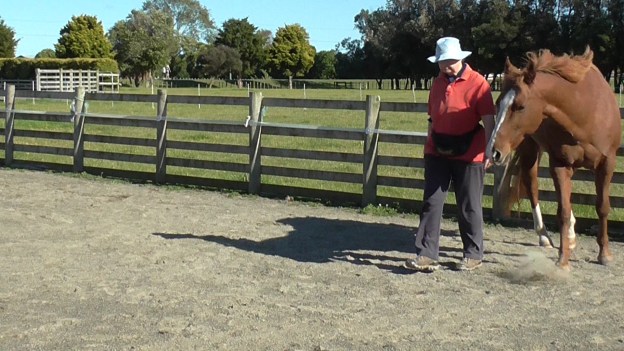
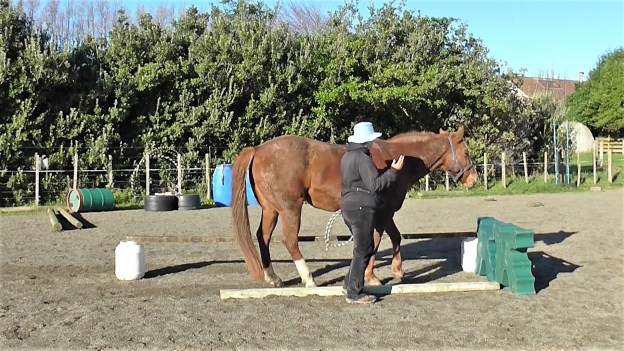
The hock is a convenient point at which to teach a touch signal for lifting the hind feet. Bridget has asked Boots to target her hock to the body extension which is bubble wrap taped to a tomato stake.

Eventually we just have to point to the hind leg we want lifted.

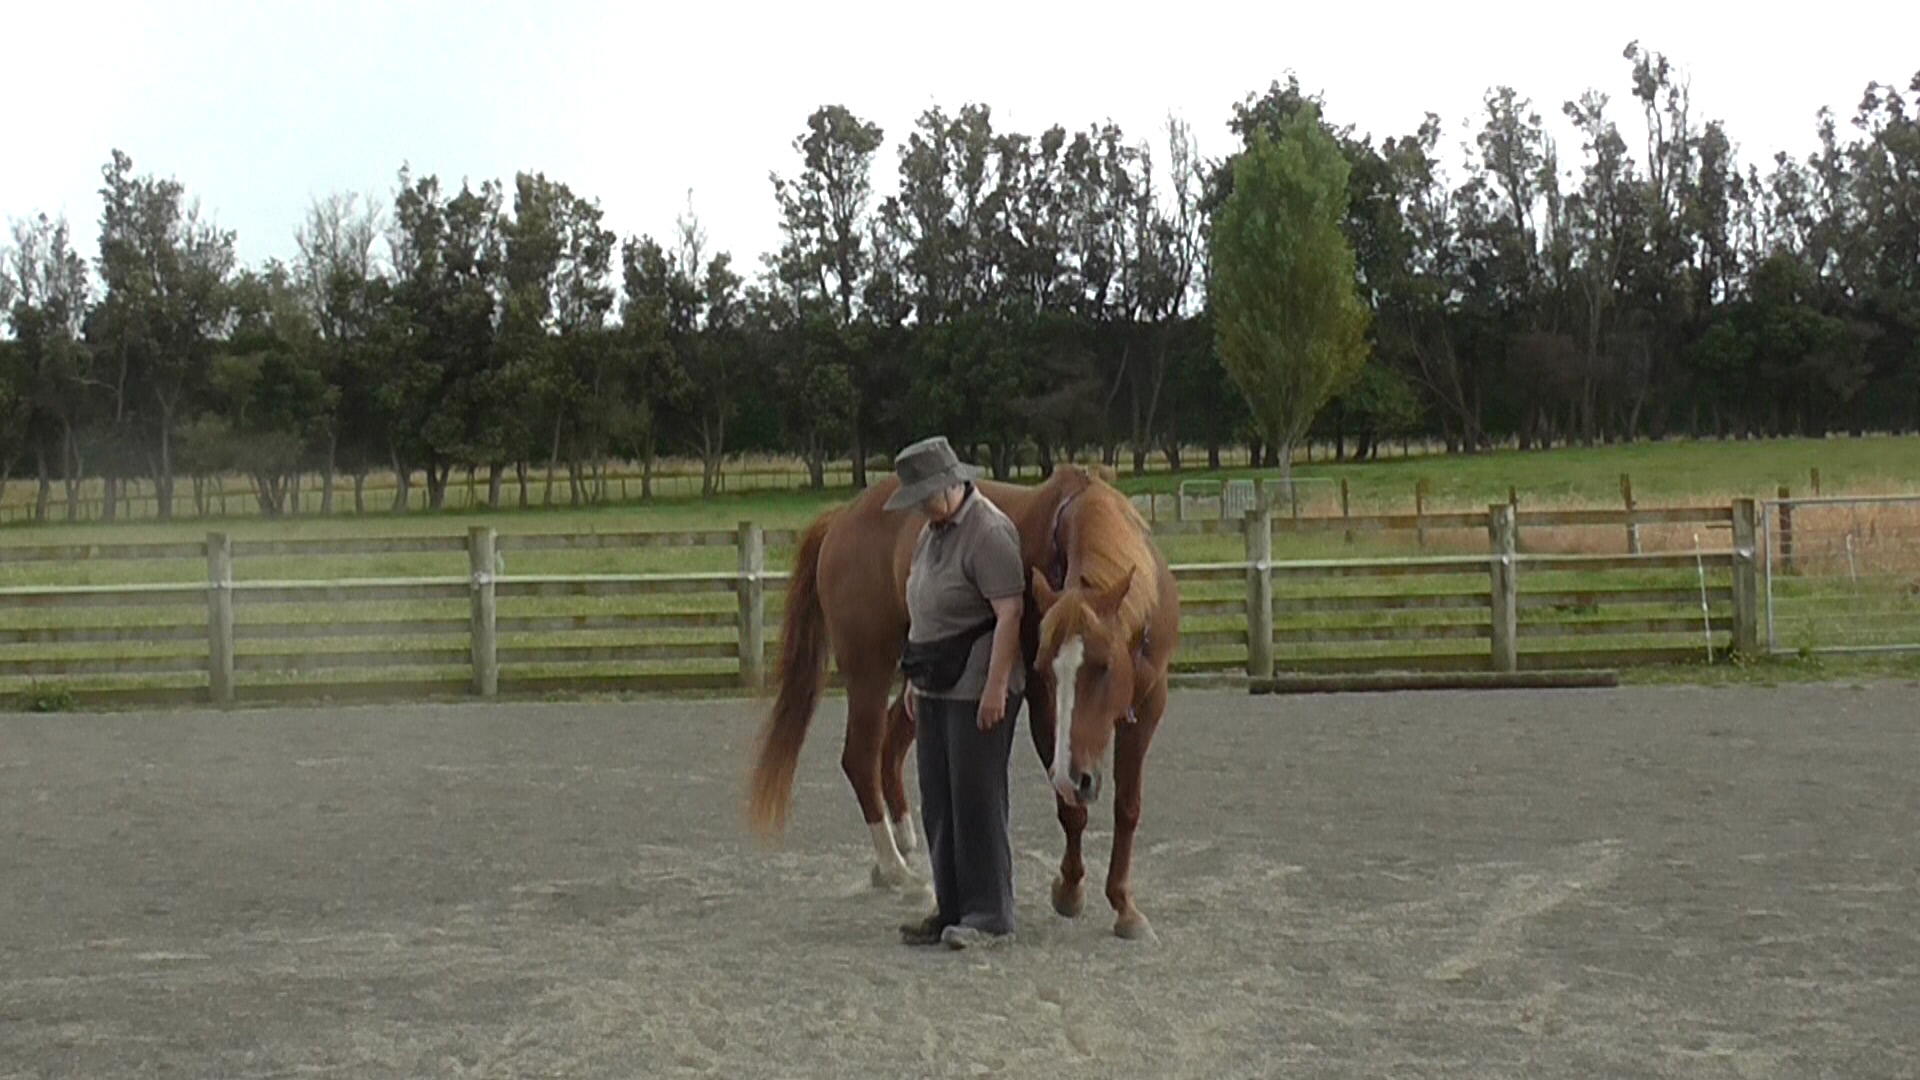
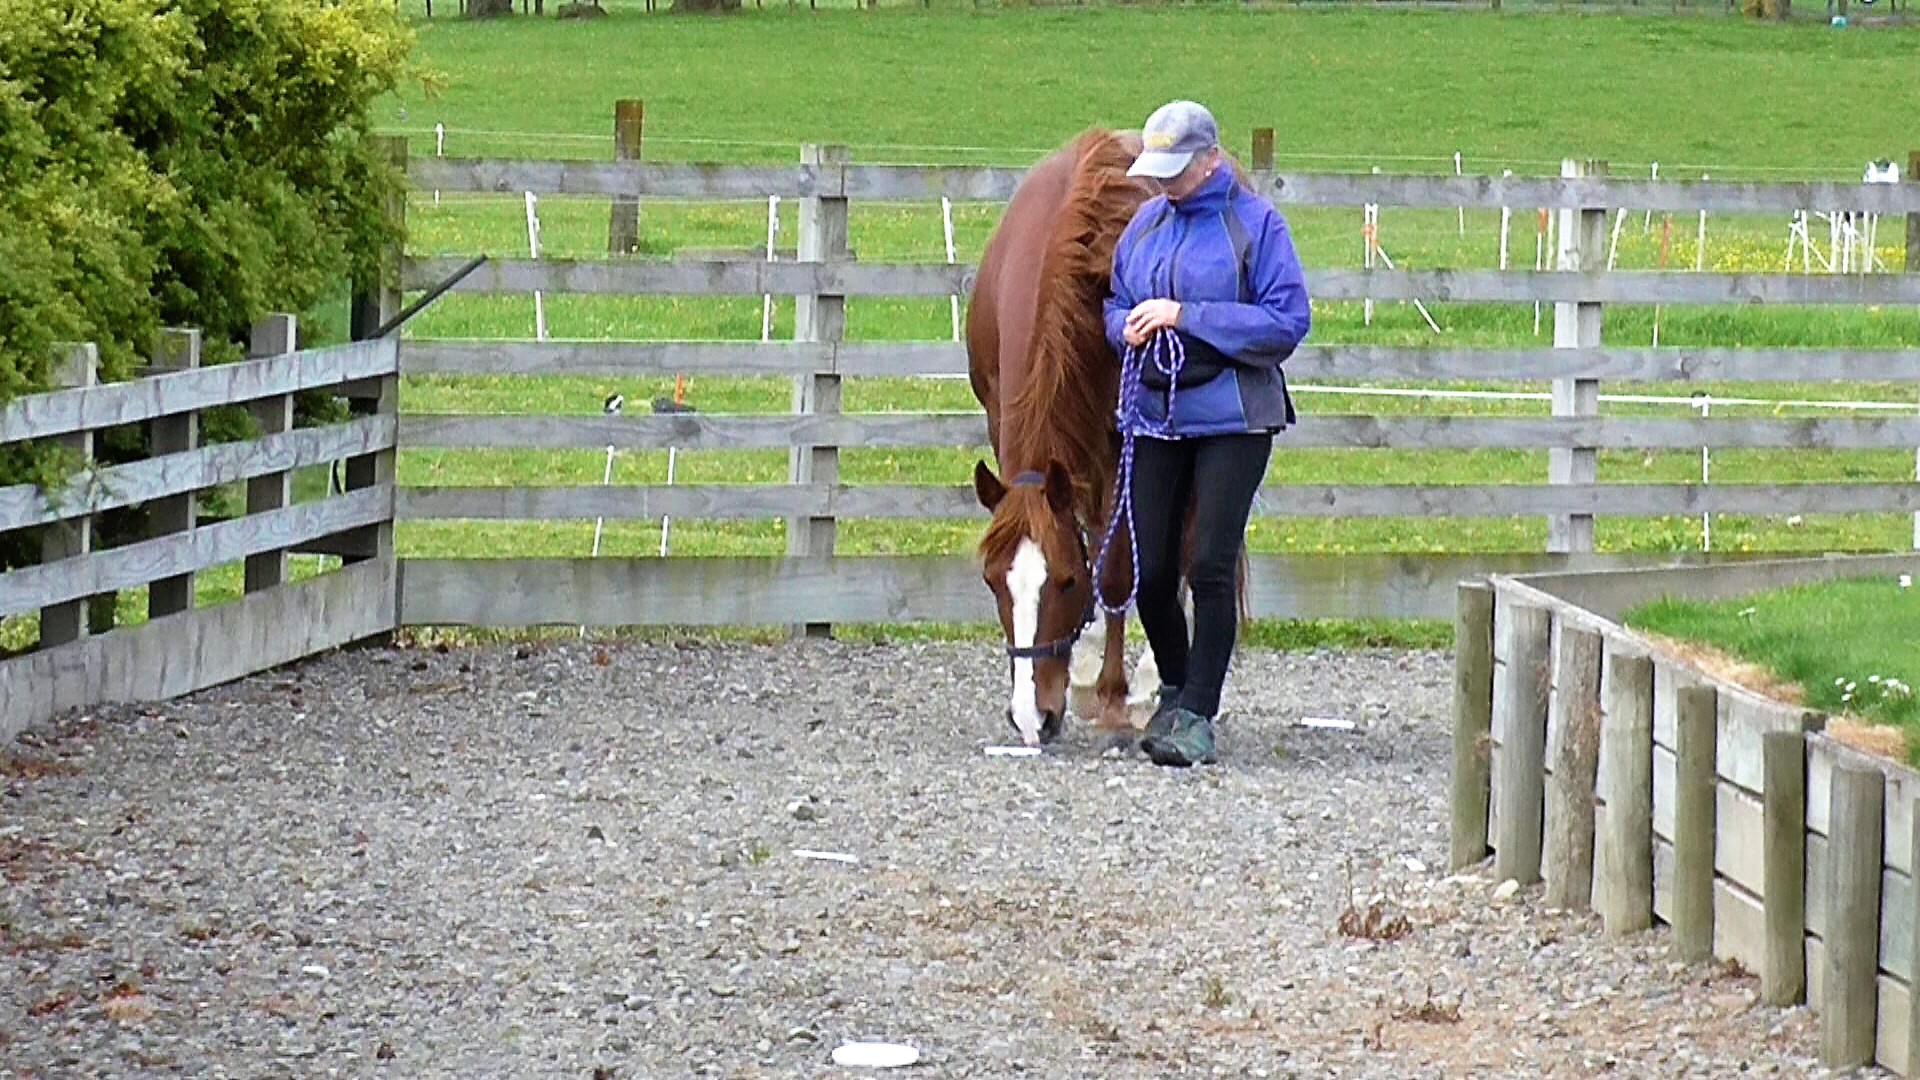
Once leg lifting is well established, we generally use touch when we want to do foot care, like a farrier or hoof trimmer would expect. We always start with our hand at the withers, and run it across the horse’s back and down to his hock. This gives the horse time to shift his weight so he CAN pick up the leg on that side.

Bridget is running her hand down to the hock. Touching the hock is our signal to ask for a foot lift.
By the time Bridget reaches the hock, Boots has already taken her weight off that leg so she can pick it up and stay balanced.
Lifting feet is all about weight shifts. It needs to be taught carefully and systematically, making sure that the horse understands each slice of the process. By teaching targeting a body extension first, the horse figures out how to shift his weight and balance on three legs without other complications thrown in – like the foot being held, cleaned, trimmed.
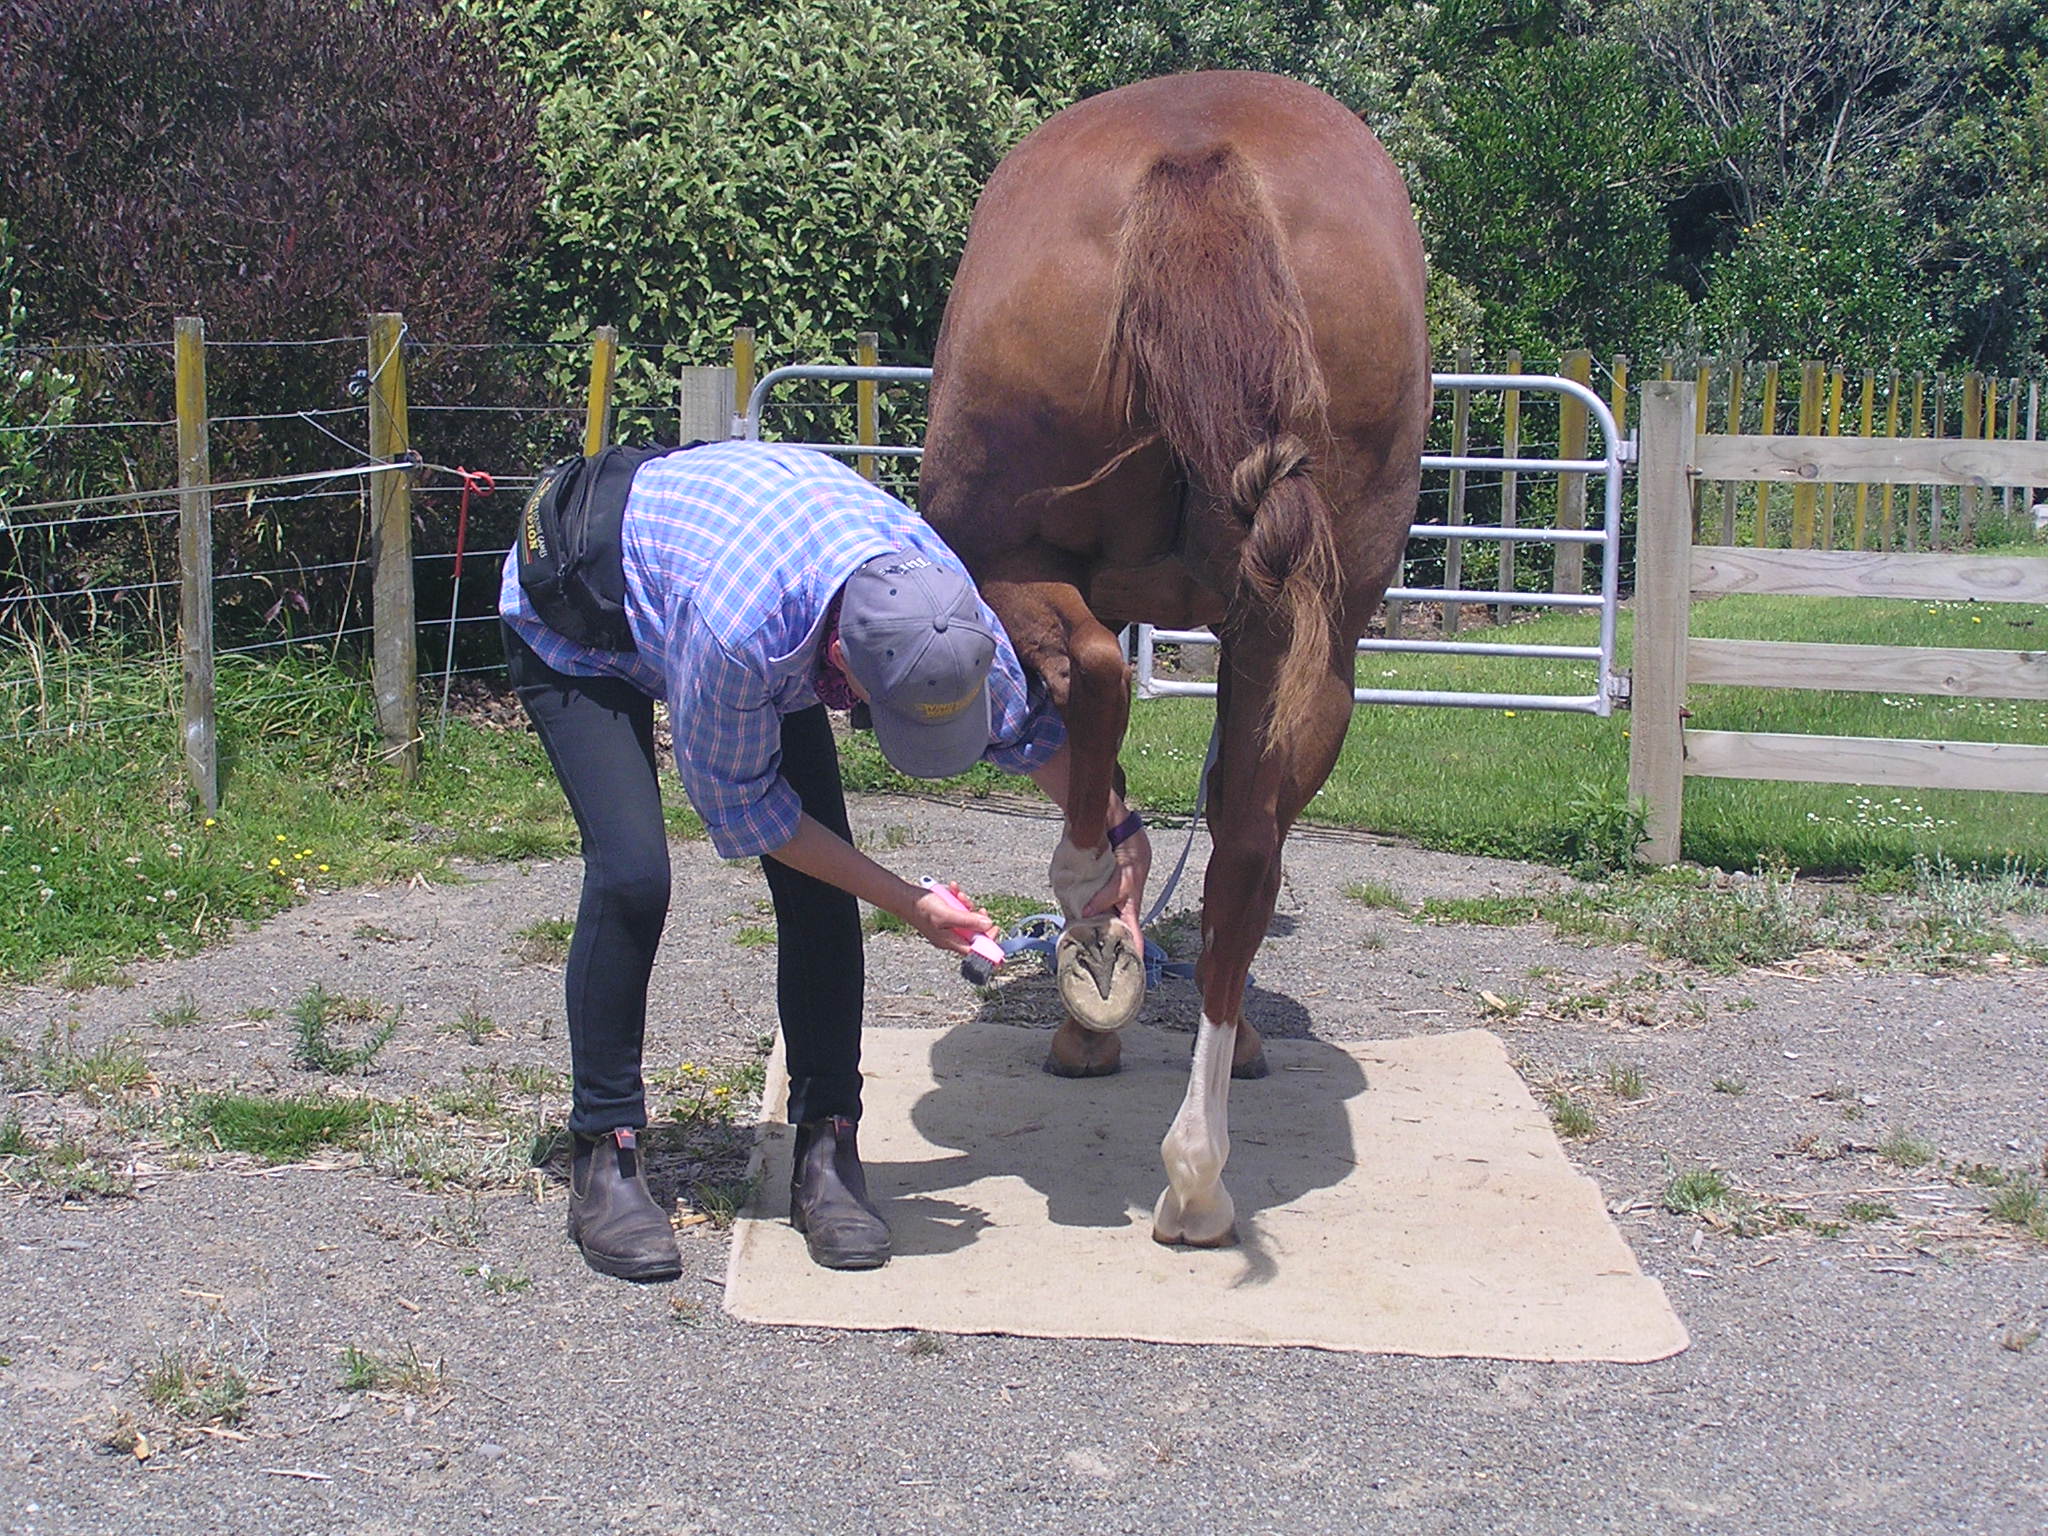
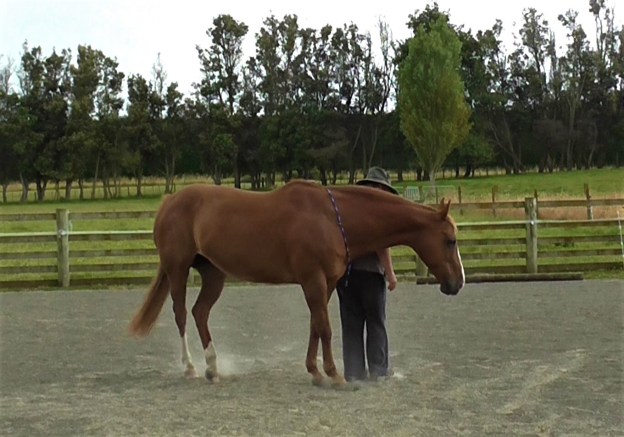
Bridget has a willing hind leg lift and the horse looks balanced. Gradually, one second at a time, we built duration of keeping the foot up so we can clean, inspect, rasp, spray it.

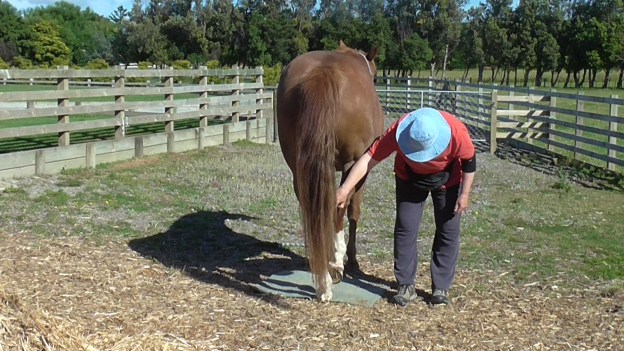
Teaching relaxation with a hoof stand is the next set of slices. It can be helpful to have a calm helper to deliver the treats when you click.
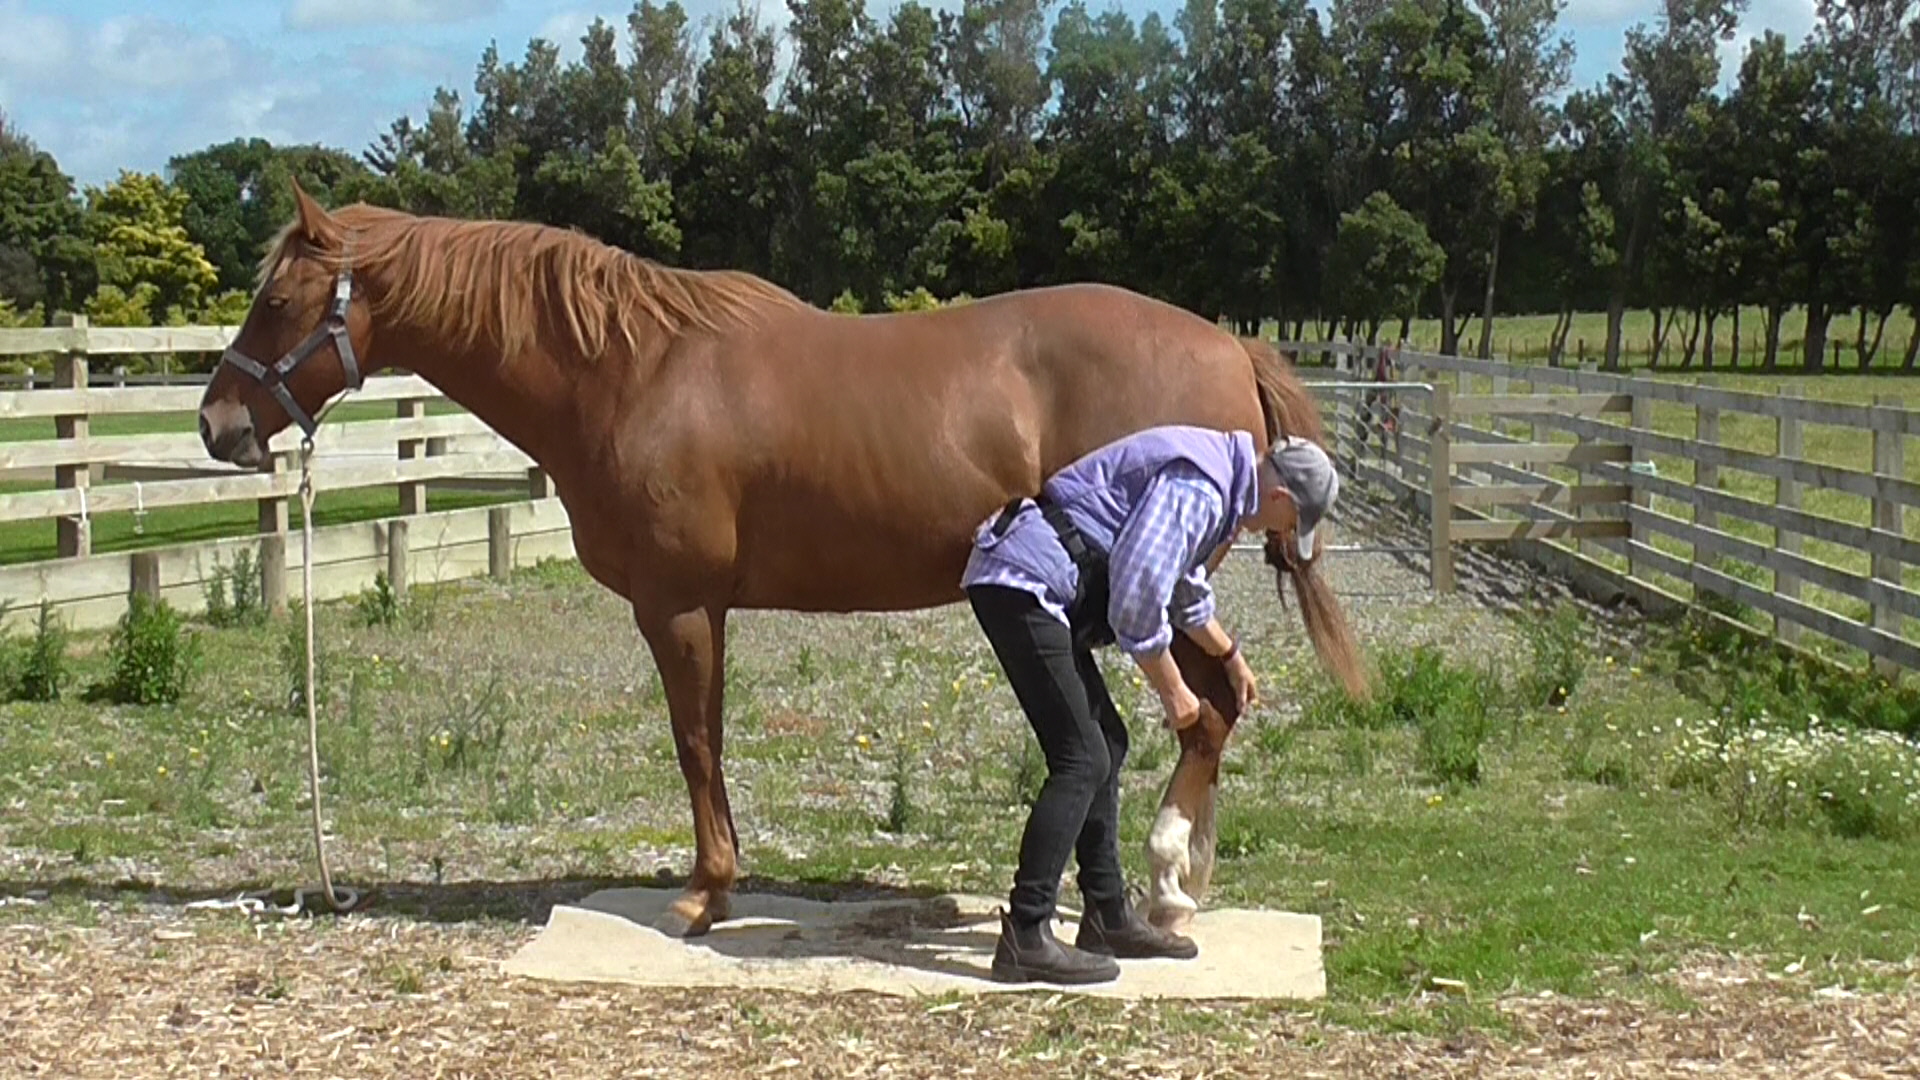
Here I’m working on duration having the foot up and forward. For hoof officianados, you might notice how much better Boots’ heel buttresses are compared to earlier pictures.

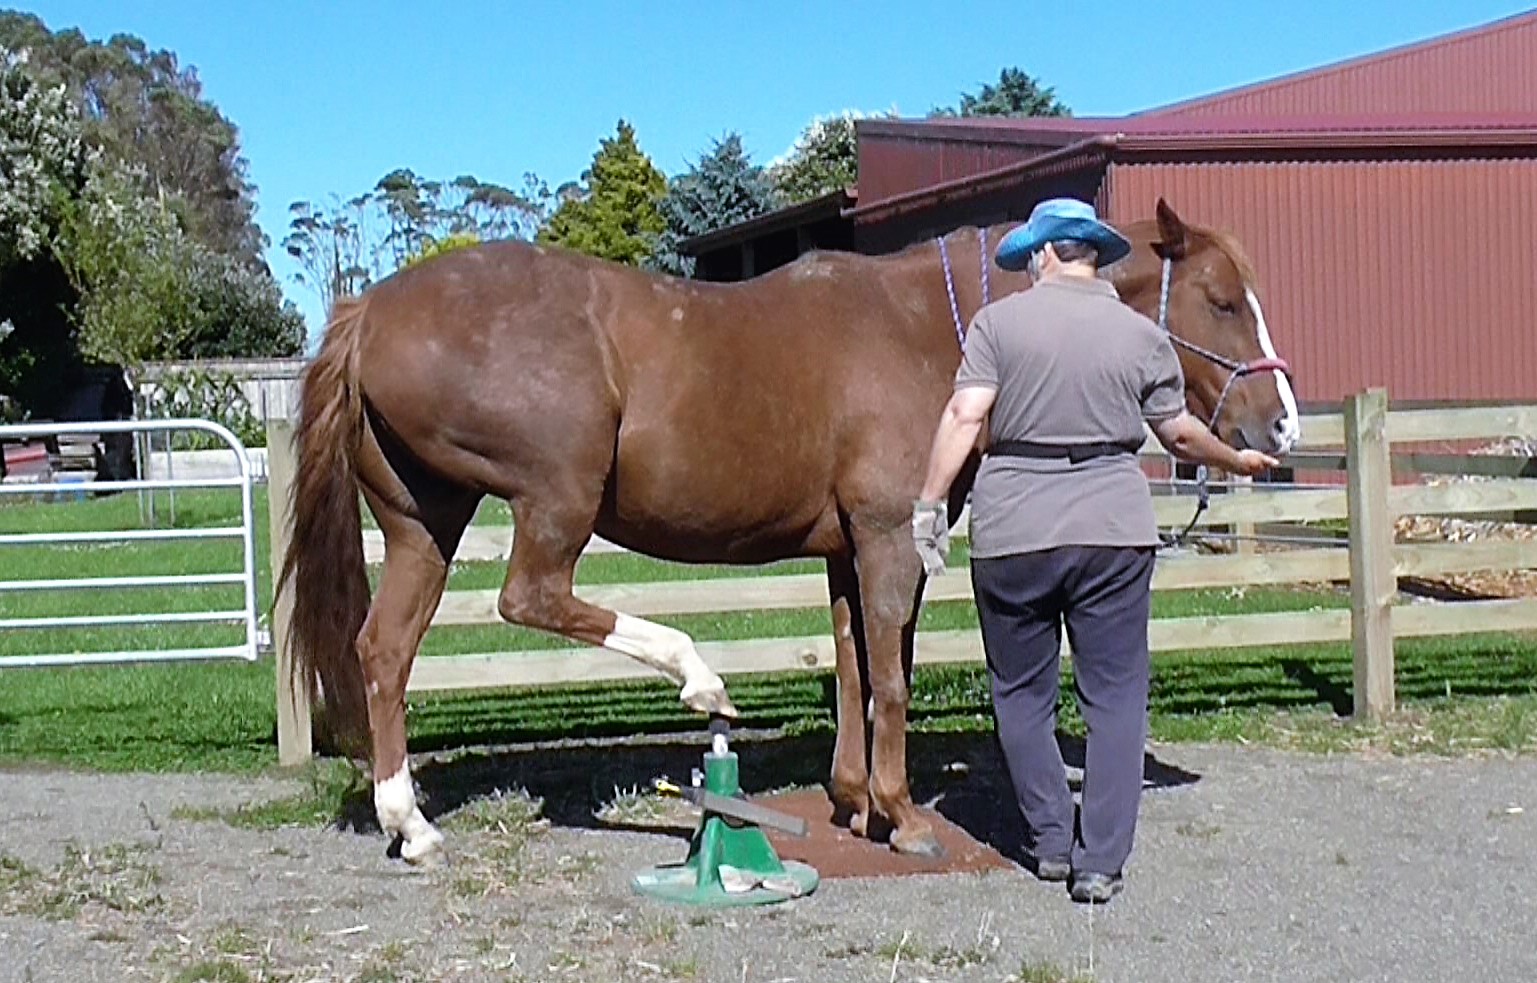
Teaching the foot to lie backwards on the hoofjack. Note she is not standing squarely in front, which makes it harder for her.

It can be helpful, timewise, to be able to clean all the feet from one side. We draw the far foot, once offered, across behind the near leg.
Checklist
| No. | DETAILS | Tick |
| Prerequisites | ||
| 1 | Handler & horse are clicker-savvy | |
| 2 | Leads easily, halts promptly & backs up readily | |
| 3 | Horse can park & be rubbed all over | |
| 4 | Foot awareness with mats & other exercises | |
| 5 | Brush legs | |
| 6 | Rub legs with hands | |
| 7 | Comfortable ‘foot care’ spot sorted | |
| 8 | Stand squarely | |
| Major Slices for Building Front Foot Behaviors | ||
| 1 | Lift knee to target an object: click for foot rising | |
| 2 | Lifts knee to hand | |
| 3 | Add in consistent voice signal | |
| 4 | Handler faces tail to ask for knee to target hand | |
| 5 | Catch & hold foot briefly: click before releasing | |
| 6 | Hold foot for one second | |
| 7 | Hold foot for two seconds | |
| 8 | Gradually hold foot longer, one second at a time | |
| 9 | Clean foot with stiff brush | |
| 10 | Clean foot with hoof pick | |
| 11 | Teach spray bottle confidence | |
| 12 | Set foot in sling (or on knee) | |
| 13 | Build duration of foot in sling or on knee | |
| 14 | Bring foot forward onto a hoof stand or stump | |
| 15 | Build duration of hoof brought forward | |
| 16 | Back foot off hoof stand (no click&treat, just praise) | |
| Major Slices for Building Hind Foot Behaviors | ||
| 1 | Confident with body extension rubbed over legs | |
| 2 | Confident with brush and hands rubbing legs | |
| 3 | Touch cap of hock with body extension for lift | |
| 4 | Add voice signal | |
| 5 | Lift hind foot with pointing | |
| 6 | Run hand from withers to cap of hock – relaxed | |
| 7 | Lifts foot with tap on hock & voice signal | |
| 8 | Hold foot briefly; click; go to head to give treat | |
| 9 | Hold foot one second; click; go to head to treat | |
| 10 | Hold foot two seconds; click; go to head to treat | |
| 11 | Gradually hold foot longer one second at a time | |
| 12 | Clean hoof with brush | |
| 13 | Clean hoof with hoof pick | |
| 14 | Spray hoof | |
| 15 | Clean both hind feet from one side | |
| 16 | Rest hind foot in a sling | |
| 17 | Bring hind foot forward onto a hoof stand | |
| 18 | Build duration on the hoof stand | |
| 19 | Teach ‘back’ signal for foot off stand (no click&treat) | |
| Generalizations | ||
| 1 | Familiar mat in new spots | |
| 2 | Familiar spot without mat | |
| 3 | New spots without mat | |
| 4 | Away from home | |
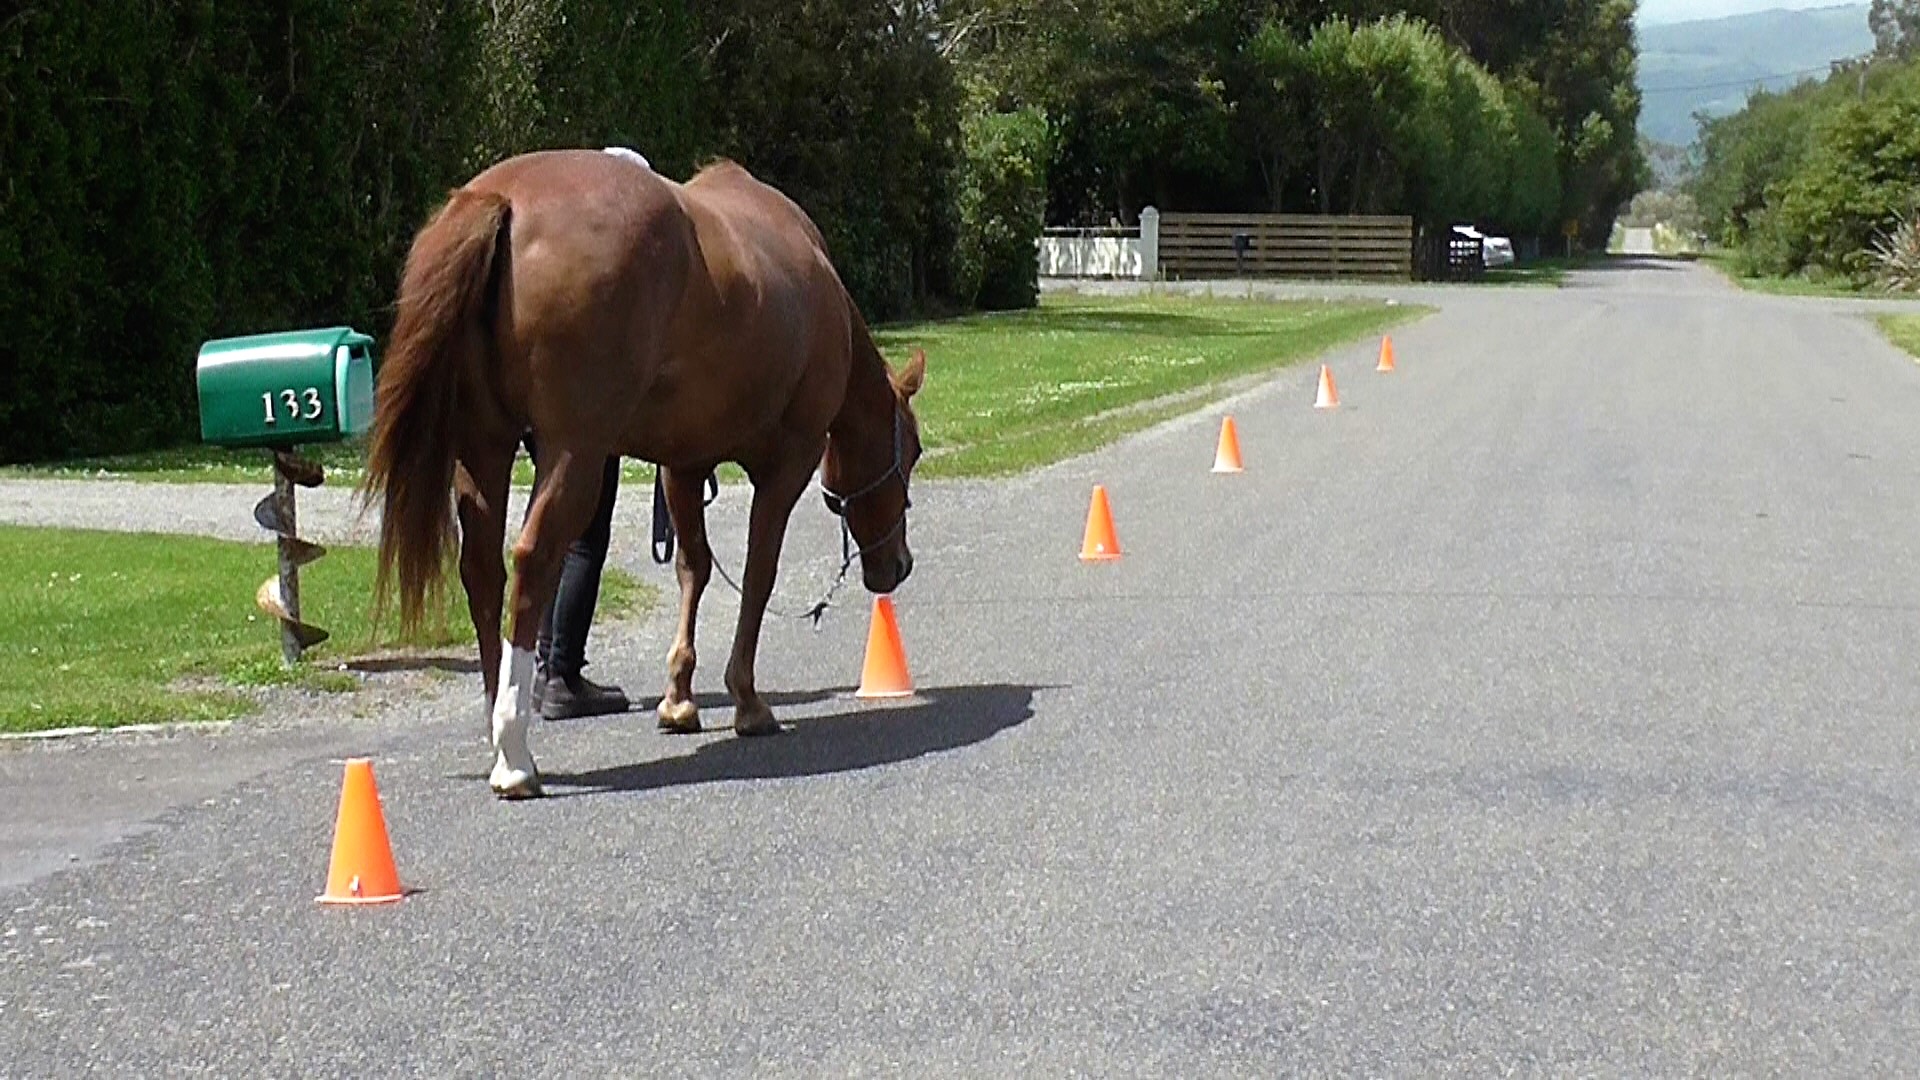
Number 74 in the Blog Contents Quick Links (at the top of the page) takes you to the blog about ‘Counting with the Hind Feet’, which goes into detail. Here is the video from that blog, which is a quick summary of a year’s work.