At Liberty
Aim 1:
Horse at liberty willingly walks in front of us to another pile of hay when we ask him to walk on and quietly follow behind.
Overview: When we ask the horse to ‘move on’ from one pile of hay to another, he does so quietly and willingly.
Clip #57 in my HorseGym with Boots playlist illustrates this process. Click here for Clip #57.
A clip called Guiding from Behind in my Horse Herd Harmonics playlist also looks at this process. Click here for the ‘Guiding from Behind’ clip.
Slices
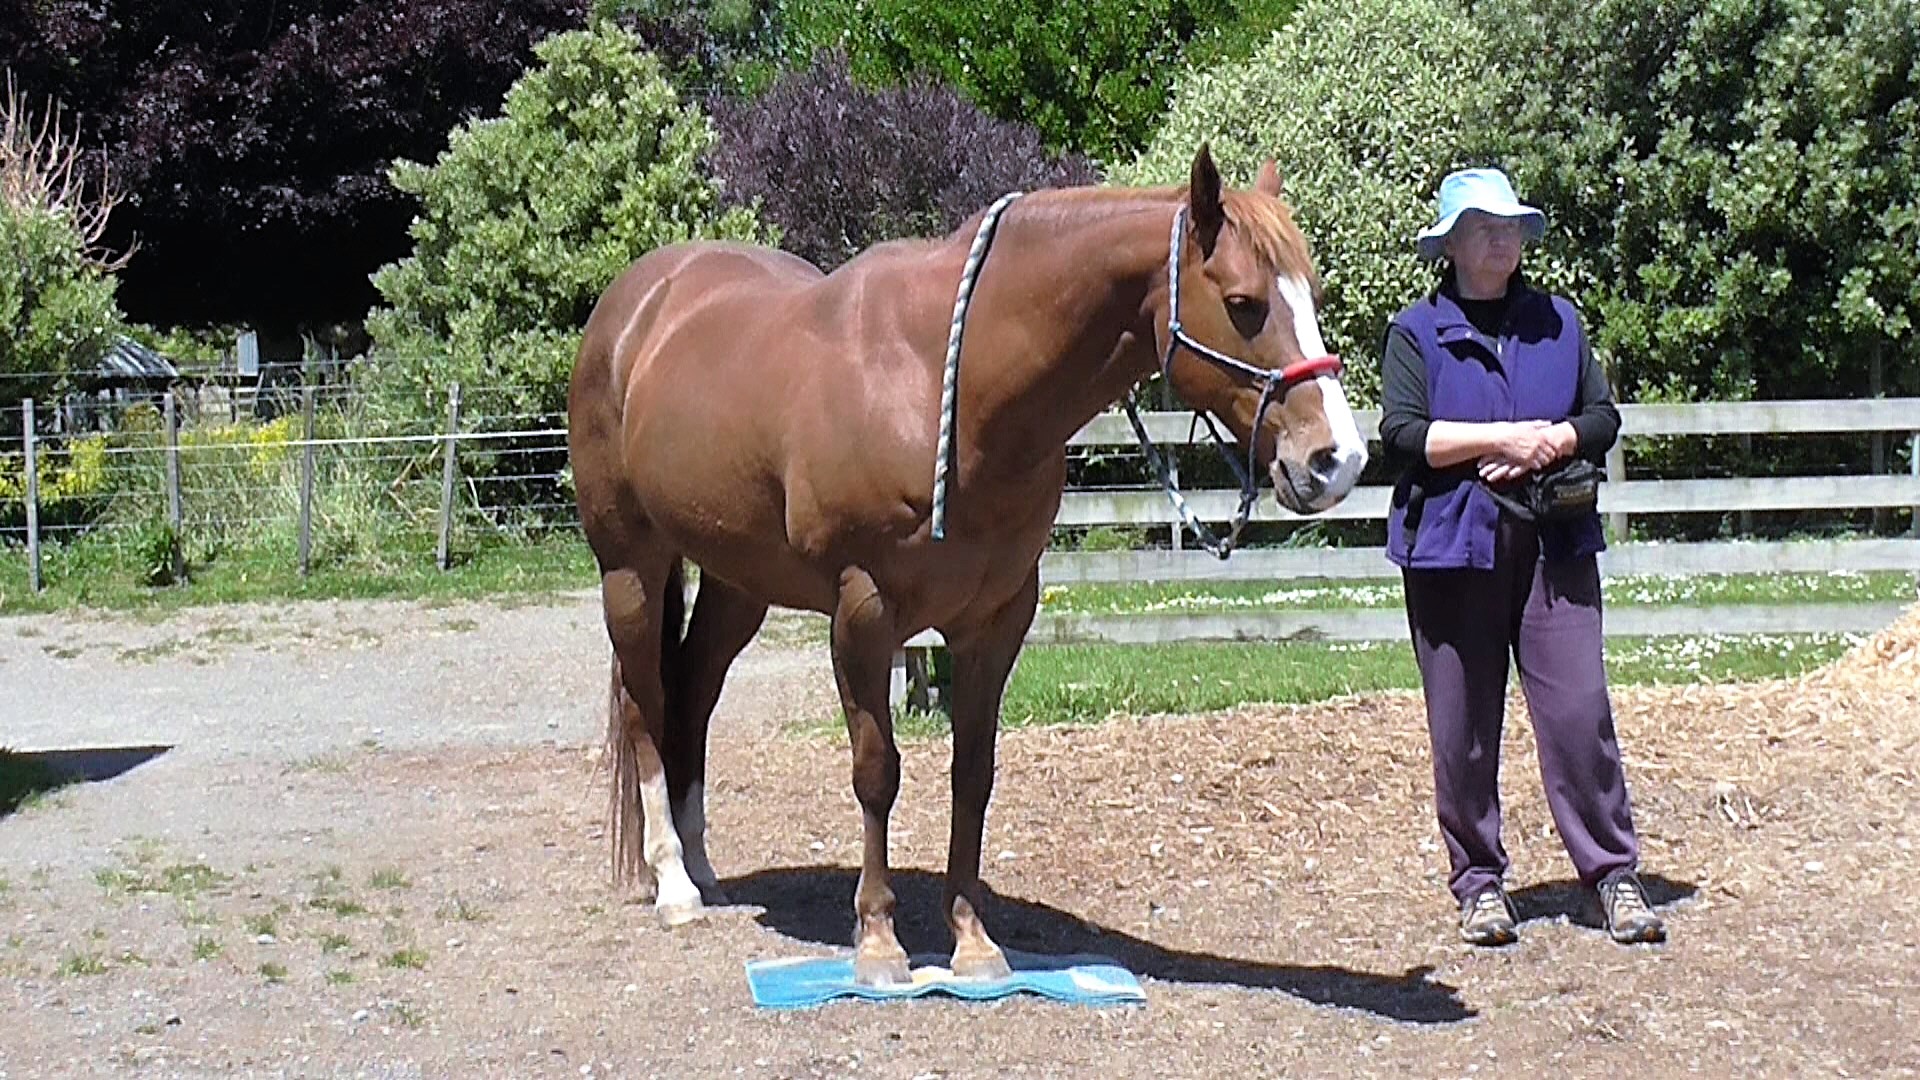
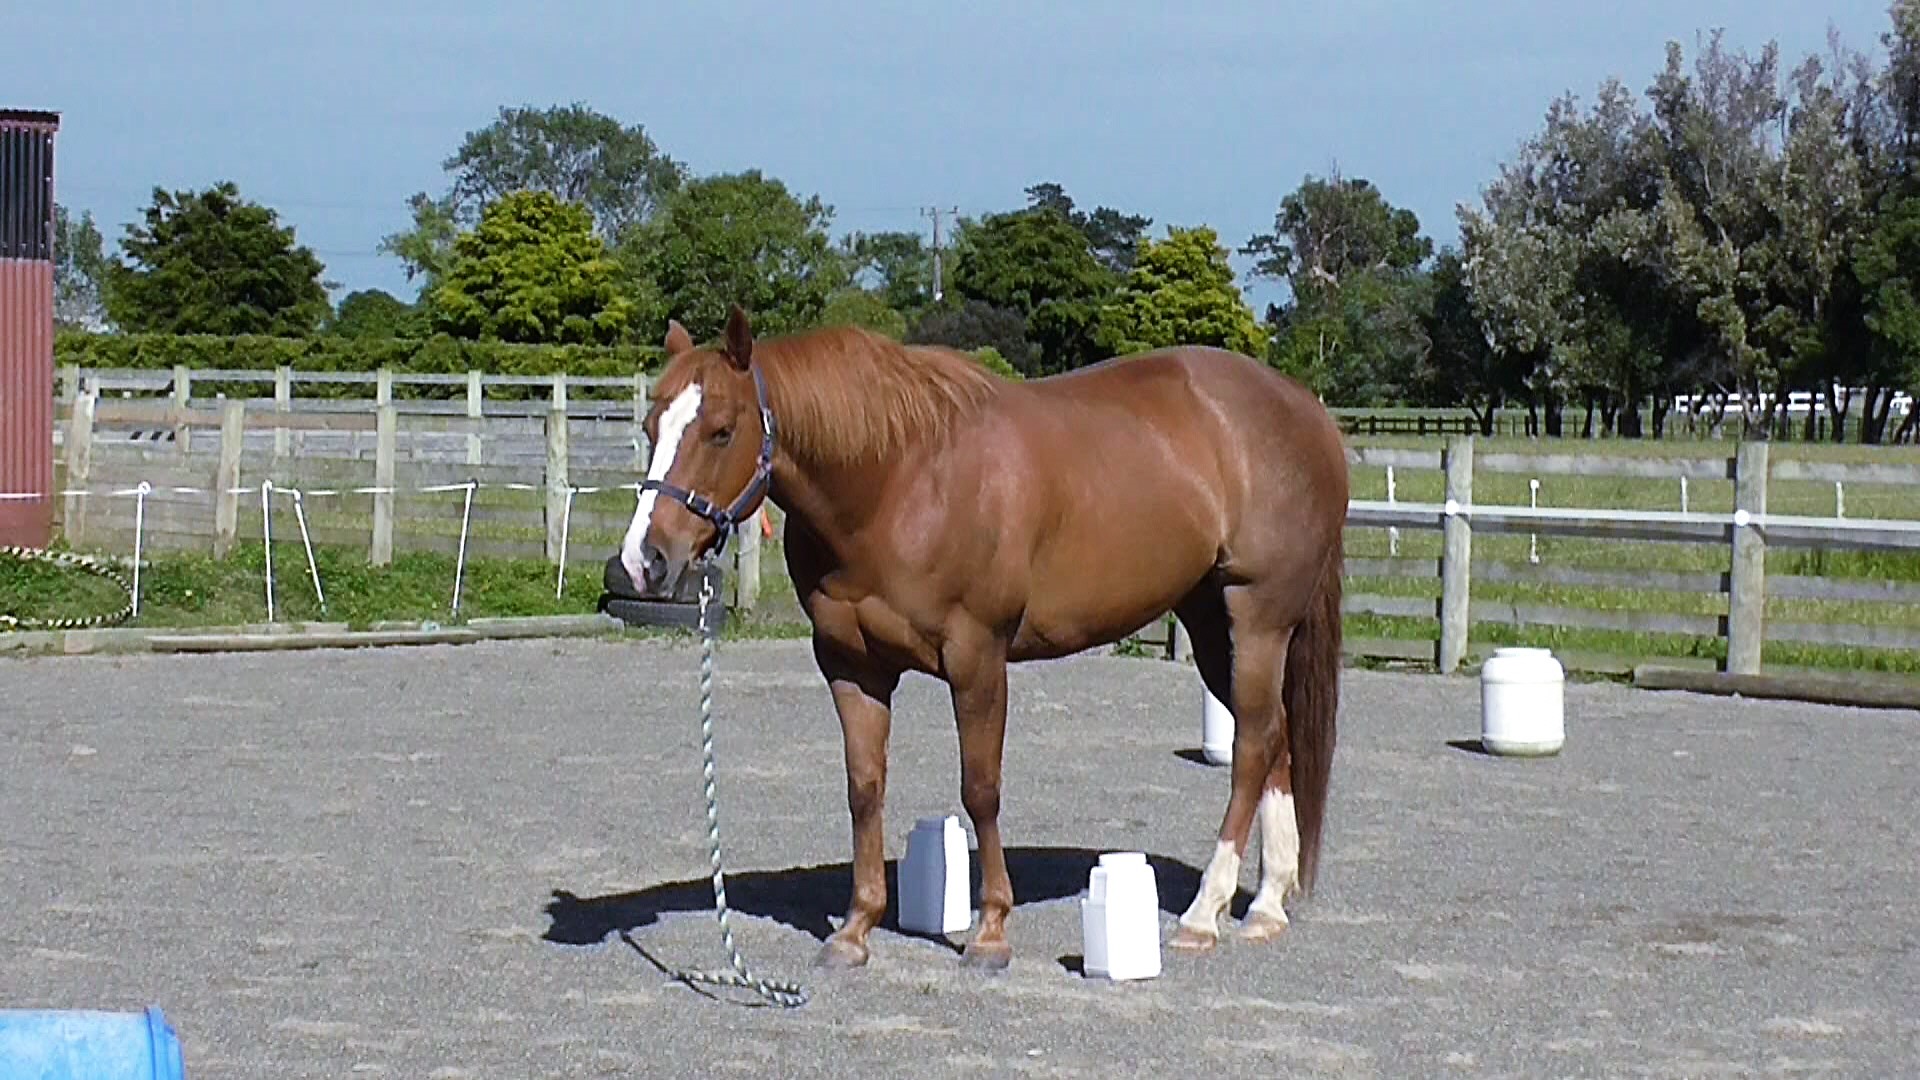
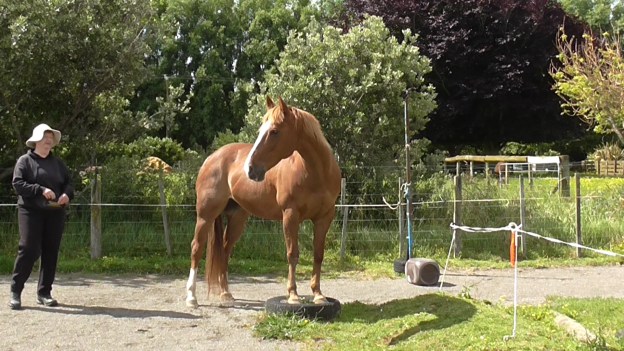
- Lay out several piles of hay, ten or more yards apart, in a safe, enclosed area where you can work at liberty.
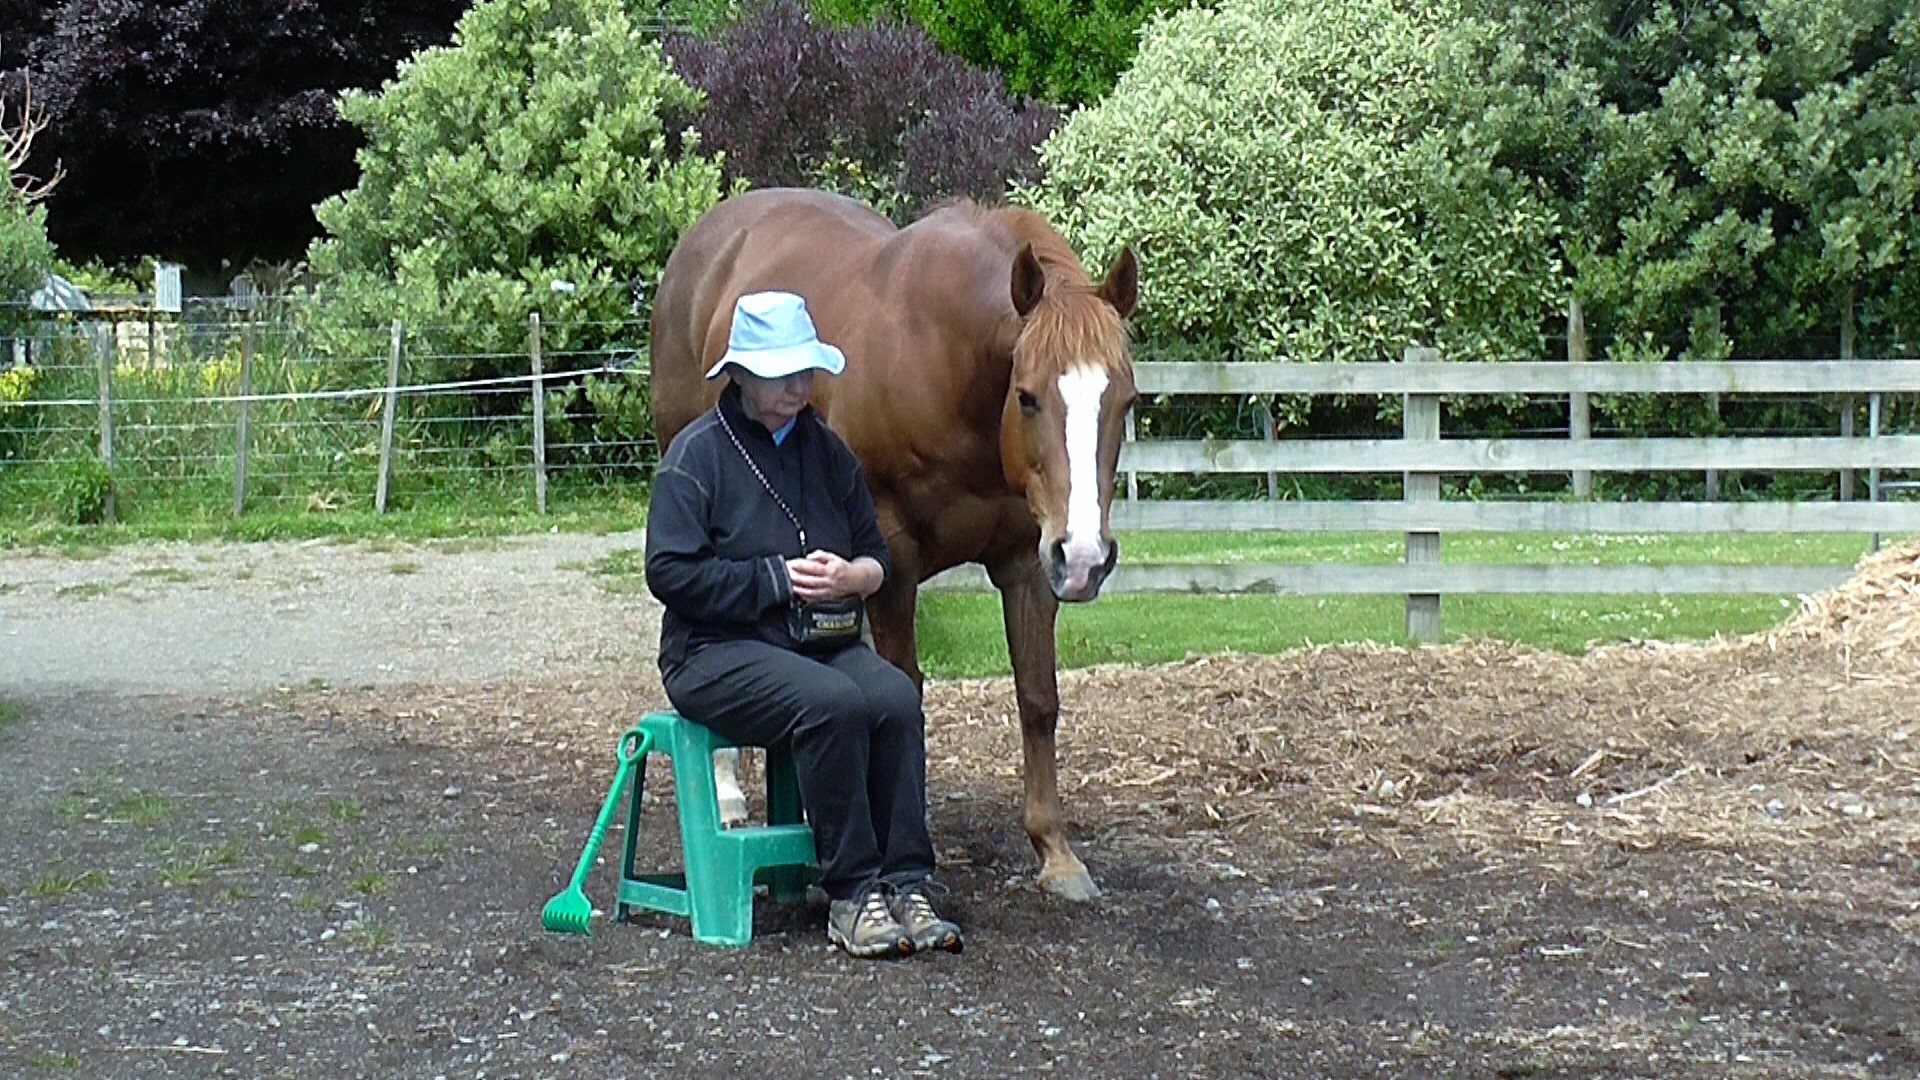
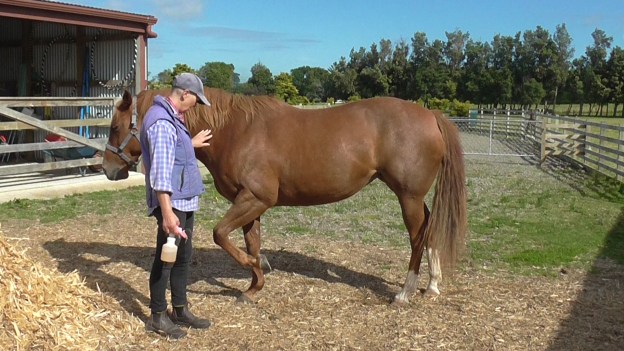
- Relax on your chair while the horse eats hay.
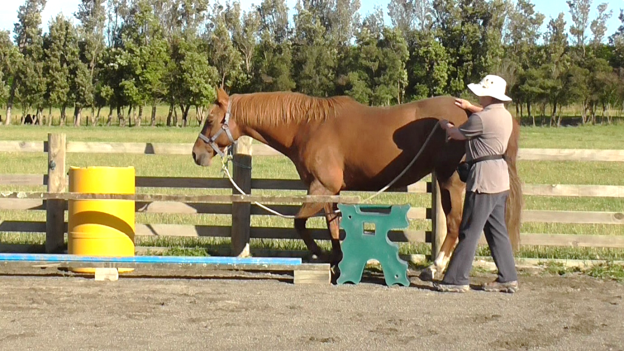
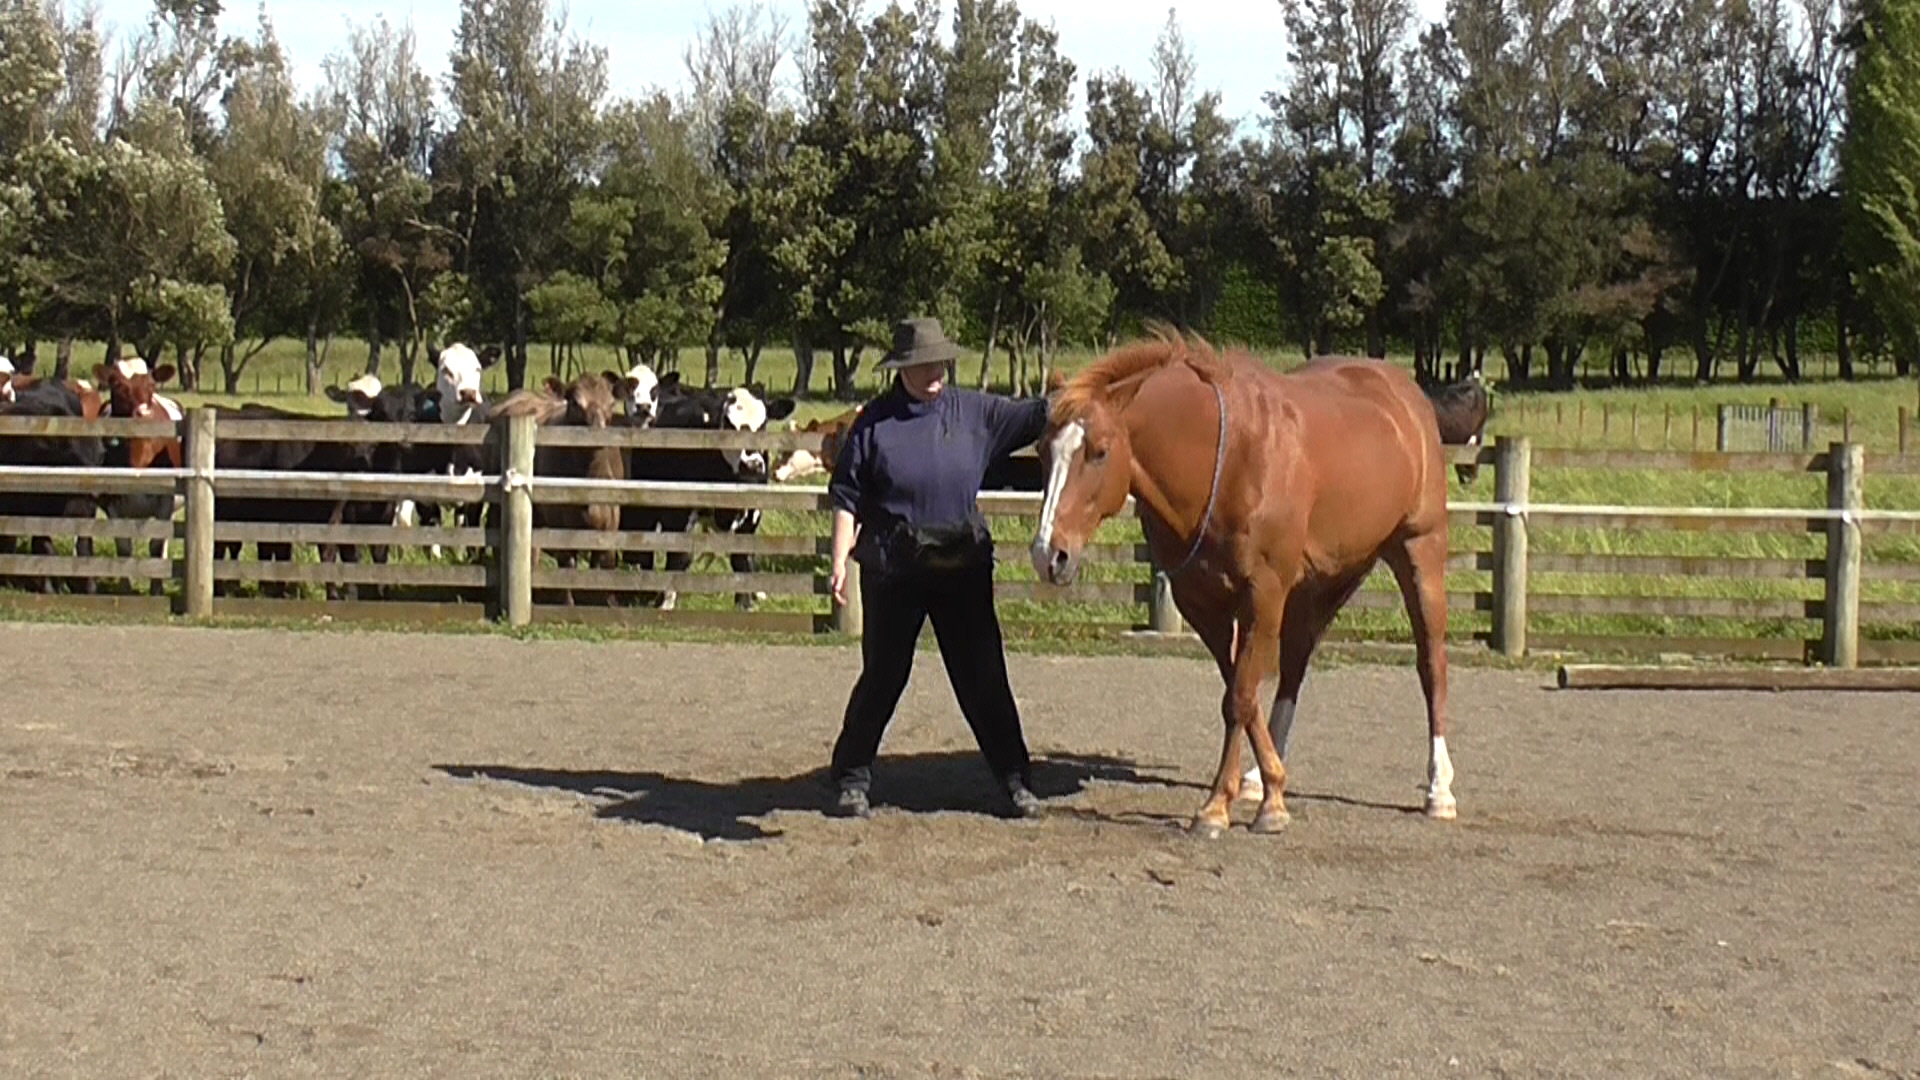
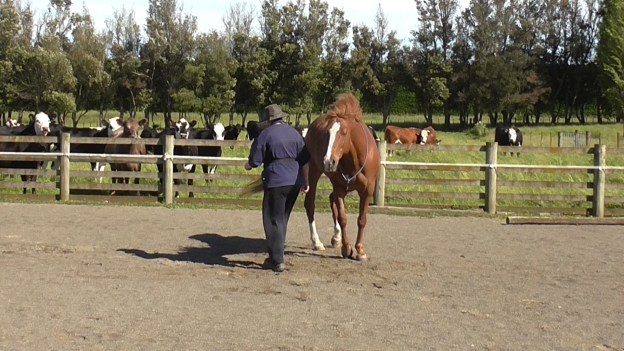
- After a while, stand up and move toward the horse’s hip area:
- About 4 meters from the horse, well out of the kick zone, breathe in deeply and make yourself large.
- Say your ‘walk on’ voice signal.
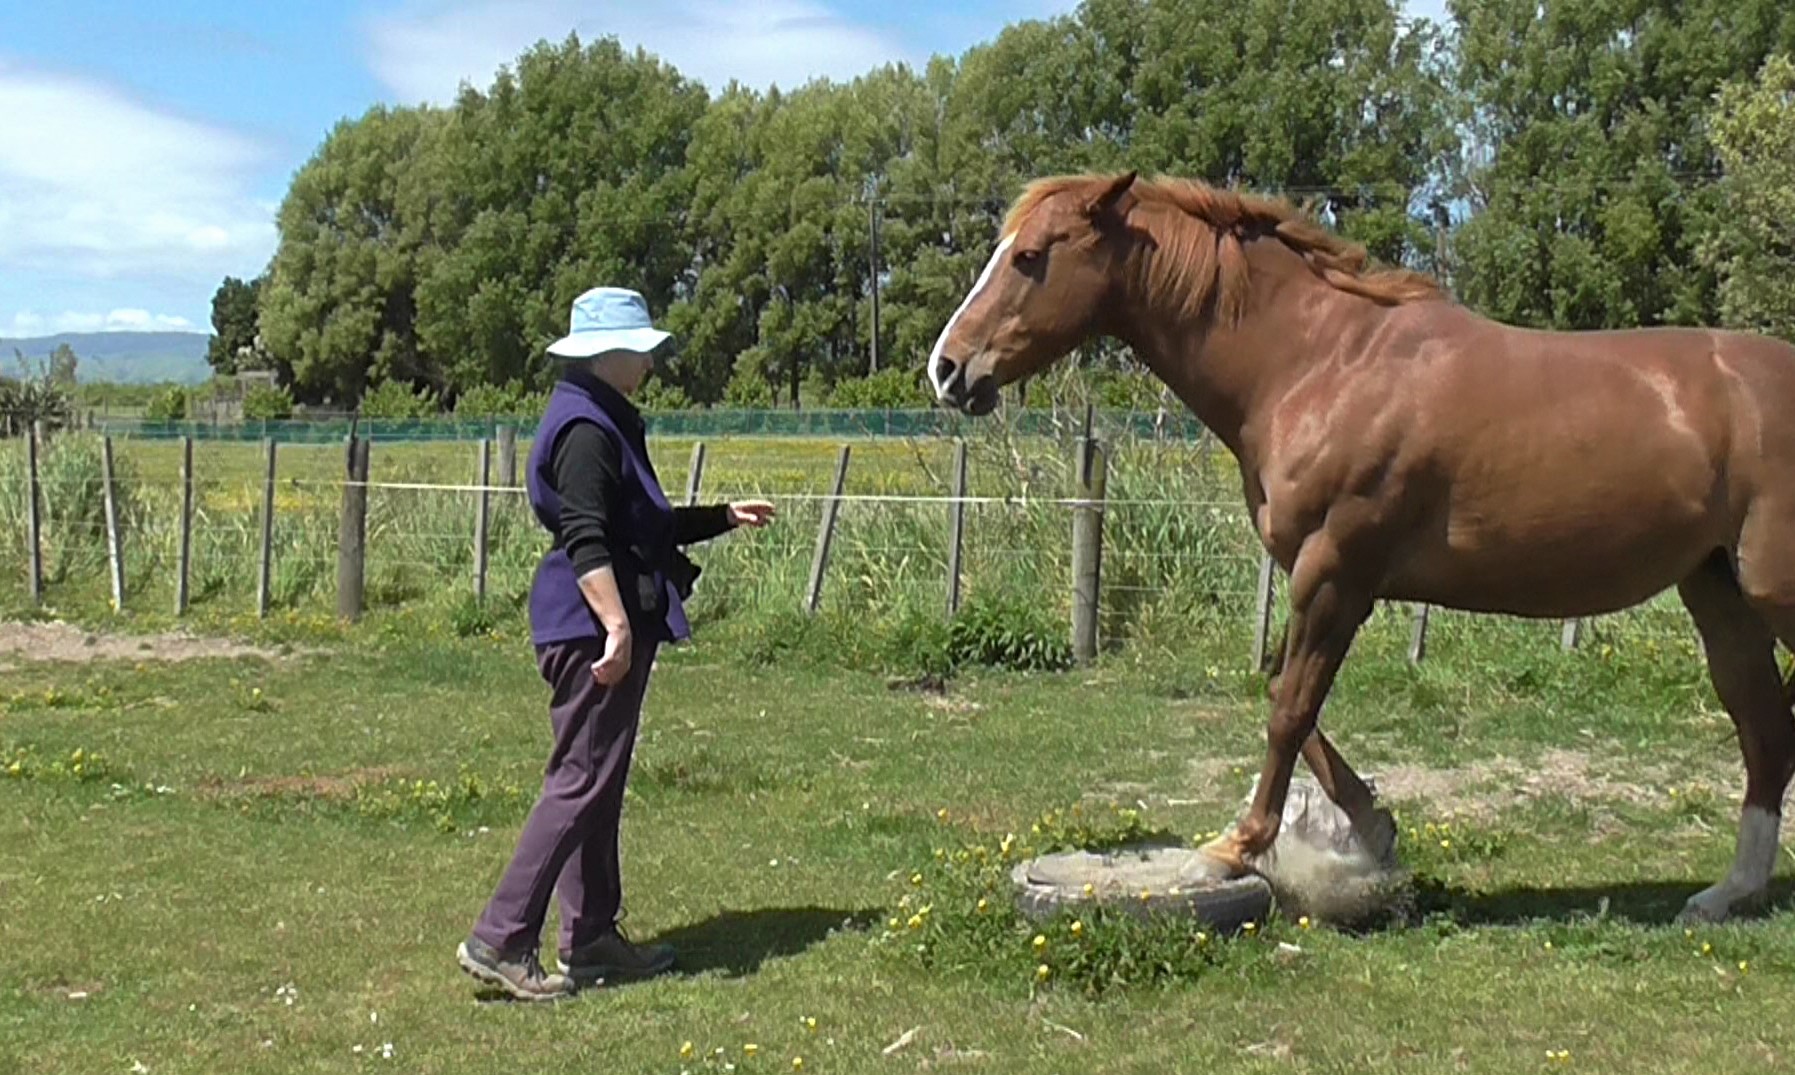
- Focus beyond the horse with strong intent.
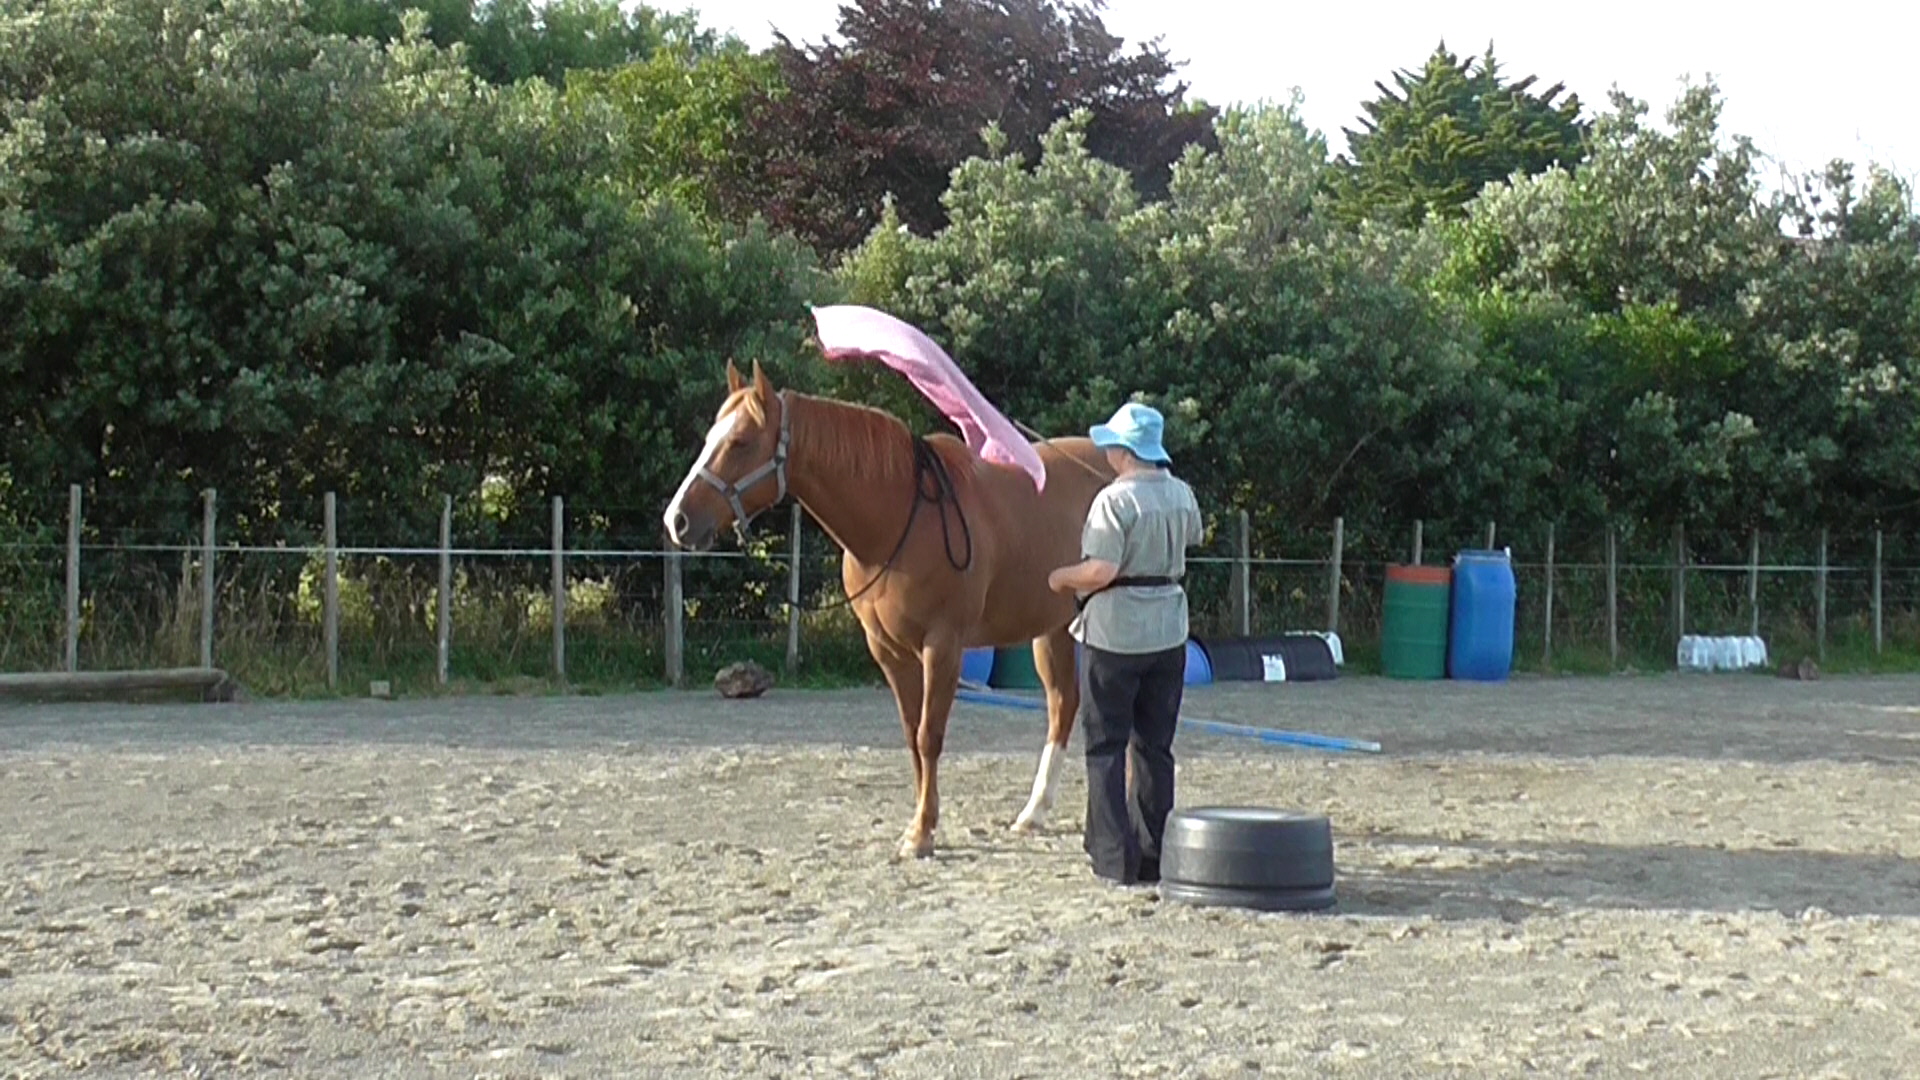
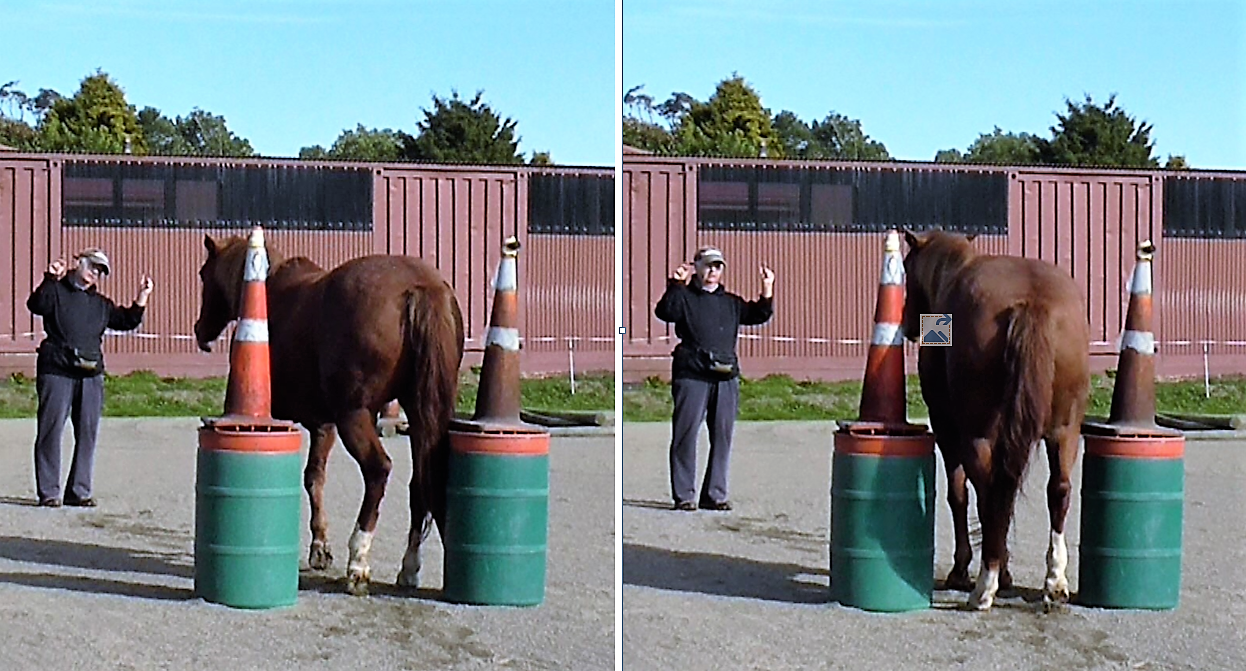
- Bring your swishy body extensions into play in front of you with enough energy to cause the horse to move off that pile of hay and seek out another one. We don’t touch the horse with the swishies. We use them to amplify our energy.At this stage, it is better to use too much energy than not enough. The horse must move away when you ask him to do so. If he tries to come back, send him off again.
- As soon as the horse moves, relax totally and put your body extensions behind your back, like a tail. We want to mimic how horses move each other on.
- Relax for a few moments beside the hay you have claimed.
- Get your chair so you can sit by the hay and read, meditate or watch the clouds.
- After a while, get up and repeat 3-10 above.
- You know 3-10 is ho-hum and smooth when the horse moves off when he reads your body language and intent as you approach, and you seldom need to activate your swishy body extensions.
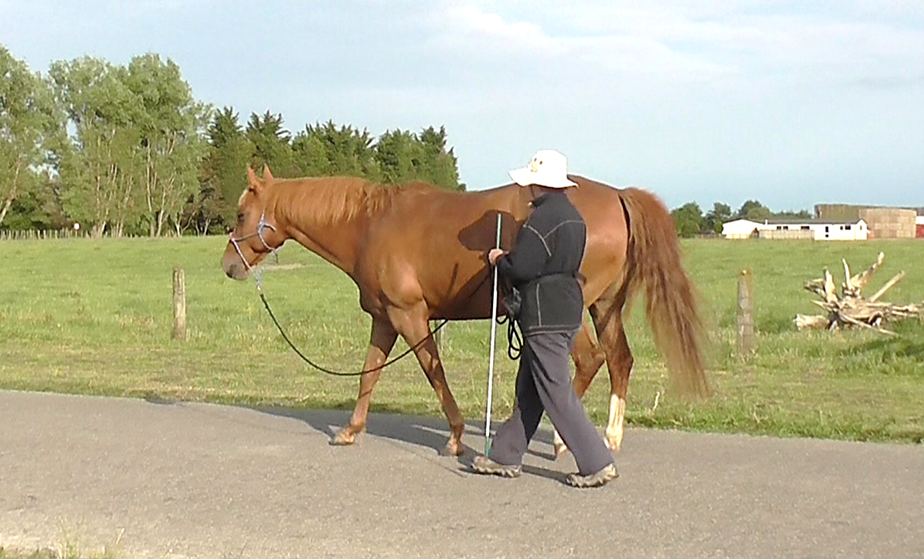
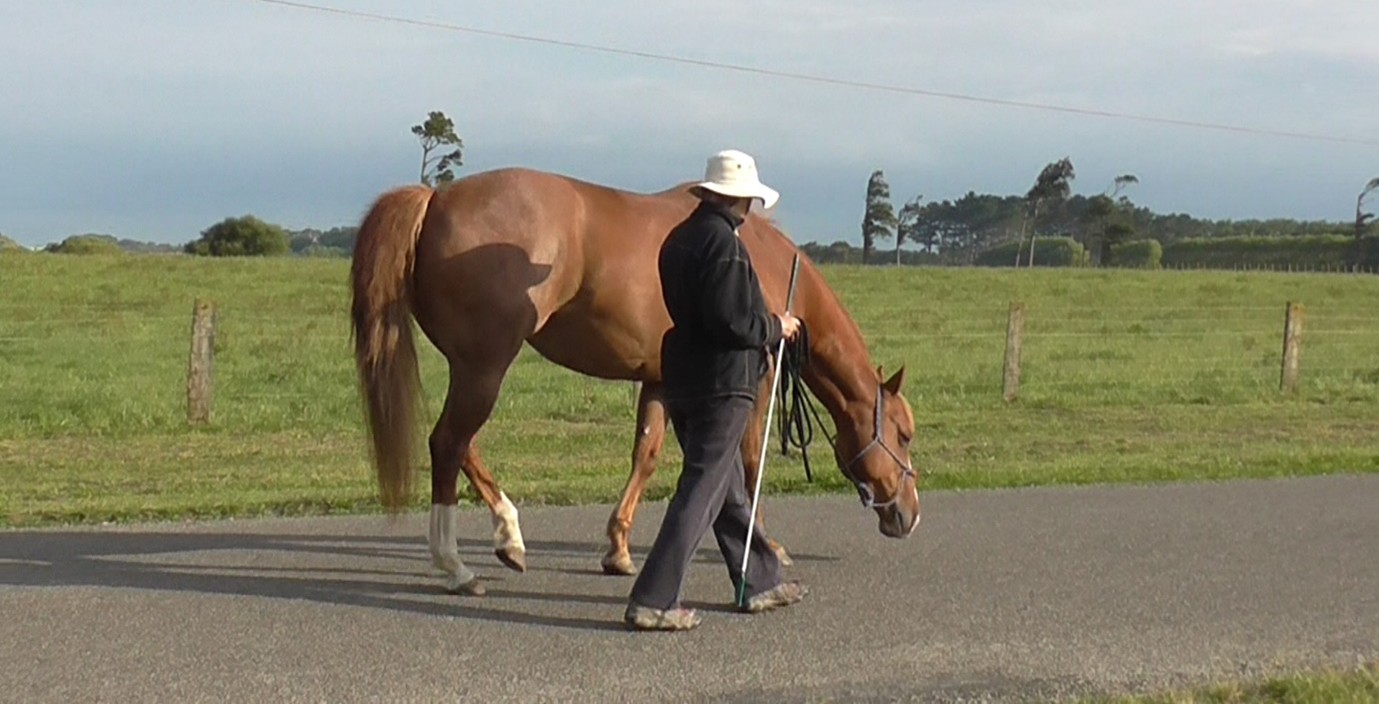
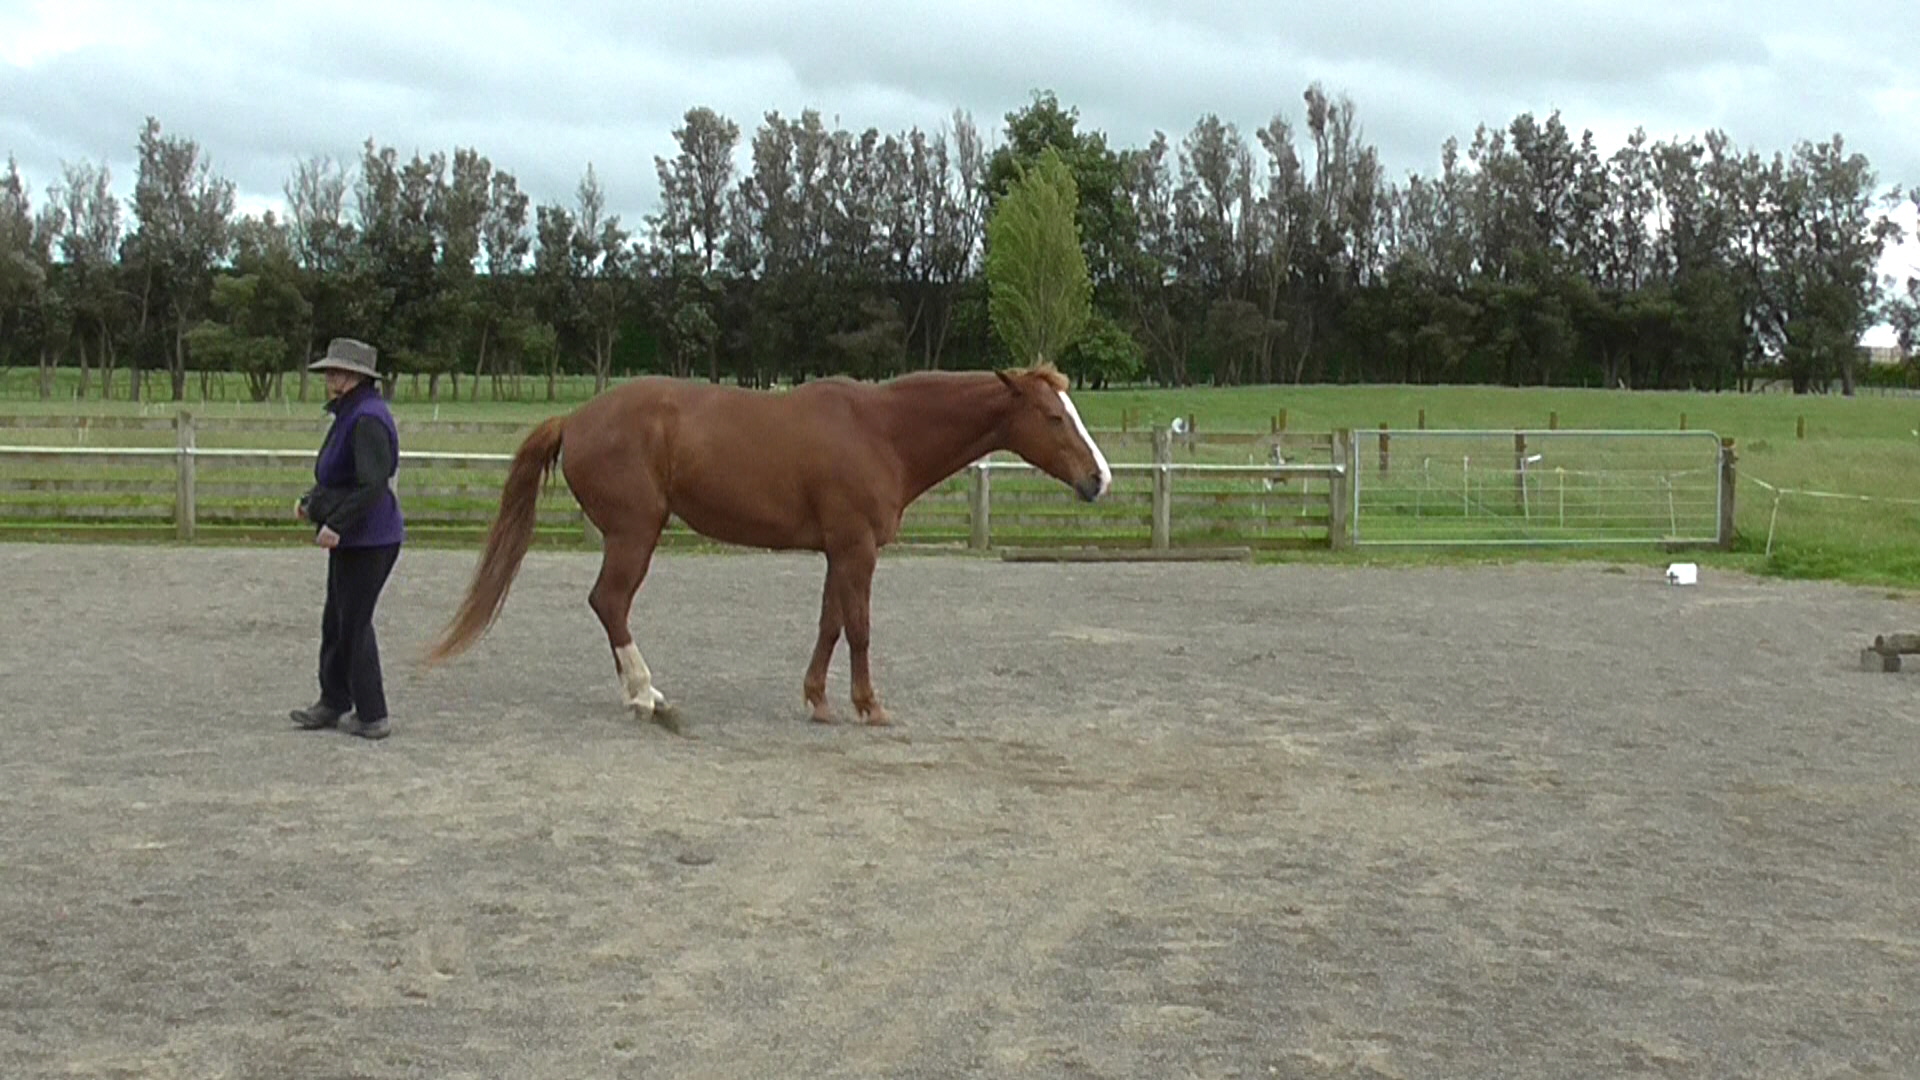
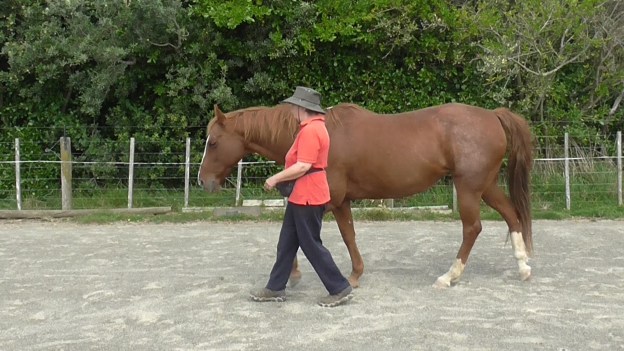
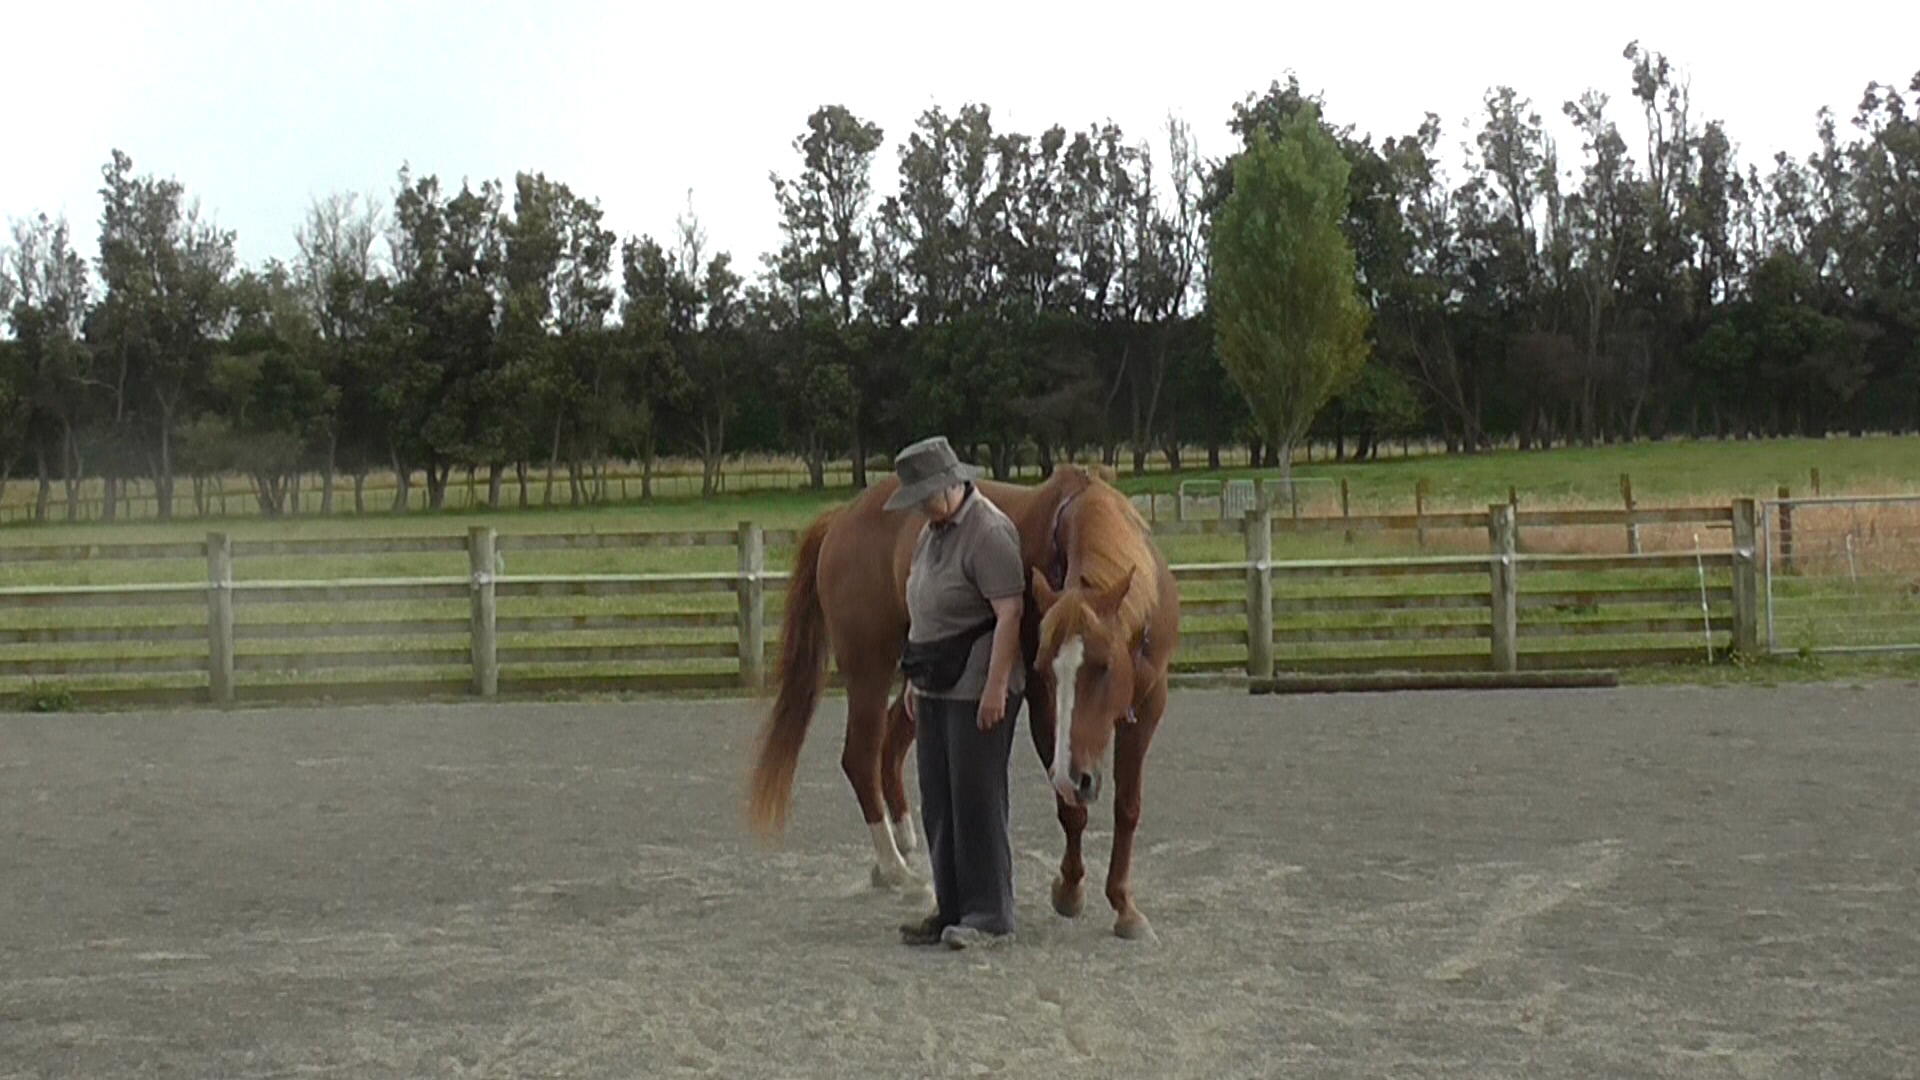
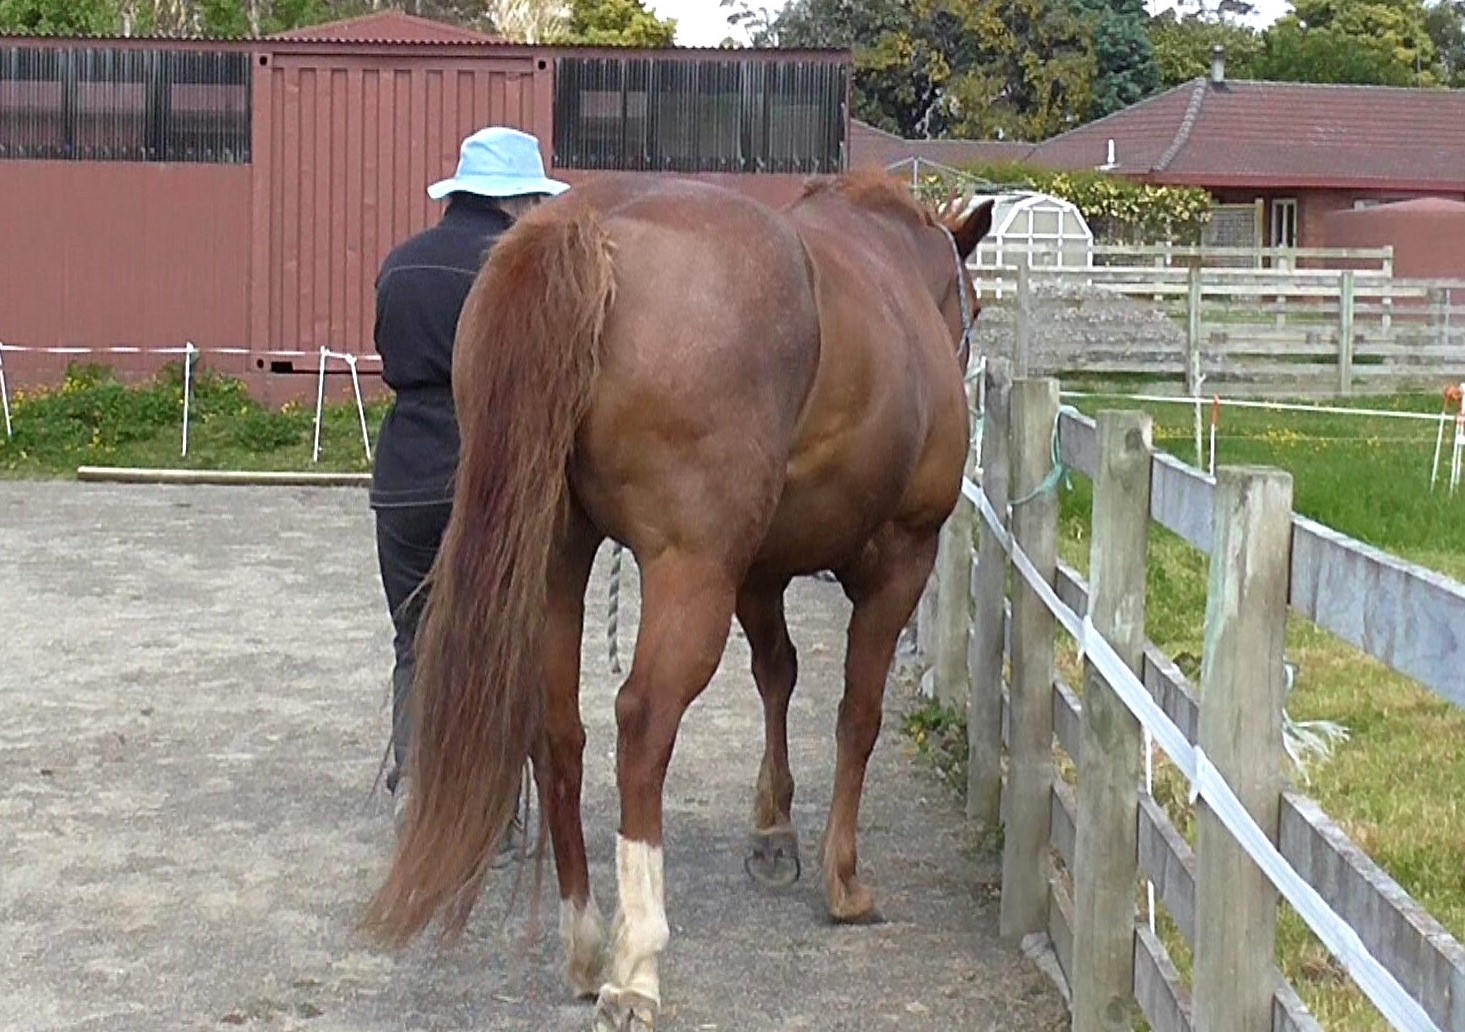
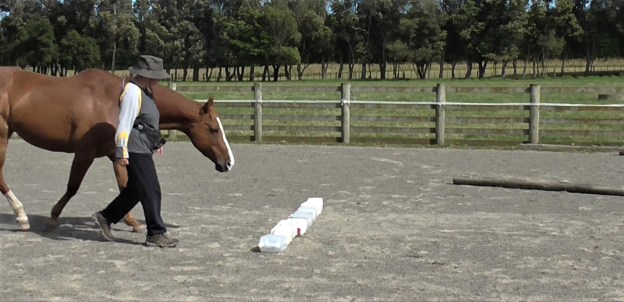
- Next step: when you ask him to move off a pile of hay, begin to quietly walk behind him, at his pace, well out of the kick zone. As he reaches the new pile, breathe out loudly, relax and give your ‘halt/whoa’ voice signal. Since he was going to stop at the hay anyway, it should all make sense. Return to the pile you claimed and sit for a while as before.
- Gradually, over several sessions, spread the piles of hay further apart so you have more distance to quietly walk behind the horse each time you ask him to move on.
- When all of the previous slices are good, ask him to walk past piles of hay until you give the halt/whoa signal at the one where you’d like him to stop. Start with passing just one pile and work up to passing two or three before you ask him to stop and let him eat at the next pile he reaches.
Teaching these ‘walk on’ and ‘halt/whoa’ signals with the horse at liberty sets a strong foundation for when you begin to make the same requests using a rein. The horse is already comfortable with the idea of the handler walking behind him, asking him to move on and asking for a halt.
Clip #59 in my HorseGym with Boots playlist outlines a way we can expand confidence using LP6 at liberty, with a ‘Square of Lanes’. This is simply set up by creating a square (or rectangular) pen inside a square (or rectangular) pen to create four continuous lanes. Click here for Clip #59.
What to use for reins?
We begin with just one rein. Possibilities for reins are:
- Two lightweight ropes (9mm yacht braid is a nice weight) between 16 and 18 feet long (5-6 meters) for a horse, but the ideal length will depend on the size of the horse or pony. We start with two independent ropes to begin with, i.e., not joined together where you hold them. If the horse turns around or gets muddled, you can simply drop one rope.
- Longe lines: rather long but letting the ends drag does give more leeway to maintain control of the horse if he suddenly moves forward a bit too fast in the learning stages.
- Driving reins: usually a nice length with a buckle and swivel to connect them. For initial teaching, it’s safest to have the buckle unfastened, so you have two independent reins. Once long-reining is going smoothly, they can be held more easily in one hand when necessary.
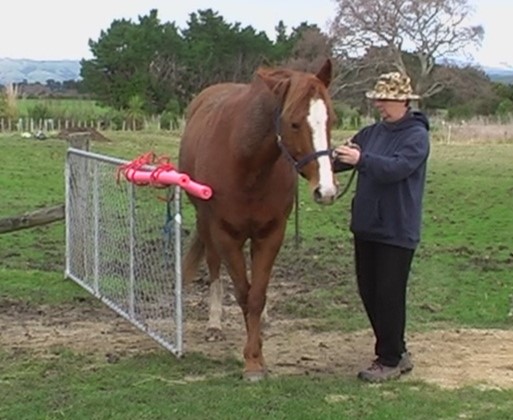
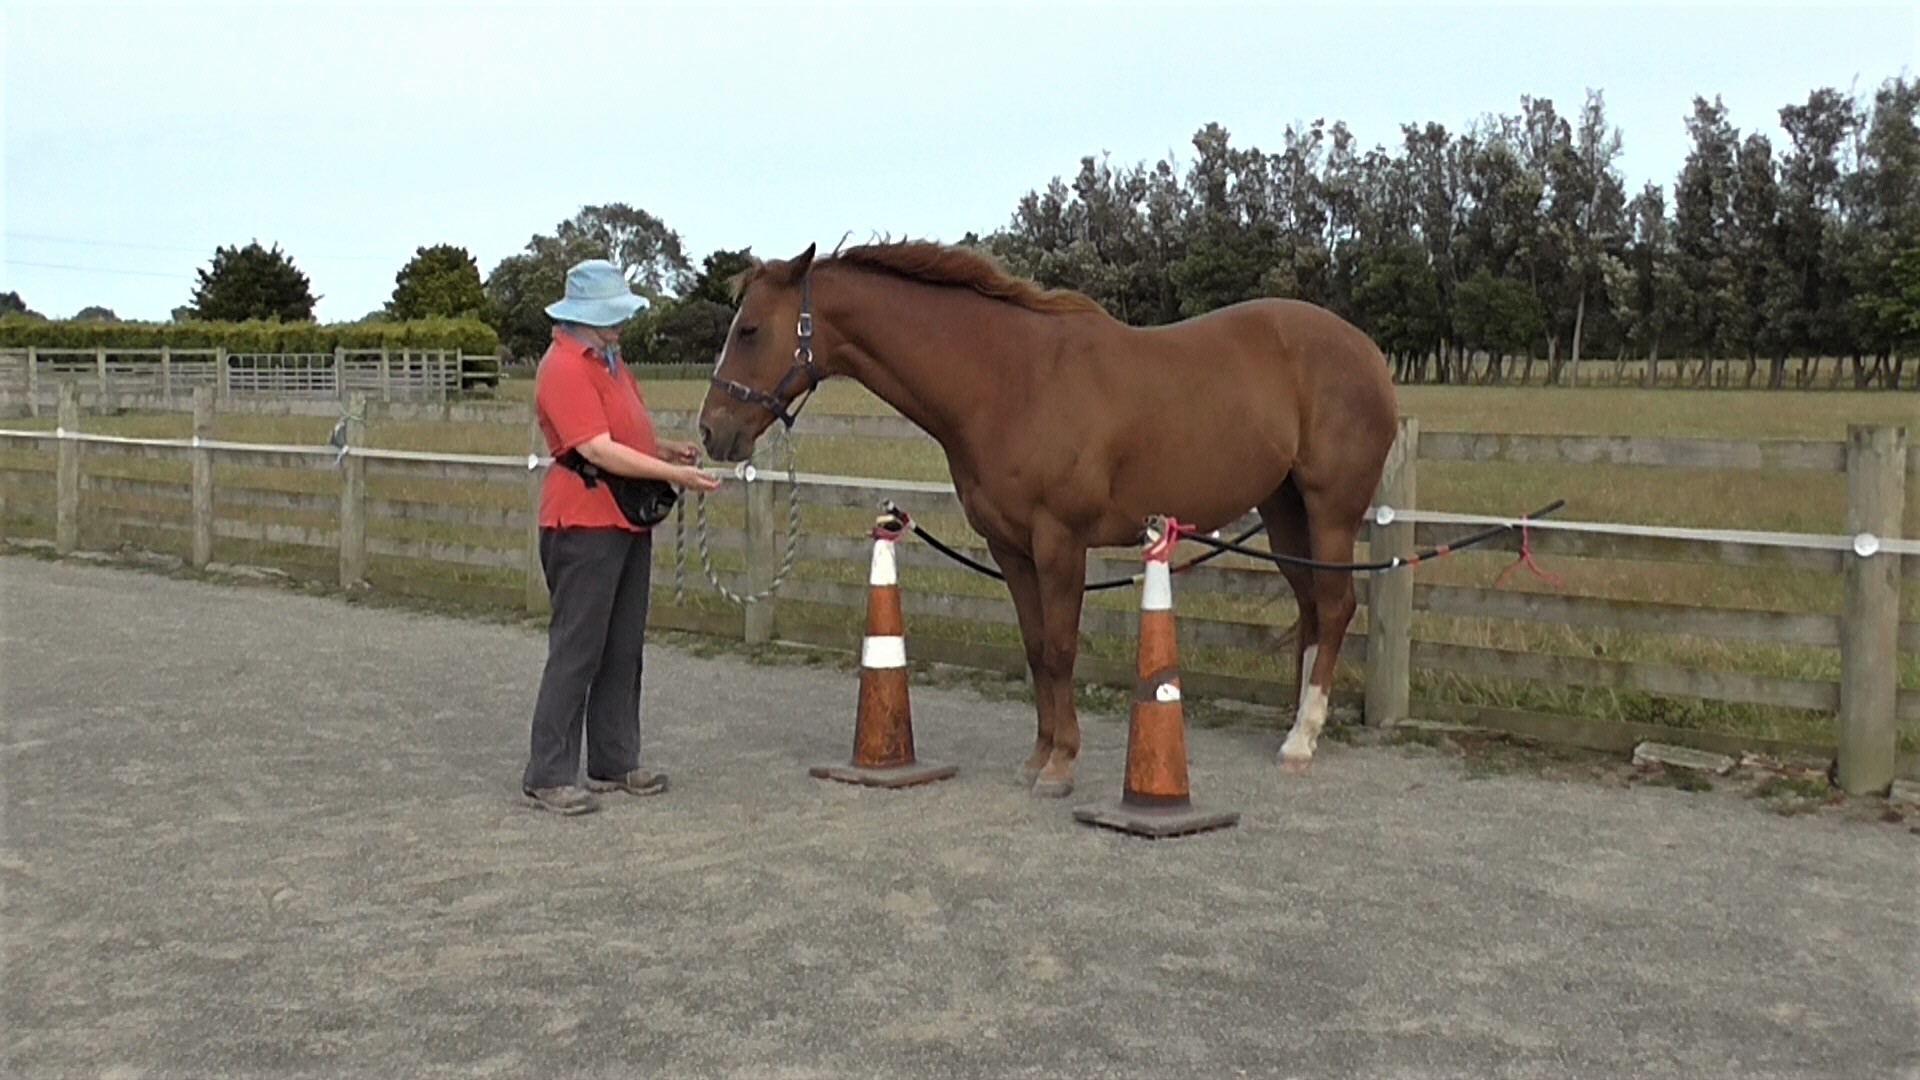
Rope between Horse and Fence
Aim #2
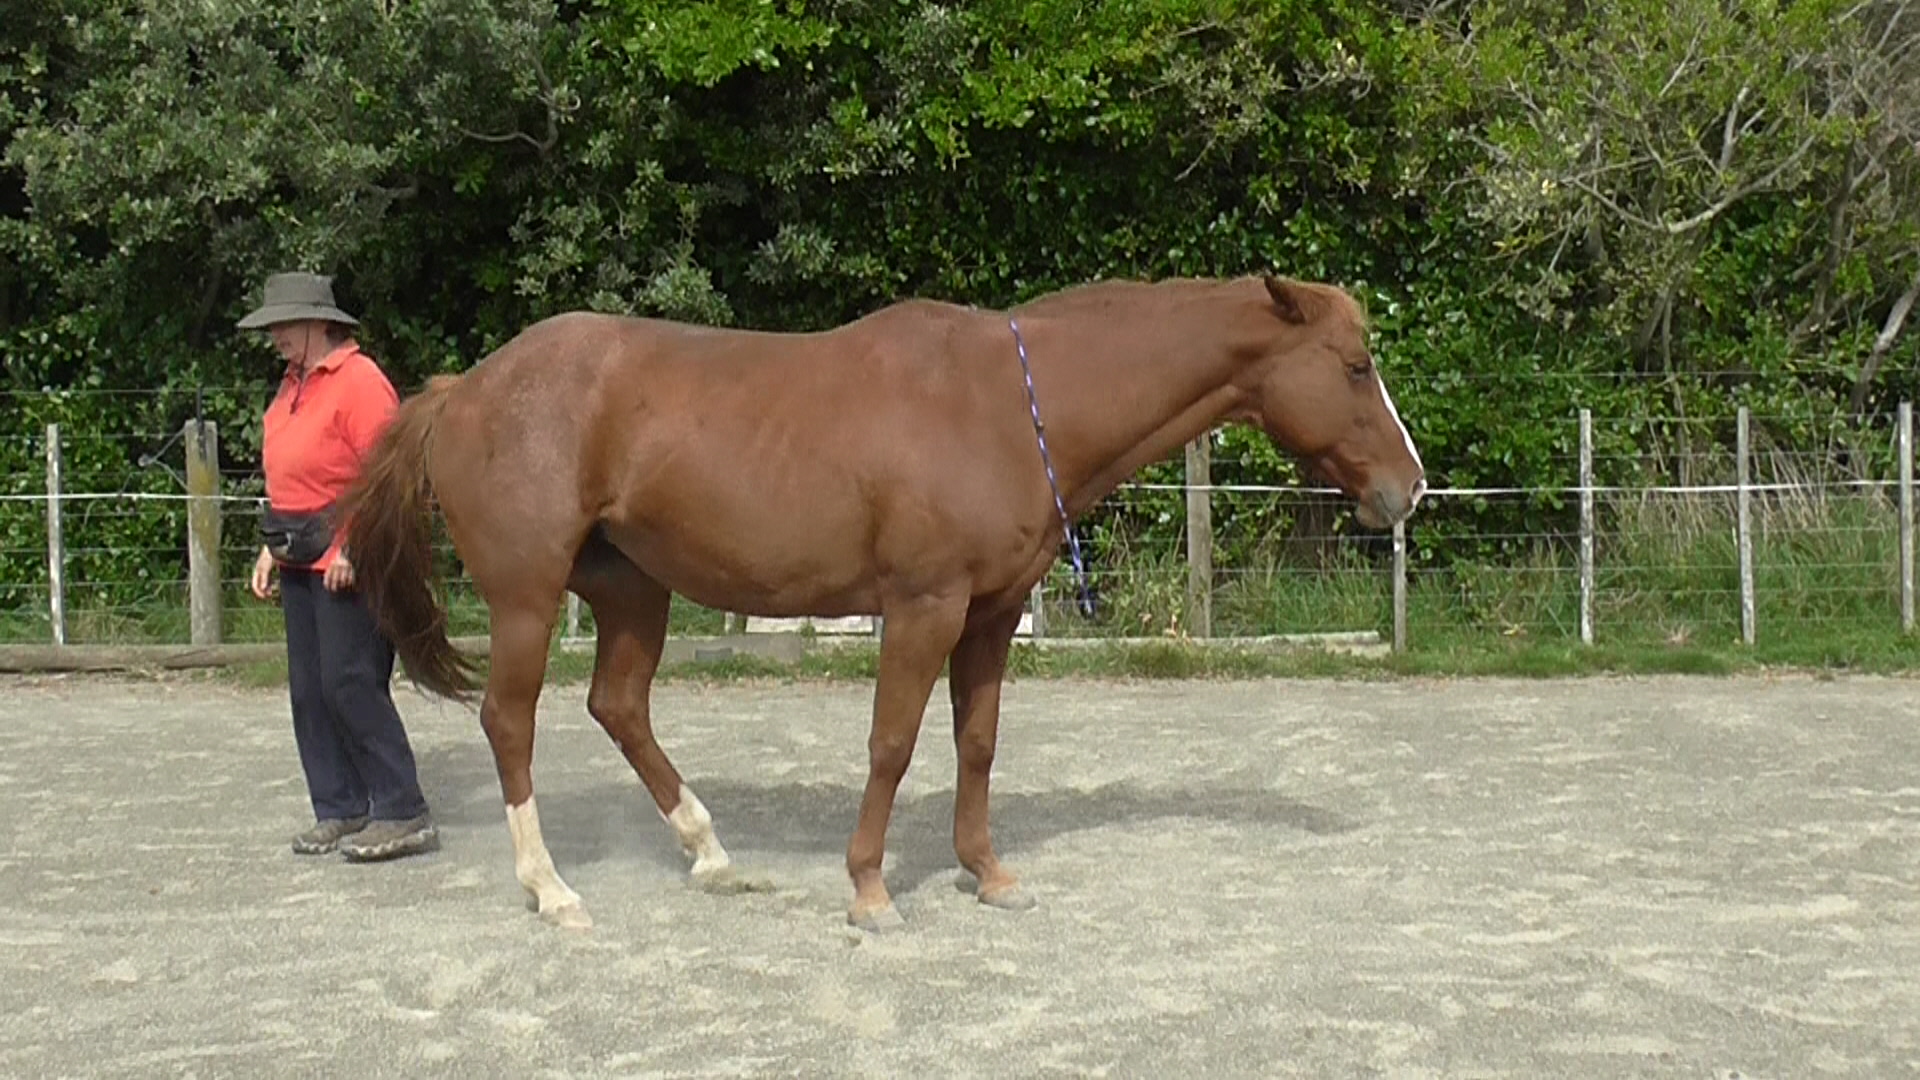
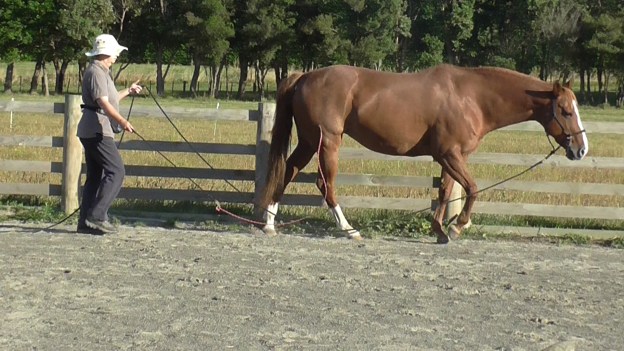
Horse confidently walks in front of the handler along a safe fence with one long rope on the fence side; voice halt signal backed up by rope wiggle if necessary.
Clip #58 in my HorseGym with Boots playlist demonstrates a way to build confidence with LP6 using a lane. Click here for Clip #58.
Visualise what you want: I want the horse to walk in front of me in a relaxed manner, without turning around.
Slices
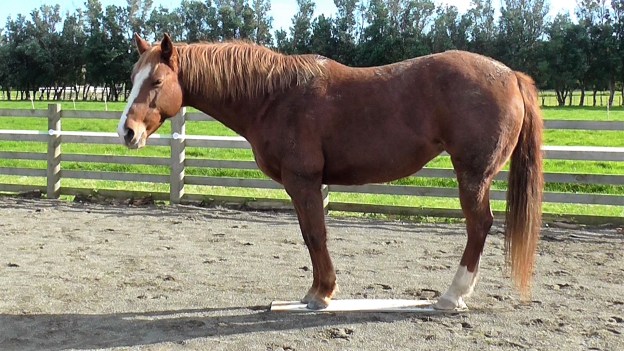
- Use destination mats at which the horse gains a clic&trea. Using mats makes the whole process easier for the horse because there is a reason for moving that he understands. He will be much less likely to turn around and try to face you.
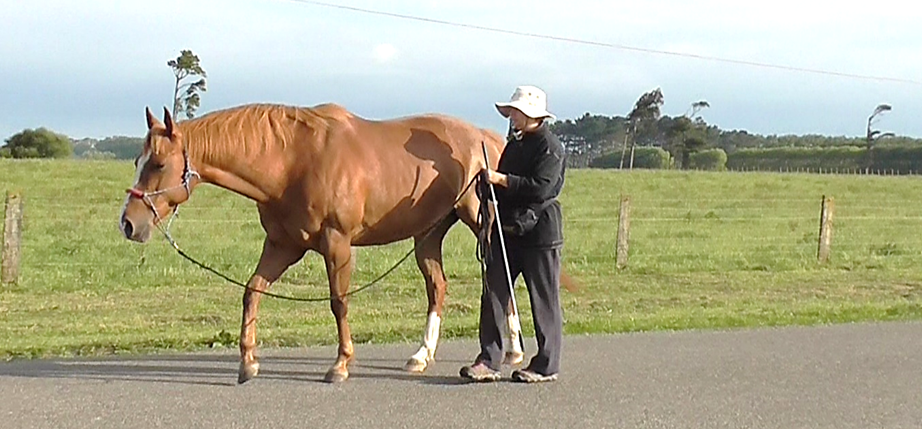
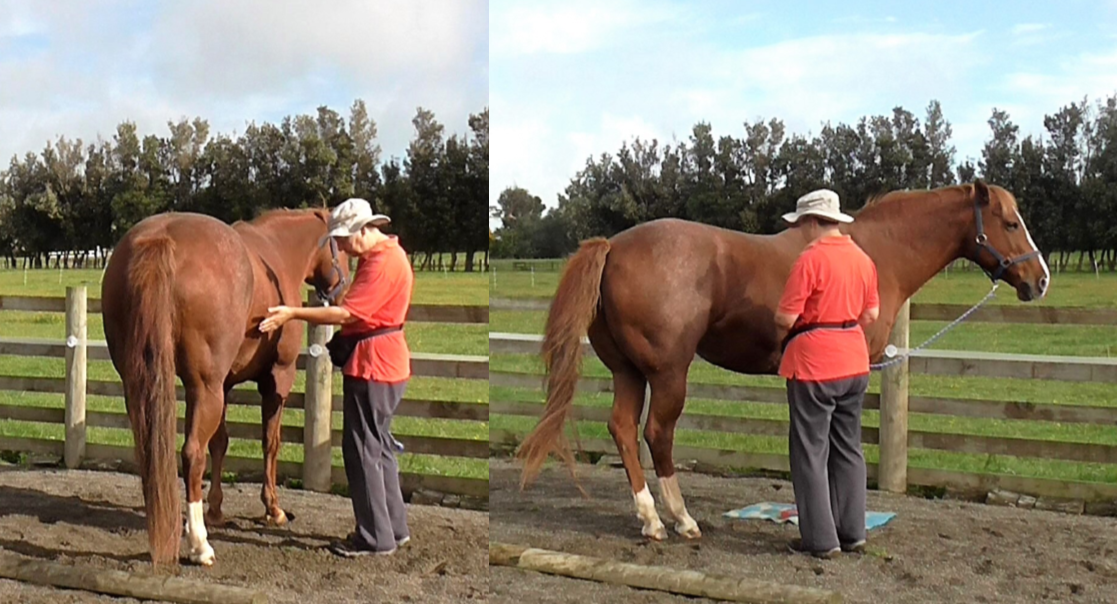
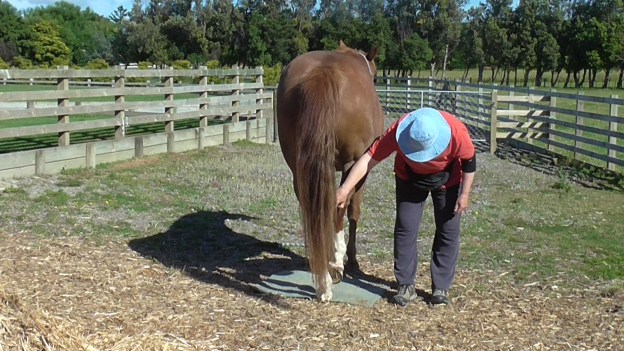
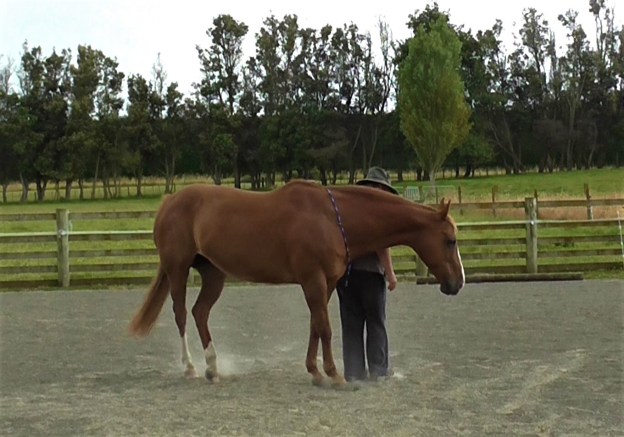
- Start in LP4 (behind withers) or LP5 (beside butt) and gradually drift back until you are behind the horse; relax (click&treat – quickly move to the horse’s head to deliver the treat; we don’t want him to think he has to turn to get it.)
- Start wth the mat quite close, then gradually move it further and further away.
- Gradually, as he comes to understand what you want, move yourself further and further back and increase the time between the releases (click&treats).
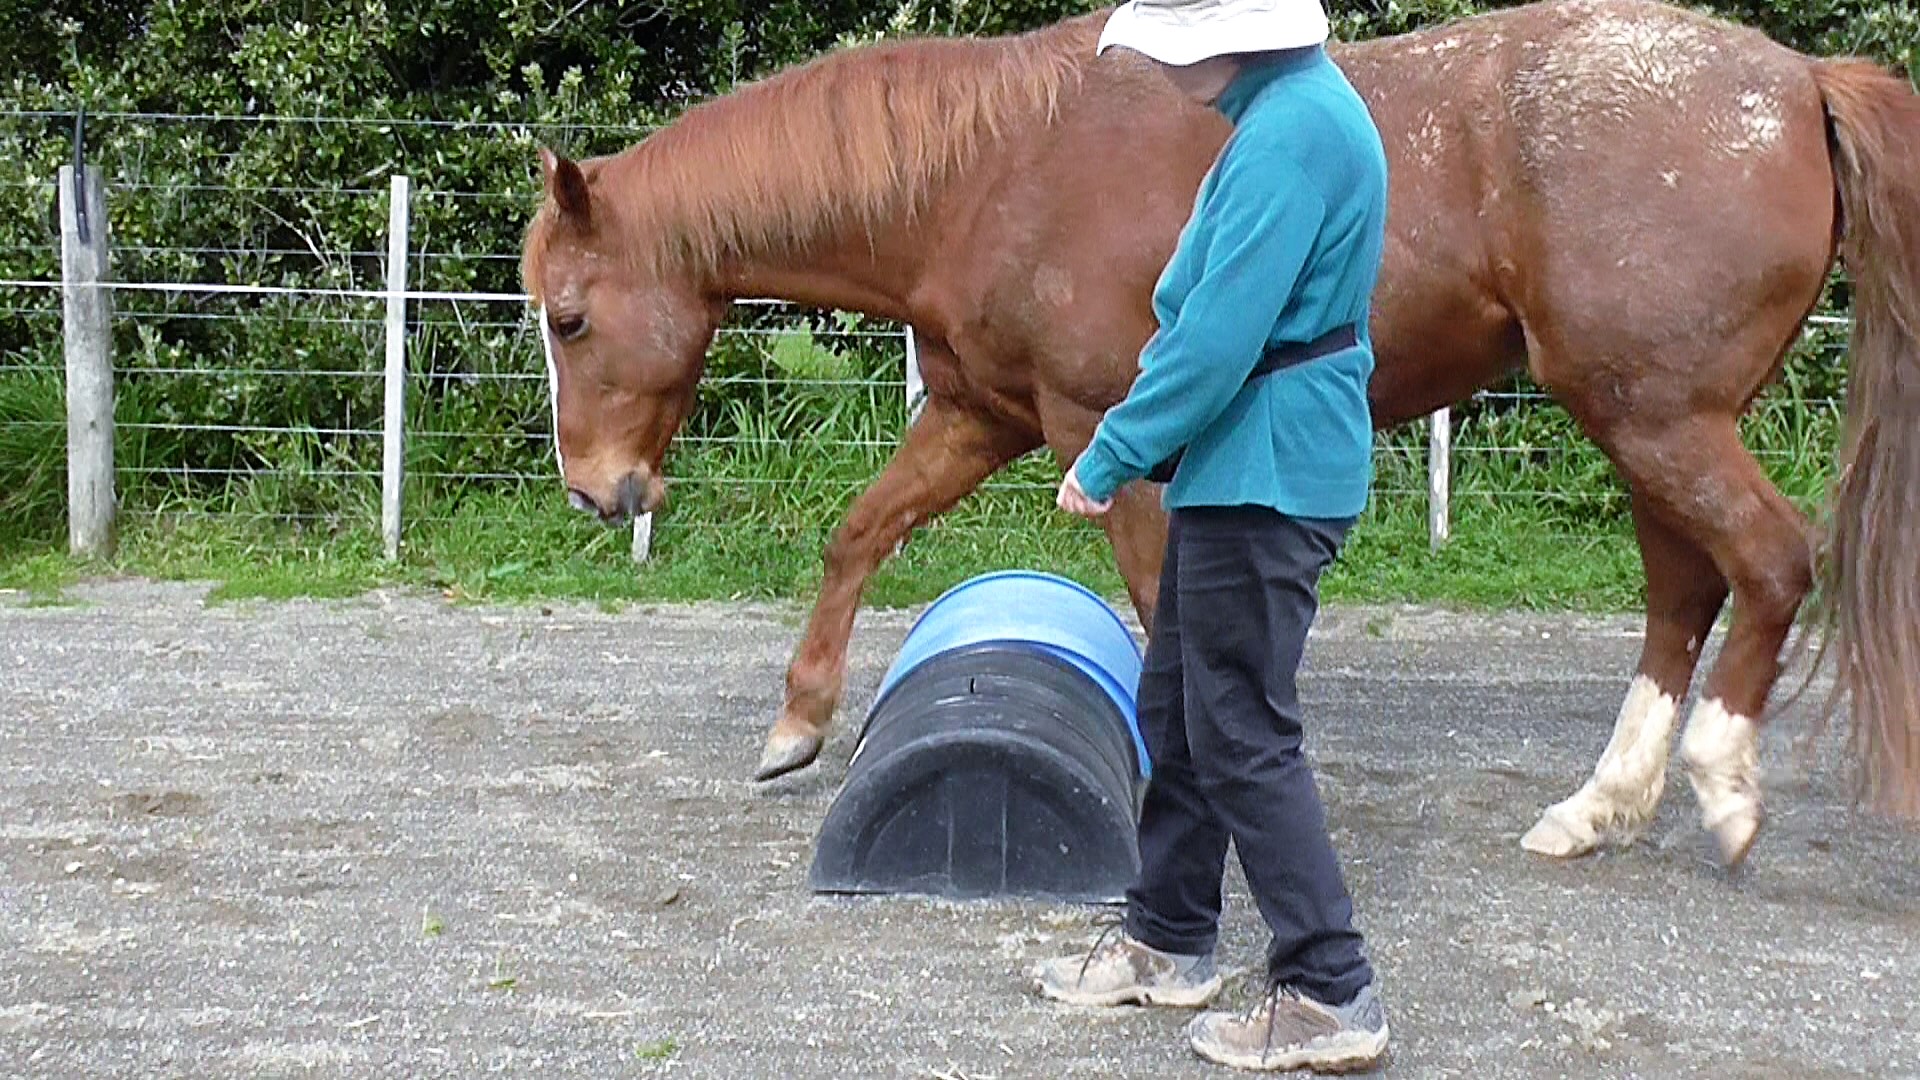
- Quietly mosey along behind the horse, beyond the kick zone, going at his pace, keeping the rope out of the horse’s way.
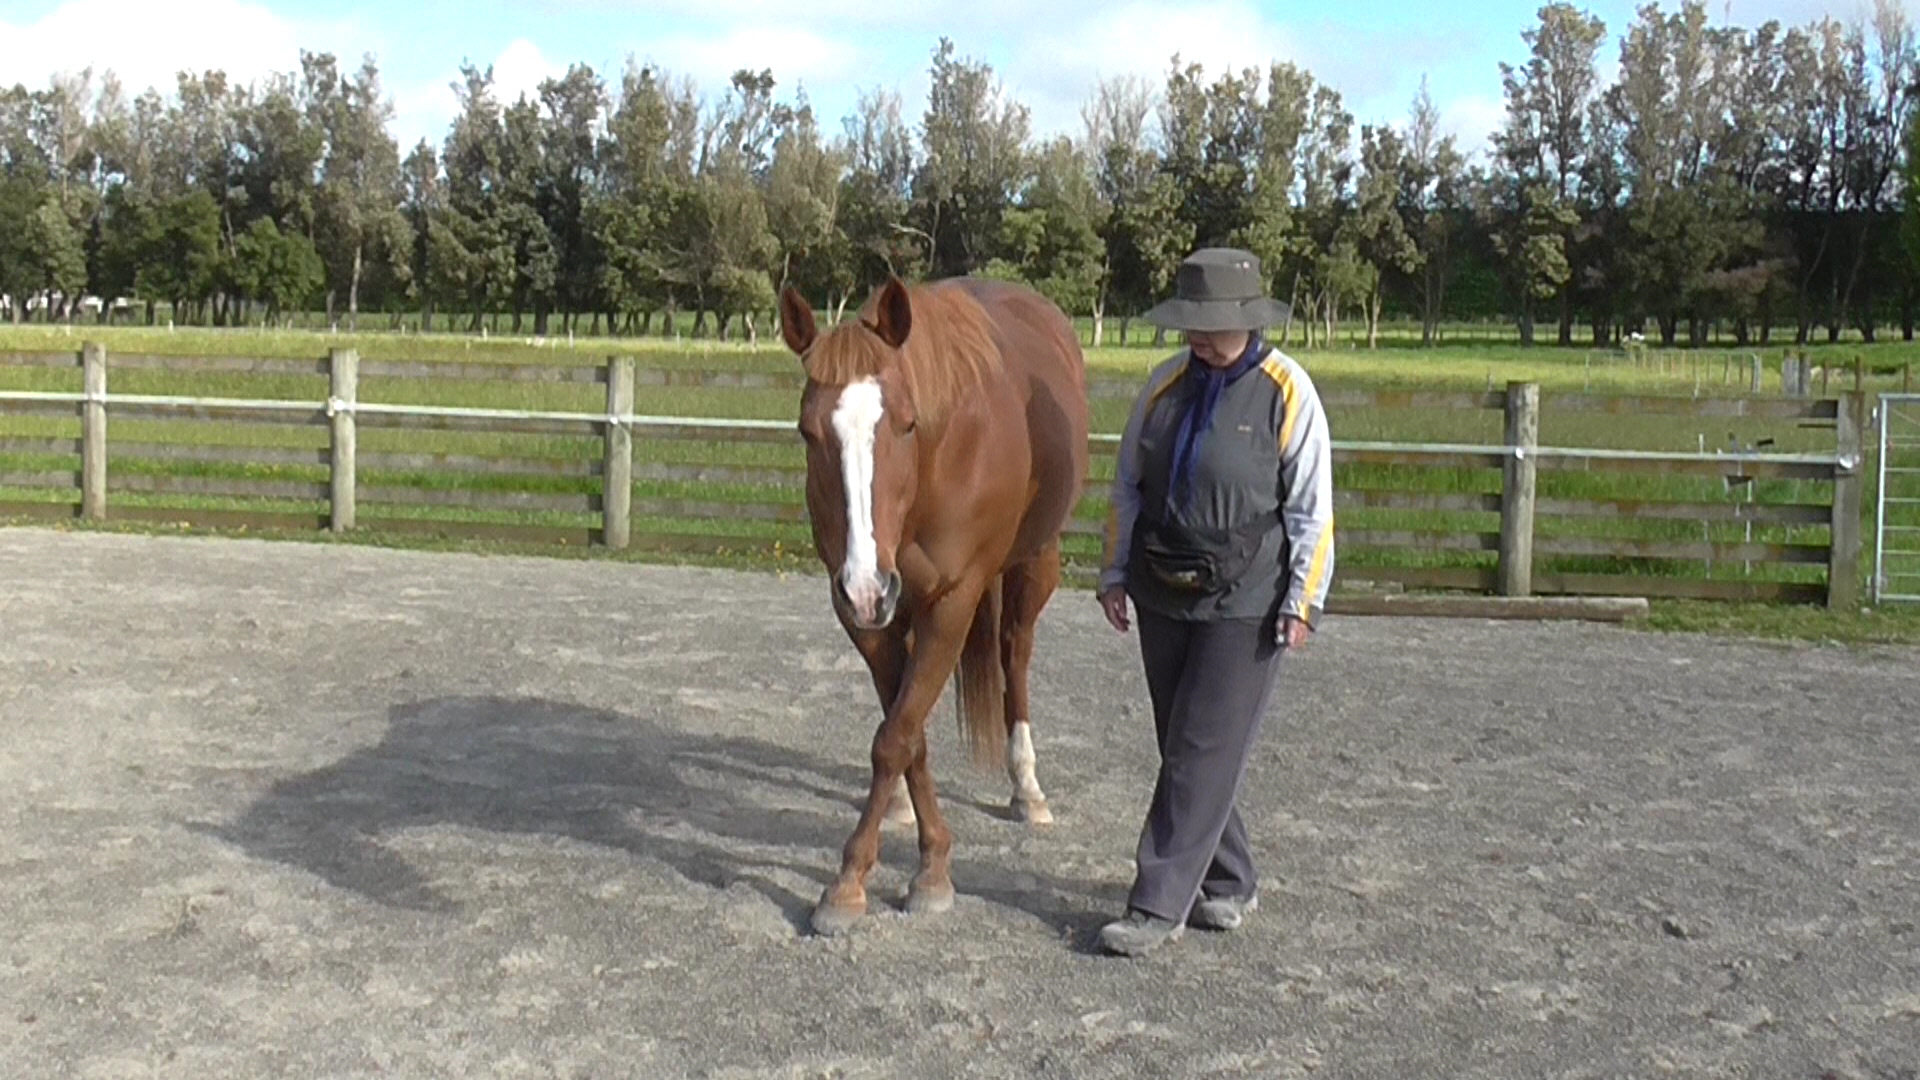
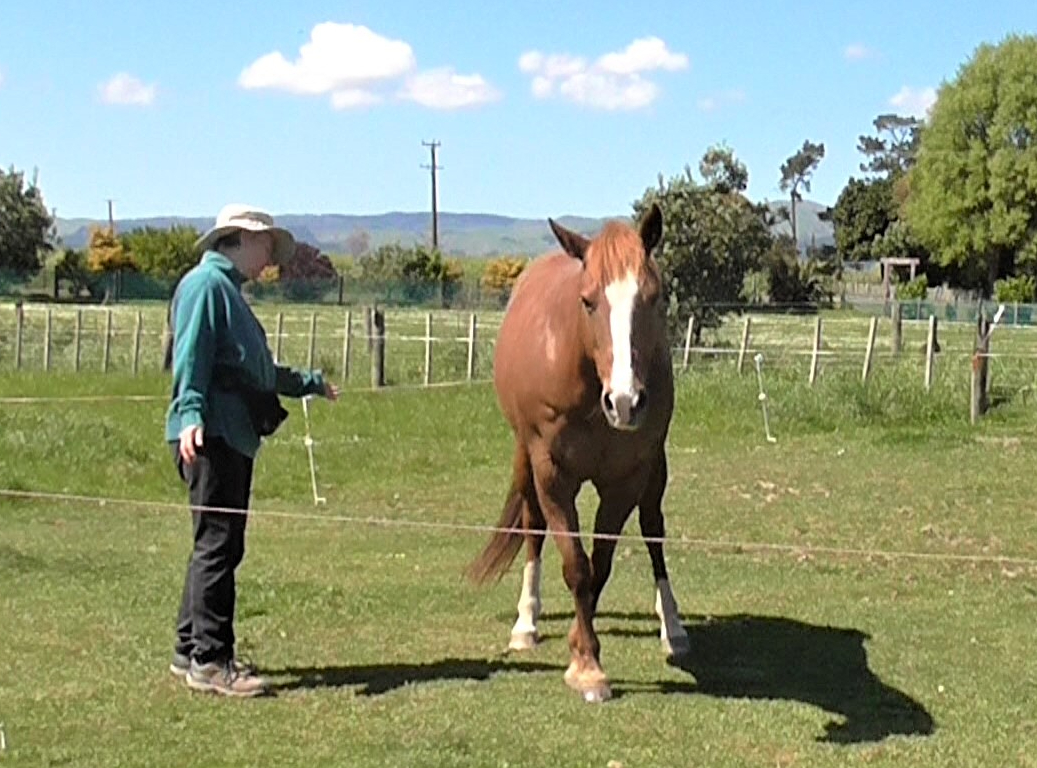
- For the ‘walk on’ signal, make yourself ‘large’ by breathing in deeply, lift your torso, use your voice signal, and, only if necessary, activate your body extension out to the side. If you have taught a tap on the rump as a ‘walk on’ signal, you can also use that. But use all of the others first.
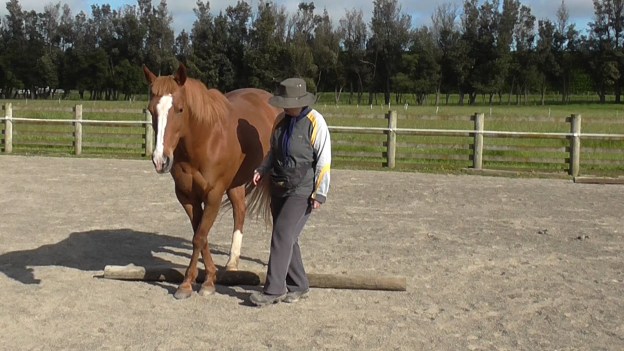
- If the horse responds willingly to these ‘walk on’ signals when you are in LP3 (beside neck/shoulders), he usually readily transfers these signals to being used from Leading Positions 4, 5 and 6.
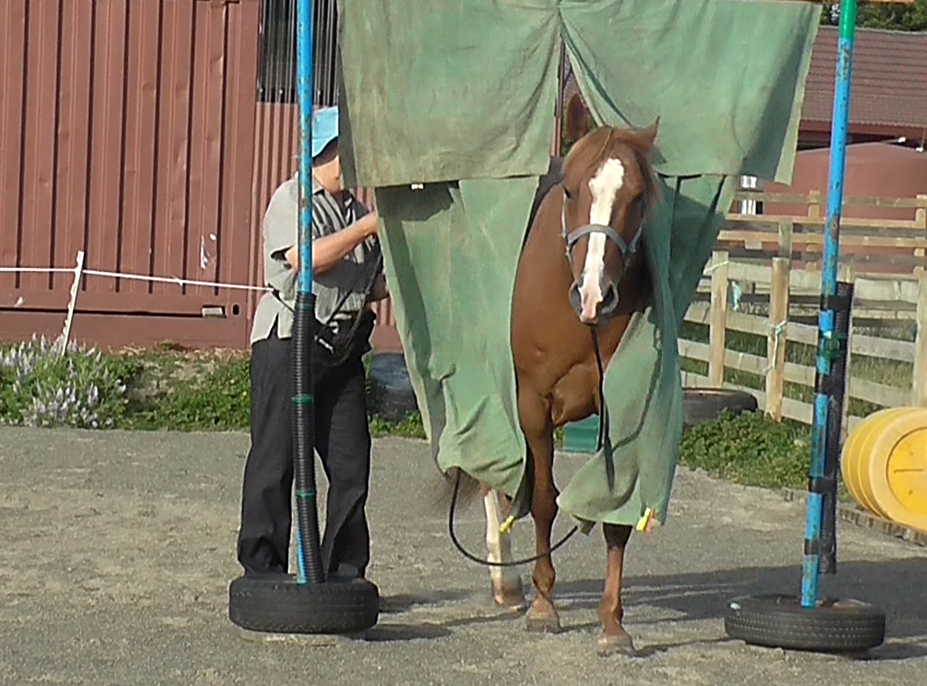
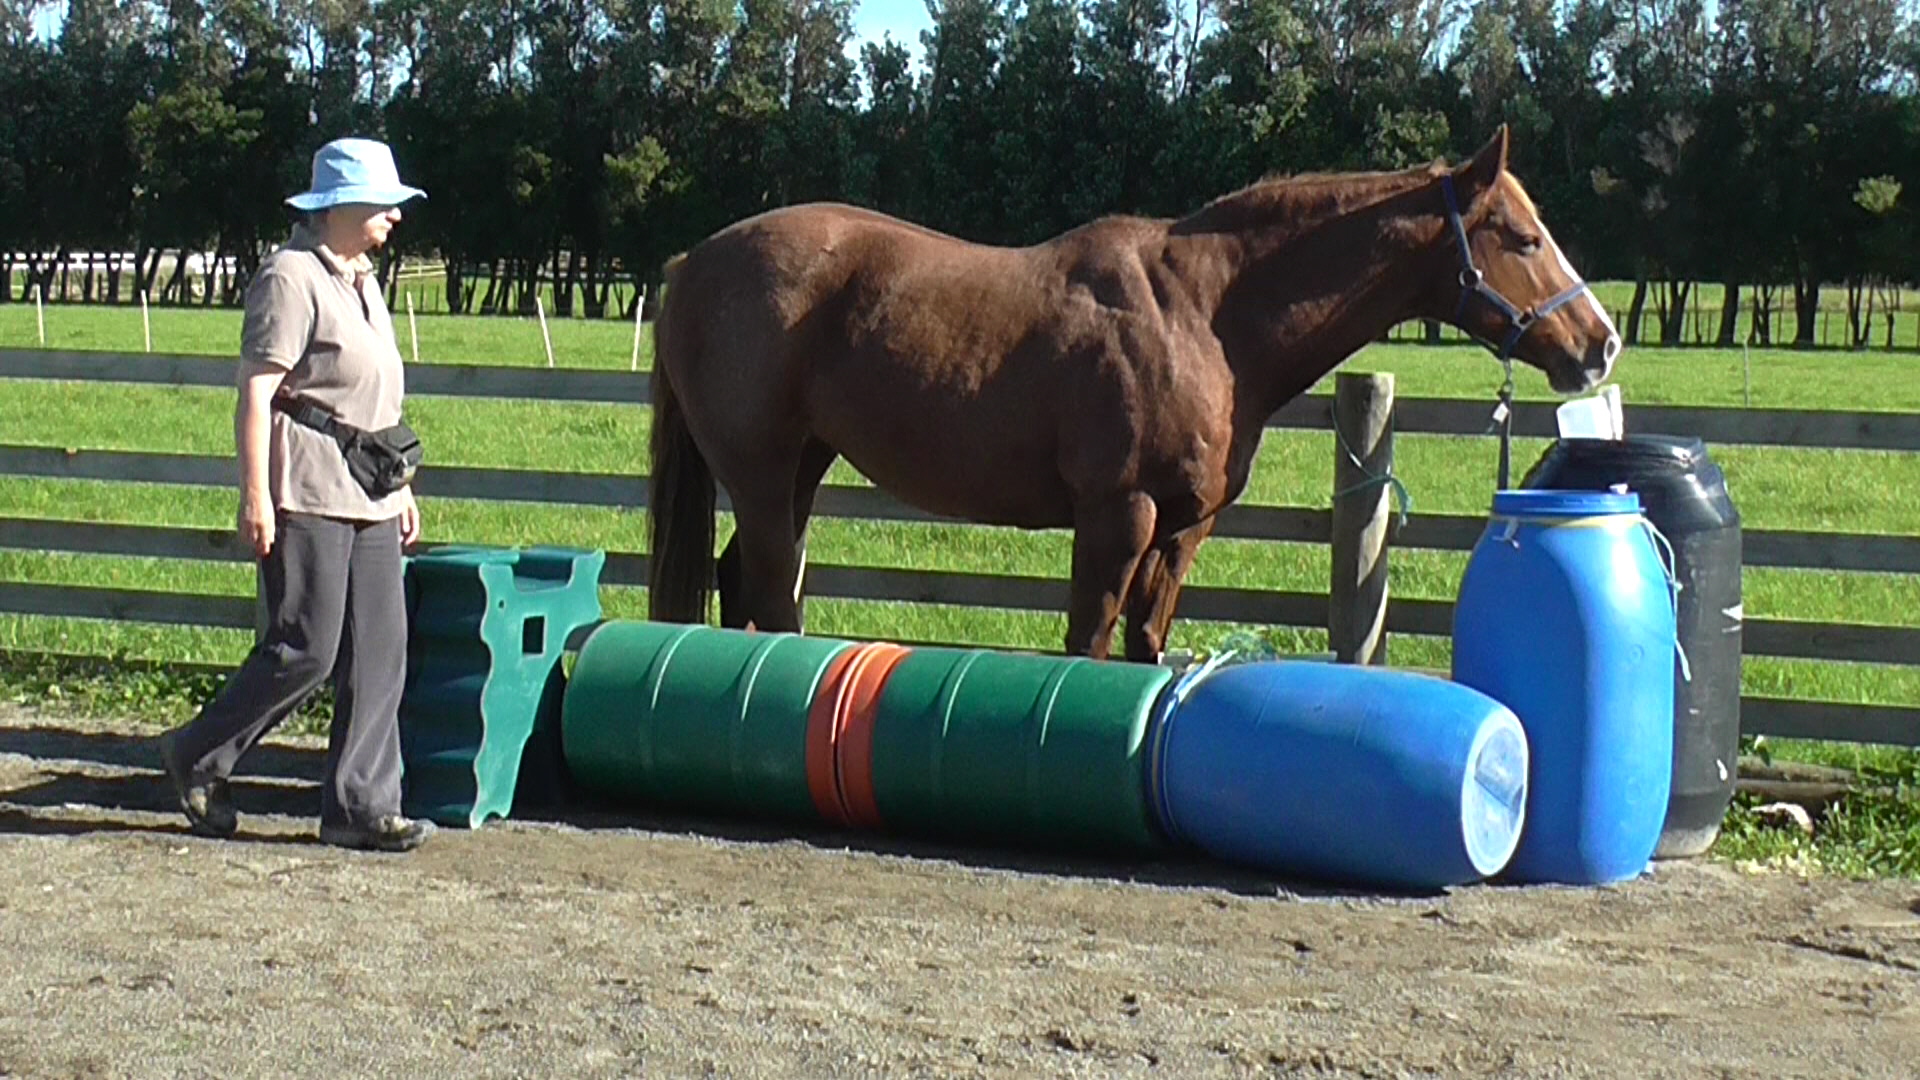
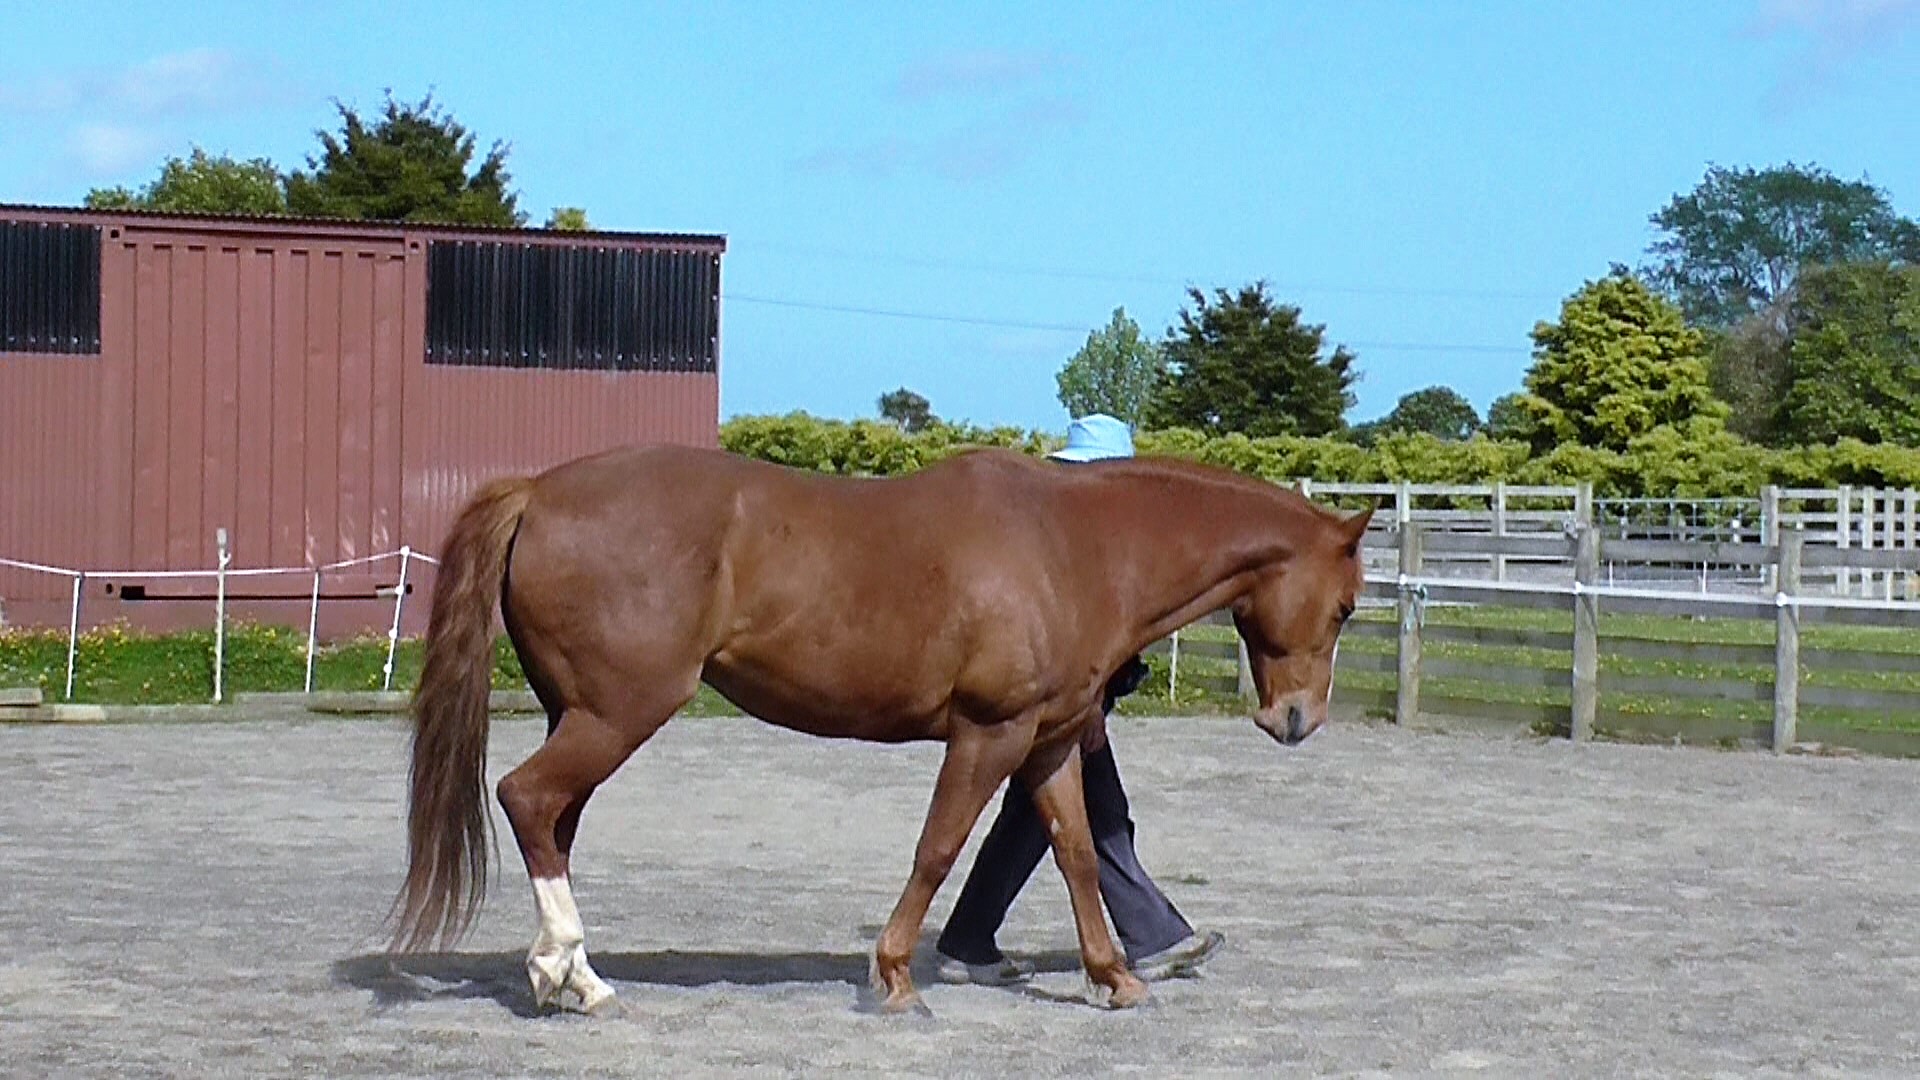
- Once the ‘walk on’ and ‘halt’ signals from behind have been established, a safe fence-line is especially helpful to get the horse moving forward with flow by asking him to stay along the fence. Round pens are good, but so are rectangular pens (picadero). If you have the use of electric fence tread-in posts and tape, you can set up pens of various shapes and sizes.
- When the horse is ho-hum about the rope between him and the fence along one side of his body, teach all the slices again with the rope along the other side of his body. You may find that one side is harder if the horse tends to fall in or out over one shoulder due to the natural asymmetry of his body.
Horse between Rope and Fence
- Again, use pre-set destinations set in a straight line ahead so the horse will be much less likely to veer away from the fence because his focus will be on the next destination.
- Continue to build your ‘halt’ and ‘walk on’ voice and body language signals. If you have taught that a light tap on the butt means ‘walk on, you an add it to your voice and body languate (energy up and big breath in) walk on’ signals, but always use a tap after you’ve given the voice and body language signals.