Shape of the lens
The lens of a horse eye is not able to change shape as easily as the lens of a human eye. Horse vision more resembles looking through a trifocal lens. A trifocal lens supports distance focus in one part of the lens, mid-distance focus in another part and close-up focus in a third part.
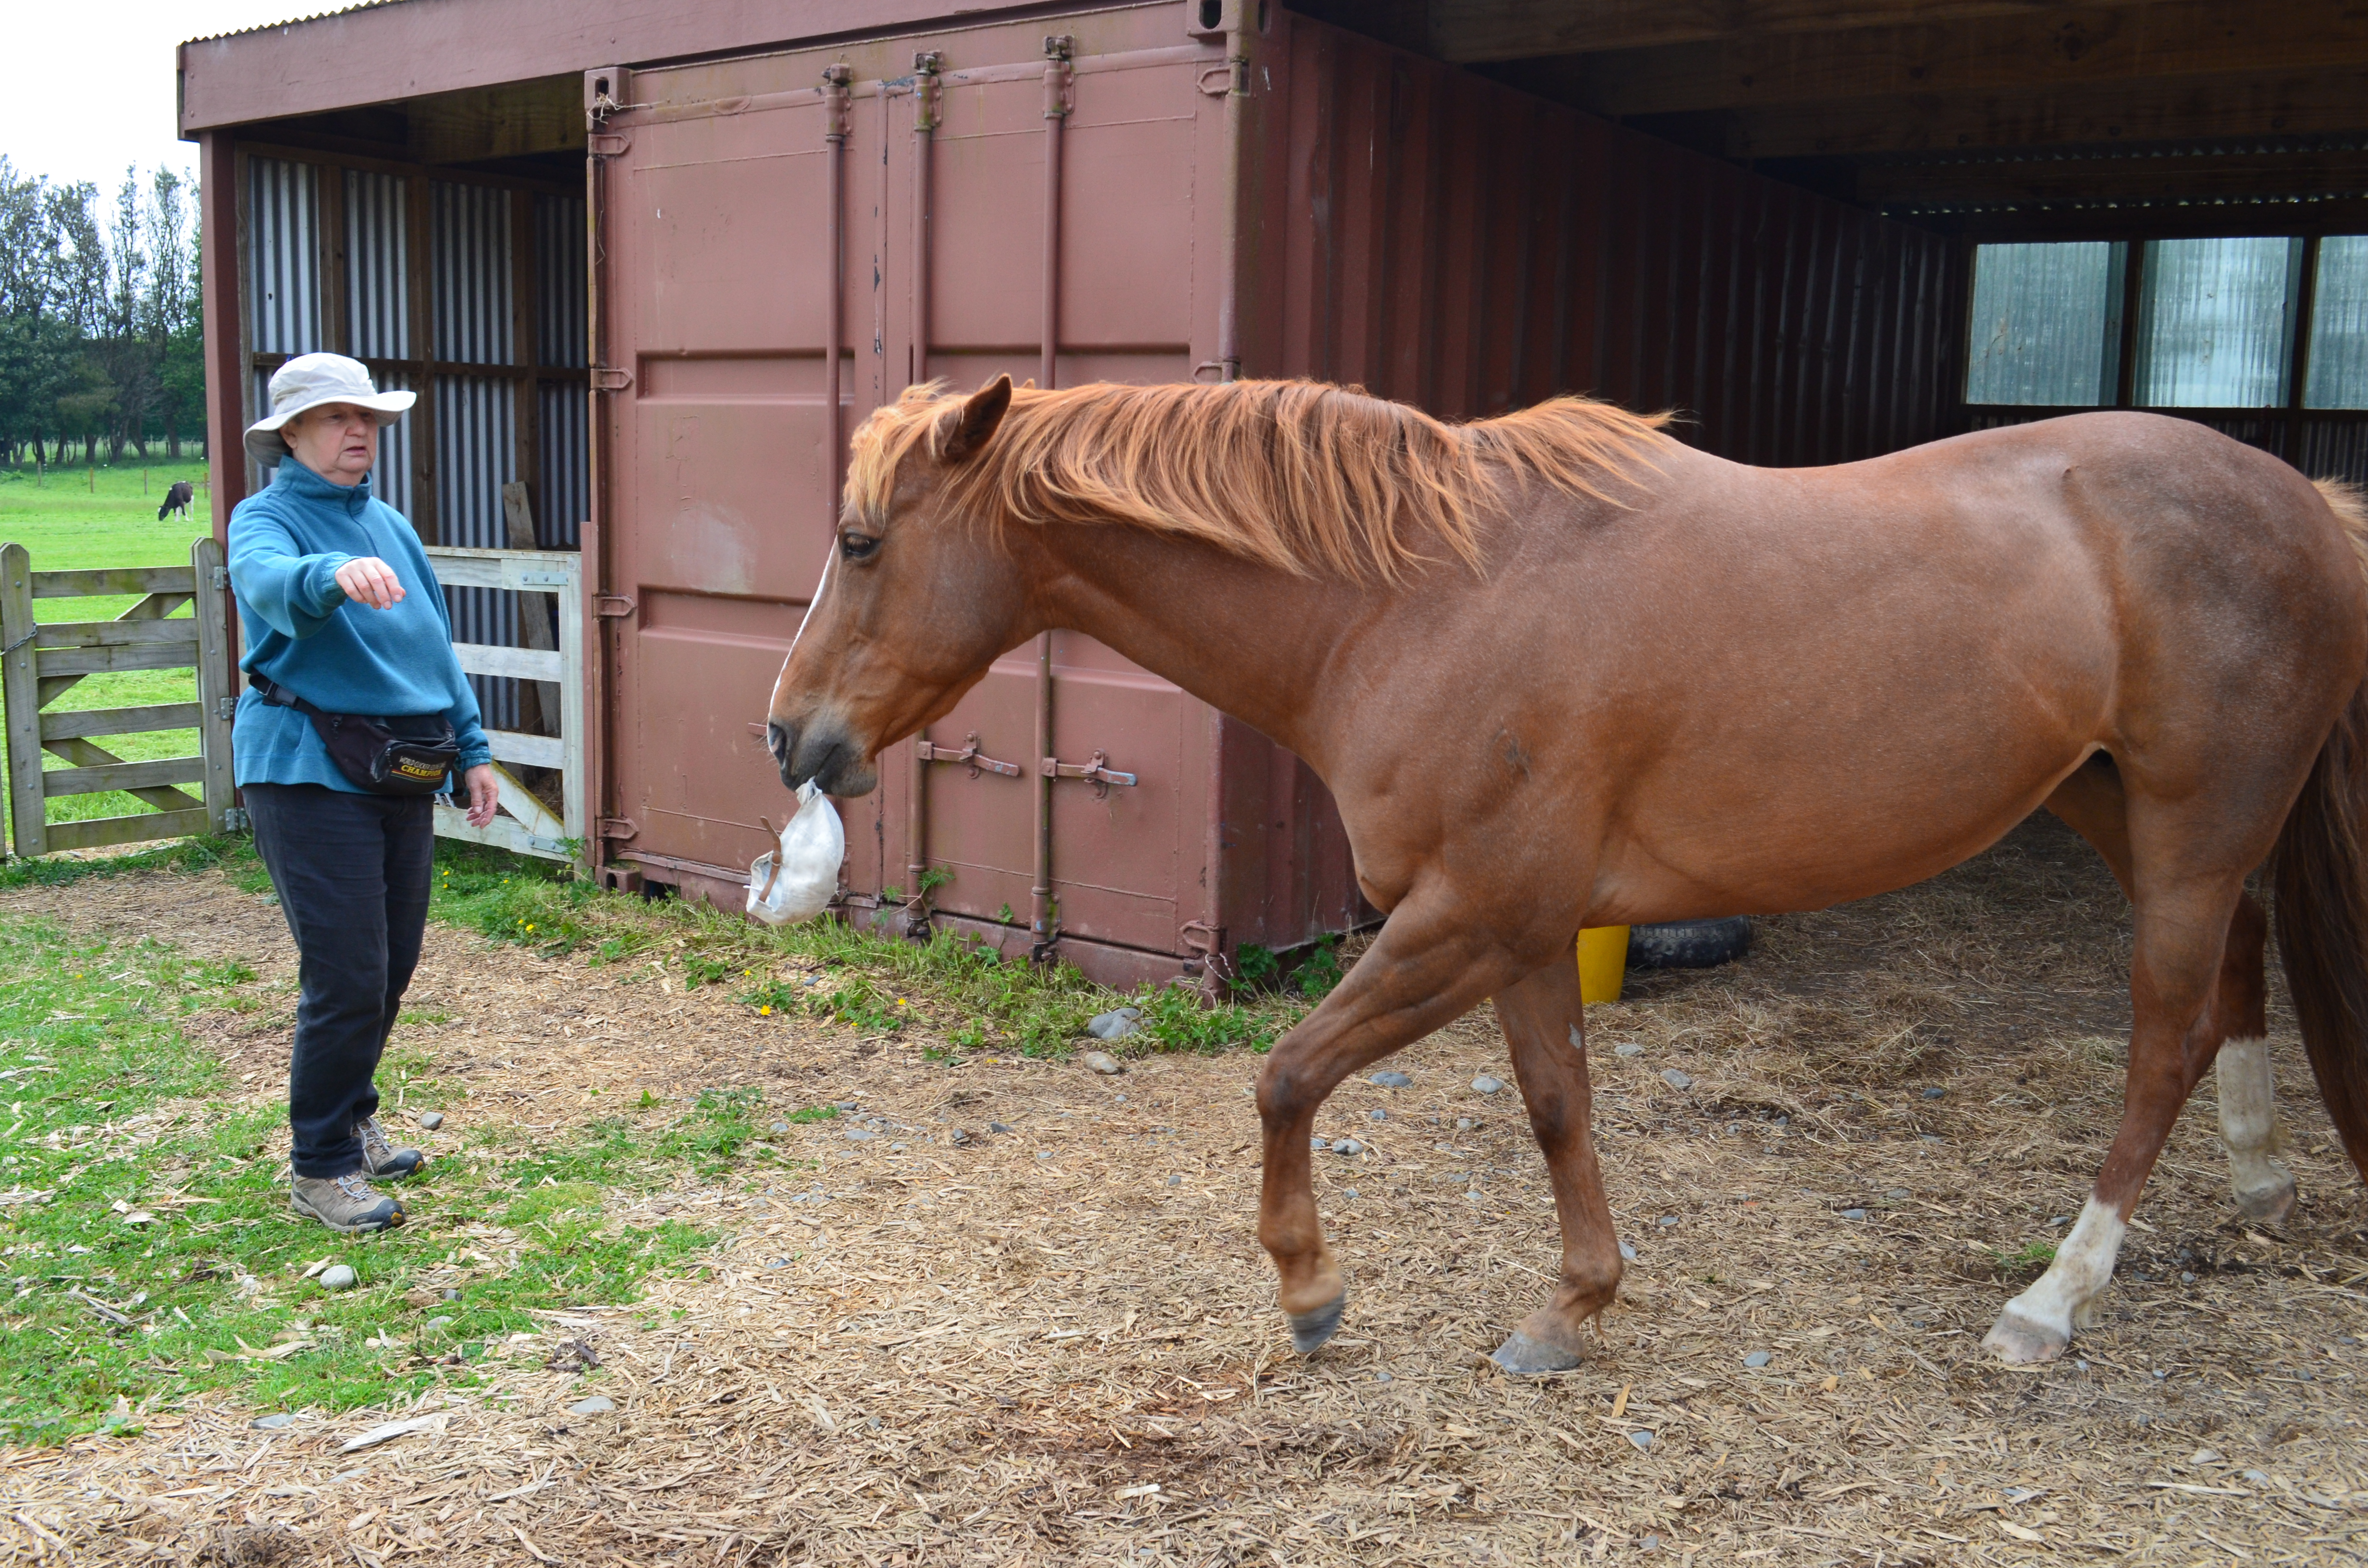
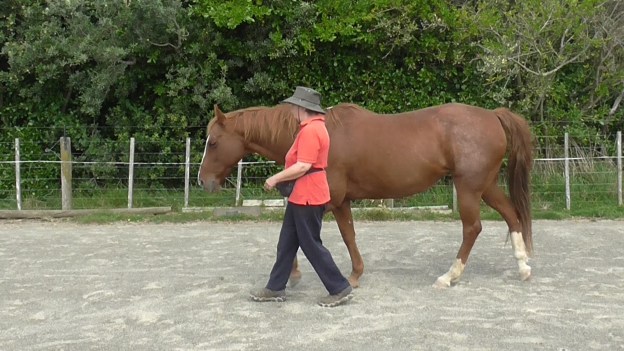
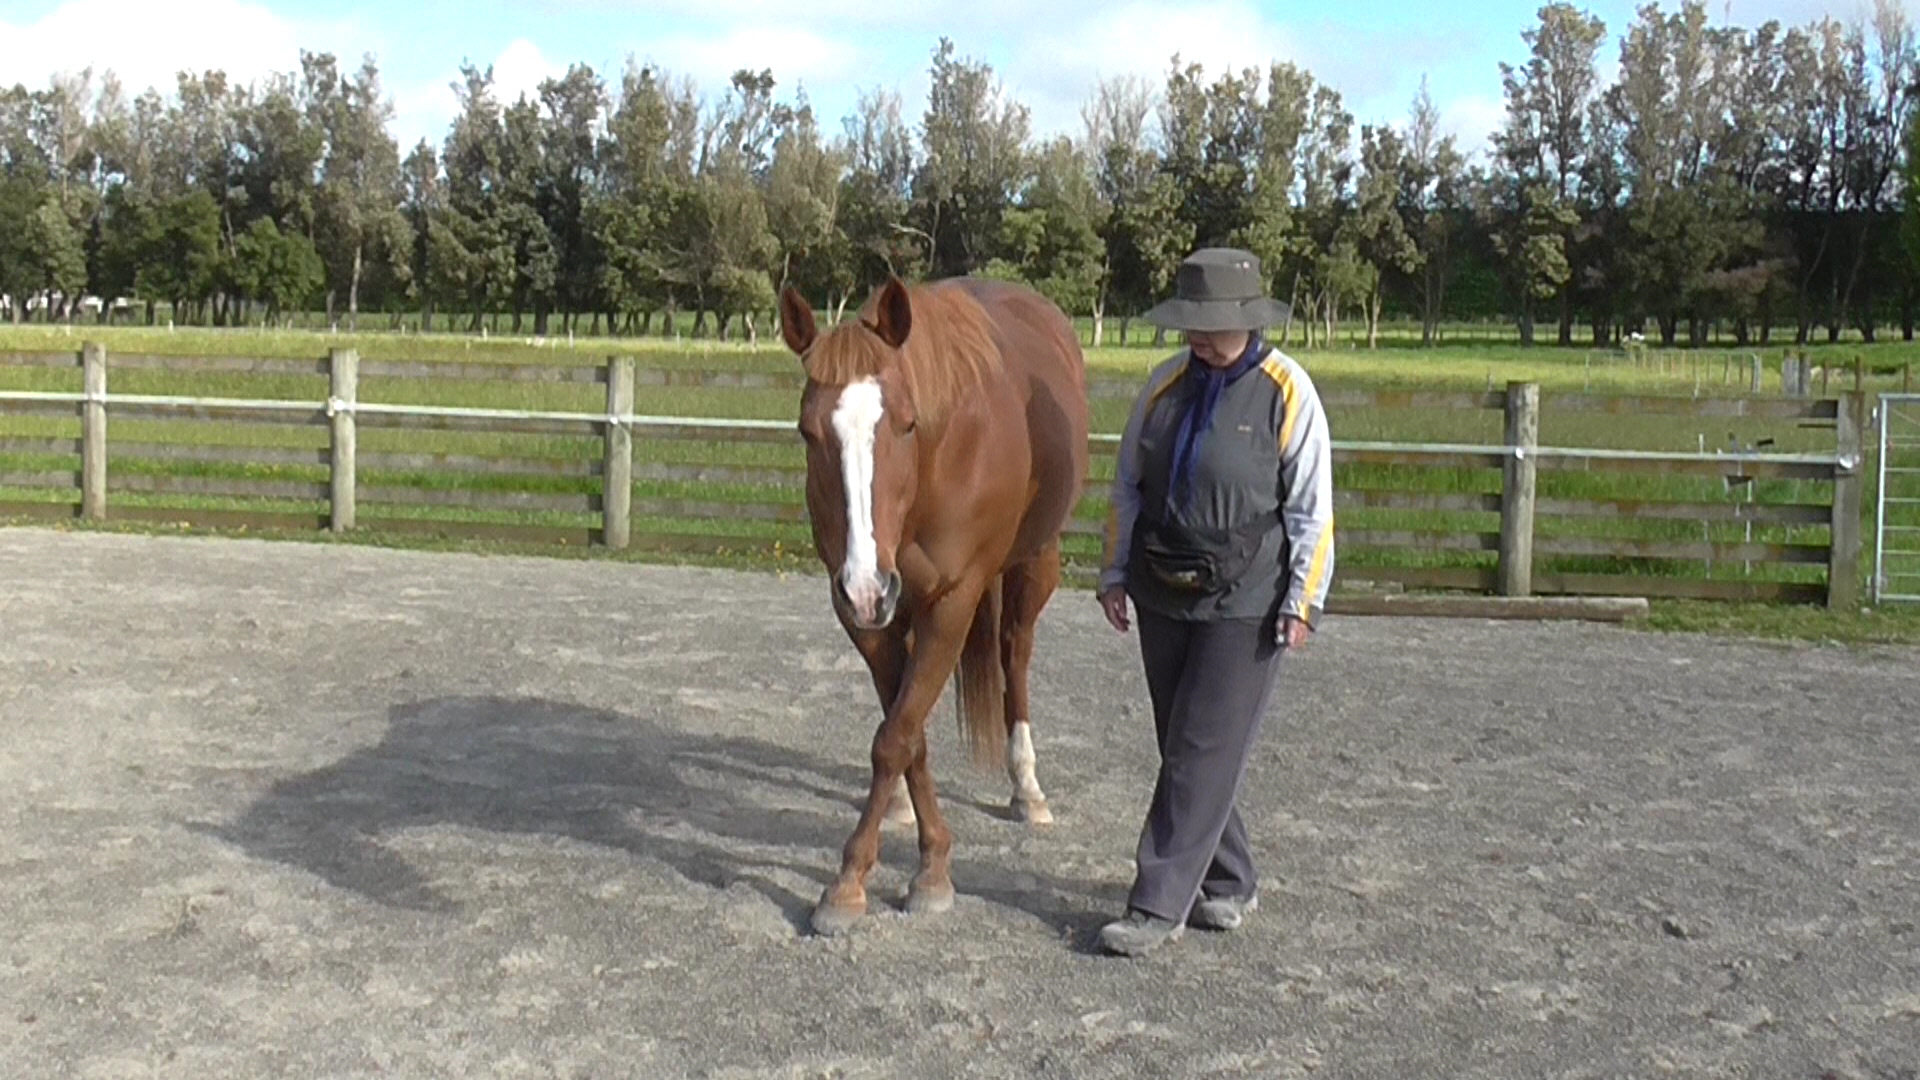
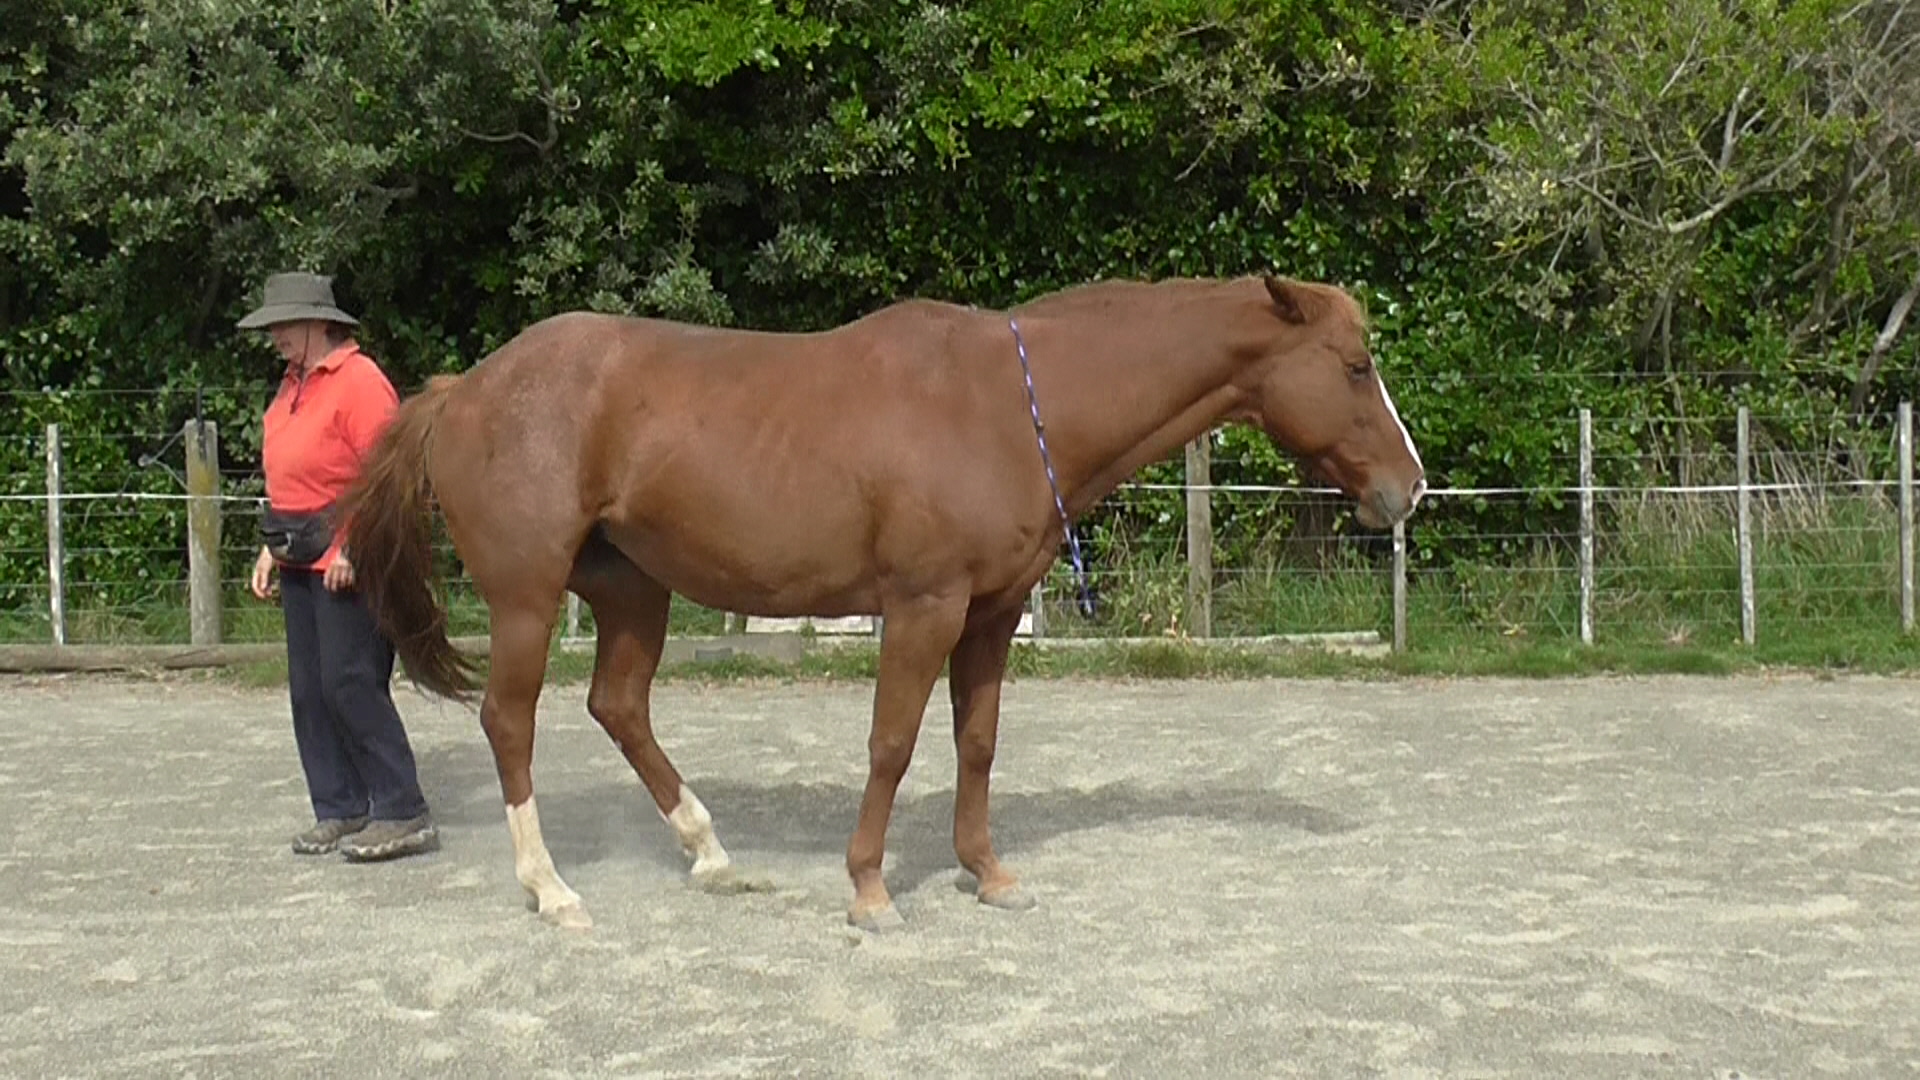
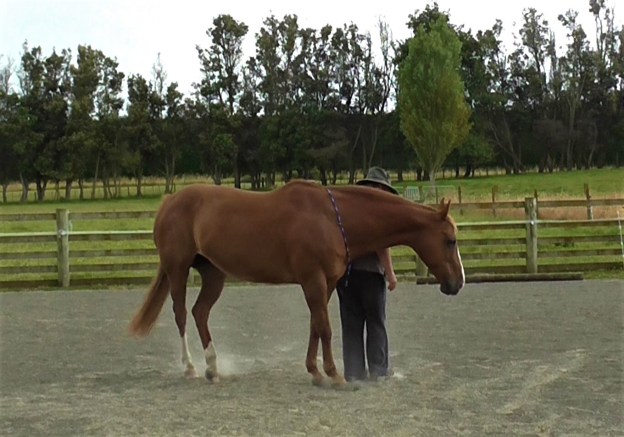
This explains why horses need to do so much positioning of their heads to see clearly. They need to raise their head high for clearer distance vision and drop it down low to get a better view of something closer.

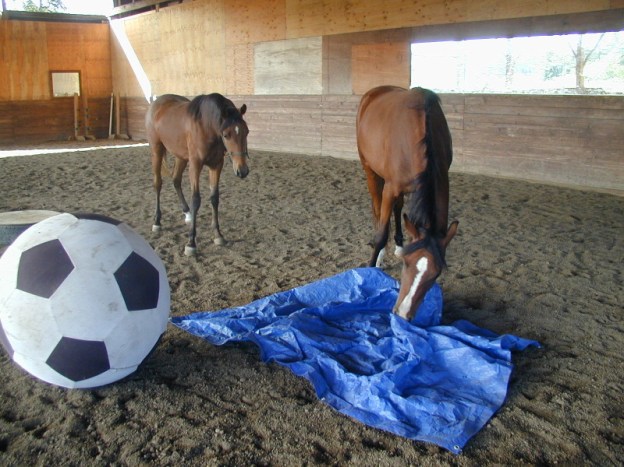
Horses need to lower their head to see things up close clearly. Long hair obstructing the eyes does’t help.
Forcing a horse to keep his nose vertical with the ground restricts his visual field a great deal. It is easy to try this yourself. Stand with your head up and note your field of vision. Then drop your head so your nose points to the ground. Note your field of vision now.
For a prey animal who depends on early detection of danger and a flight response for survival, restricting the field of vision by requiring (or forcing) vertical flexion can cause a lot of mental anxiety and related damaging muscle tension all over the body.
Eyes set in the side of the head
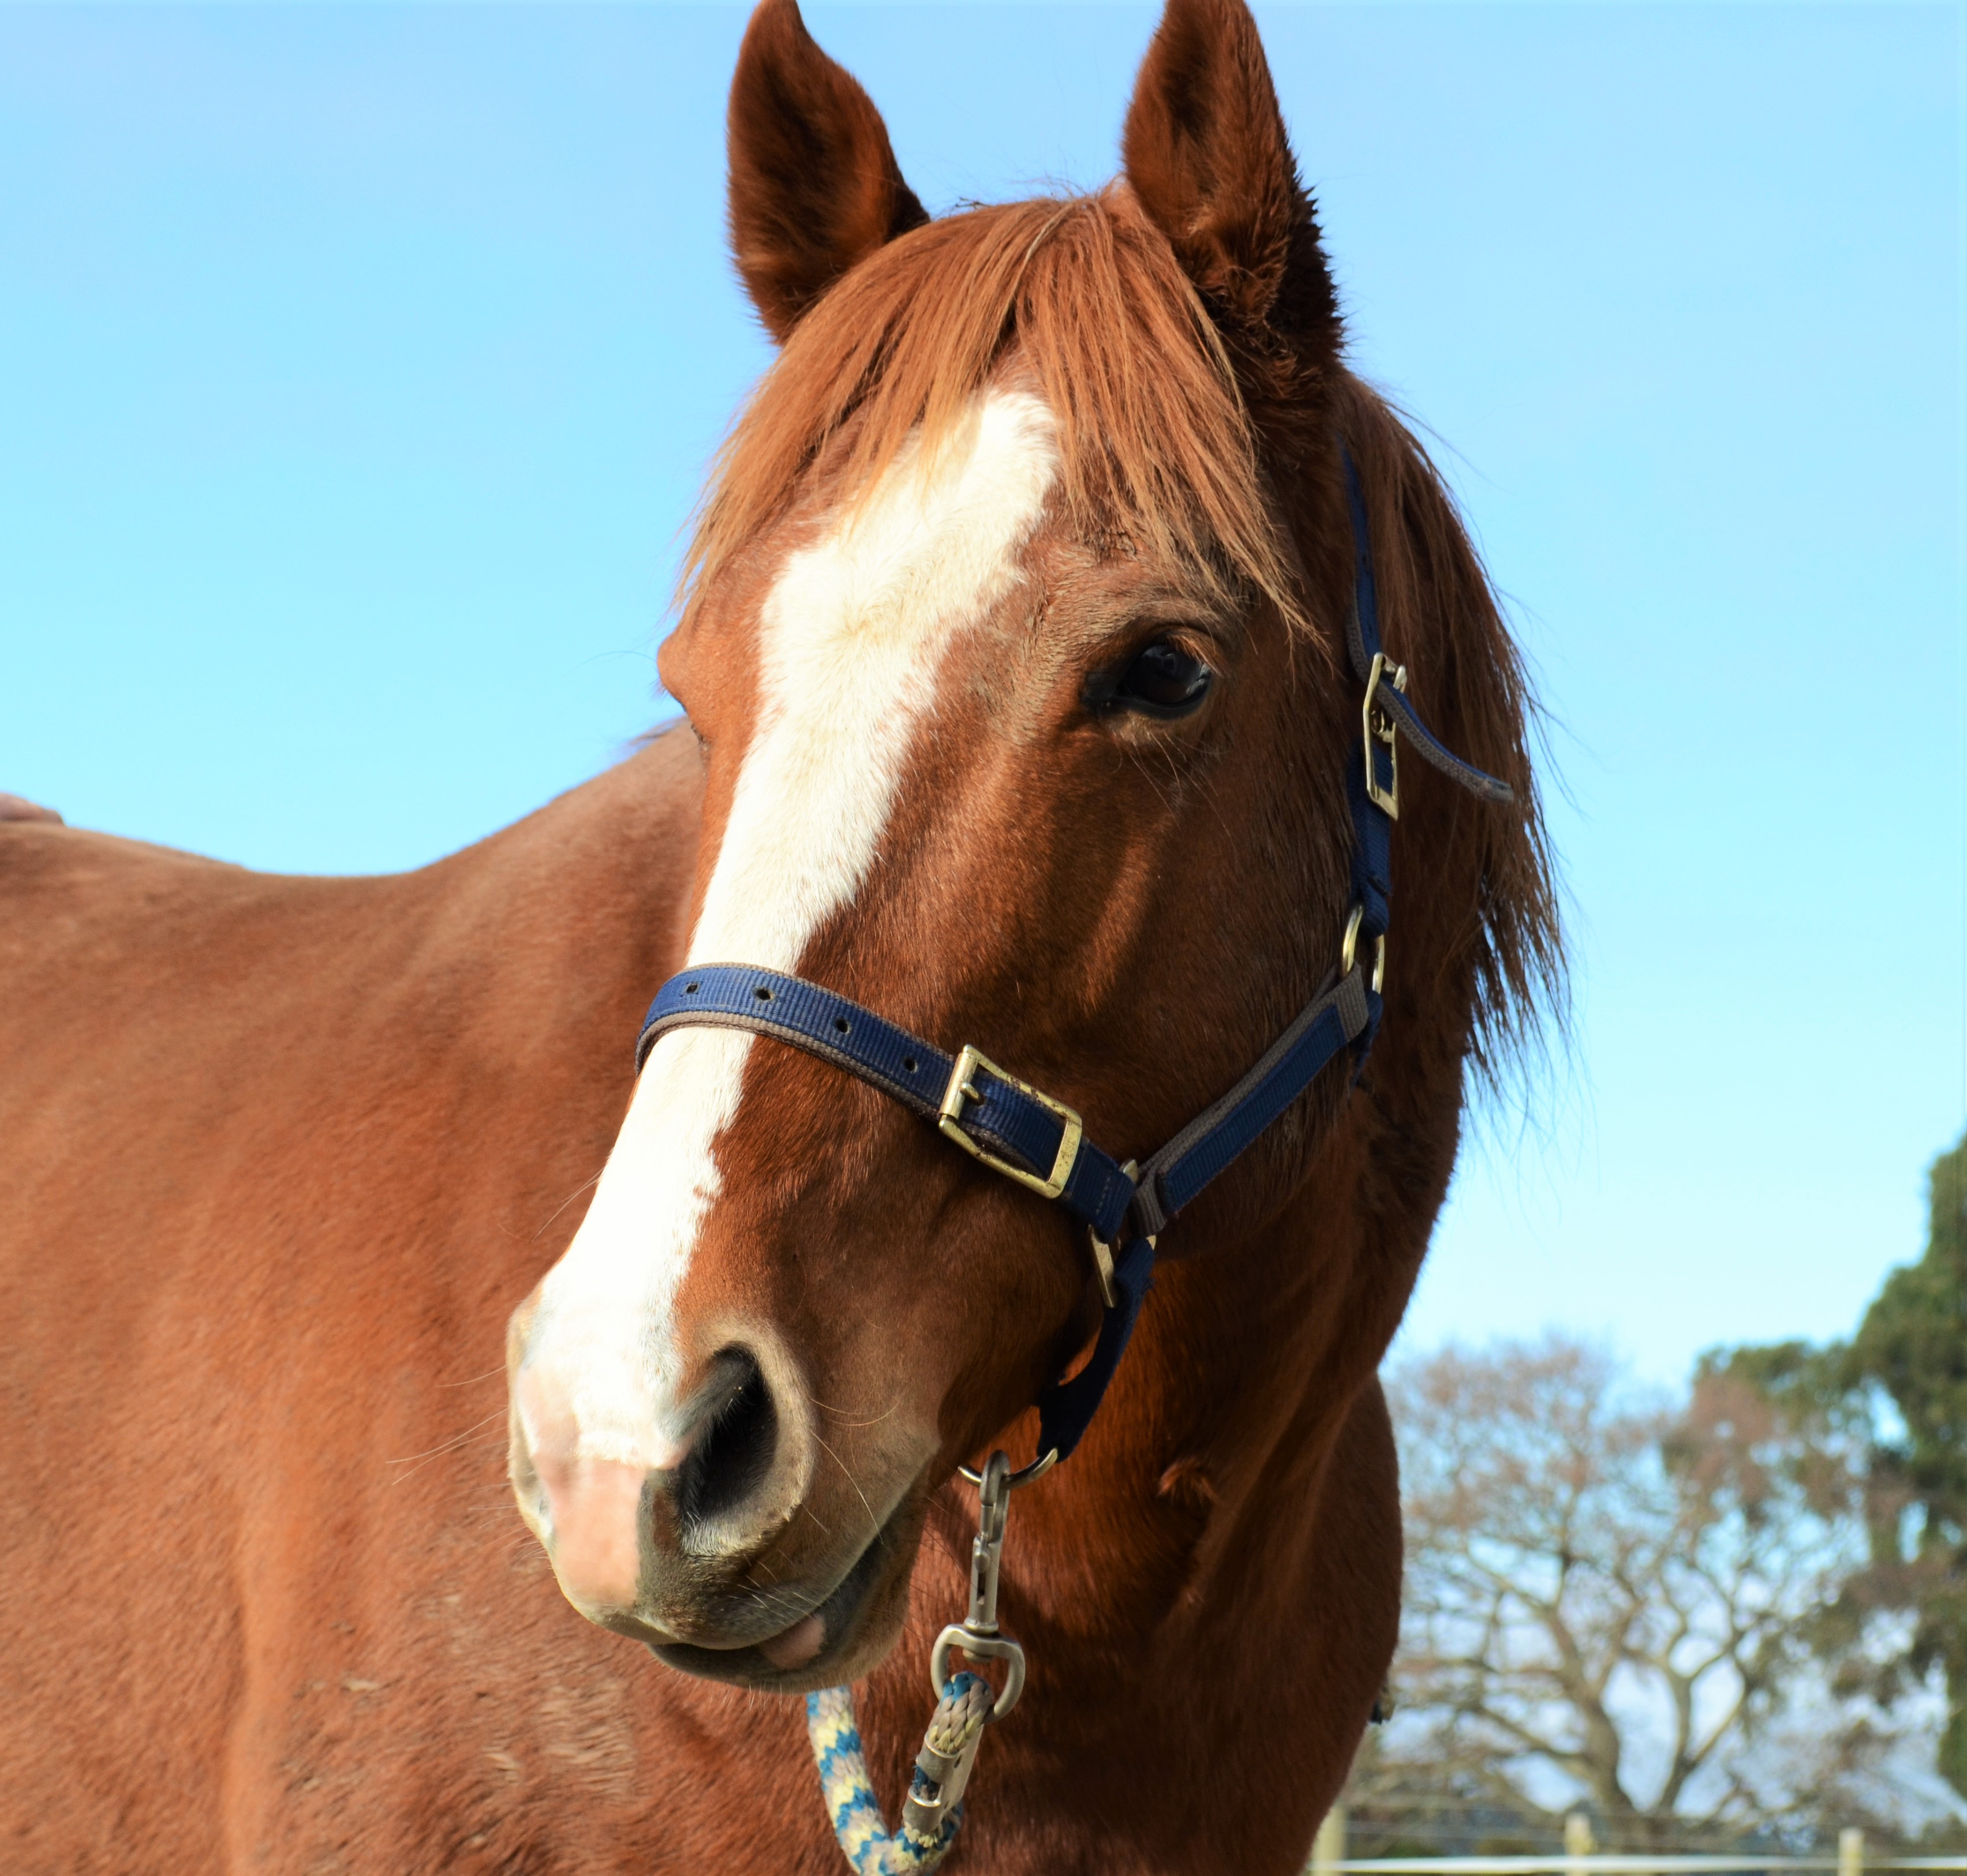
Being set either side of a large head, horse eyes work more independently than human eyes. The positioning of the eyes limits the horse’s binocular vision (being able to focus on something in front with both eyes) to a triangular area in front.
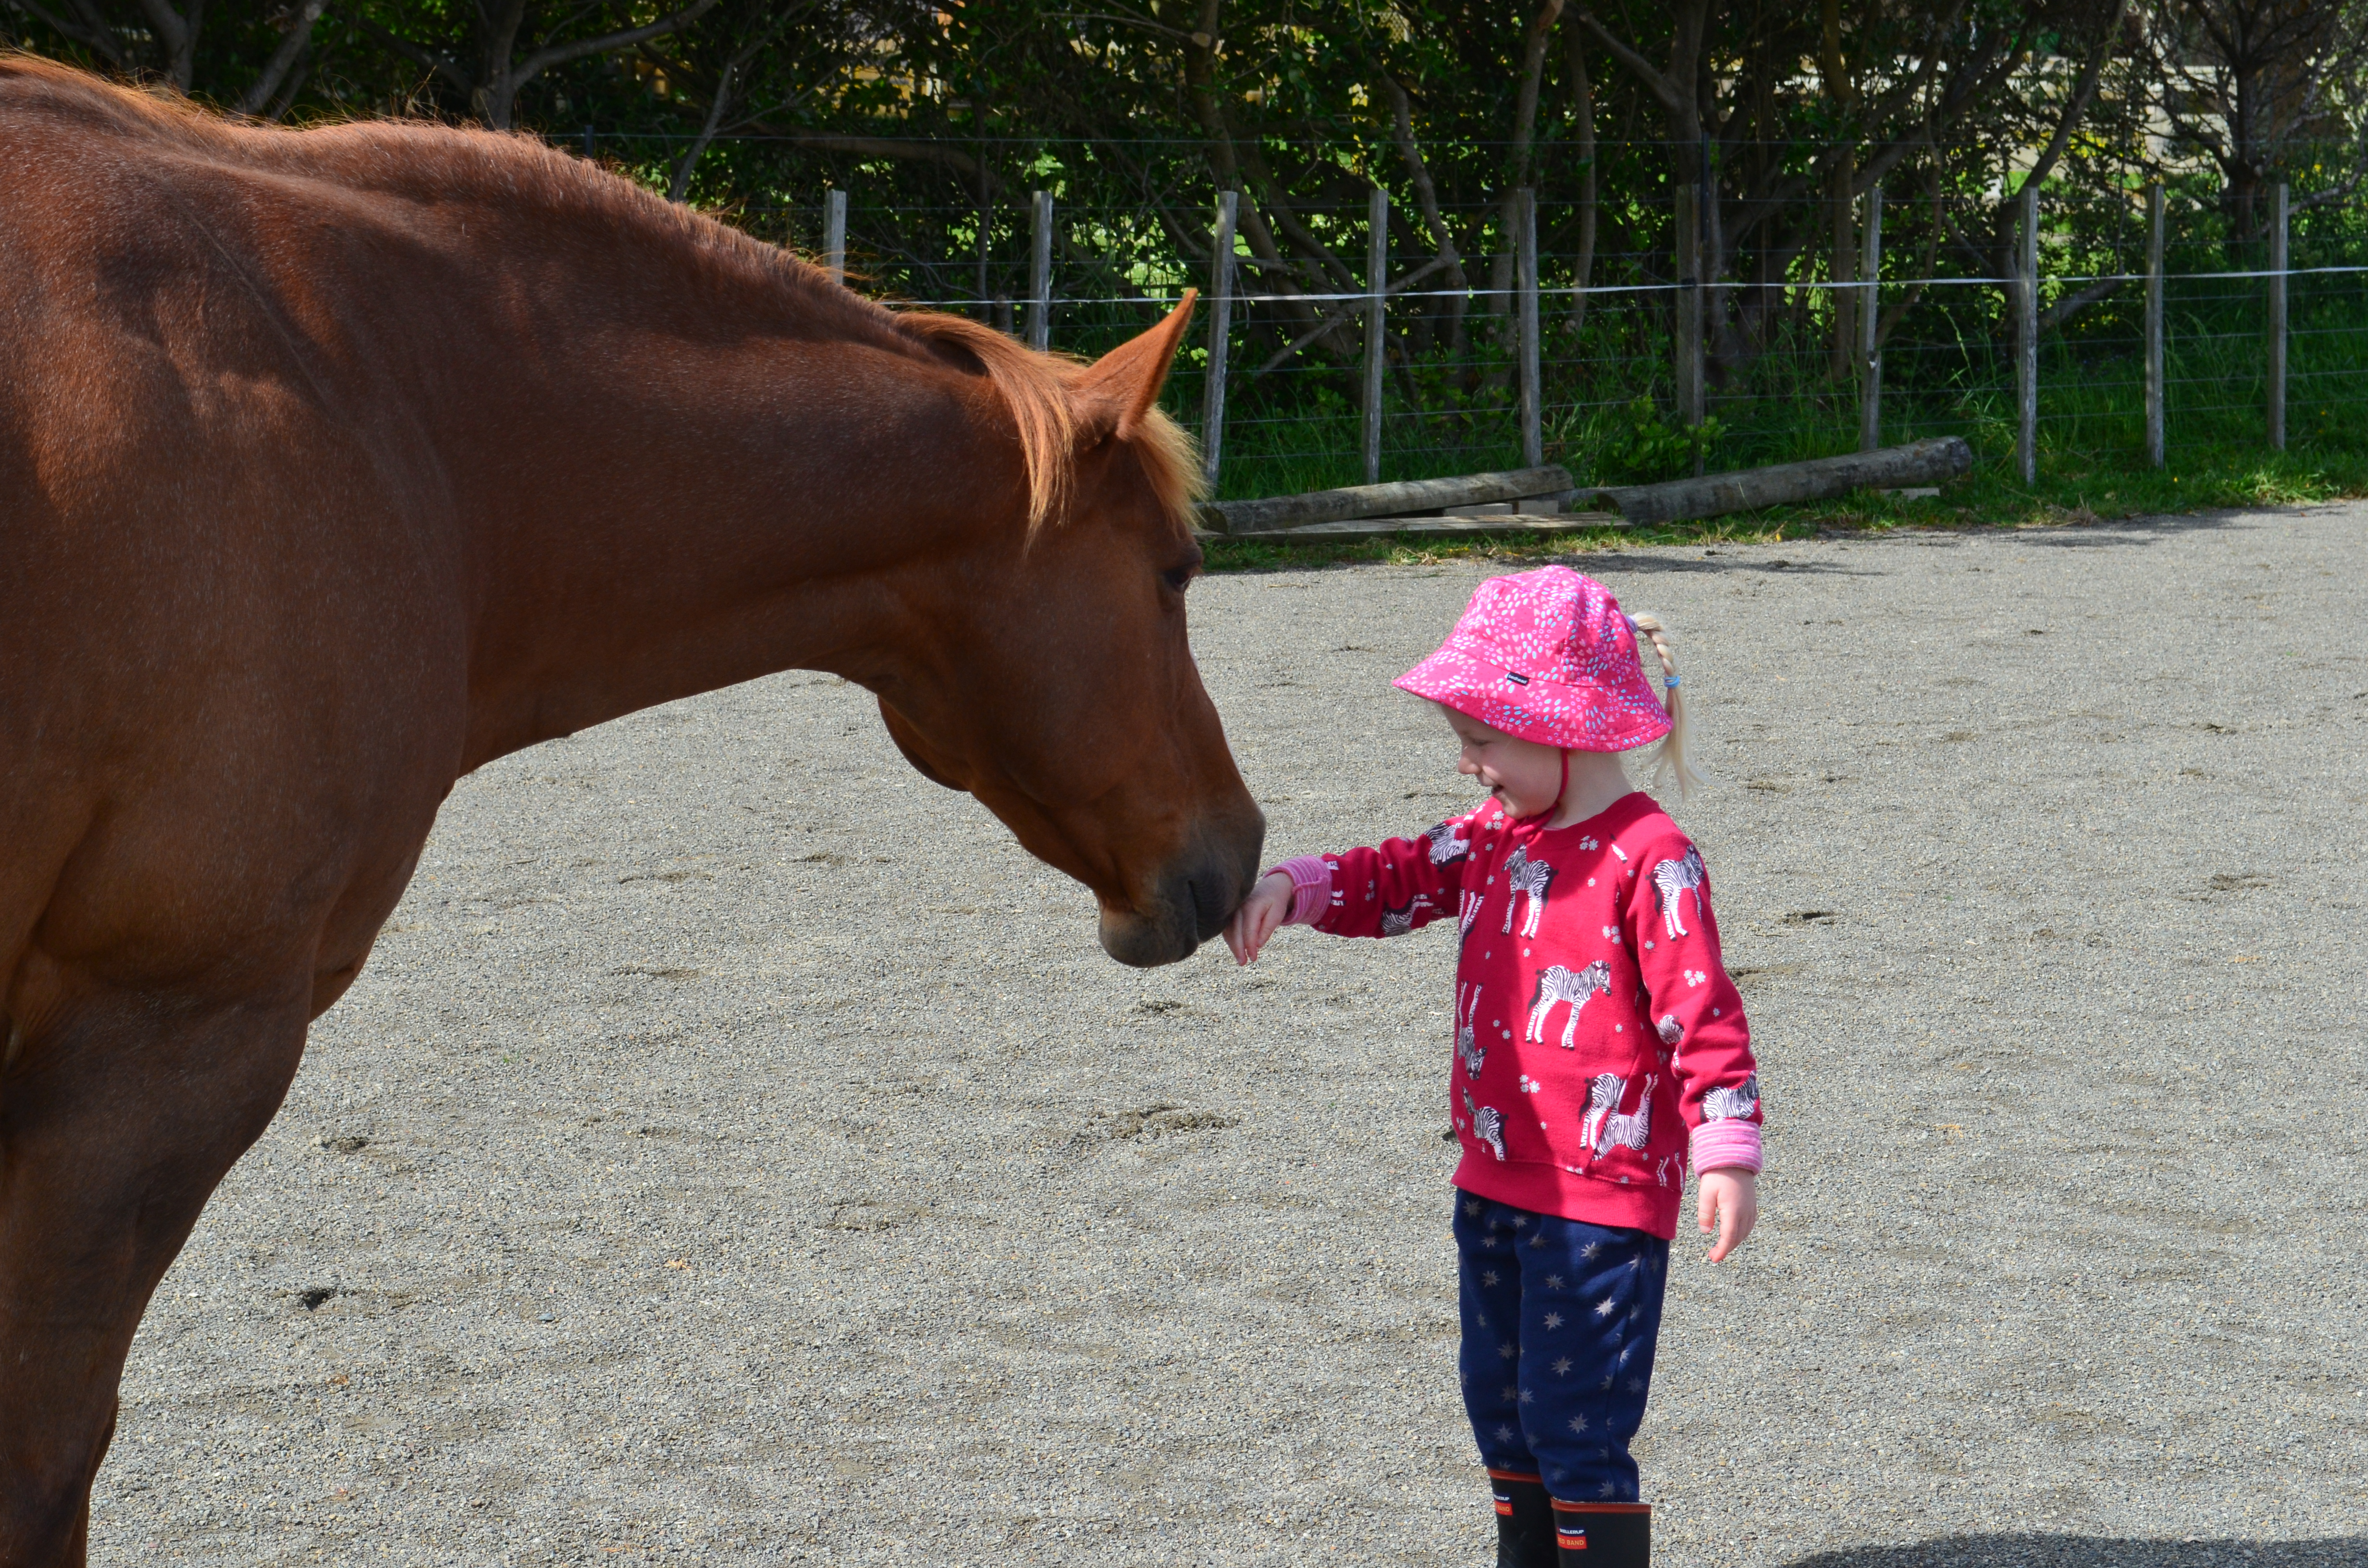
The shape of his nose causes a blind spot that extends about three feet directly in front when his head is straight, so his field of binocular vision is beyond that. So if we are standing directly in front of the horse within three feet, he is not able to see us or any signals we may give. But he can smell us and be aware of our energy level.
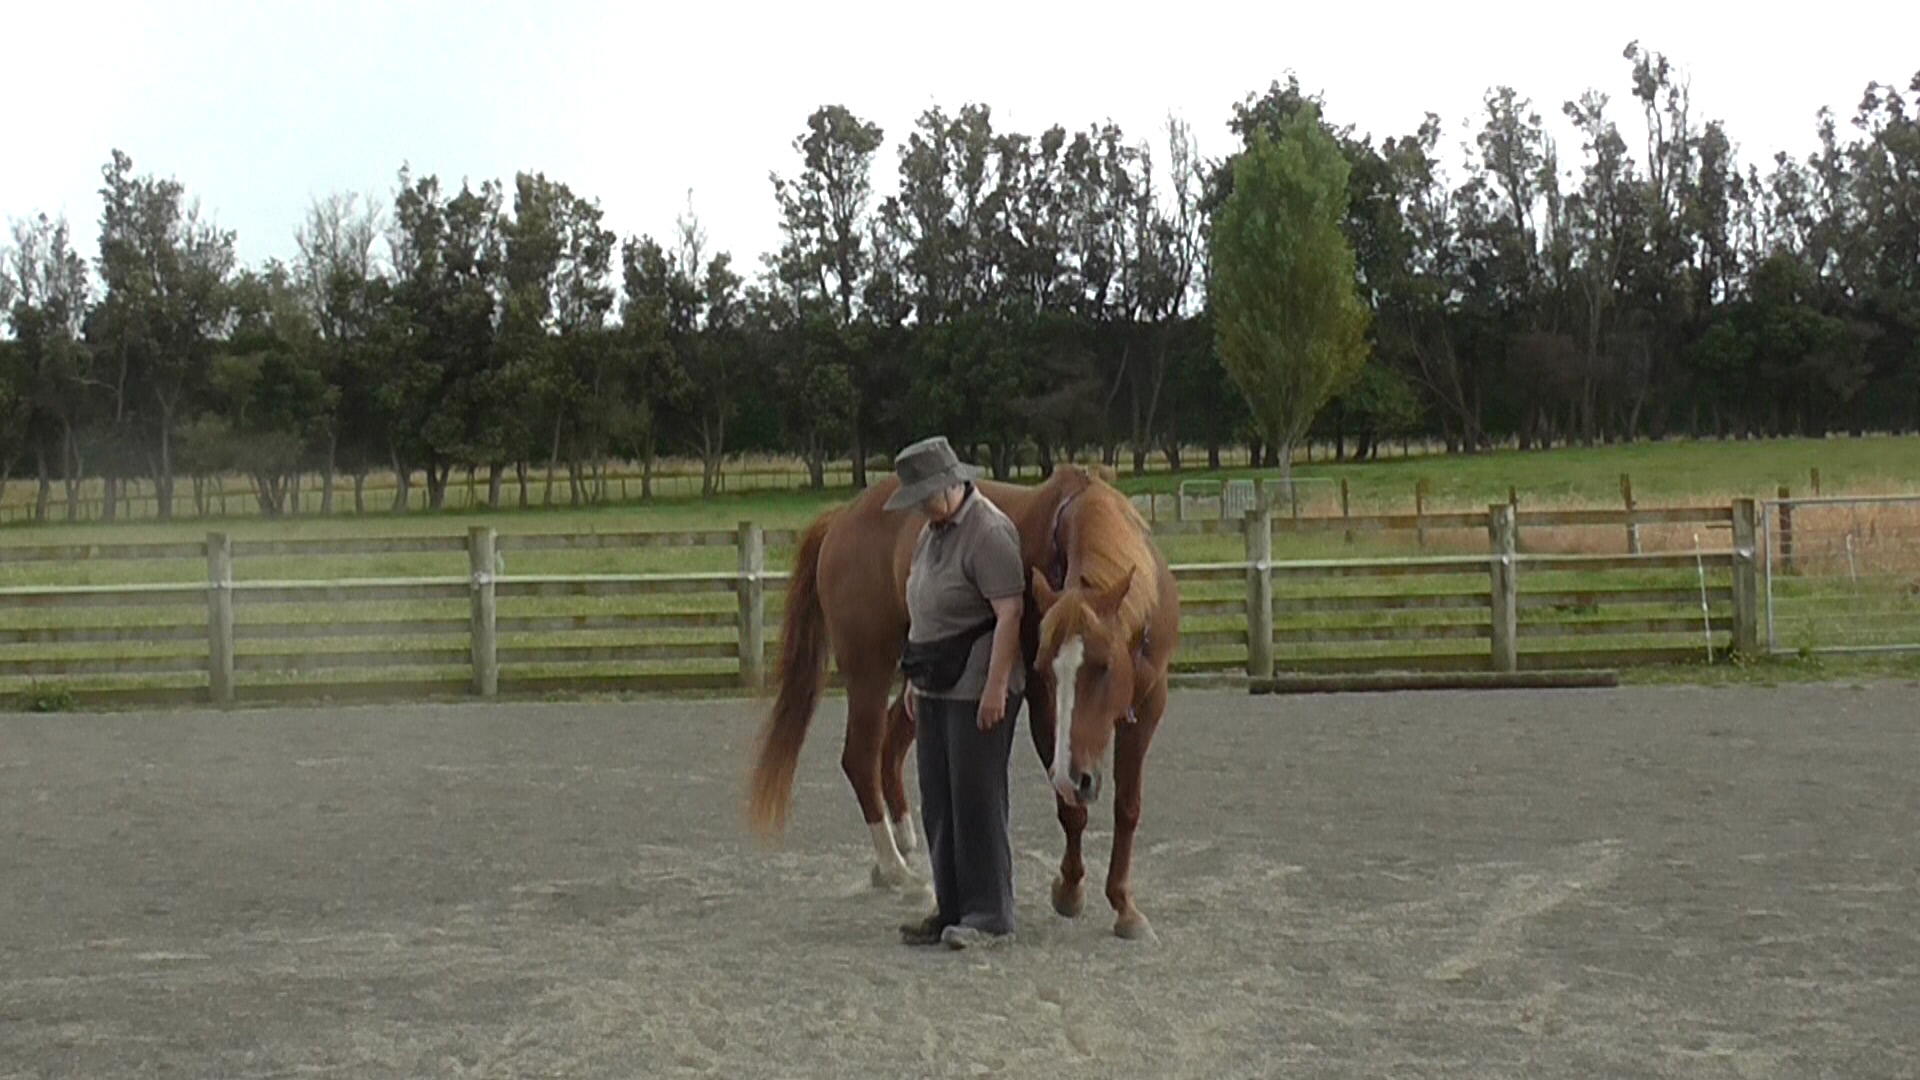
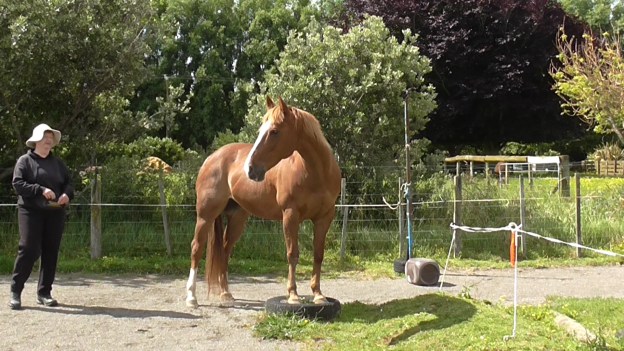
As well as his zone of binocular vision straight ahead, the horse can see almost 180 degrees beside and behind with each eye, similar to a person using rear-view mirrors on a car or bike.

Eyes set well into the side of the head allow rear view vision at almost 180 degrees. This peripheral vision is highly tuned to movement. A startle response due to a sudden movement from behind is an adaptation to get a head start on any predator emerging suddenly. In this view, Boots is able to see me on the right side of her body with her left eye.
This side or peripheral vision is not as exact as binocular vision, but it is excellent at picking up motion. That is why horses often jump away sideways first if something moving to the side or behind startles them, then they rapidly sprint away before turning to assess the situation. How far the horse moves depends on the intensity of the adrenalin rush.
When the horse is strongly focused forward using his binocular vision, his mind is busy with that and not linked to his peripheral vision. This helps explain why we need to be careful approaching a horse from the side or the back, as he can be genuinely startled by movement behind, if his full attention was on something in front of him.
It also seems that horses can doze with their eyes open. If you come across a horse looking very relaxed, with low head, floppy bottom lip, relaxed ears and a cocked hip, he may be too asleep to notice a quiet approach even though his eyes are open. It always pays to give a warning ‘nicker’ or say something while approaching the horse.
Light Intensity
With their extremely large eyes, horses have excellent night vision as long as there is some environmental light. I can vouch for this, having once been caught on the far side of a hydro river, when water was unexpectedly released into the river from the dam upstream during a sunset ride. We had to ride in serious darkness on an unknown track to reach the dam and cross over to our home side.
Horse eyes take longer than our eyes to adjust from light to dark or dark to light. It’s important to remember this when we move a horse from a dark building into bright sunlight or from sunlight into a dark arena, stall, truck or trailer. We should allow him to stand with his head in the entrance while his vision adjusts.
Blind Spots
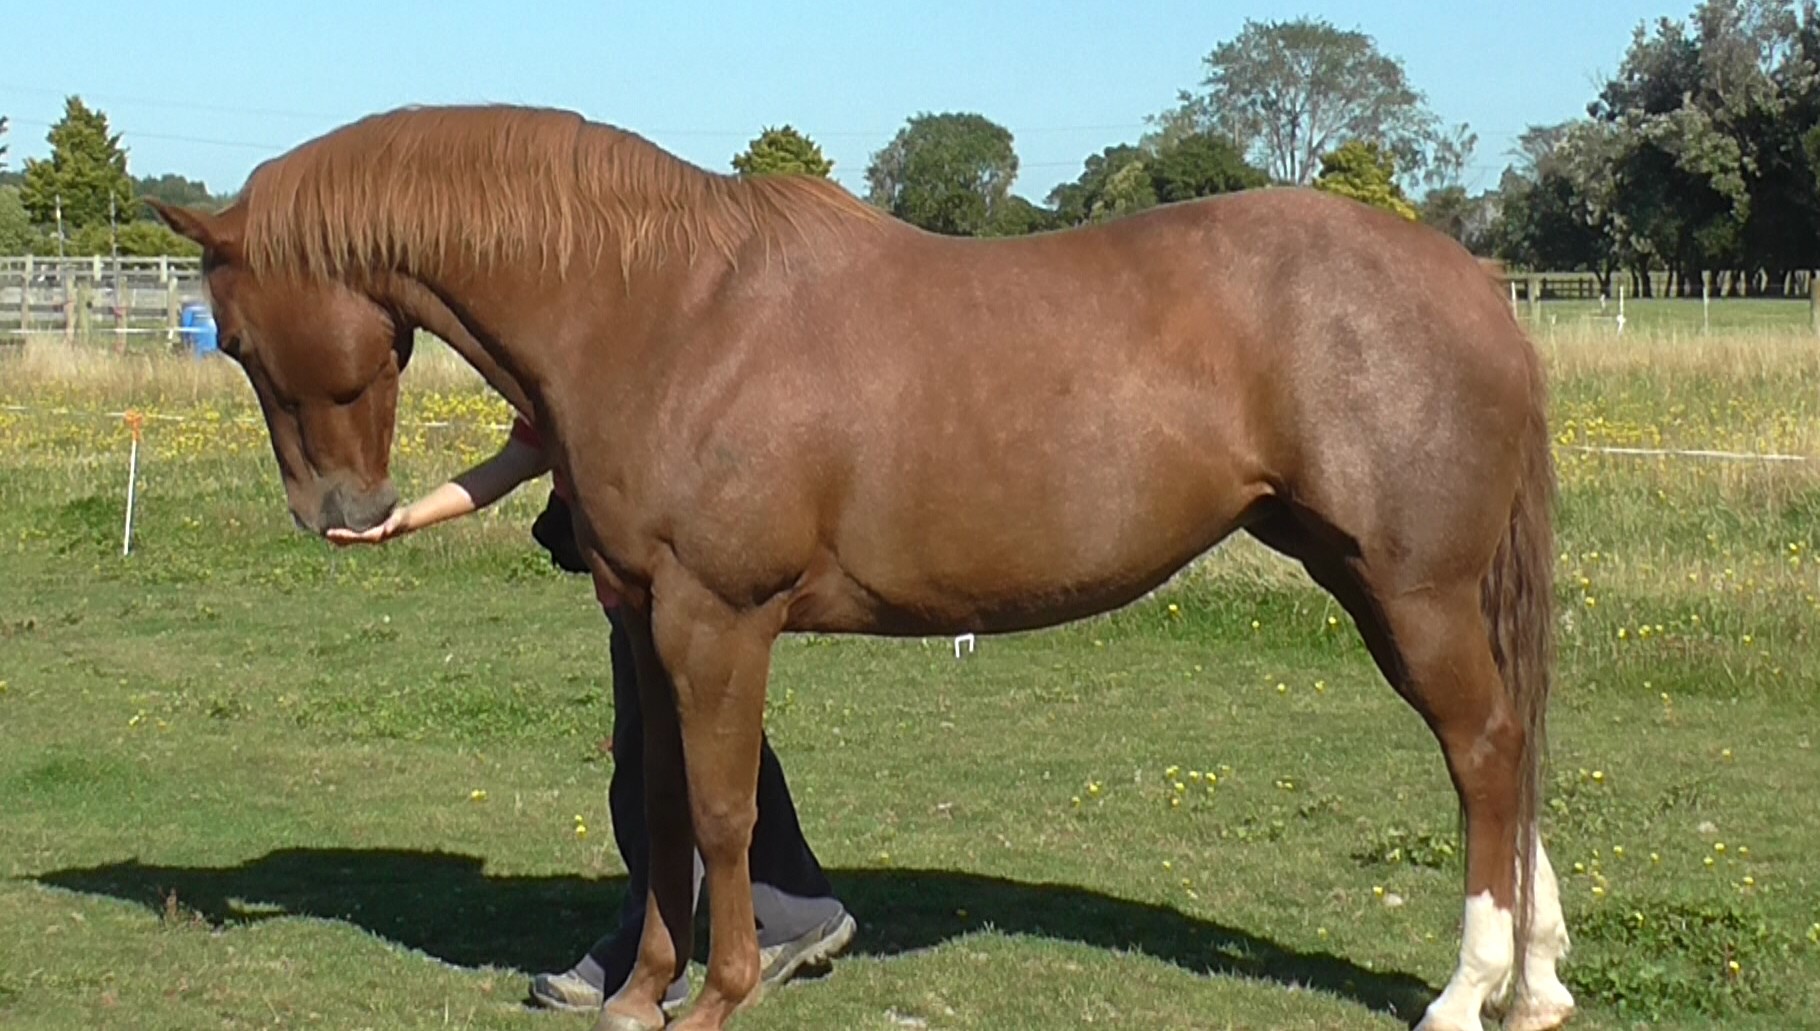
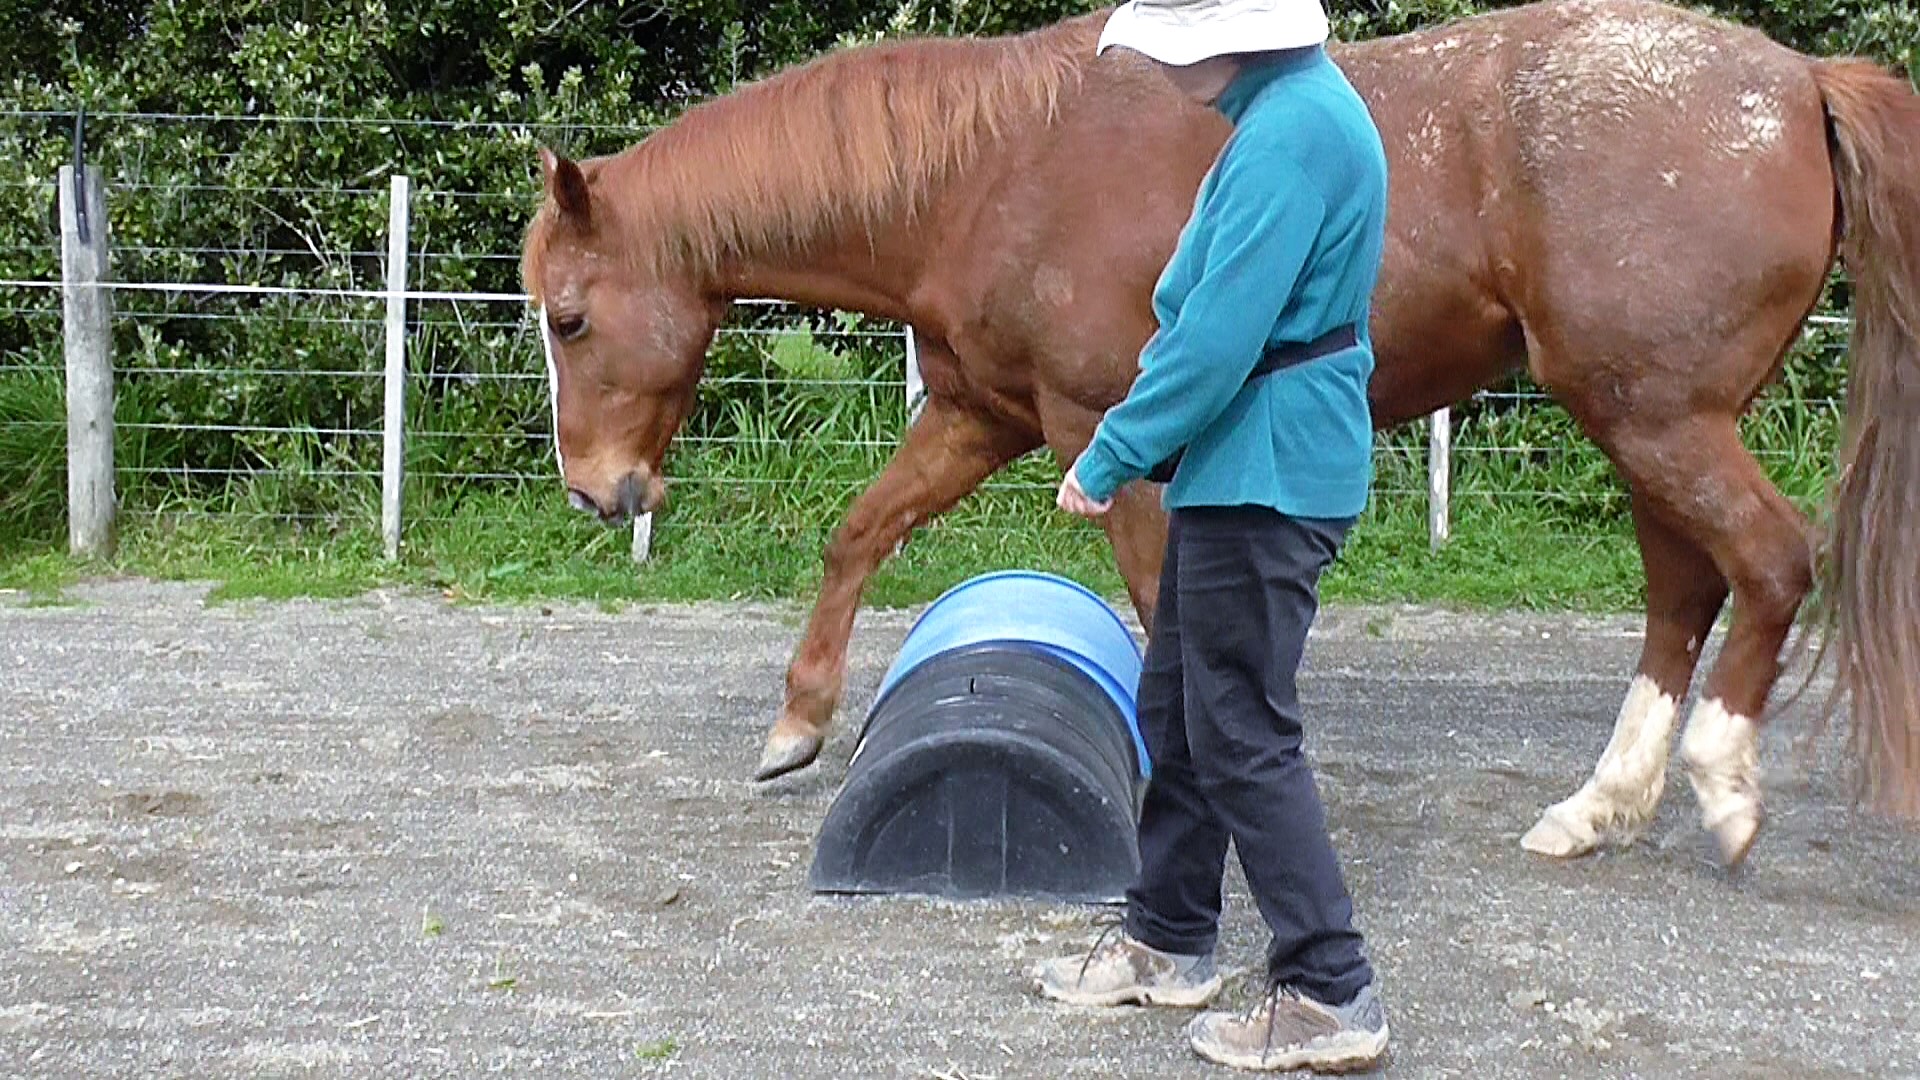
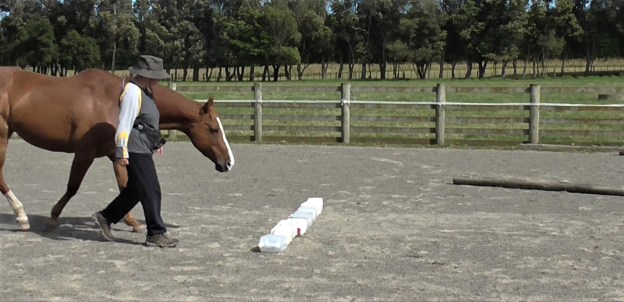
As mentioned, horses have a triangular blind spot that reaches about a meter in front of their nose. That is why they need to lower their head as they approach an object closely to inspect it. You can simulate what it is like, to have a long nose like a horse, by putting your hands in place as in the photo below. Note how it affects your ability to see right in front of your nose.

Colette demonstrates how to place your hands to imitate a horse’s long nose to let you see why horses have a blind spot when they are looking straight ahead. If you spread your fingers wider in this position, the blind spot gets bigger.
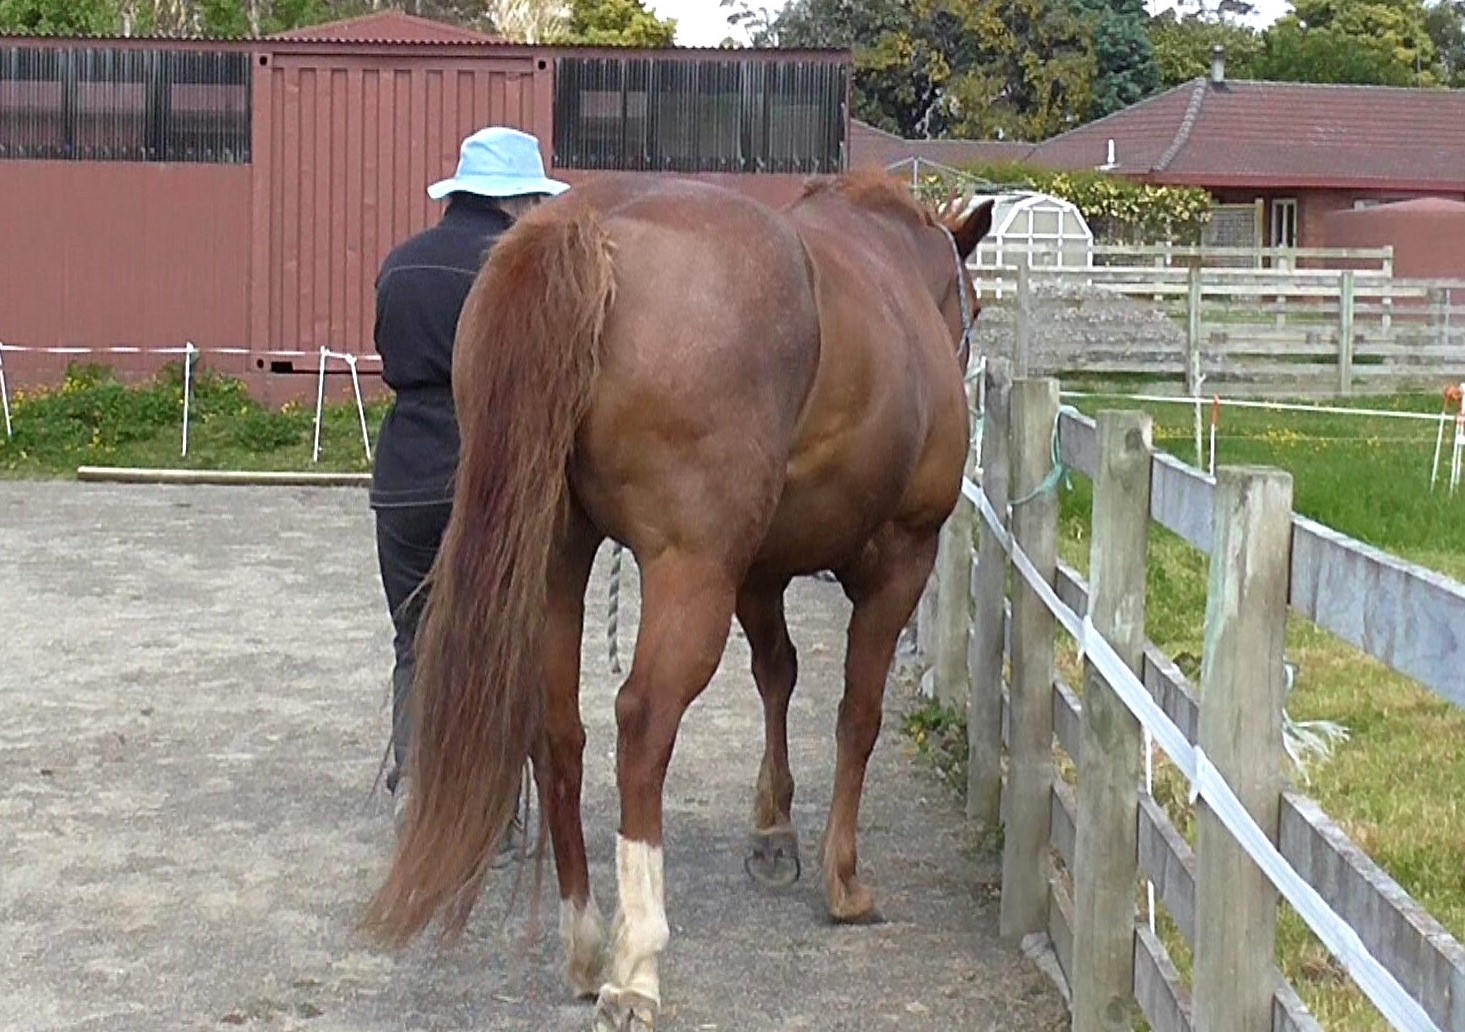
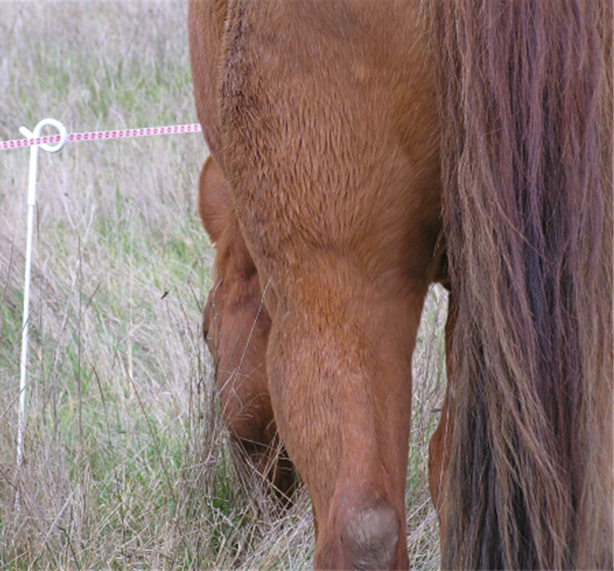
They also have a blind spot right behind their tail if their head is straight as well as under their belly when walking across things.
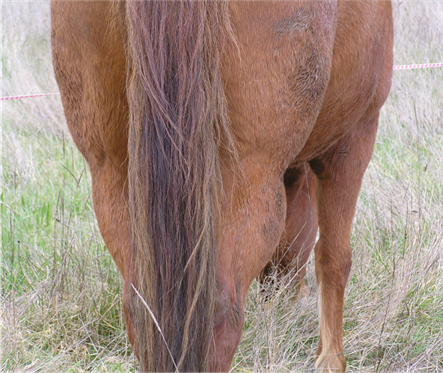
Horses have a blind spot directly behind if their neck is straight.
If we are experimenting to find the best position to give our horses a visual signal, it pays to be aware of their blind spots as well as how their vision differs from ours.
Depth Perception
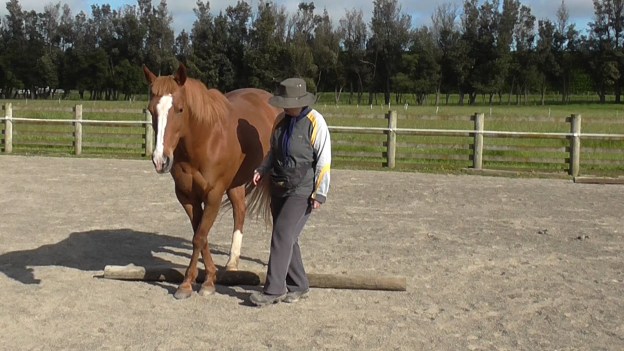
A horse’s small range of close-up binocular vision makes depth perception for stepping into or onto unusual surfaces tricky. They again need to raise and lower their head to compare the object of interest with things they have seen before.
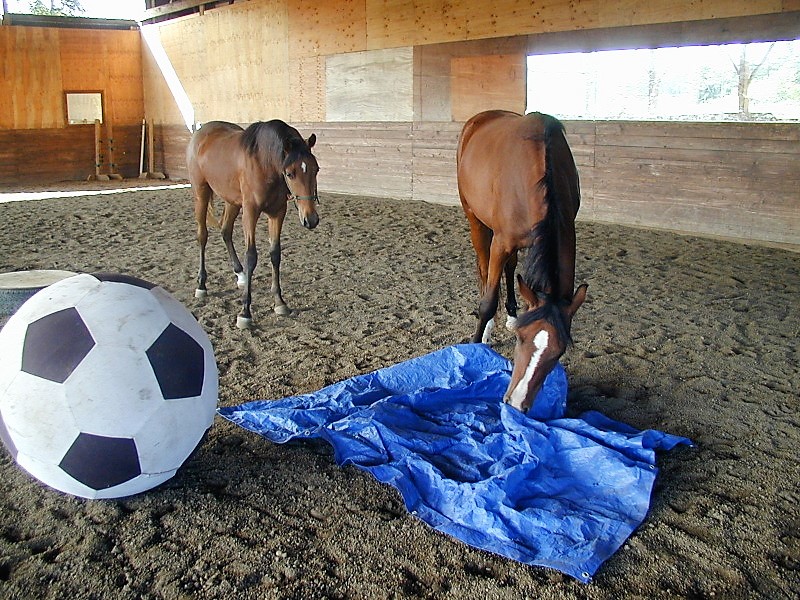
This comparison of the look of ‘new things’ with things already in the horse’s memory, helps explain why horses are so sensitive to anything which has been changed – anything added or subtracted to what was there the last time they passed by.
Their limited depth perception explains why horses are often reluctant to step into a puddle. The reflected light and the ‘unknown’ surface’ under the water are both problematic. Dangerous footing compromises a horse’s ability to flee if the need arises.

Horses need to lower their head to investigate unsure surfaces visually. Often they also paw to check the stability of what lies underneath.
The horse eye has a ‘visual streak’ in the retina (sensory screen at the back of the eye) which is the area of most accurate vision. As mentioned earlier, horses must move their heads in order to bring the item of interest into the range of this ‘visual streak’ to improve the depth perception and detail of the image.
If the horse’s head is restricted by tight ropes or reins, his ability to see clearly is compromised. Not surprisingly, such restrictions cause tension that affects the whole body.
Horse eyes appear to magnify objects more than our eyes (maybe up to 50%). The acuity (sharpness) of what they see is less than 20/20 human vision but seems to be better than that of dog and cat vision.
Training in Both Eyes
The way horse vision works helps explain why it is so important to teach everything we do on both sides of the horse. A horse that is only handled from the left side will suffer from ‘right eye neglect’. Handling procedures will be ‘strange’ to his mind on the right side because the neglect means no nerve pathways have formed to build his confidence with handling on the right side.
This links to all aspects of training and handling. Like us, horses are naturally either left or right-handed. In other words, like us, their bodies are asymmetrical.
Unless both sides of the horse’s body are coached gymnastically, it is hard for the horse to be straight in his body. Which means a saddle will always be misaligned to some extent. A symmetrical saddle on an asymmetrical horse is a perennial problem for riders and painful for horses.
When teaching a new movement, the less agile side of the body needs at least two or three times more attention than the agile side of the body. Think about how hard it is to brush your teeth with your non-dominant hand.
Environmental visual signals
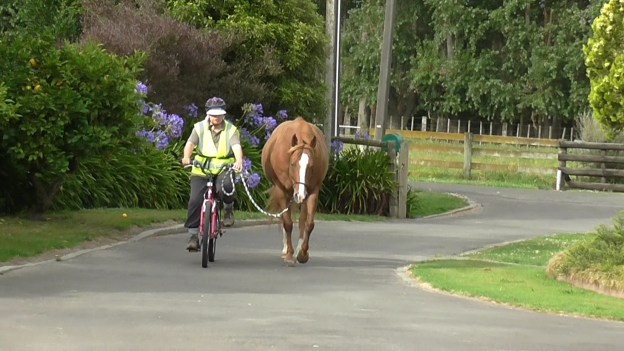
Horses living within sight of their owner’s house use the lights coming on during a winter morning as a signal that their morning feed is not far away. Part of the year I provided hay in the late evening. The headlamp I wore was a visual signal the horses used to meet me at the shelter.
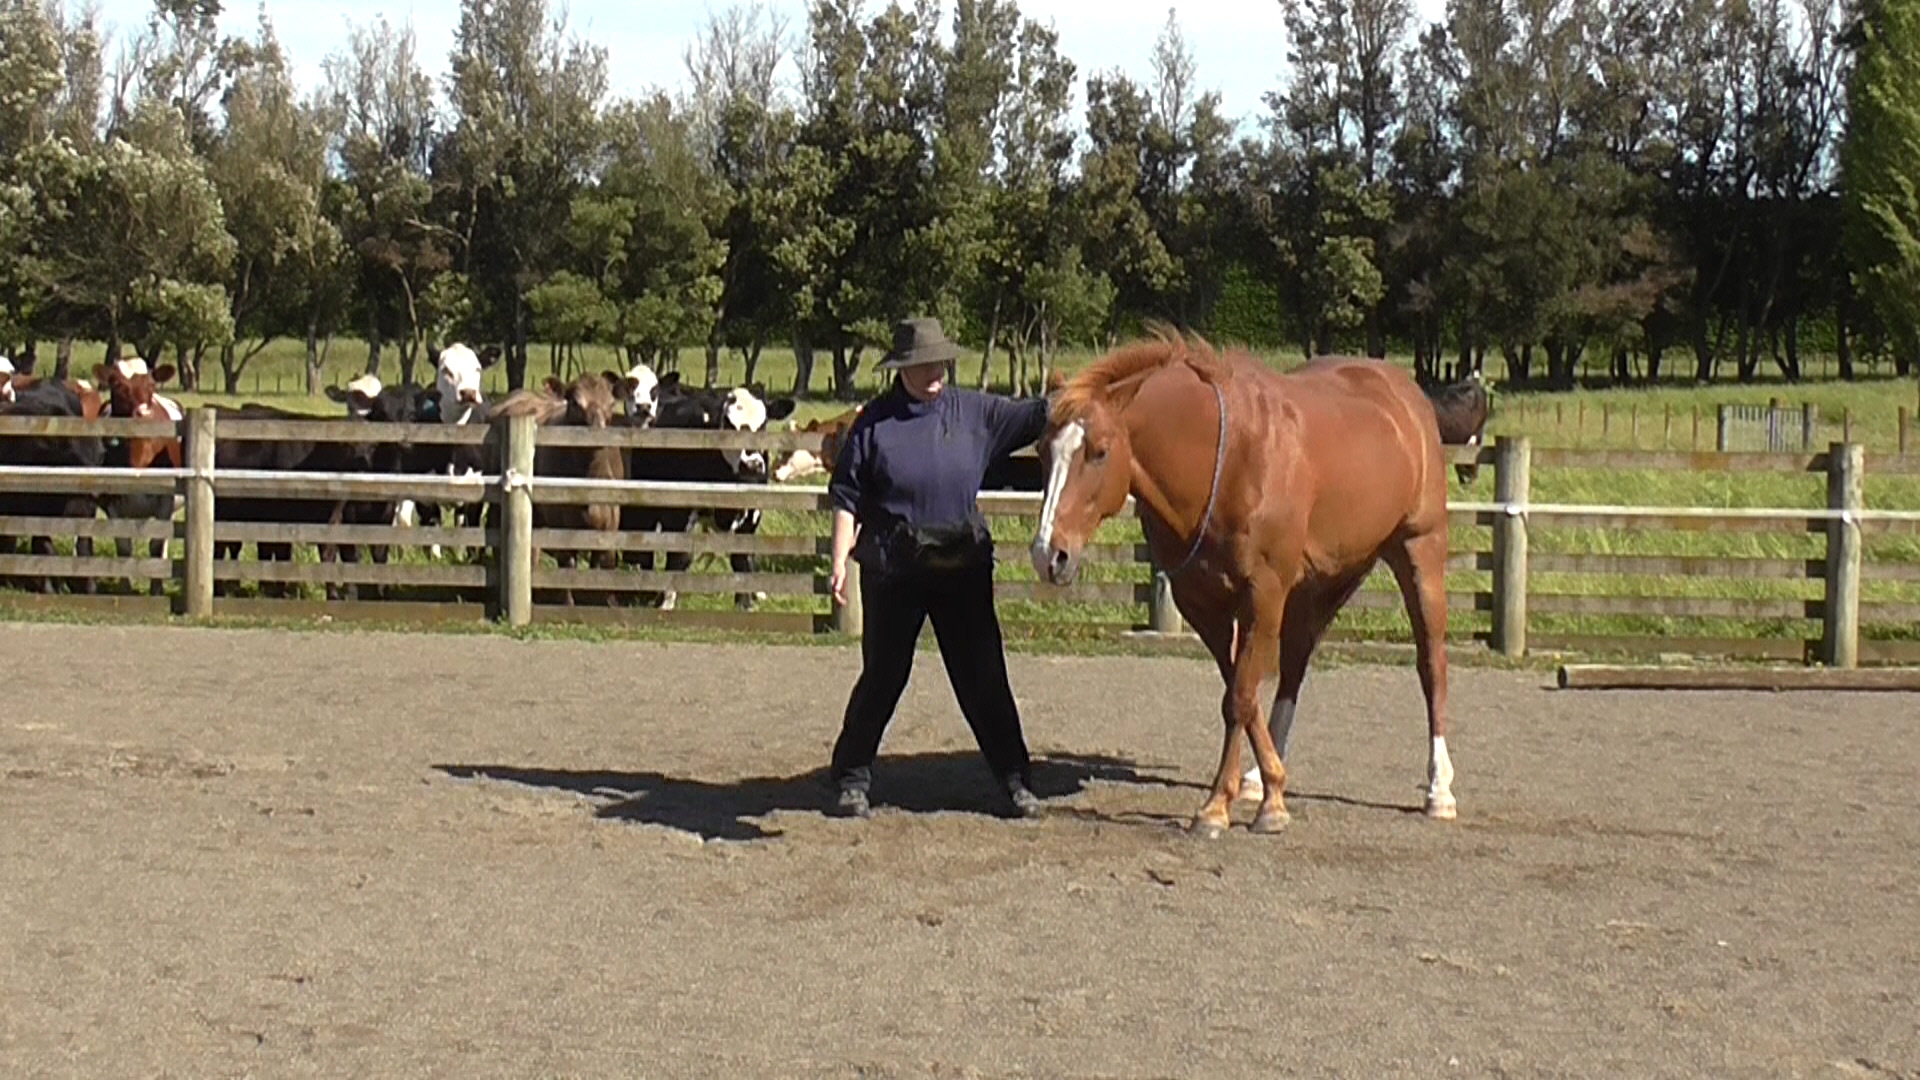
During groundwork our body language and gestures are visual signals. If we are approaching from behind, the horse is usually able to see us by turning his head.
When my horse’s companion, a large white gelding, went to live elsewhere, her attention was often riveted on a white Charolaise cow in a distant paddock as she tried to figure out whether that was her old paddock mate.
My thoroughbred mare, Gypsy, was super conscious of anything on the distant horizon. A rabbit hunter toting a rifle, so far away that I could barely see him, caught her immediate attention.
Awareness Needed
Horses are genetically wired to pay close attention to anything which looks different to how it looked before, or if something appears that wasn’t there before.
Because their eyes are not the same as ours, it is important to be aware of the following situations.
- Depending on the shape of the horse’s belly, there is also a blind spot under his hind legs and under his belly. If we ask a horse to back over a rail, he can’t actually see the rail at the time, but is working from memory or feel. Just because we can see it doesn’t mean the horse can see it.
- When we approach the horse from the front, it is best to be a little bit off-centre, so we are not in his front blind spot.
- If the horse is focused on something ahead in his area of binocular vision, his mind is not engaged with his peripheral vision. This means that something suddenly moving behind him can result in a startle response, often called ‘spooking’. As mentioned earlier, peripheral vision picks up movement rather than detail, so the horse will move first, then turn and inspect the cause of the spook. How far he moves before turning depends on the amount of adenalin shock he experienced.
If the horse is strongly focussed on distance vision, with a raised head and a concentrated look, his peripheral vision is ‘off’, so sudden movement from behind will cause him to spook. Spooking is a highly effective method for escaping from predators.
- If we are doing groundwork behind the horse, we need to move between his right and left peripheral vision and teach him to adjust his head so he learns to confidently keep us in view as we move left and right into and out of his blind spot.

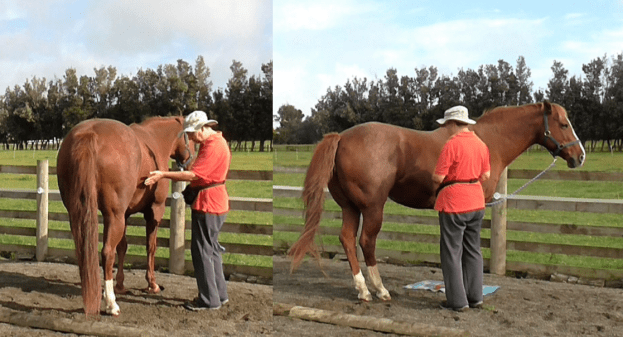
Playing the peek-a-boo game from behind. In this photo Boots can see me standing behind with her left eye.

In this photo I have moved to her right, so she is watching me out of her right eye.
I’ve moved back to the left and she tracks me with her left eye. It’s fun to play this peek-a-boo game when the horse has front feet on a pedestal.
When we begin long-reining, it’s a good idea to play a peek-a-boo game from behind, while the horse is stationed on a mat or pedestal, and make sure he is comfortable turning his head to track your movement.
- When horses negotiate a jump, the jump disappears from their vision as they approach it, so they are jumping from their memory of where the jump was. If the horse was paying attention to something else on the approach to the jump, he will run right into it without realizing it is there. You see this sometimes at jumping competitions.

When jumping or stepping over rails, the obstalce disappears from the horse’s vision and they work from memory of where it was.
Riding – Visual Signals Mosty Disappear
When we move from groundwork to riding, the visual signals the horse has learned suddenly disappear. We need to teach the relevant replacement touch and verbal signals we will use during riding from the ground first. In this way, we make it easier for the horse to navigate the change to riding.
Once mounted, we need to carefully re-teach the replacement touch signals by at first pairing them with the voice and visual signals the horse already understands from his groundwork.
If touch and voice signals are clearly taught with groundwork, the switch to riding can simply be part of a systematic progression rather than a major change.

When we mount up, the visual cues and signals we use on the ground suddenly disappear. We have to carefully transfer these to voice and touch signals to make the transition smoother.