INTRODUCTION
Having a horse stop and wait when his lead rope is dropped onto the ground is useful for management around home as well as out on the trail. It pops up occasionally as a challenge in Horse Agility competitions.
SAFETY
When first teaching this I prefer to use a wide webbing or leather halter. If the horse moves he may step on his rope and react by jerking his head up. With a wide halter there is less chance of spinal trauma. Alternately, we can attach the rope to the halter with a bit of wool that will break in such a situation.
I also suggest using a soft, thick rope not longer than 12 feet. If something causes the horse to move, it’s better if there isn’t a long, thin rope chasing him.
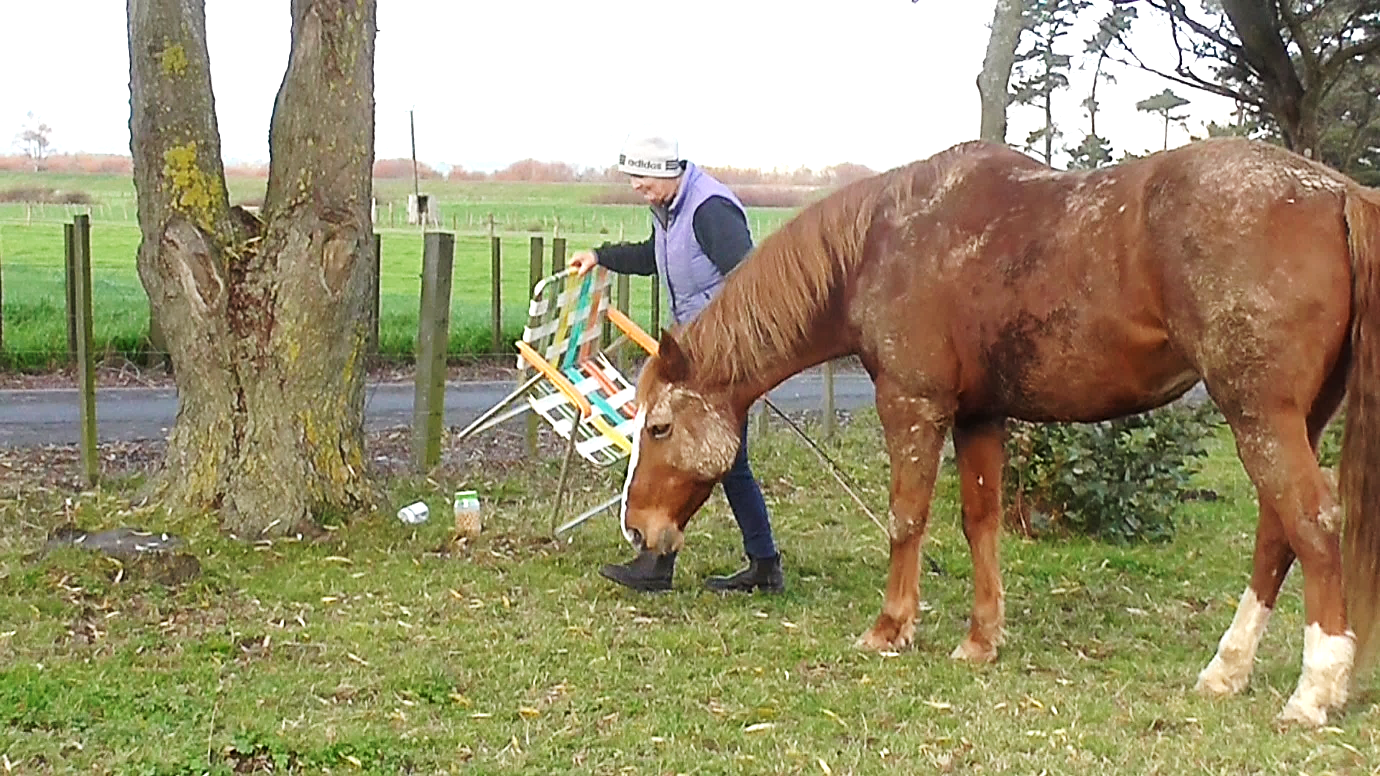
First we must of course make sure that the horse is totally relaxed with ropes dragging all around his body and legs. He must be cool with ropes moving in front of him, behind him and dragging alongside while attached to his halter.
PREREQUISITES
- Rope relaxation and rope calmness in various situations. (See ‘Additional Resources’ 5, 6, and 7 at the end of this post.)
- Able to stand still in relaxed mode while things are happening around him. (See ‘Additional Resources’ 8, 9 and 10 at the end of this post.)
- Stop willingly to target his front feet to a mat. (See ‘Additional Resources’ 1 at the end of this post.)
- Smooth ‘walk-on’ and ‘halt’ transitions staying beside the handler on a draped lead rope. (See ‘Additional Resources’ 2 at the end of this post.)
- Willing response to a “Whoa” voice signal. (See ‘Additional Resources’ 3 at the end of this post.)
- Smooth ‘back-up’ with the handler beside the horse or in front facing the horse. (See ‘Additional Resources’ 4 at the end of this post.)
ENVIRONMENT & MATERIALS
- A work area where the horse is relaxed and confident.
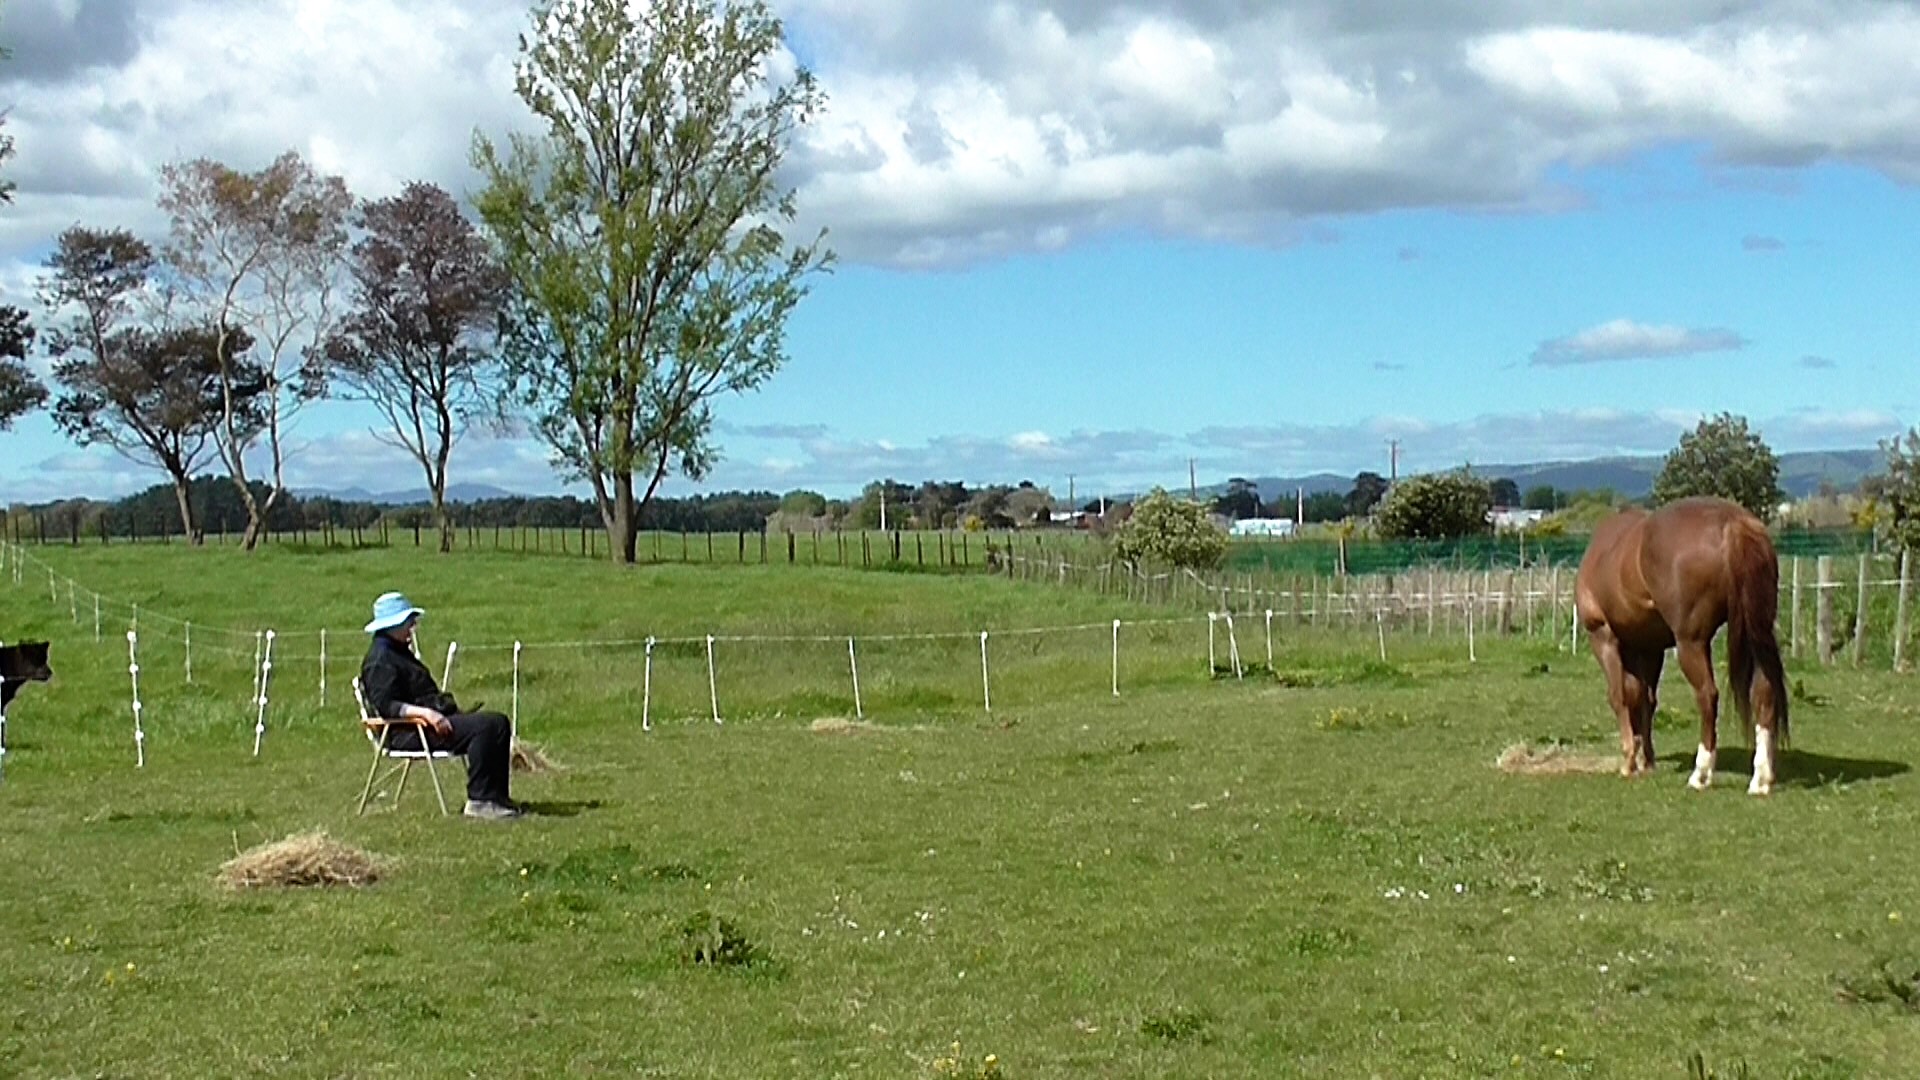
- Ideally, the horse can see his buddies, but they can’t interfere.
- The horse is not hungry; he’s had ample time to graze or eat hay right before the training session.
- Halter and lead kept loose (draped) as much as possible, because as much as possible, we want to use body language for communication, not rope pressure.
- Two or more familiar mats.
- A second rope.
AIM
When we drop the lead rope and give our horse a ‘wait’ hand signal, we would like him to stay parked in that spot until we return.
VIDEO CLIPS
#72 HorseGym with Boots: Ground-tie Clip 1 GETTING STARTED:
#73 HorseGym with Boots: Ground-tie Clip 2 ANOTHER VENUE:
NOTES
- Boots’ demonstration on the video clips is the sum of many short sessions over a long time. When teaching something new, we stay with each slice of the task over as many short sessions as necessary until it feels ho-hum (easy and smooth). Then we link in the next slice.
- Teach the whole process from the horse’s left side, then teach it again walking on his right side. Alternatively, teach each slice on both sides before adding in the next slice.
SLICES
- Walk on the horse’s left side with a loose lead toward a mat. Hold the horse’s lead rope in the hand nearest the horse. Carry a second rope in your other hand.
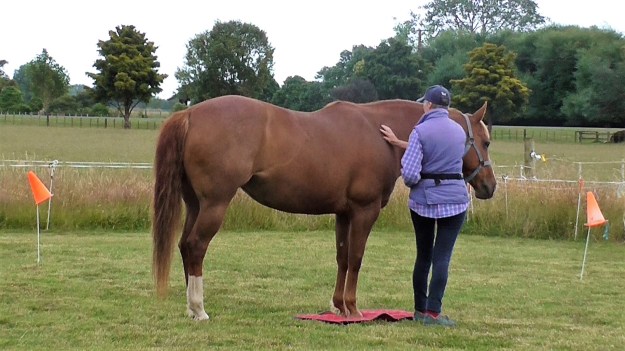
- Halt with the horse at the mat using your halt voice signal and body language.
- Drop your second rope on the ground under the horse’s nose.
- Allow him to satisfy his curiosity about it (sniff it, put a foot on it, and so on); relax (click&treat.)
- Keep a drape or ‘smile’ in your actual lead rope.
Pick up the dropped rope and walk together to another mat, or walk a large loop that returns you to the same mat.
Looking for: Horse halts with front feet on the mat and remains relaxed when the second rope is dropped and picked up again.
If you set up a circuit of several mats, you can move from mat to mat.
Remember to do something easy the horse already knows and build in ‘down time’ in between bursts of activity with this new task.
If you have a circuit of several mats, do the circuit once. Then do something else that’s easy and come back to the circuit again if it feels right to do more.
- As 1, but without using mats. Everything stays the same except that we have removed the prop of the mat or mats. It may help the horse at first if you walk the same circuit as you walked when you were using the mat(s). Halt and drop the second rope where the mats were during the previous lessons.
Once the horse seems to recognize the dropped rope as a place to stop and stand, gradually generalize to dropping the second rope in new places.
- As 2, but now drop the lead rope itself: relax as the horse halts; pause for a second or two, with neutral (no intent) body language. We want to begin building duration into the time the horse stands quietly after the lead rope is dropped. Be sure to click&treat well before the horse shows any tendency to move.
Looking for: Horse halts when you use body language and voice signal plus drop the lead rope and relax (click&treat). Horse relaxes too.
- It’s helpful if we can ground-tie the horse after we’ve asked him to back up. Ask the horse to back up and while he is backing drop the lead rope and at the same time use your halt voice signal, relax (click&treat) when the horse halts. Intersperse these requests with walking forward.
Looking for: Horse backs up on request and halts with the handler’s voice halt signal plus the dropped rope.
- Experiment to see what happens when:
- Walking along you slow to a halt and gently drop the lead rope without using your voice signal as well.
- If you have developed clear body language to communicate that you are going to stop, the horse will respond to just your body language and the dropped rope.
- Relax (click&treat) at the first sign of a halt.
If the horse finds this difficult, leave it out for now and maybe return to it as part of your generalization when he knows the ground-tying task better.
Looking for: Horse brings himself to a halt when the handler halts and the rope is gently dropped in even in the absence of a voice signal.
- Bring back the mats and the second rope. Ask the horse to jog (or trot) with you and halt with you when you halt beside the mat. Use your voice signal plus drop the second lead rope from the jog. When it feels smooth, phase out the second rope and drop the horse’s lead rope.
Looking for: Horse willingly halts at the mat from jog/trot when the handler halts, gives the voice halt signal and drops the lead rope.
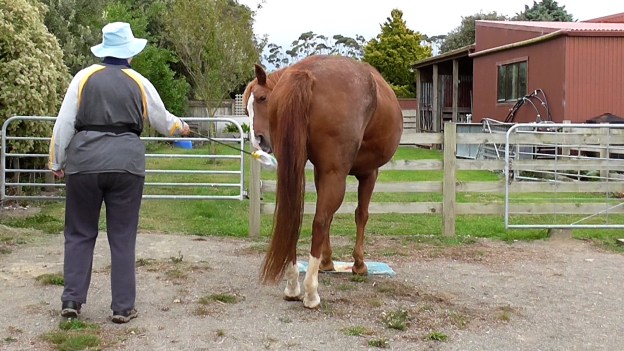
- Slices 1-6 above have the handler stopping with the horse. Now we want to generalize the skill so the horse stops when rope is dropped plus stays parked while handler keeps walking. Ask the horse to halt at a mat, drop the lead rope, and use your ‘wait’ signal to let the horse know you want him to remain parked while you walk away from him. For the ‘wait’ I use a gesture and voice signal at the same time.
For the early lessons with this generalization, it’s good to use a circuit of mats again, until you see that the horse understands the new nuances of the task consistently over several sessions.
Walk with a loose lead toward a mat. Halt with horse at the mat using:
- Halt voice signal
- Dropped lead rope
- Give your voice and gesture ‘wait’ signals Then walk forward a few steps away from the horse.
- Turn to face the horse and take up a neutral (no intent) body language position – place both hands flat over your belly button, drop your shoulders and have a soft focus not looking at the horse.
- Wait a second or two, be sure to return before the horse even thinks about moving. Count the seconds. Start with one second and don’t wait longer until one second is completely okay with the horse.
- If the horse moves, gently return to him, pick up the lead rope, walk together in a relaxed manner and start again. This is a re-set. Don’t make the horse feel wrong. He can’t be wrong because he doesn’t yet know what you want. Next time don’t go as far away and return to him sooner rather than waiting that extra moment.
- Pick up the lead rope and walk on to the next mat to repeat, or walk a loop to return to the same mat.
Looking for: Horse halts at mat and remains there confidently while the handler walks on a few steps, turns, pauses, and walks back to the horse.
- Gradually walk a few more steps away from the horse and increase how long you wait before returning to the horse; relax (click&treat). Click&treat after you return to the horse.
If he loses confidence, immediately return to the distance and time he can cope with. Add distance and duration very slowly – one second and/or half a step at a time over many, many short sessions.
Looking for: Horse stays with the mat and the dropped rope until the handler returns.
- This slice asks the horse to halt at the mat while you keep on walking without stopping first. You drop the lead rope and use your voice & gesture ‘stay’ signals but you don’t halt yourself – you keep on walking.
If the horse has been mainly watching your body language as his signal to halt, it could be hard for him at first until he realizes that,
- the mat
- dropped lead rope
- voice signal
all mean he still should halt, even if you keep moving.
The Task: Walk toward a mat with a loose lead. When you reach the mat, simultaneously:
- use your halt voice signal
- drop the lead rope
- give your ‘wait’ signal without stopping your feet when the horse stops
- walk on a few steps.
Turn and face the horse, then:
- wait a second or two
- return to the horse
- relax (click&treat).
Pick up the lead rope and walk on to the next mat.
Looking for: Horse stays halted on the mat while the handler walks on, halts, turns, pauses and walks back to the horse.
Play with this by gradually moving further away from the horse.
- Still using a mat, play with 9 above at the trot. Handler keeps jogging forward while the horse halts on the mat.
- Repeat 9 above without the mat, at walking pace.
- Repeat 9 above without the mat at jog or trot.
- Make sure the horse is comfortable when you leave from his left eye and from his right eye. Spend a bit more time with the harder side, if there is one.
Further Generalization
Generalize ground-tying to new venues and around new distractions, as long as it’s safe. Include mats initially if it helps the horse, then phase them out.
Additional Resources
- Blog: Using Mats: https://wp.me/p4VYHH-5S9
- Blog: Smooth ‘Walk On’ and ‘Halt’ Transitions: https://wp.me/p4VYHH-5TT
- Blog: Willing Response to a Voice Halt Signal: https://wp.me/p4VYHH-5R9
- Video Clip: #27 HorseGym with Boots: Good Backing = Good Leading: https://youtu.be/M6gxa2iriQ8
- Video Clip: #121 HorseGym with Boots; Stick and Rope Confidence: https://youtu.be/WIpsT4PPiXo
- Video Clip: #22 HorseGym with Boots; Rope Relaxation: https://youtu.be/6Y34VlUk0Iw
- Video Clip: #60 HorseGym with Boots; Rope Calmness: https://youtu.be/9WC_7d8M6lQ
- Video Clip: #22 HorseGym with Boots: The Art of Standing Still: https://youtu.be/F4Rn9kIc7FQ
- Video Clip: October 2017 Challenge: Park and Wait: https://youtu.be/UvjKr9_U0ys
- Video Clip: #22 HorseGym with Boots: Parking with Commotion: https://youtu.be/M6p5w8QZaIA