INTRODUCTION:
These activities are all based on equine clicker training. Please see my book, How to Begin Equine Clicker Training: Improve Horse-Human Communication if you would like to investigate clicker training with horses. Details of my books are on the ‘BOOKS’ page link above. The books are all available via Amazon.com. Topics in the books contain free links to relevant YouTube video clips.
I keep the clips short – most are under five minutes. Each relates to a specific skill. Keeping them short makes them easier to find and review.
Each of the activities listed below has one or more accompanying video clips. Depending on the reason a horse is on stall rest, some tasks may be a more useful than others.
-
Nose to Target
This is fully discussed and explained in the book mentioned above. It is usually one of the first tasks when we introduce clicker training with horses.
Once the horse understands that touching his nose to a target held out by the handler earns him a click&treat, and he has a strong history of reinforcement for the task, we can use it to gradually develop flexion.
This clip shows a way to introduce the ‘nose to target’ task with the handler in protected contact (i.e. on the other side of a barrier). It’s good to use protected contact until we know how the horse responds to food being part of the training process. https://youtu.be/Rat3P1pGKjU
- Head Lowering (and Head Up)
This illustrates the process of free-shaping a behavior. Free-shaping means that we wait for the horse to do something it naturally does (e.g. lower the head) and ‘mark’ that behavior with a click&treat. It’s important to accurately ‘mark’ and treat each little approximation toward the final behavior we want, so timing of the click and smooth treat delivery are necessary. It’s helpful to work on these away from the horse by asking another person to stand in for the horse.
Clip One: https://youtu.be/AoqtJj2X1bU
Clip Two: https://youtu.be/Ol-BHB1QCnw
Clip Three: https://youtu.be/CYhgwlmrfps
- Okay to Repeat Signals and Grooming with ‘Okay to Repeat’ Signals
This post contains the background and video clip links. https://wp.me/p4VYHH-5RV
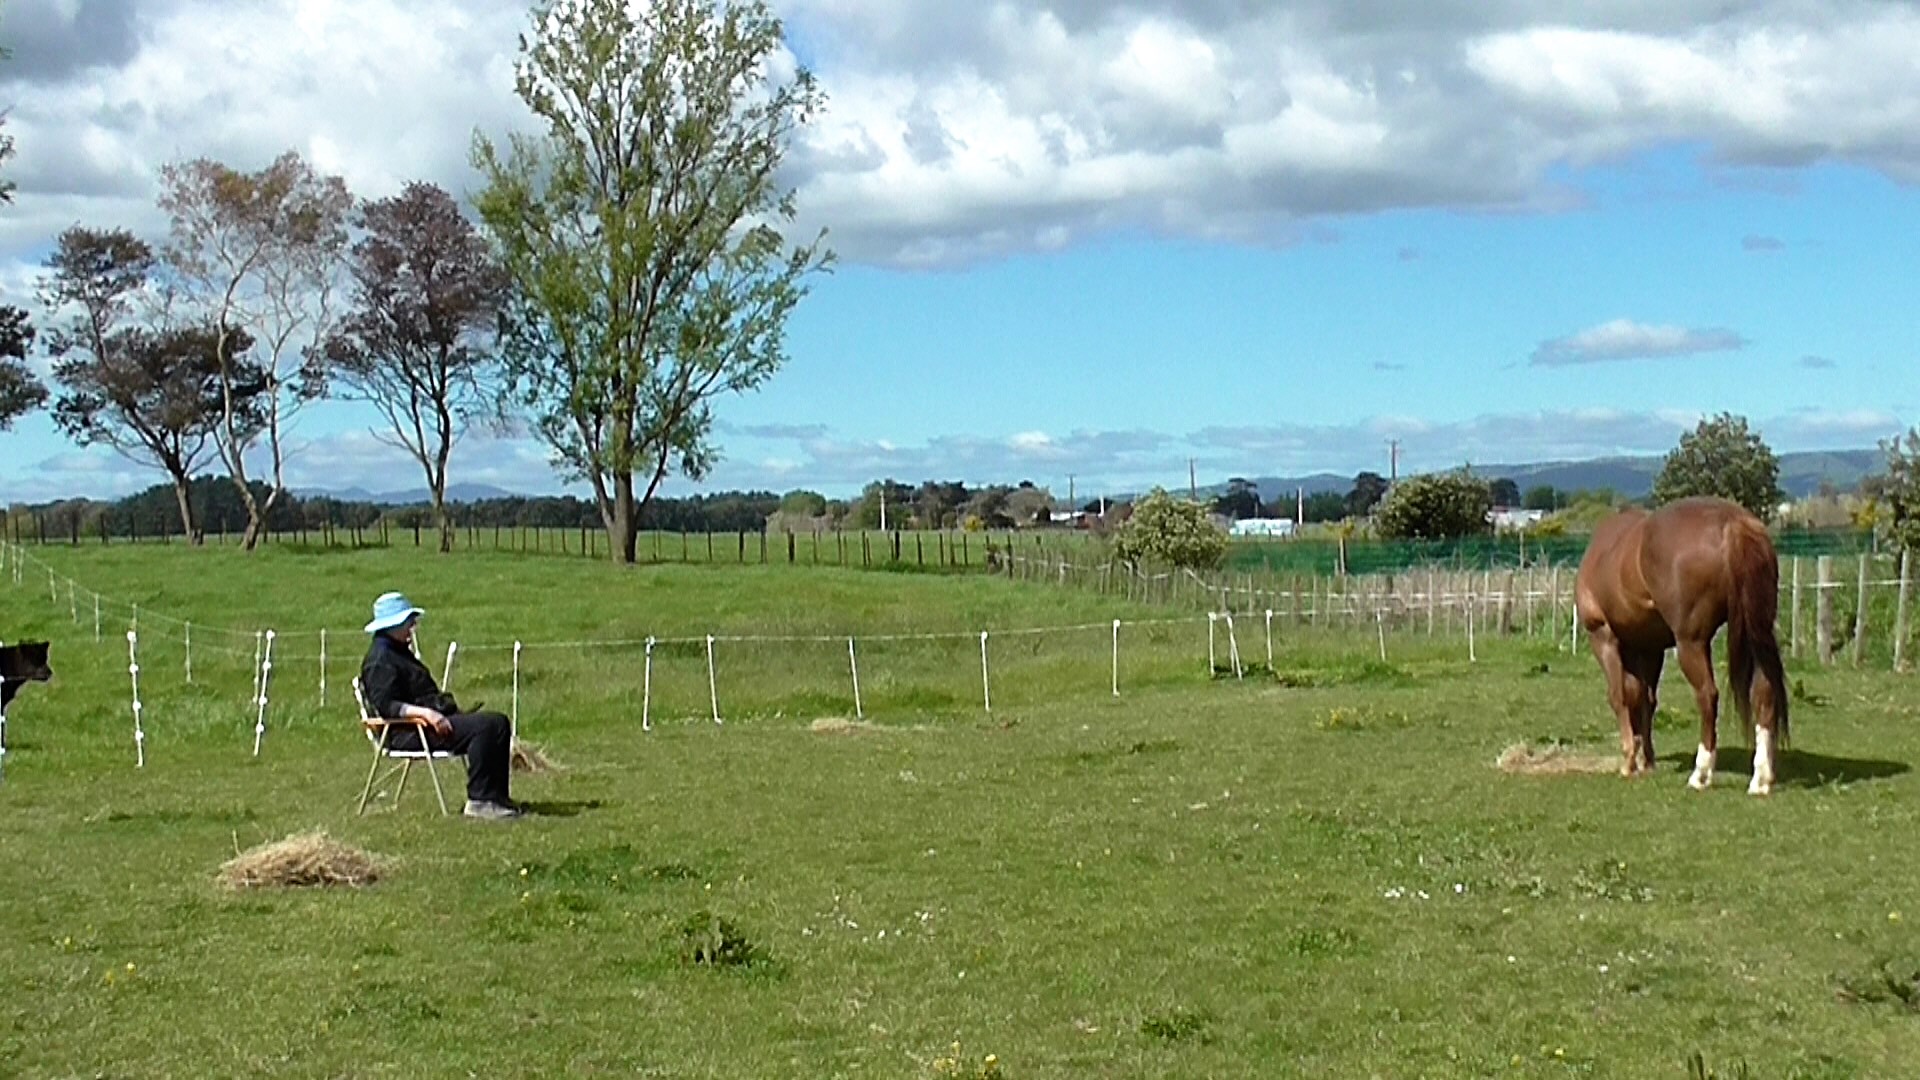
- “Intent and Zero Intent”
This post contains the background and video clip links. https://wp.me/p4VYHH-5RO
- Target Feet to Mat and Duration on the Mat
This post with clips introduces the idea of mats. https://wp.me/p4VYHH-5S9
- Target Flexions
This post contains the background and video clip. https://wp.me/p4VYHH-5Ty
- Target Chin to Hand
Clip: https://youtu.be/Fsigp8wB0LU
- Target Shoulder to Hand
This post contains the background and video clip. https://wp.me/p4VYHH-5SH
- Targeting Body Parts Overview
This clip shows an overview. Each body part would be taught separately following the outline for targeting chin or shoulder to our hand, as in items 7 and 8 above. https://youtu.be/tFGvmRRYdHQ
- Bell Ringing
Clip: a thin-slicing technique to teach bell ringing: https://youtu.be/wBdJMgtHU6A
Clip: bell and horn playing: https://youtu.be/pHvgJxJsmc4
- Picking Things Up
This clip looks at a first lesson: https://youtu.be/EDGRpM2yLBo
This clip is with a horse a bit further into the process. https://youtu.be/FCQrlMc01RE
This clip shows the skill generalized to picking up and carrying a feed bucket. https://youtu.be/zRM8kO992EY
The two clips below demonstrate the final slices of our process for learning to retrieve a cap tossed away.
Clip 1: https://youtu.be/bvRkCk___3M
Clip 2: https://youtu.be/hMIB5mlx65E
- Willing Haltering
Clip showing ‘halter prep’ using a hoop. https://youtu.be/WKeLxfpBFAo
This post contains the background and video clip. https://wp.me/p4VYHH-5Sw
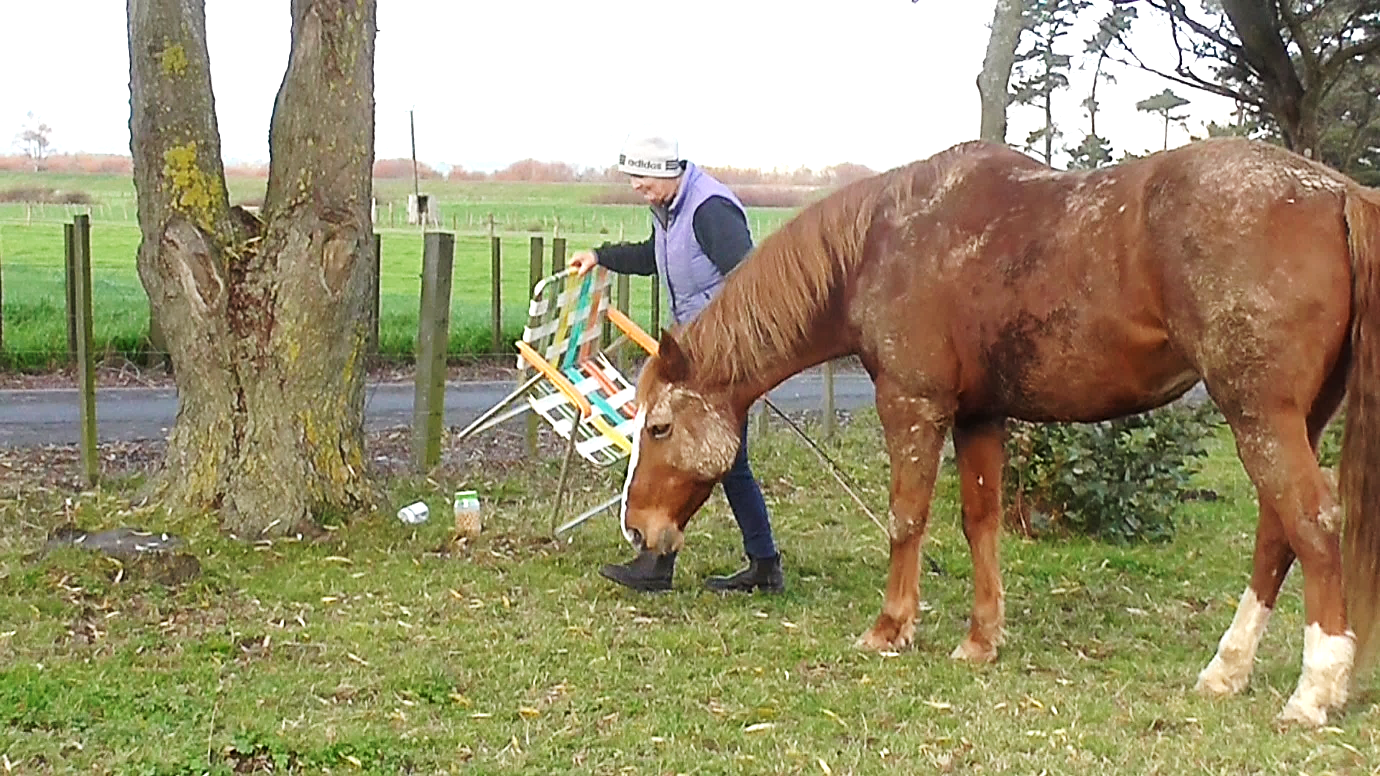
- Relaxation with Body Extensions
Clip: https://youtu.be/nkwxYwtCP_Y
Clip: Stick and Rope Confidence: https://youtu.be/WIpsT4PPiXo
- Balance on Three Legs
Clip: https://youtu.be/x1WKppV3N_0
- Clean all Feet from One Side
Clip: https://youtu.be/UMyApCj9wBQ
- Hoof Stand Confidence
Clip: https://youtu.be/khsEm1YBtLs
- Head Rocking
Clip: https://youtu.be/-2VjmbfkfS4
- One Step at a Time
Clip: https://youtu.be/wStHxqNs7nk
- Soft Response to Rope Pressure
This post contains the background and video clips. https://wp.me/p4VYHH-5Sq
- In-Hand Back-Up
Clip: https://youtu.be/6YYwoGgd_0Y
- Step Aerobics
This post contains the background and video clip. https://wp.me/p4VYHH-5Sf
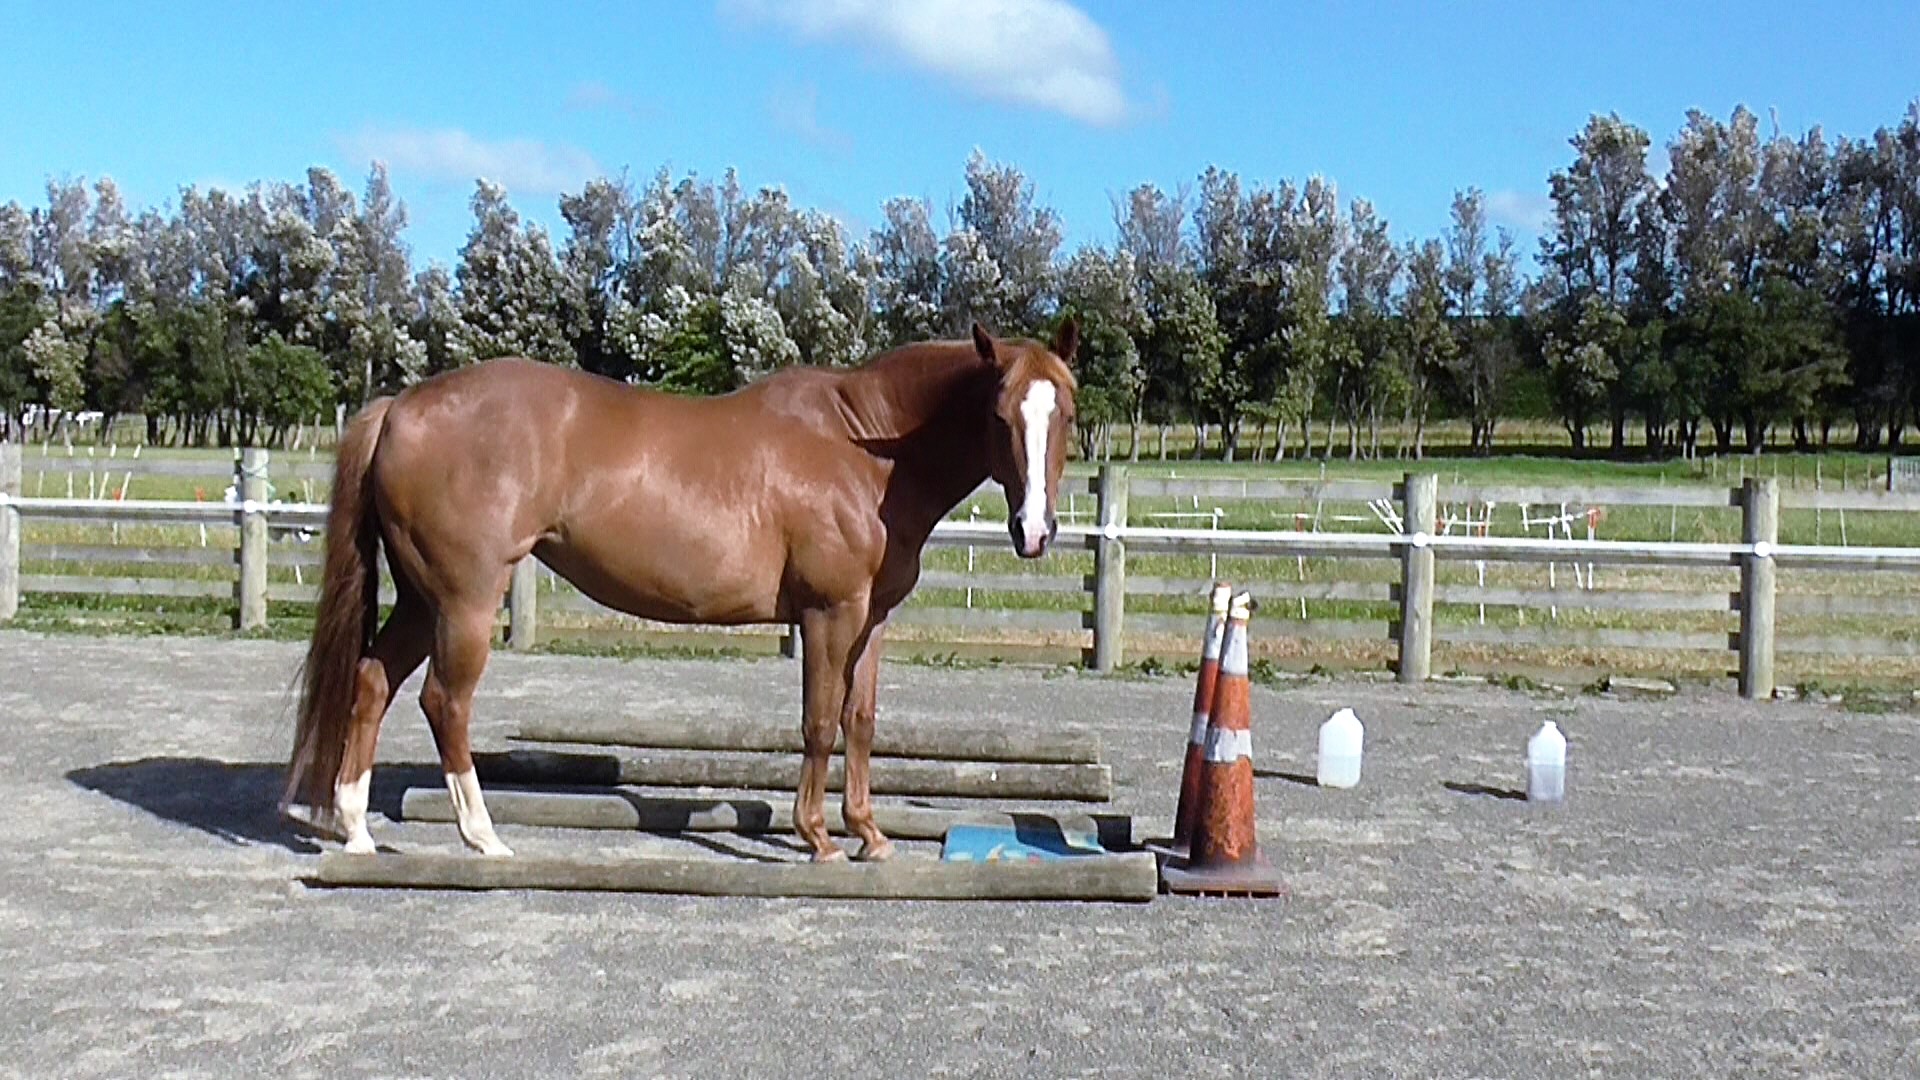
- Foot Awareness (Proprioception)
Some of the little tasks in this clip can be done in a restricted space. https://youtu.be/7bEkFk0w_gk
- Counting
This clip looks at the beginning of teaching ‘counting’: https://youtu.be/2os0DTE2SoE
- Kill the Tiger
This clip shows the final task. It was thin-sliced to first teach it. Be aware that some horses might generalize this bit of fun to pulling off their saddle pads unless you put it on cue or ‘on signal’. https://youtu.be/M8vzn1JsR_k
- Bursting Balloons
This clip shows Smoky after a few sessions when he is just beginning to get the hang of it. https://youtu.be/Md7ui1DejaI
- Target Hindquarters to our Hand